@noahdjango the precision of you and your bosses work is so amazing
@DukeTrout you’ve brought out the beauty in that wood! Lovely little table
@FGD135 such cute signs! I imagine they are very pleased with how official they look
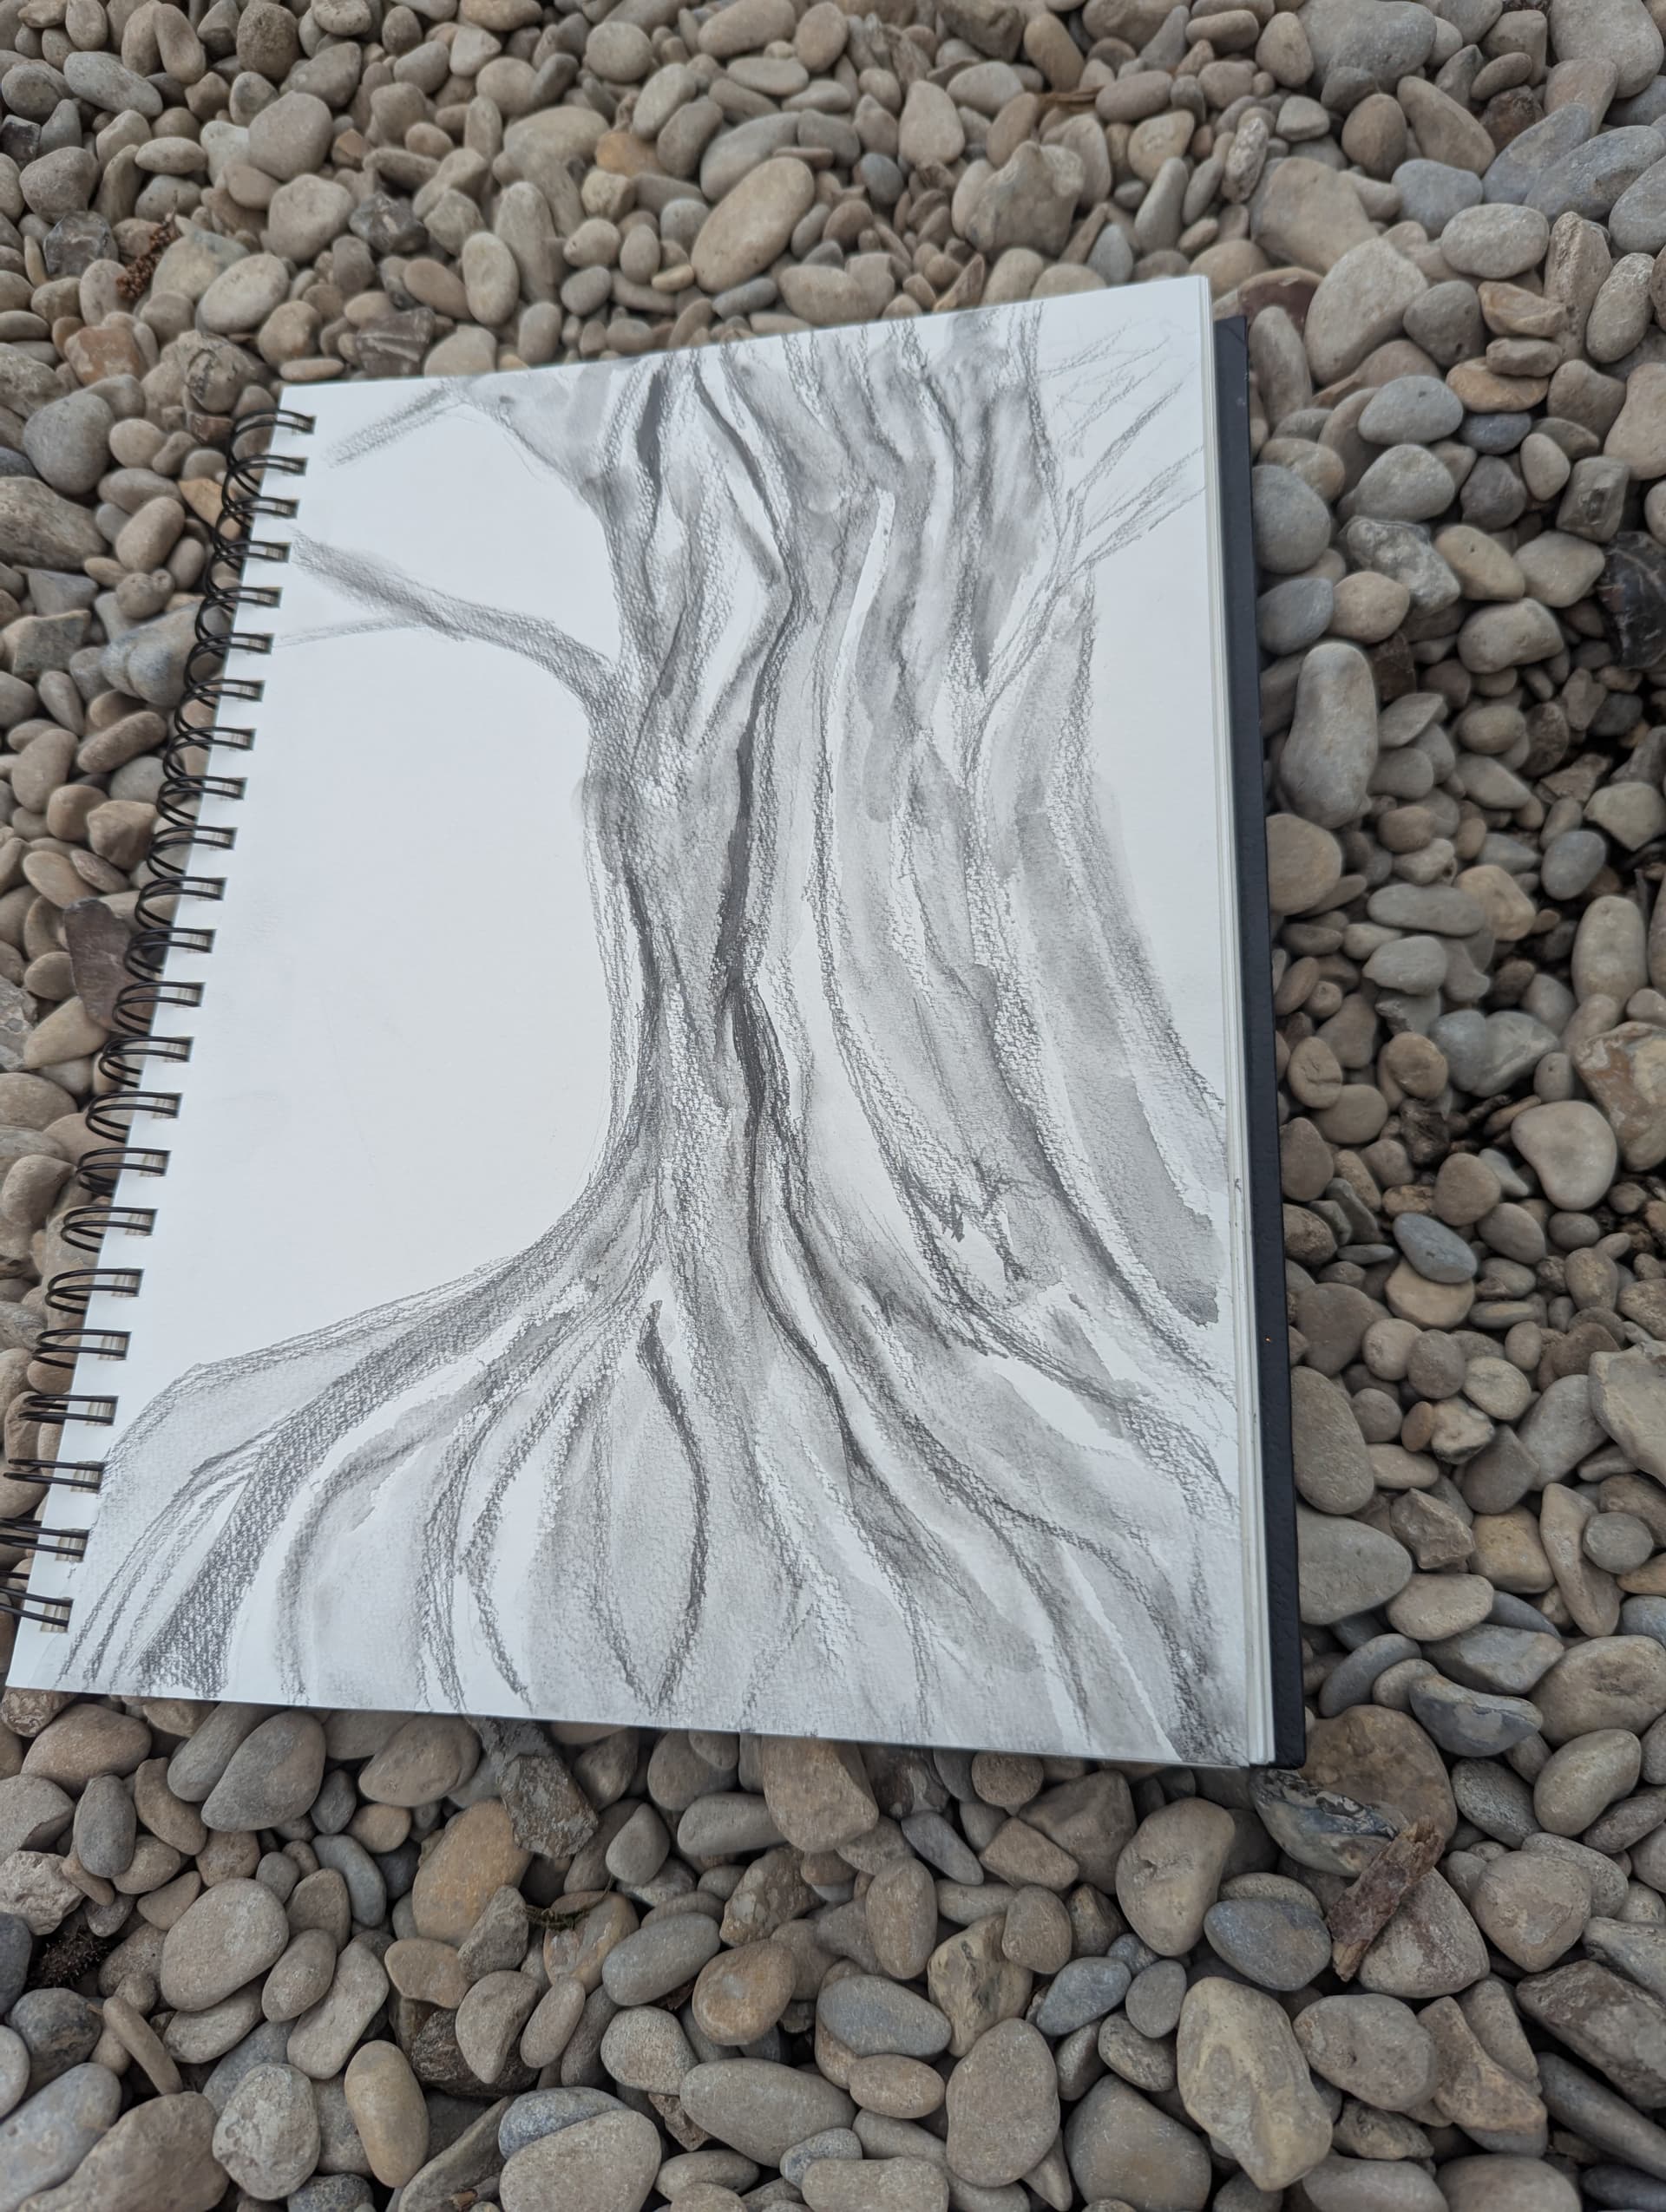
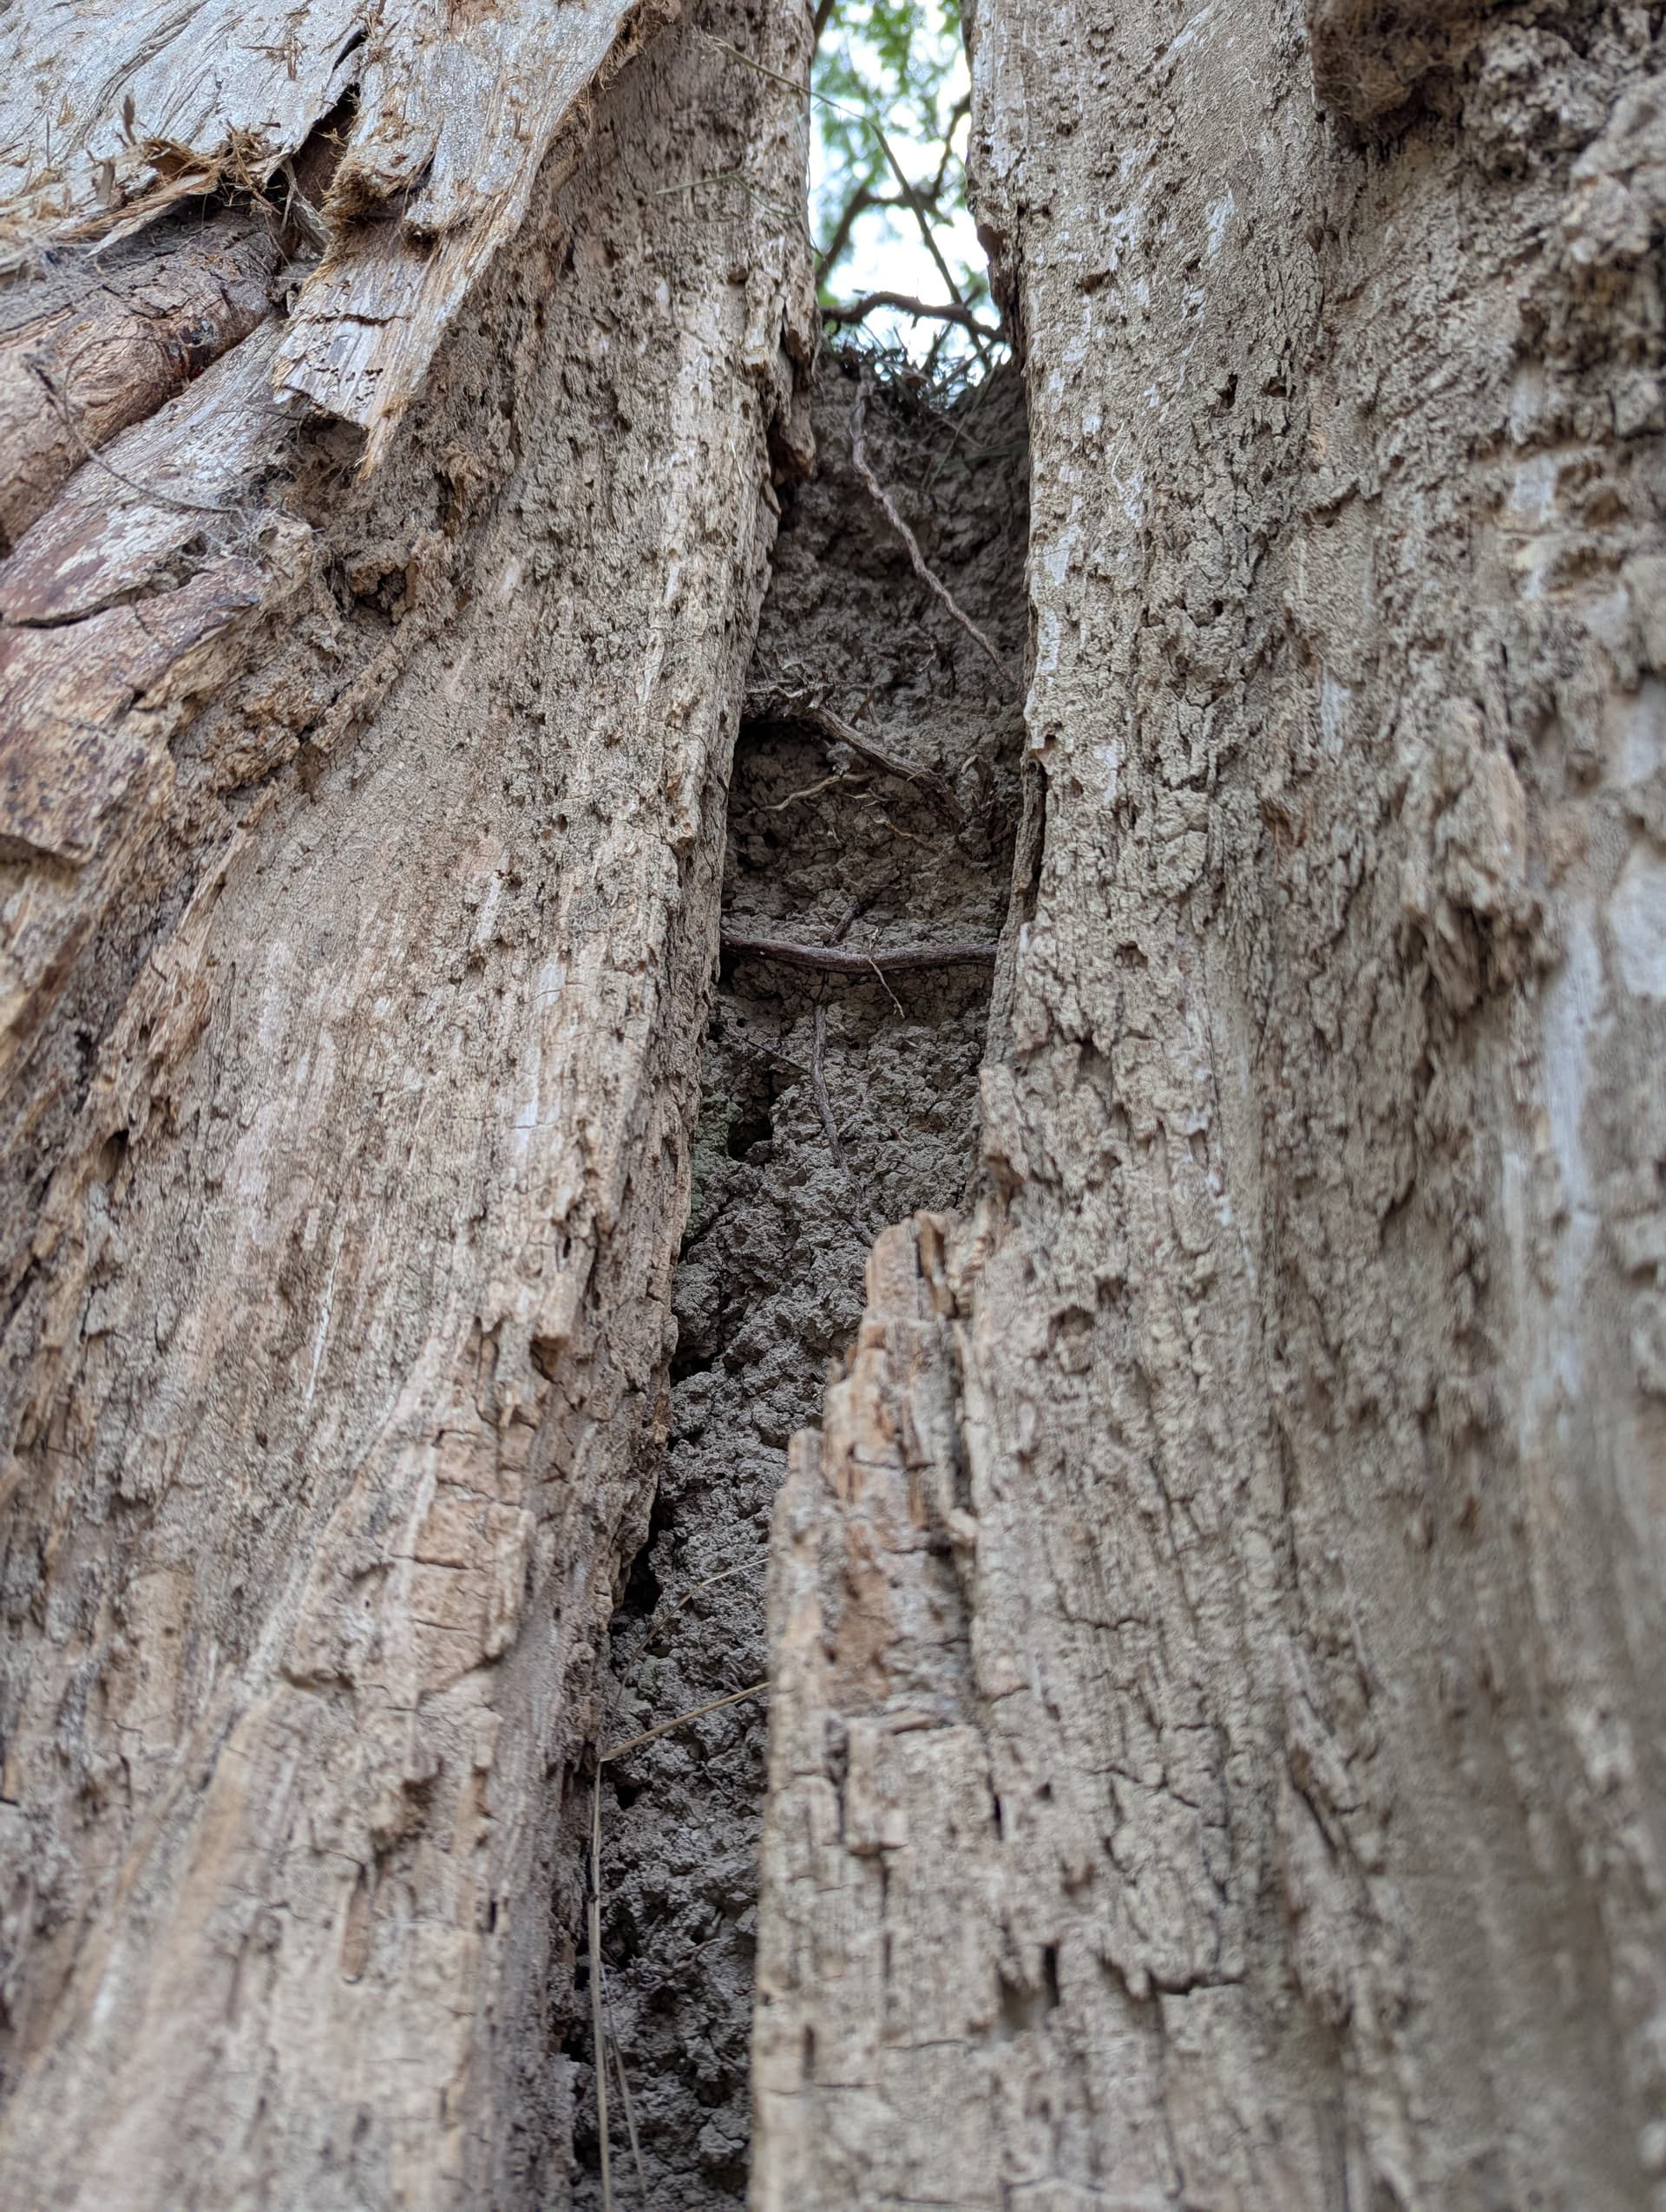
I sketched some trees this weekend while camping. I had water soluble graphite but no brush. Used my fingers and water from our bottle. This is a Bald Cypress. They get gigantic and tend to hollow out. You can see the mud that’s stuck inside in the photo. 5 feet of mud from some major flood.
I think I might add some green washes to the second one, for the leaves. That is a live oak, way up on the limestone cliffs.
Lovely!
You really captured the muscular contortions of the live oak!
For the green wash, I only mention this because I was sketching live oaks just over a month ago myself and had a hard time finding the green I wanted, pyrelene green seems to offer the whole range of what I wanted. The light lights work for Spanish moss of the sun hitting the leaves, and darker darks work for the leaves and trunk in shadow. Fell in love with the color.
Pyrelene green watercolor
Link is to watercolor but it’s available in all kinds of media.
Post pics if/when you add color!
Well, there have been some hiccups on the end table.
The first was that the brass inlay decided to buckle. I think this was because I polished it with a Dremel, and that built up heat and expanded the brass, which caused compression stress. It buckled a couple of days later. So I had to cut it and give it some expansion room and re-inlay the ends. Which means starting from scratch with sanding. I’ve got to the “end” of sanding and found gouges that required backtracking a few grits and re-sanding. During that process, since I’d started finishing, I made “wood gravy” as a grain filler and that’s been interesting. Today should spell the end of filler and the beginning of finishing (again). Fingers crossed.
Well, I jinxed myself. Found a long scratch in the surface this morning. Made the decision to sand it out. Picked a new piece of 800 grit sandpaper and started sanding away the scratch and some scuffs and took a quick look - holy crap! Why did the 800 grit cause so many gouges? Checked the sandpaper again - it was 320 grit!
I swapped it out for the proper grit and went back over the area to get rid of the new scratches, filled with wood gravy, letting that cure for a while before going back to finishing…
It’s still really rewarding to have this wood reveal itself with subsequent sanding and finishing. With the wood gravy, it’s not quite a piano finish but it’s closer to that than a natural finish.
Ever tried French polishing with shellac? It’s amazing, but also a royal PITA to get done. I’ve done it a couple times, but generally use tung oil/linseed oil and beeswax. Way easier and I like the way it just glows.
I haven’t used French polishing. I tend to use Tried and True, which is basically that linseed oil/wax combo. That’s already plenty of waiting and polishing for me. Then I usually top it off after it cures with a beeswax/coconut oil homebrew that I keep around for cutting boards and such.
We have a lot of inherited antique mahogany furniture that I had to refinish, and there is no other finish that gives that authentic look than shellac. It should be easy, it is certainly portrayed that way. It is not.
Wax on, right hand. Wax off, left hand. Wax on, wax off. Breathe in through nose, out the mouth.
Wax on, wax off. Don’t forget to breathe, very important.
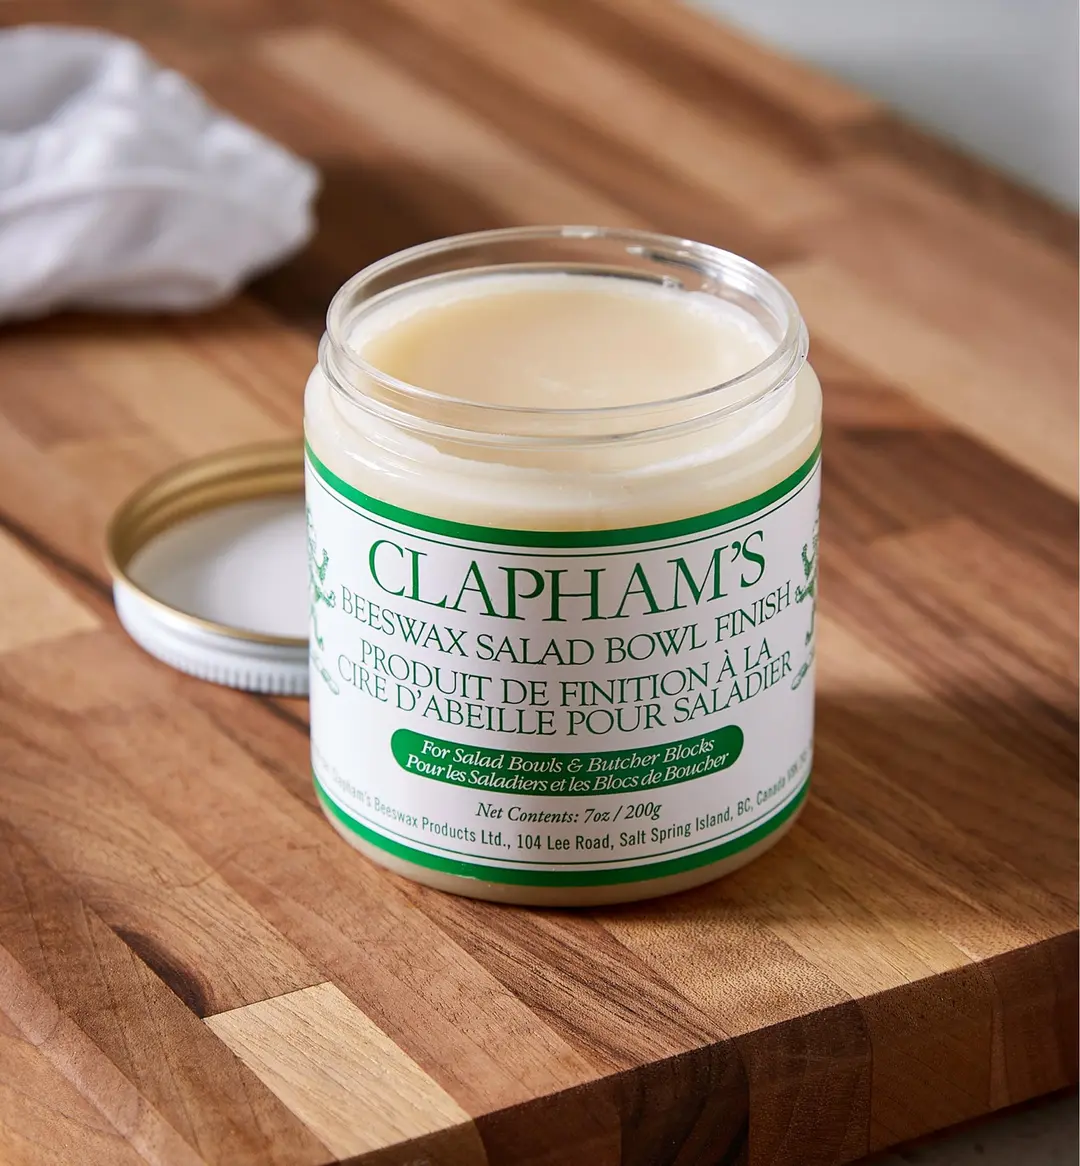
Oh, tell me more. Sounds like something I’d love to have on hand. I’ve been going the cheap/easy route lately with mineral oil (I do the cutting boards when I do the butcher-block counters) but my apathy is becoming evident.
For everyday cutting boards and utensils I just use mineral oil, because after many coats it saturates the wood and won’t allow any water in. Downside is it won’t form a glossy finish.
It’s loosely based on Jonathan Katz-Moses’ Goo, bit the coconut oil is from Walrus Oil.
Super simplified, it’s one part beeswax, two parts mineral oil, and one part coconut oil. Double boiler, heat it up until the beeswax melts and give it some light stirring, then add it to your container of choice. Wide mouthed jar is good, since it can be pretty hard when cold if, like me, you keep it in the garage.
Sometimes I just go to the jar to smell it. Between the beeswax and coconut oil, it smells amazing.
I do something similar with equal parts by weight raw linseed oil, tung oil, beeswax and orange oil thinner. I use it as a top coat after raw linseed to pentrate and a couple coats of tung oil to seal. No VOCs, food (and toddler) safe and easy to apply. Does require a little curing time, but I’m usually not in a rush.
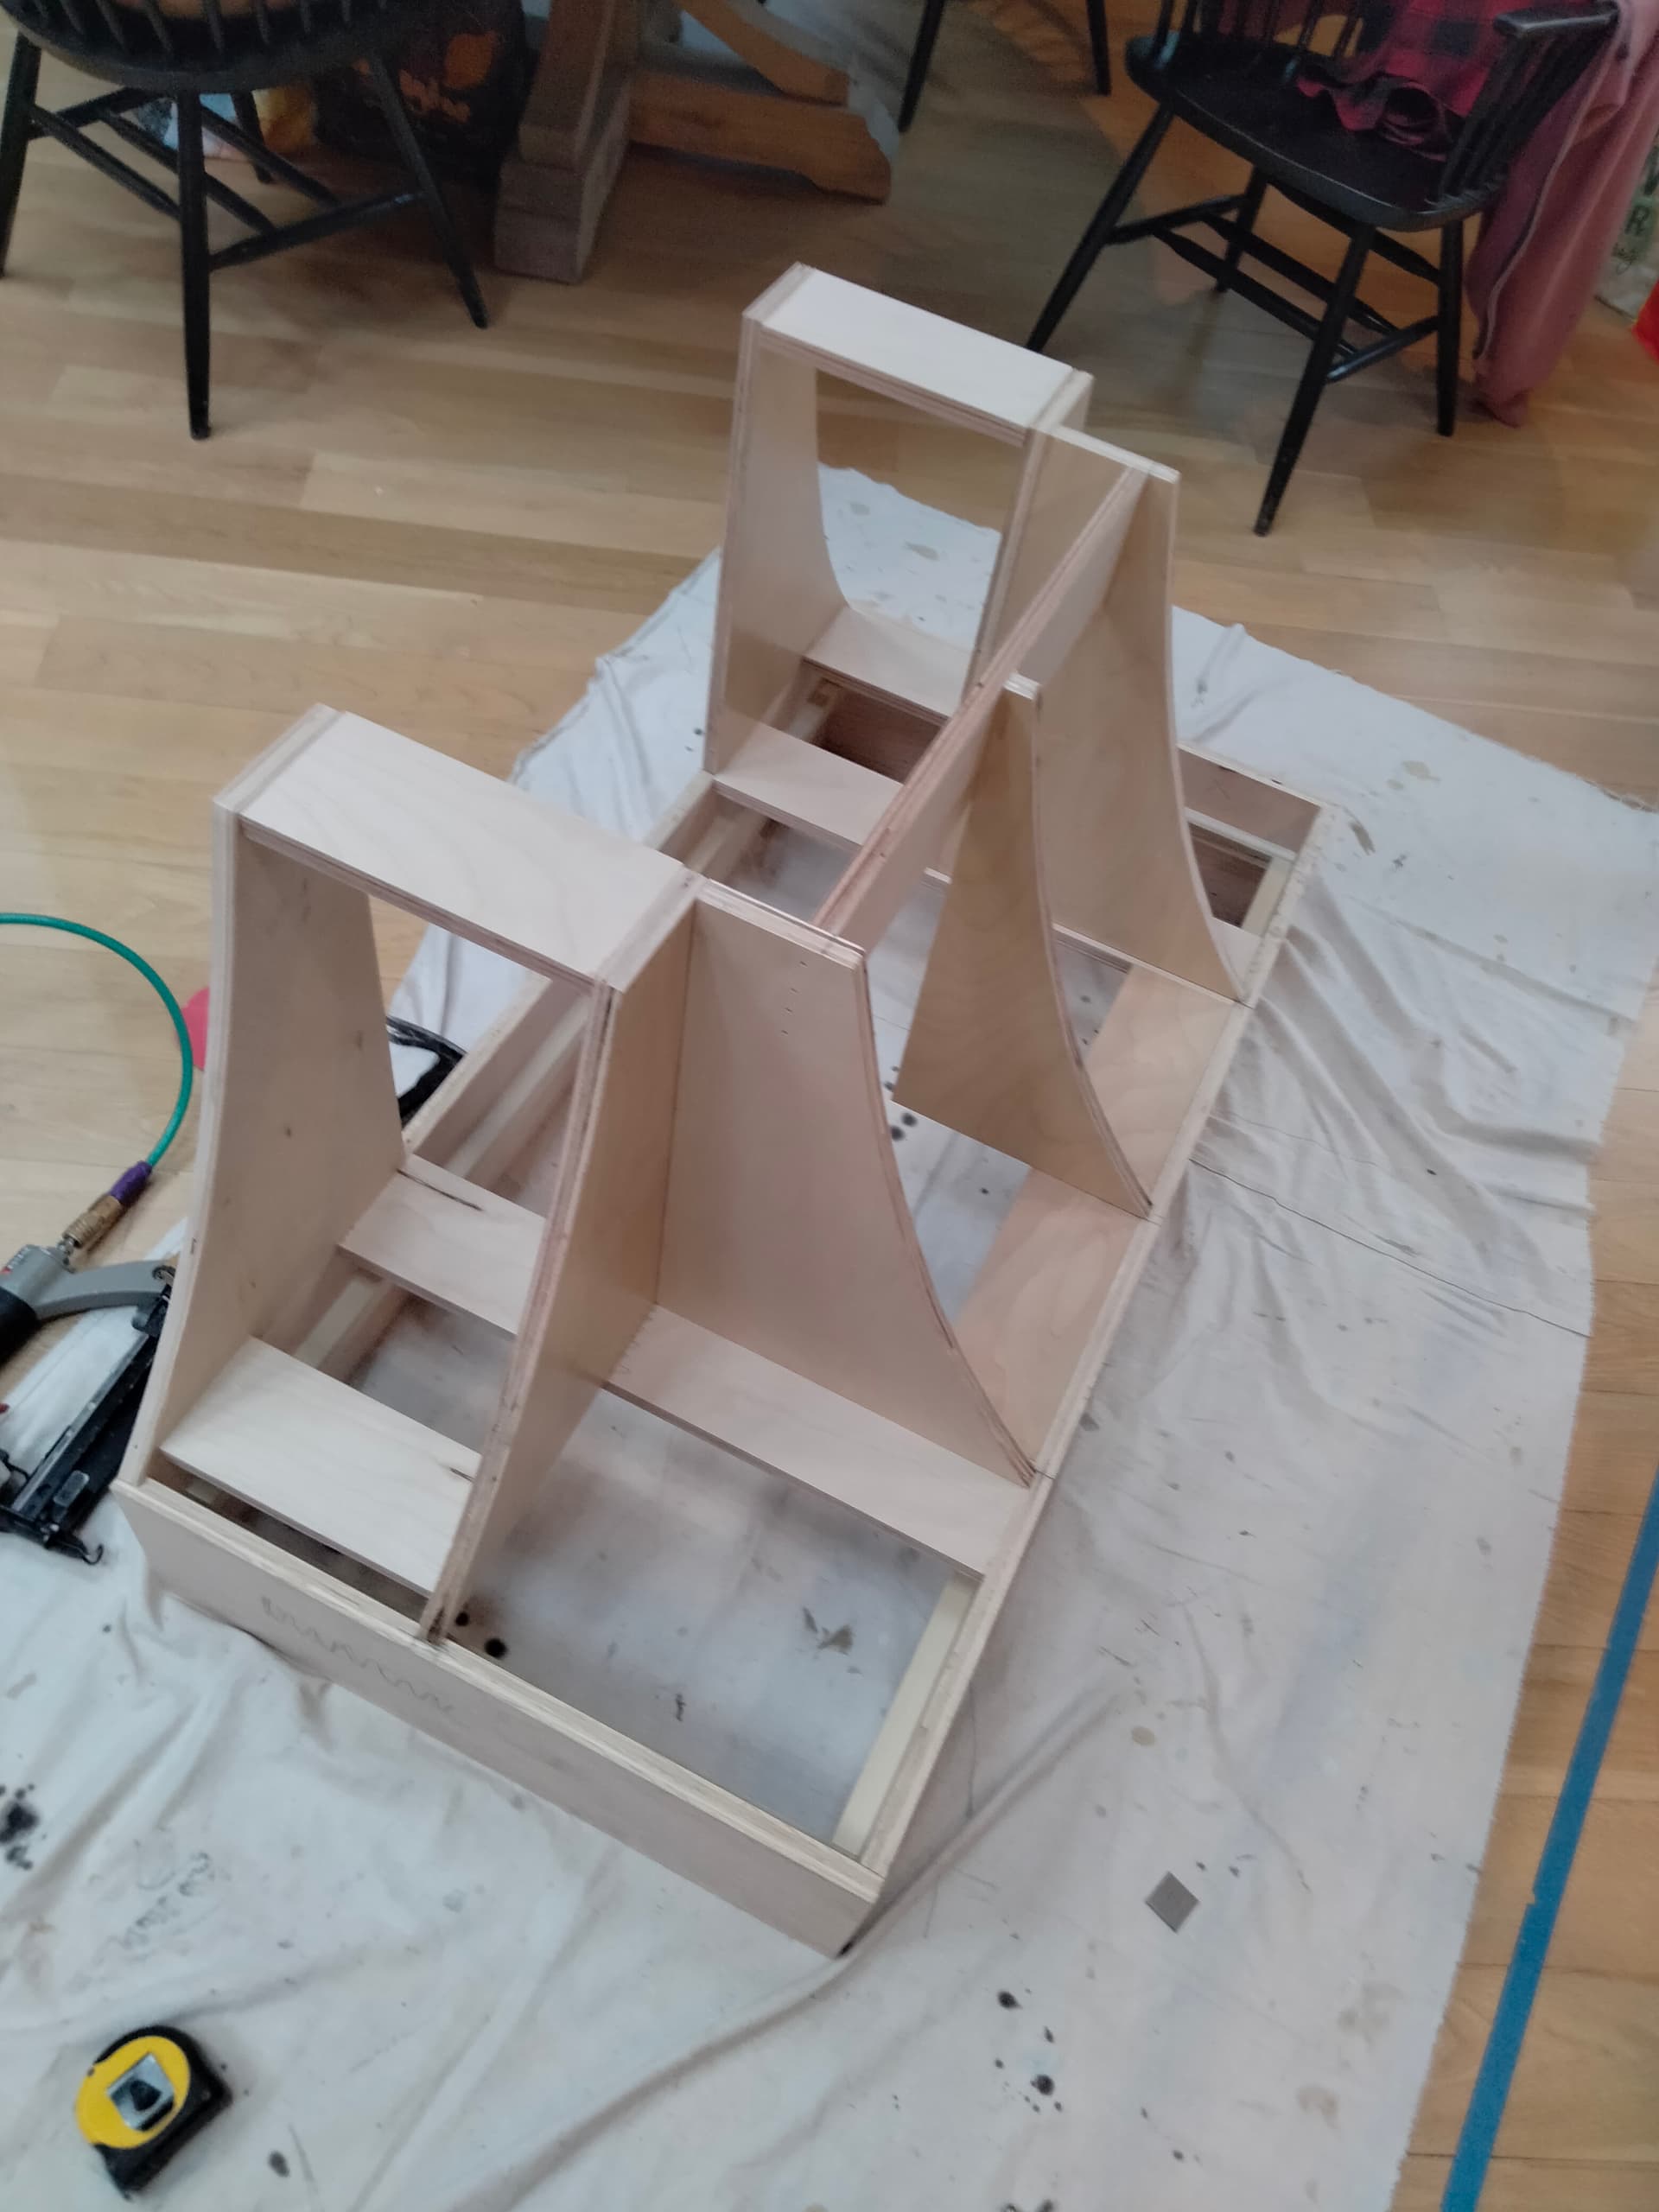
we built the box yesterday and today we made the armature (“bucks”) for the bendy sides and skinned the 3/16" plywood over it for the vent hood over the stove.
this installation is temporary and the tape is because the joints on the corners don’t have bucks under them so we shot them together with pins; but after that, we slathered construction adhesive behind the joints and taped it down to get the best join we could. the box part will be faced out with fancy reclaimed oak that’s distressed and still has one live edge with bark still on it. the bent parts will be painted off-white like the rest of the cabinetry on that wall.
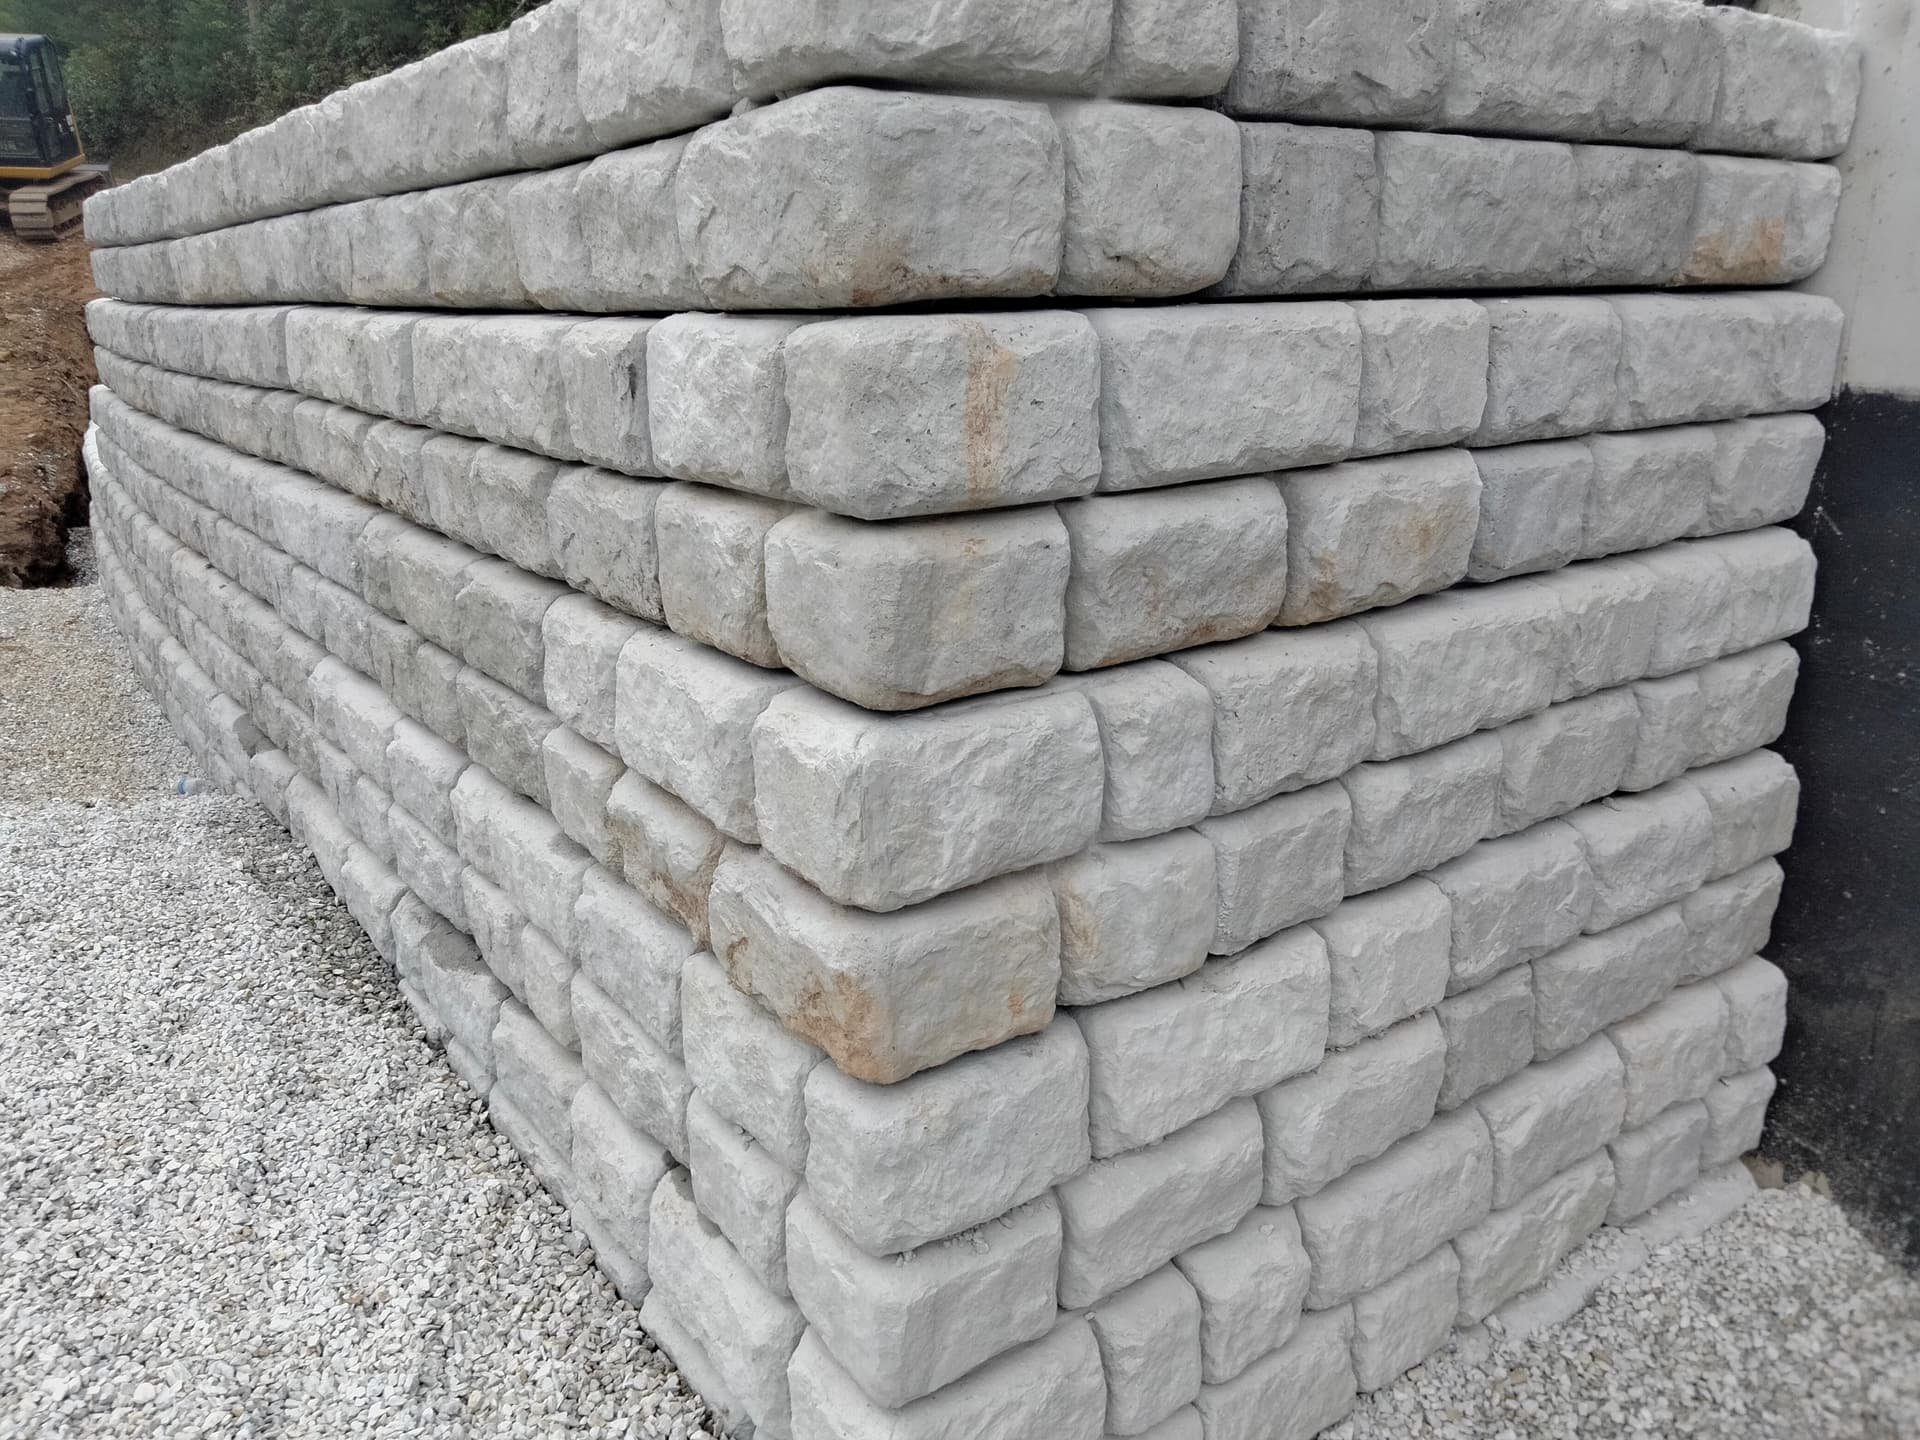
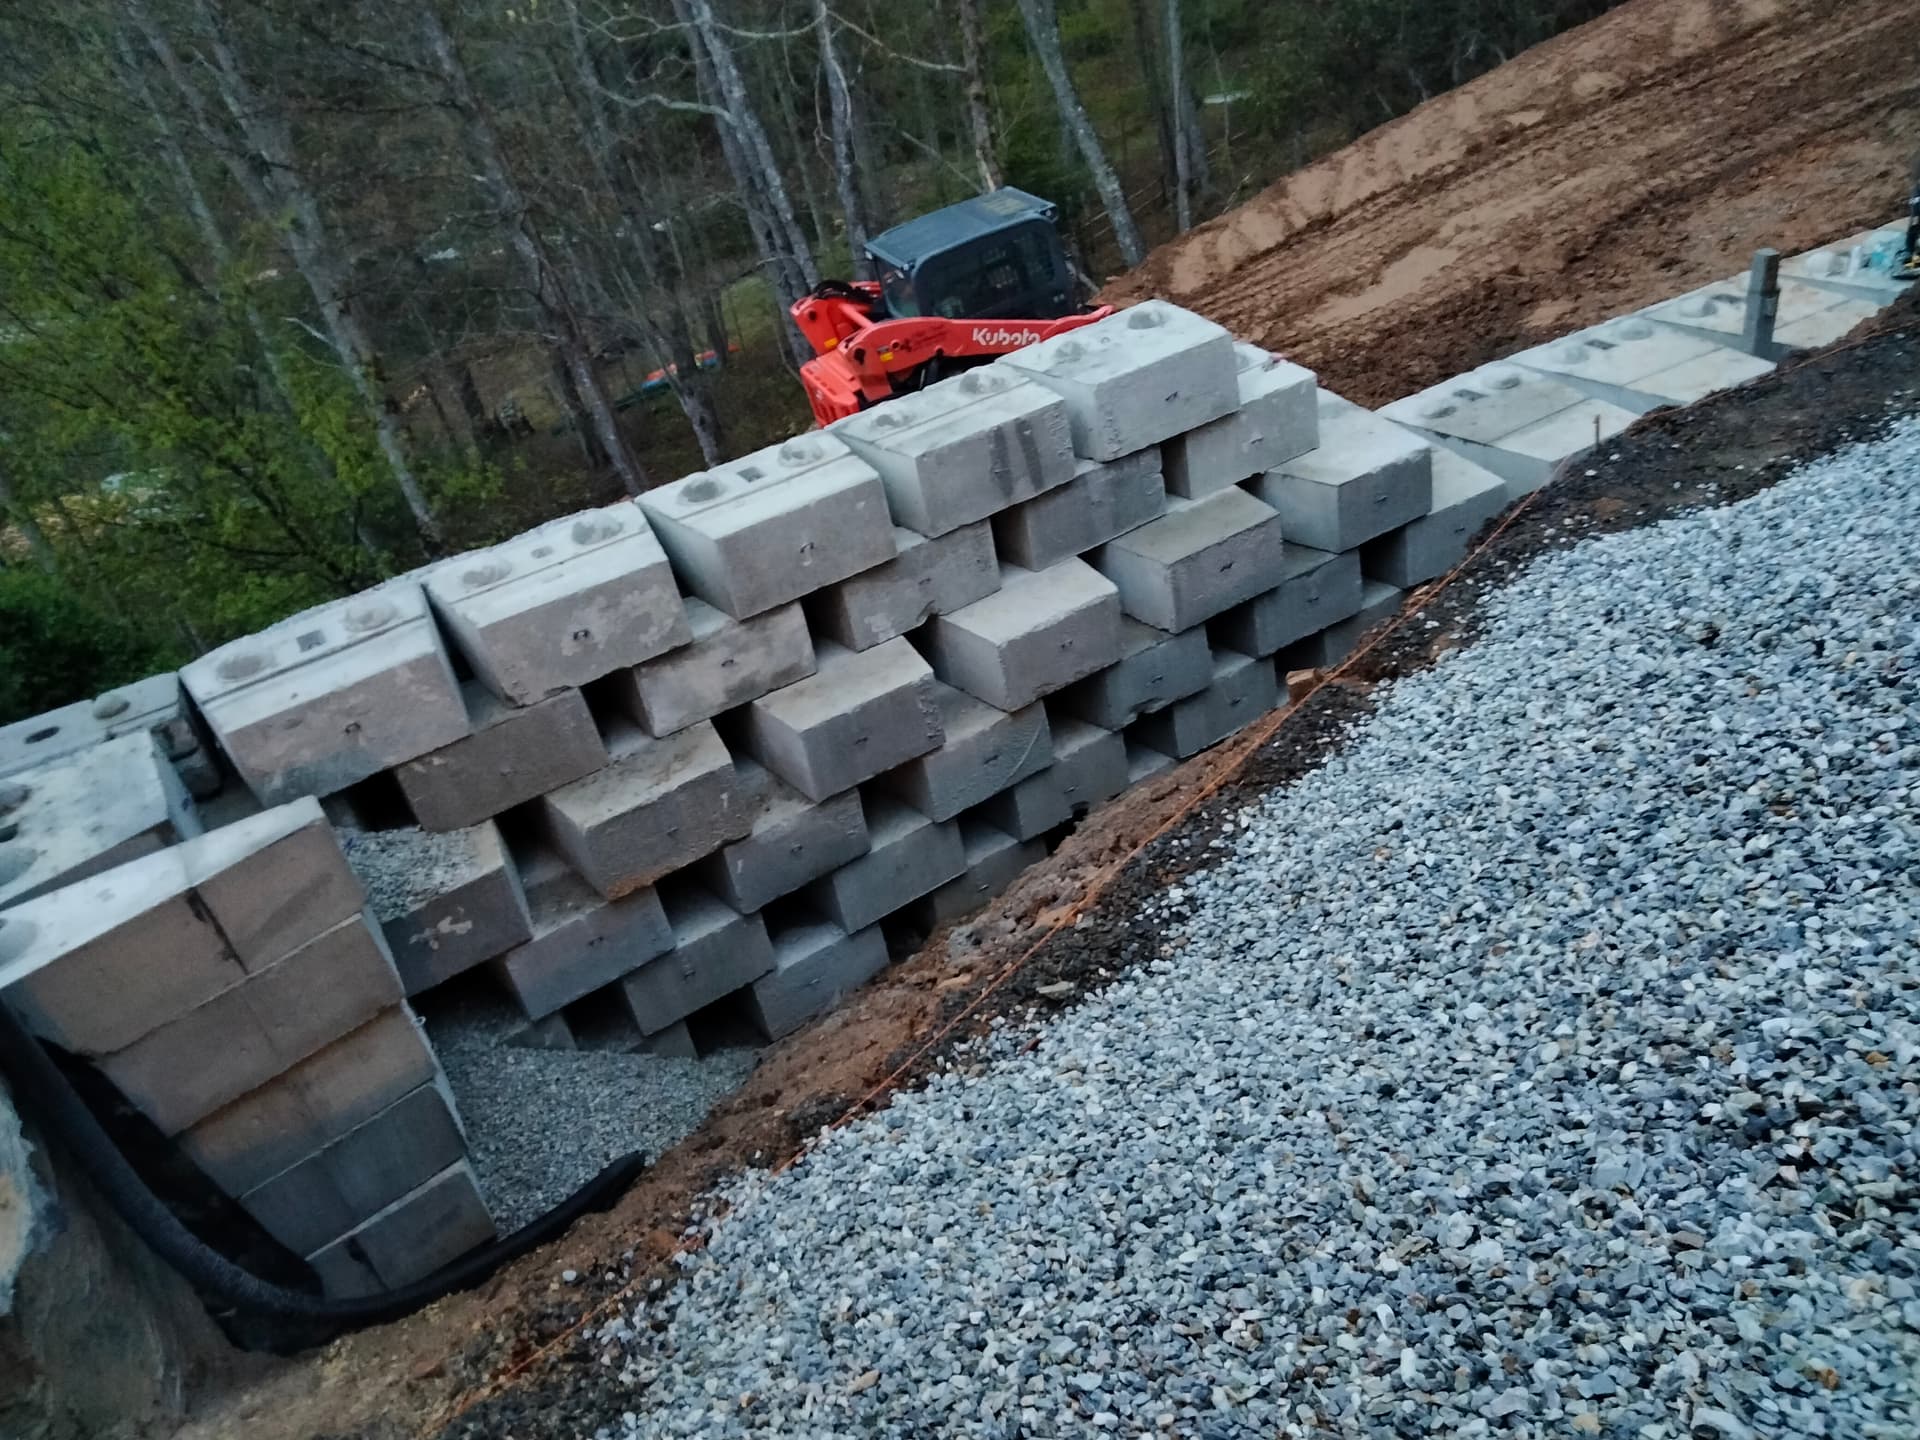
also of note: the whole time we’ve been working here, a construction crew has been fixing the retaining wall on one side of the house. the whole house is on the side of a mountain and the old wall gave out. here’s what it looks like on the outside:


