…when leads me to the Framework Laptop. The one thing that I really actually liked about my Surface was the size and weight of the whole thing. Even with a case, it was still small and light enough to easily pick up and take just about anywhere. My earlier laptops were all so bulky that I sometimes would just leave it behind rather than lug it around.
With that in mind, the Framework 13 seemed like it might be a good solution. I’m not sure exactly when I first heard about Framework the company and their first product, but it was early enough that they hadn’t really proved out the concept yet. To explain for the uninitiated, Framework makes laptops that are explicitly designed to be configurable, repairable, and upgrade-able, while still being competitive in terms of design and size/weight. The Framework 13 is a (surprise) 13" laptop with a wide variety of interchangeable components, ranging from the storage and memory to the main board and even the screen. When they initially released the 13, there were multiple options for several of the components, like a main board with an i5 or an i7, so you could conceivably upgrade to a faster processor. That proved that it could work within a single processor generation, but what would happen when a new generation was released, and would Framework even last that long? The answers to both of those questions were that upgrades to new generations were totally possible, and even to entirely different manufacturers, as they now offer AMD main boards as well as Intel, and you can switch between them in the same chassis. They’ve gone through this cycle enough times now successfully that I think they’ve proven this is a working solution, and they’ve made other improvements along the way that are available to anyone who has ever bought their product. For example, they started shipping an improved hinge on newer models, but also sold the same hinge to their existing customers if they wanted that improvement. Here’s where I would make some sort of comparison to the ship of Theseus, but it’s probably enough that I mention it.
With that all in mind, I did decide to take the plunge and ordered one last month. It arrived this week because I actually ended up buying their newest configuration, so there was a bit of a pre-order lead time. I had looked into some of their lower-specced and older configurations, but every time I started customizing it a bit, I ended up getting close enough to the newer configs that I just took it to it’s logical conclusion. I didn’t buy their absolute top-of-the-line configuration, but I did end up spending more on this than any laptop I’d ever purchased before, although not by a huge margin (10-15%, I’d say.) I justified this in part because the next time I’m looking to upgrade, I shouldn’t need to buy everything again, so it should save me money in the long term.
That’s probably enough of the why, let’s get to the how of it all. What’s it like to actually purchase and assemble a Framework 13 laptop? (with pictures).
Keep in mind that I ordered the DIY version. It’s slightly cheaper, but it requires more assembly. I also opted to buy some components separately to save over ordering them directly from Framework. This is definitely another one of their advantages, but I understand that it’s not for everyone.
Let’s go through the unboxing and assembly, shall we?
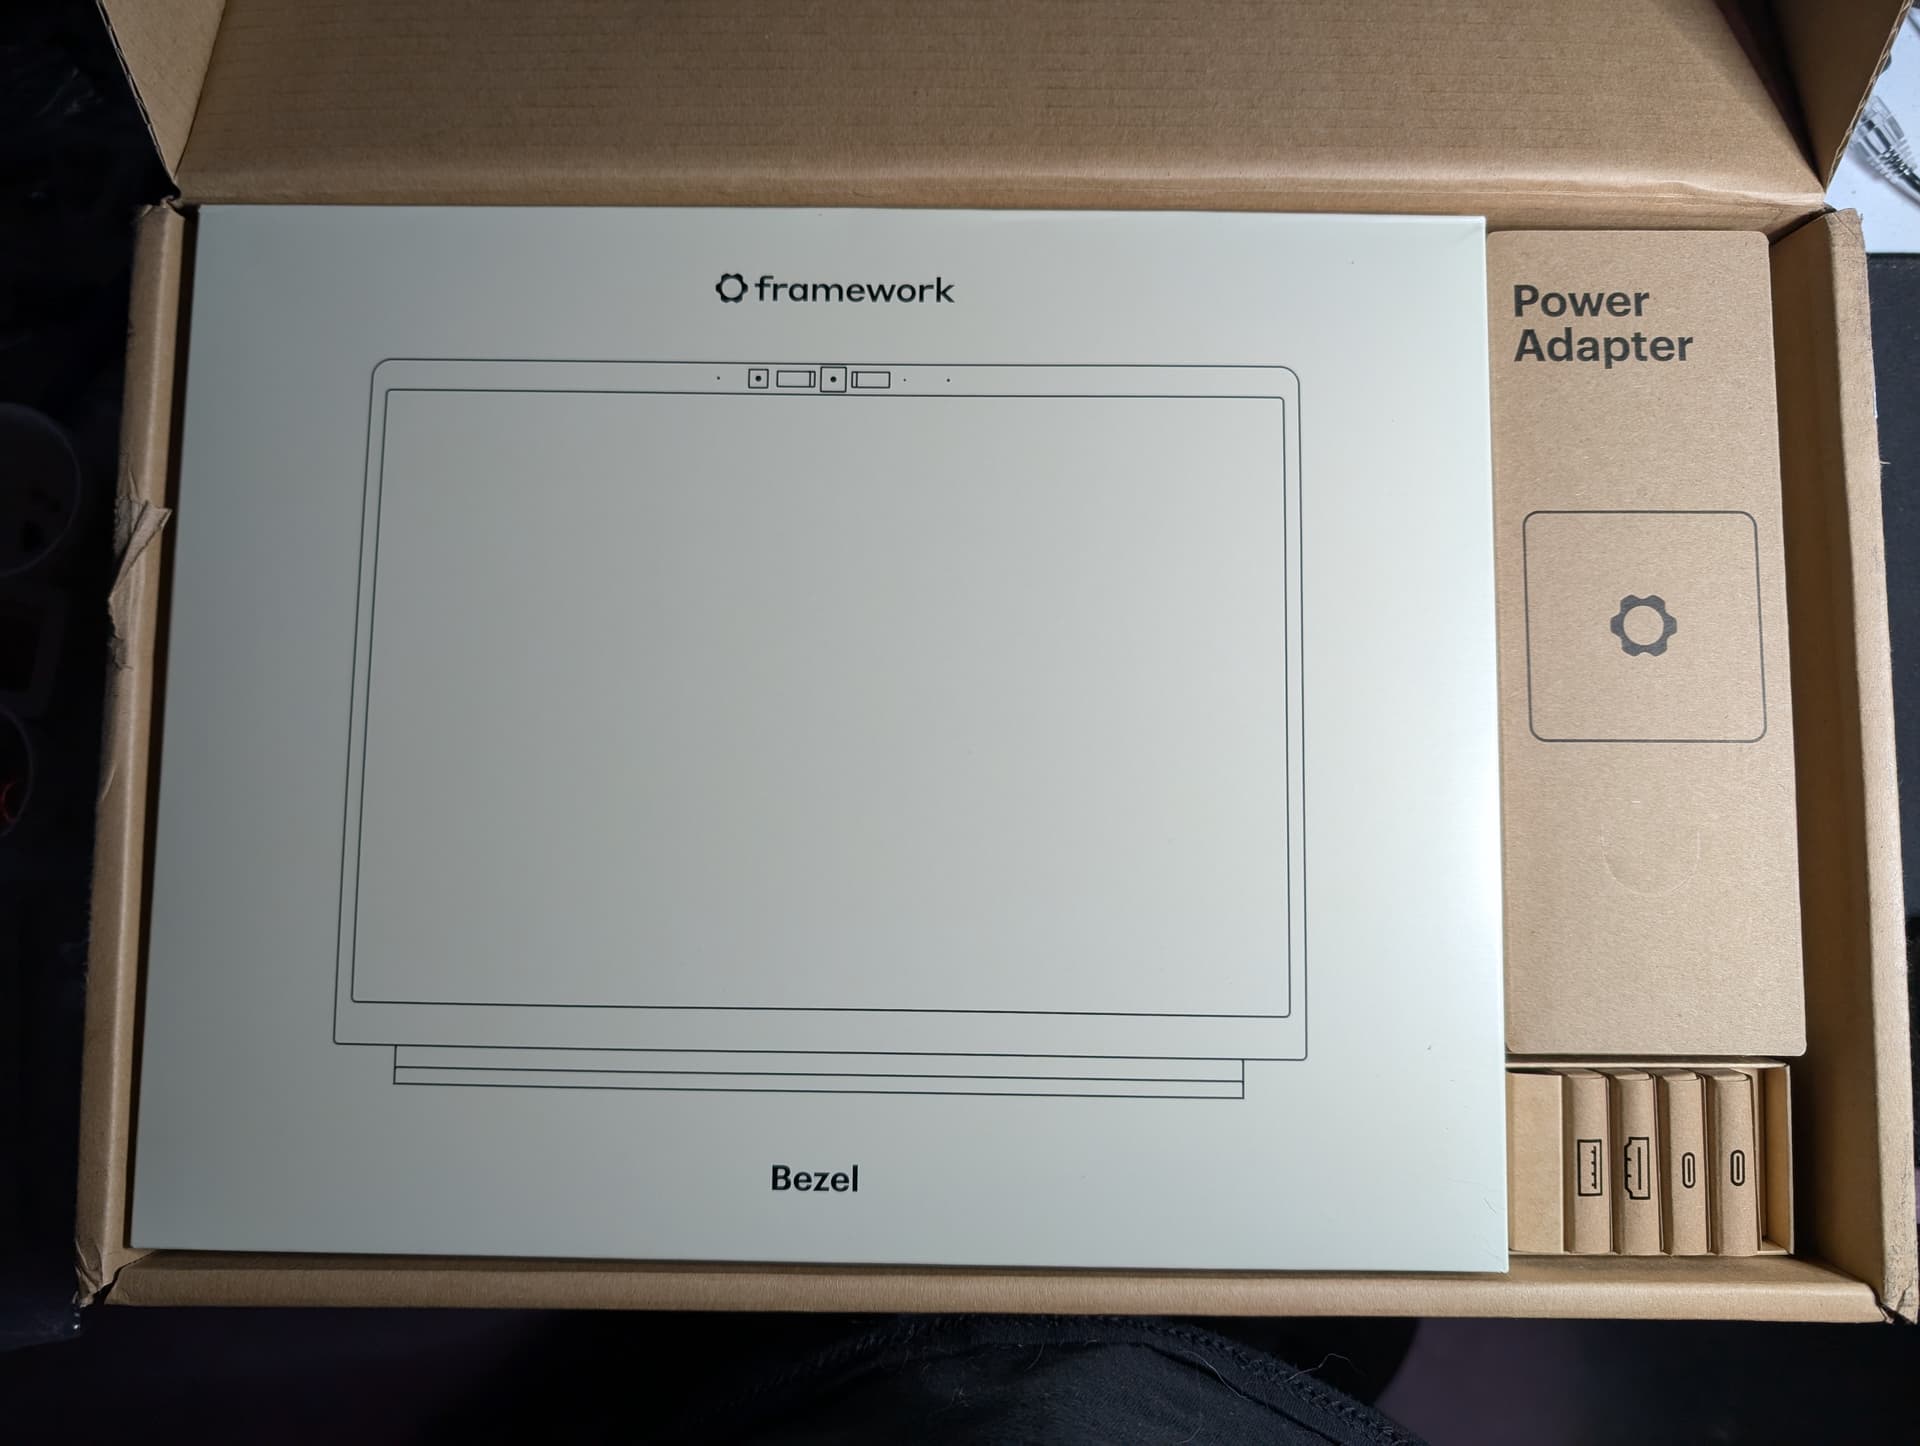
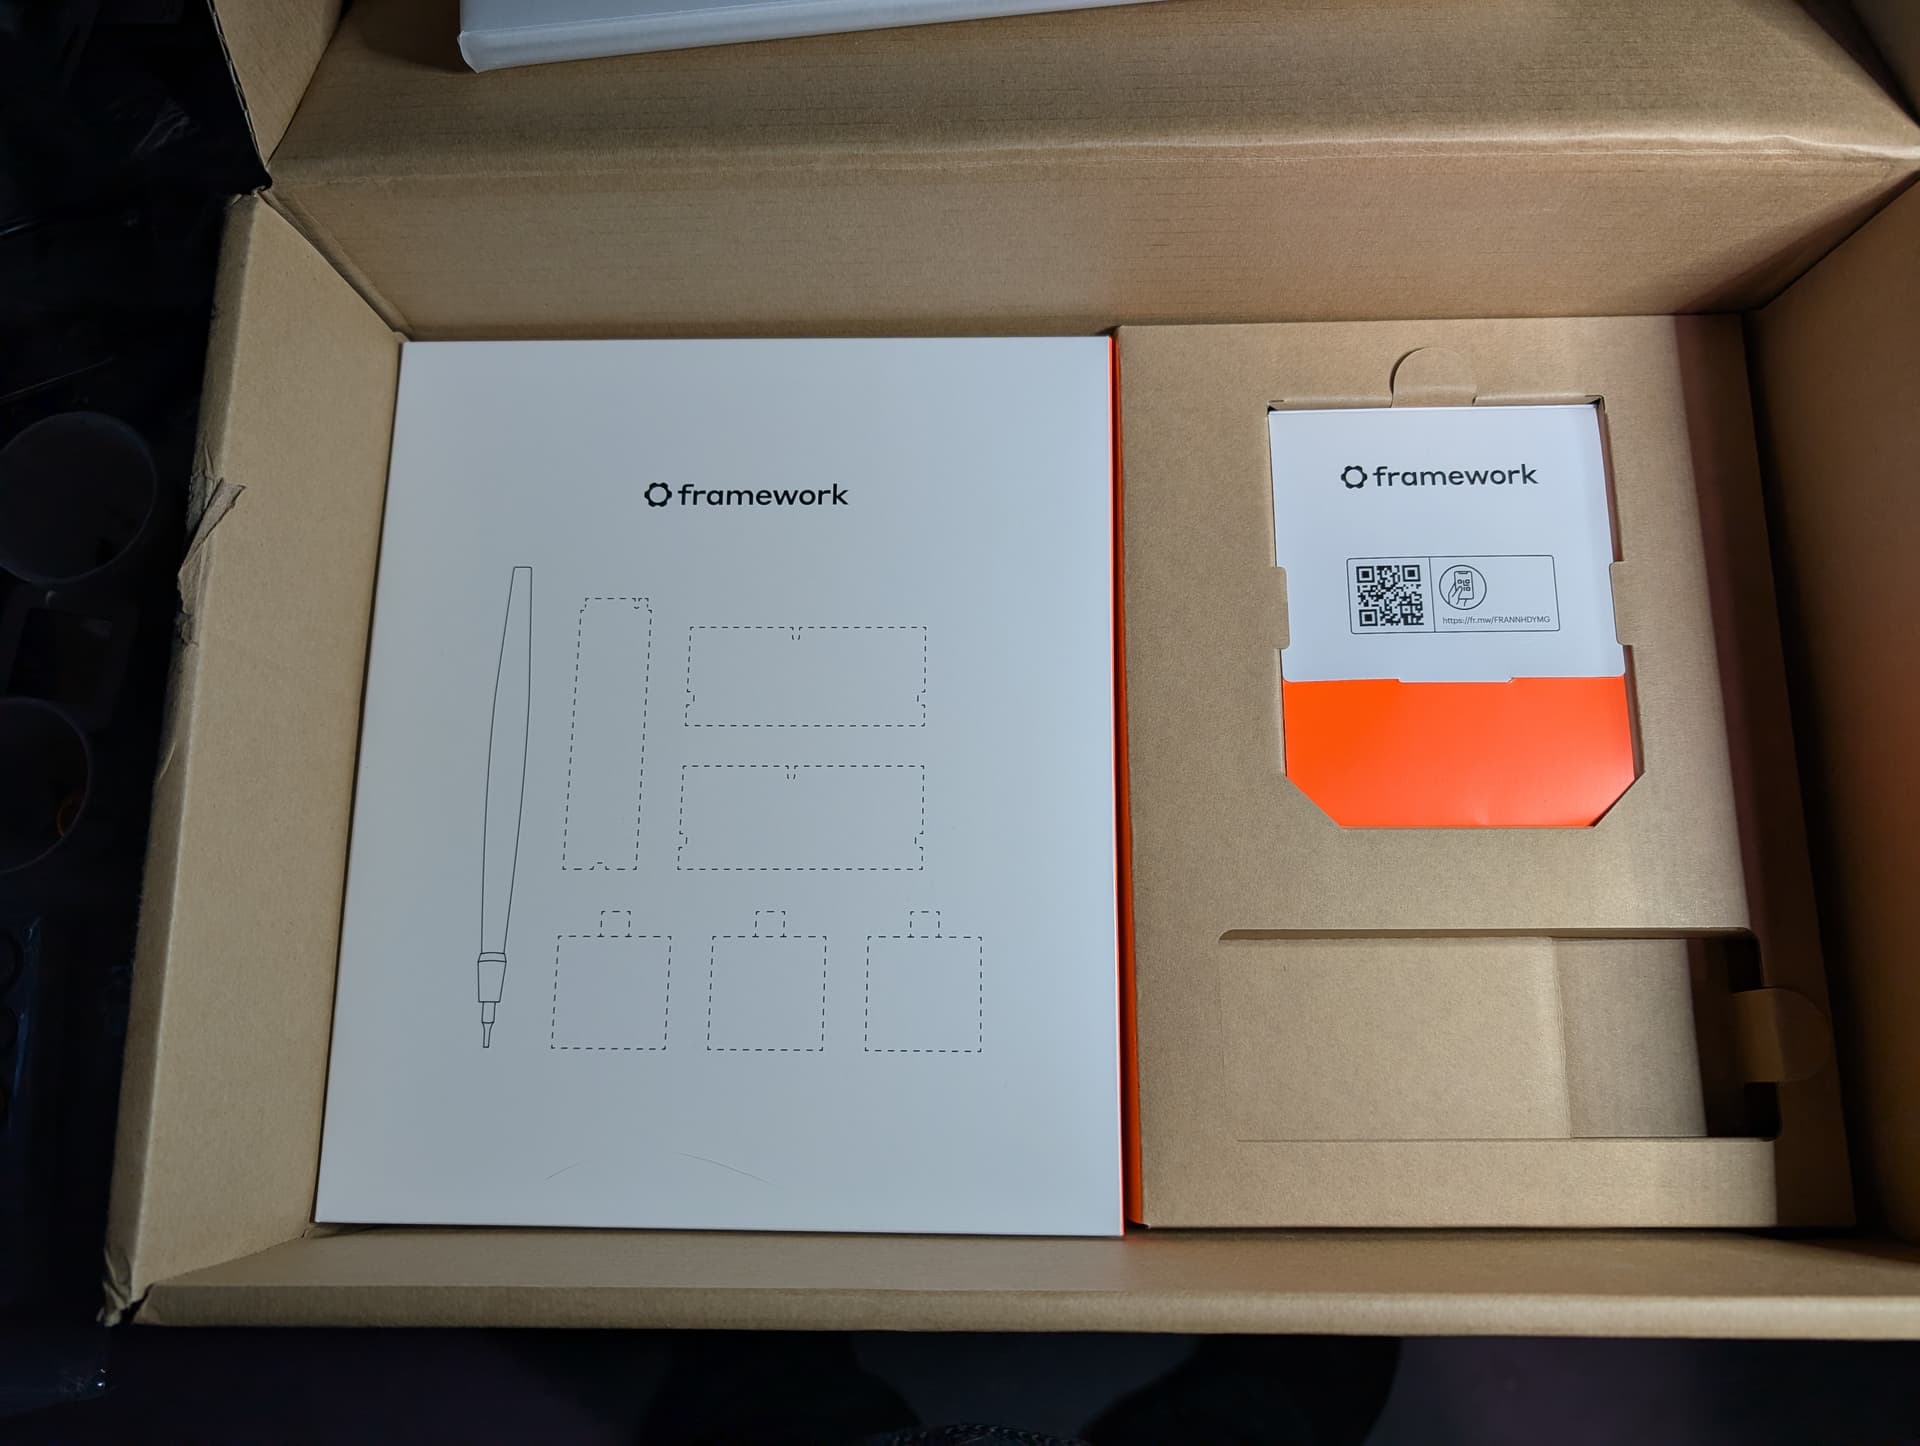
This is pretty much what it looks like when you first open the box. Everything is neatly organized into cardboard boxes, and there’s almost no plastic packaging. In this picture you can see the boxes for the bezel, the power adapter (totally optional, you can use any USB-C supply with enough power), and the vertical boxes in the lower right are the expansion cards, which is one of the more unique and clever features of the Framework concept.
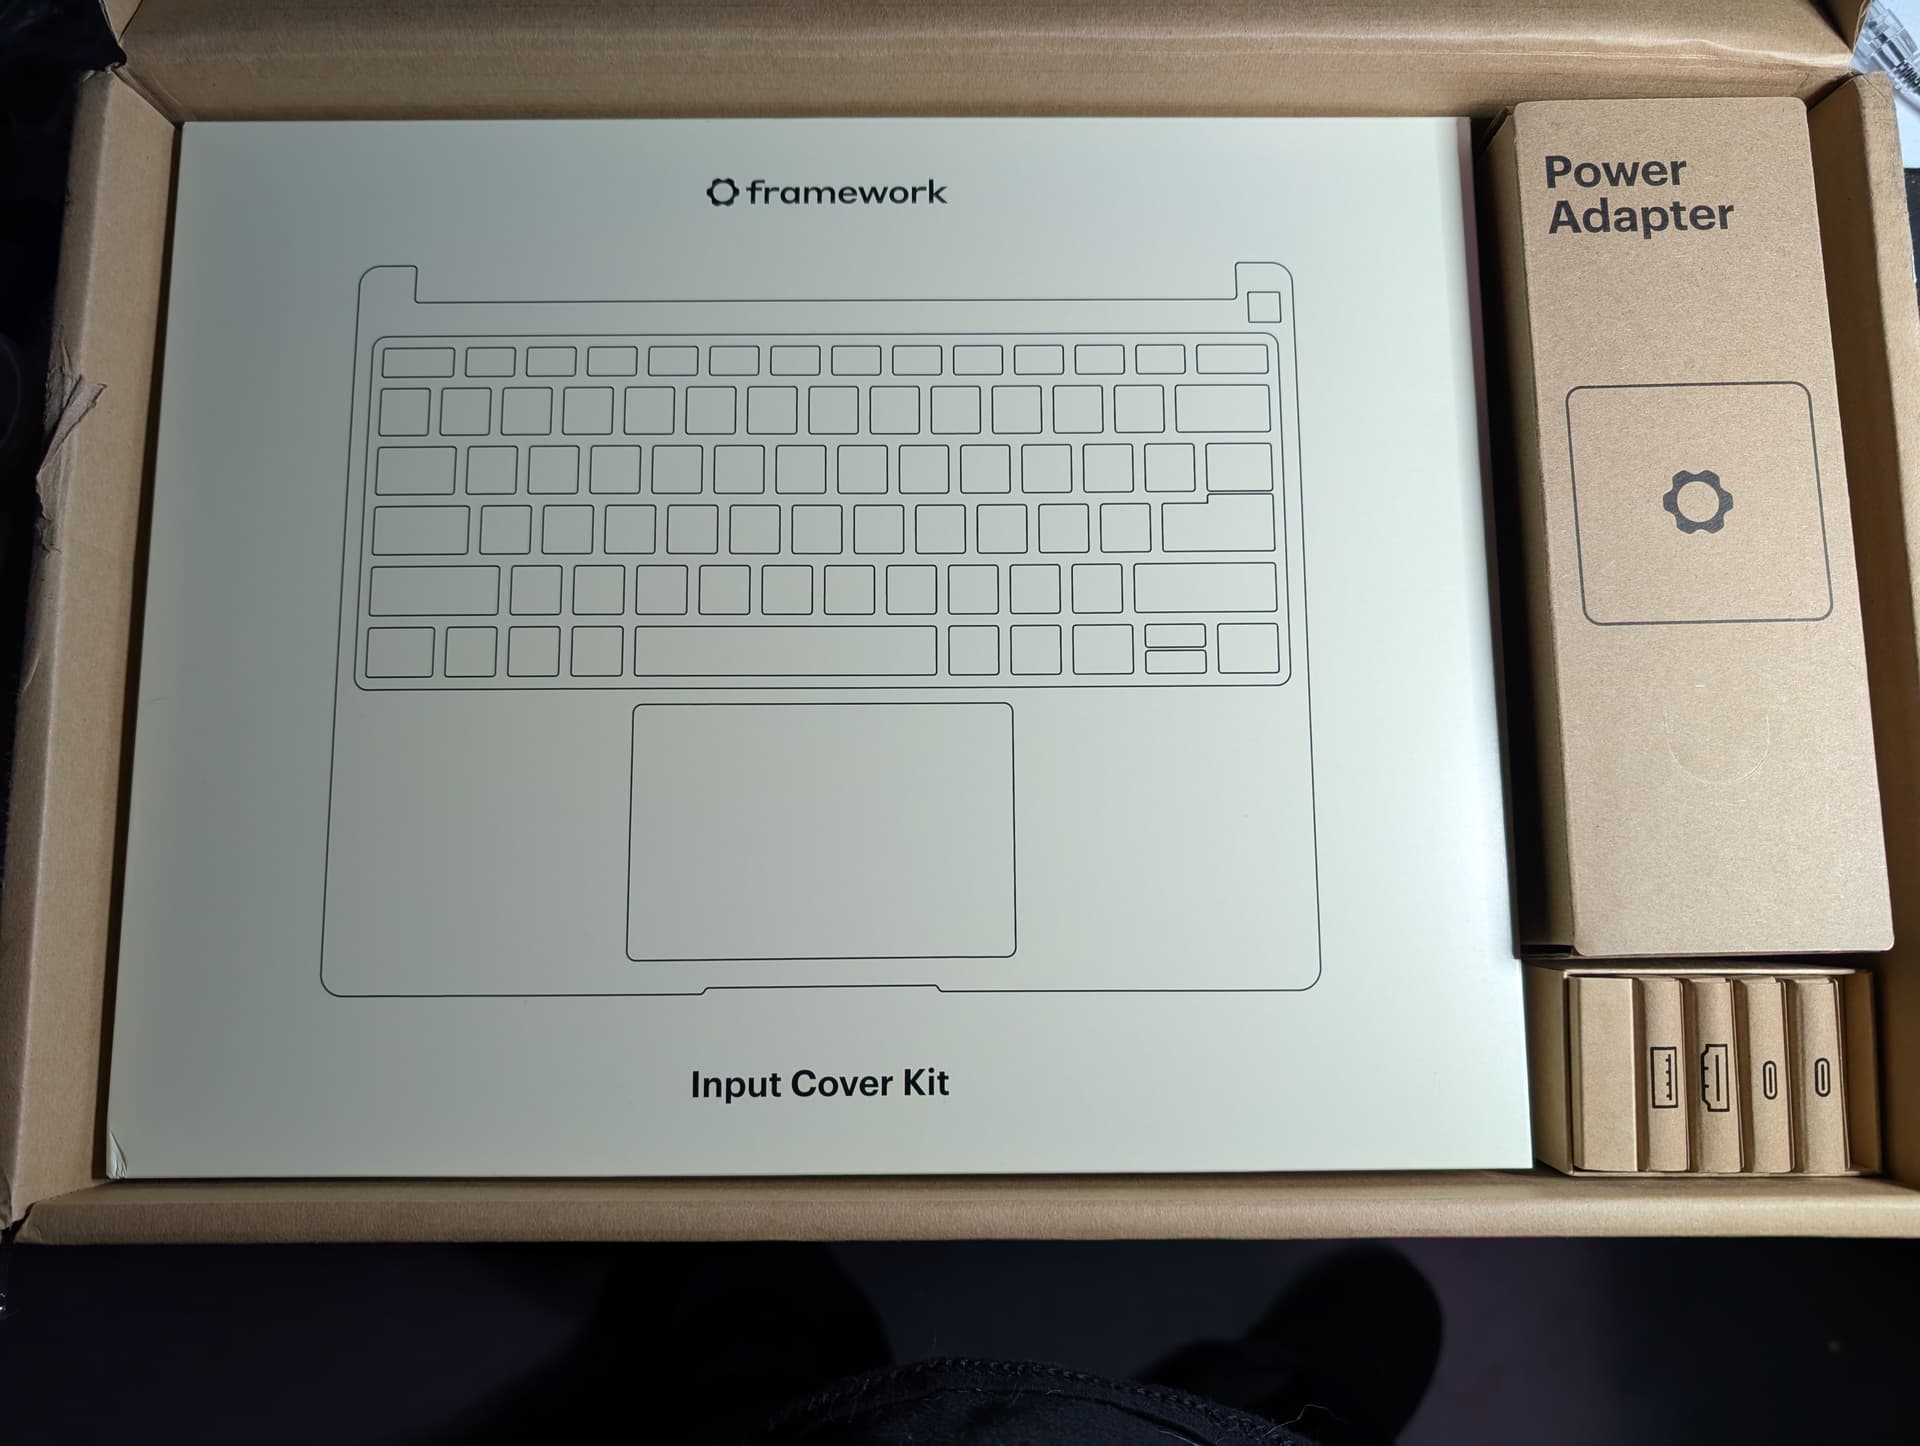
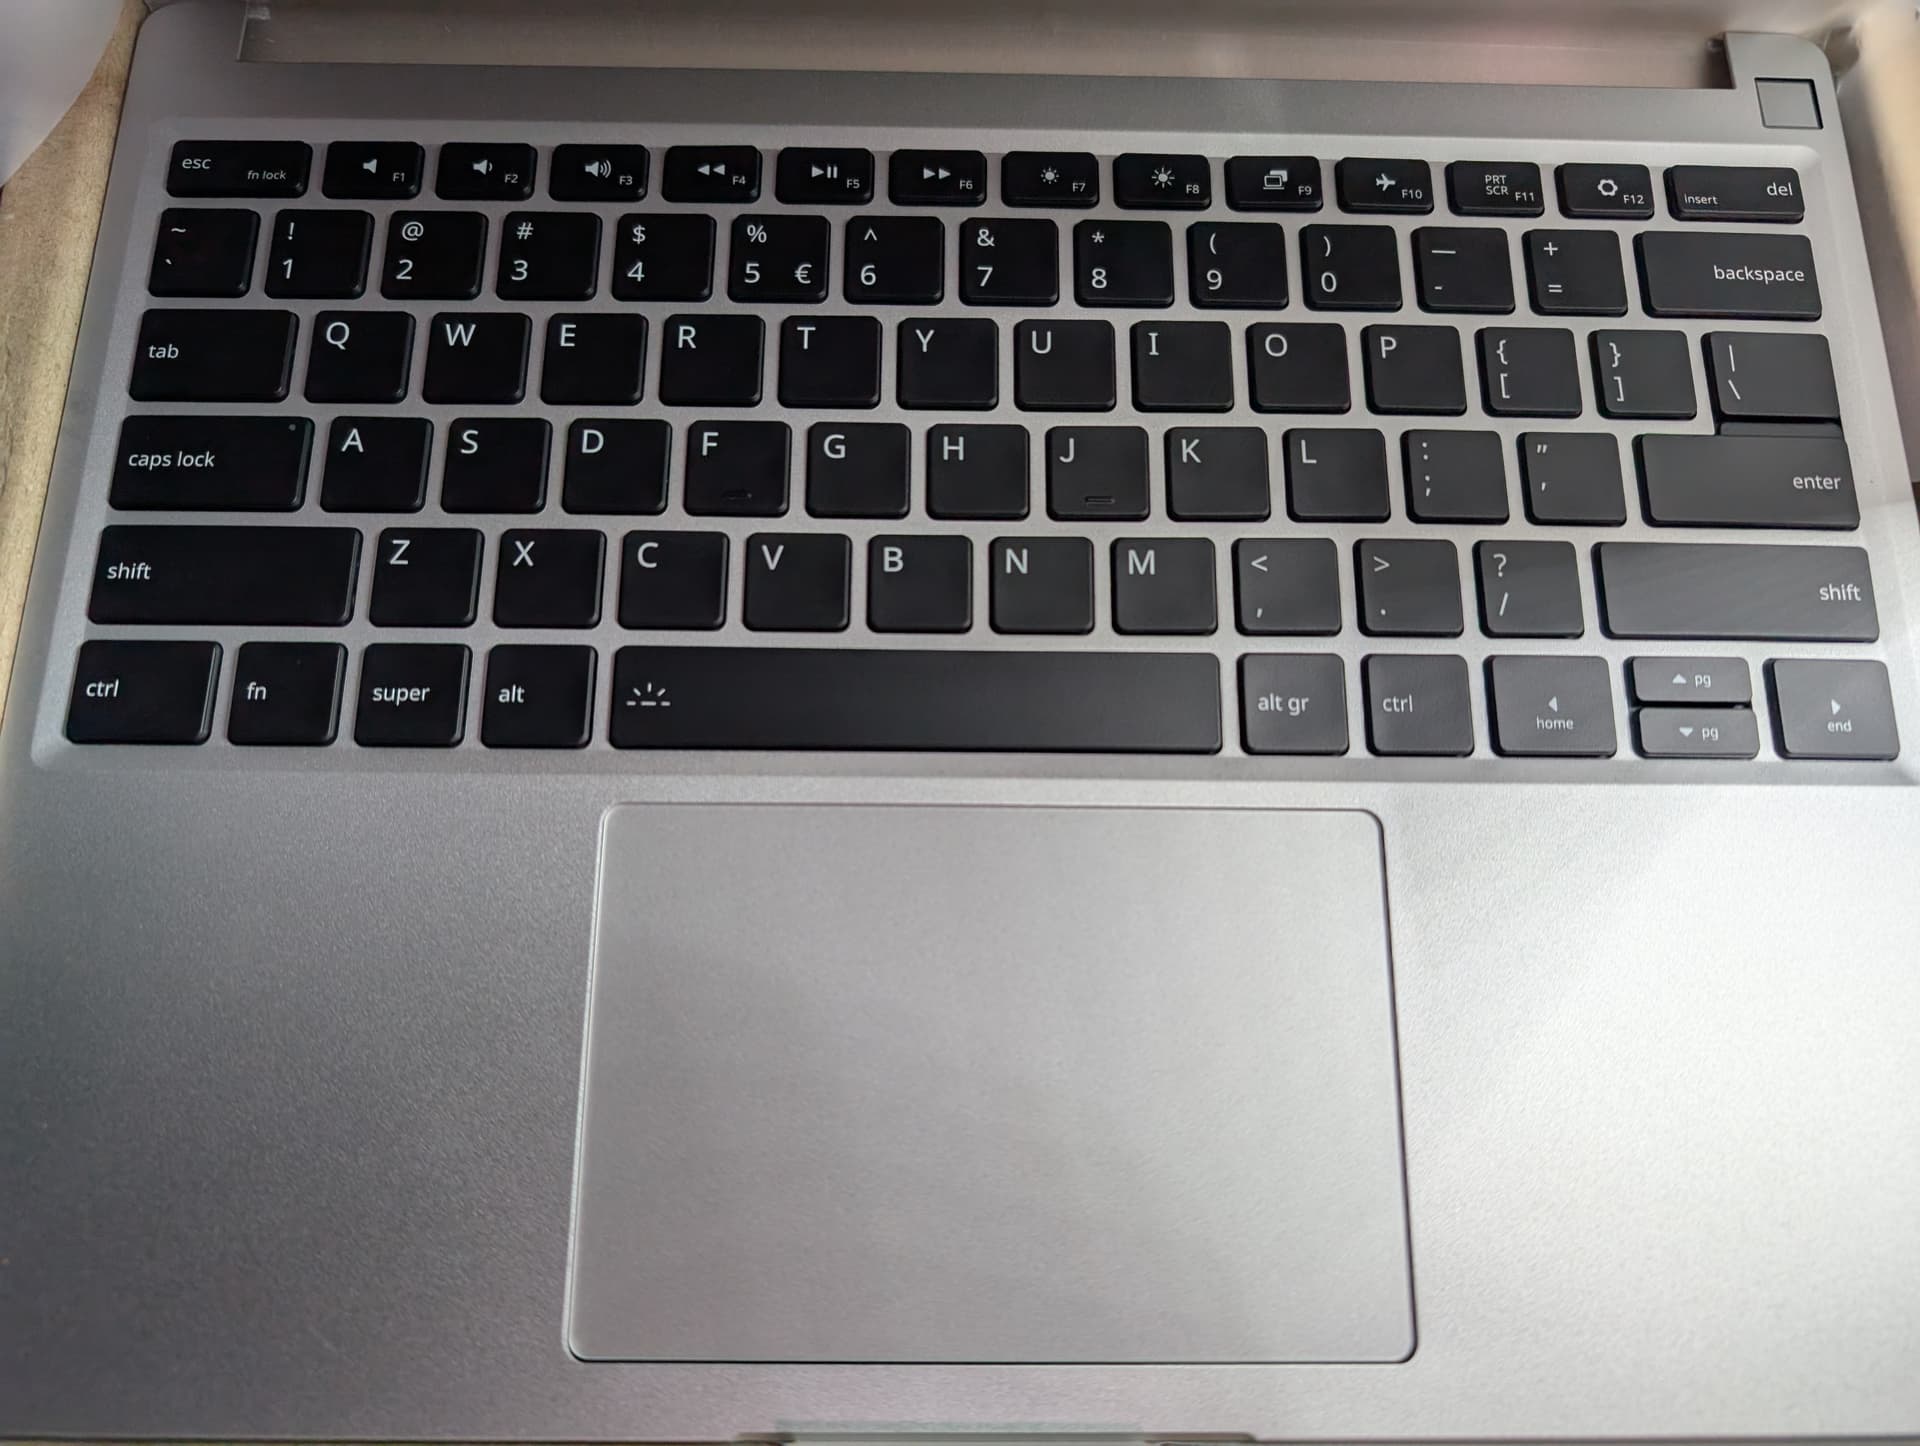
In the next layer is the the Input Cover Kit (as clearly labeled). This is just the keyboard and touchpad, but because of the modular nature you have choices. I opted for the International English version. Not because I wanted to be able to easily type the euro symbol, but because I wanted a non-windows keyboard. (More on that later) This substitutes a super key instead of a windows key, and an alt gr key instead of a menu key. I would have preferred a symbol on the super key instead of the literal word, and I would have preferred full-size up/down arrow keys. If they ever make one, I can upgrade to it. The power button in the upper right also doubles as a fingerprint reader. I’m not thrilled that the power button is inside the clamshell, since it makes using this closed and attached to a dock more difficult, but I accept that it’s a design choice.
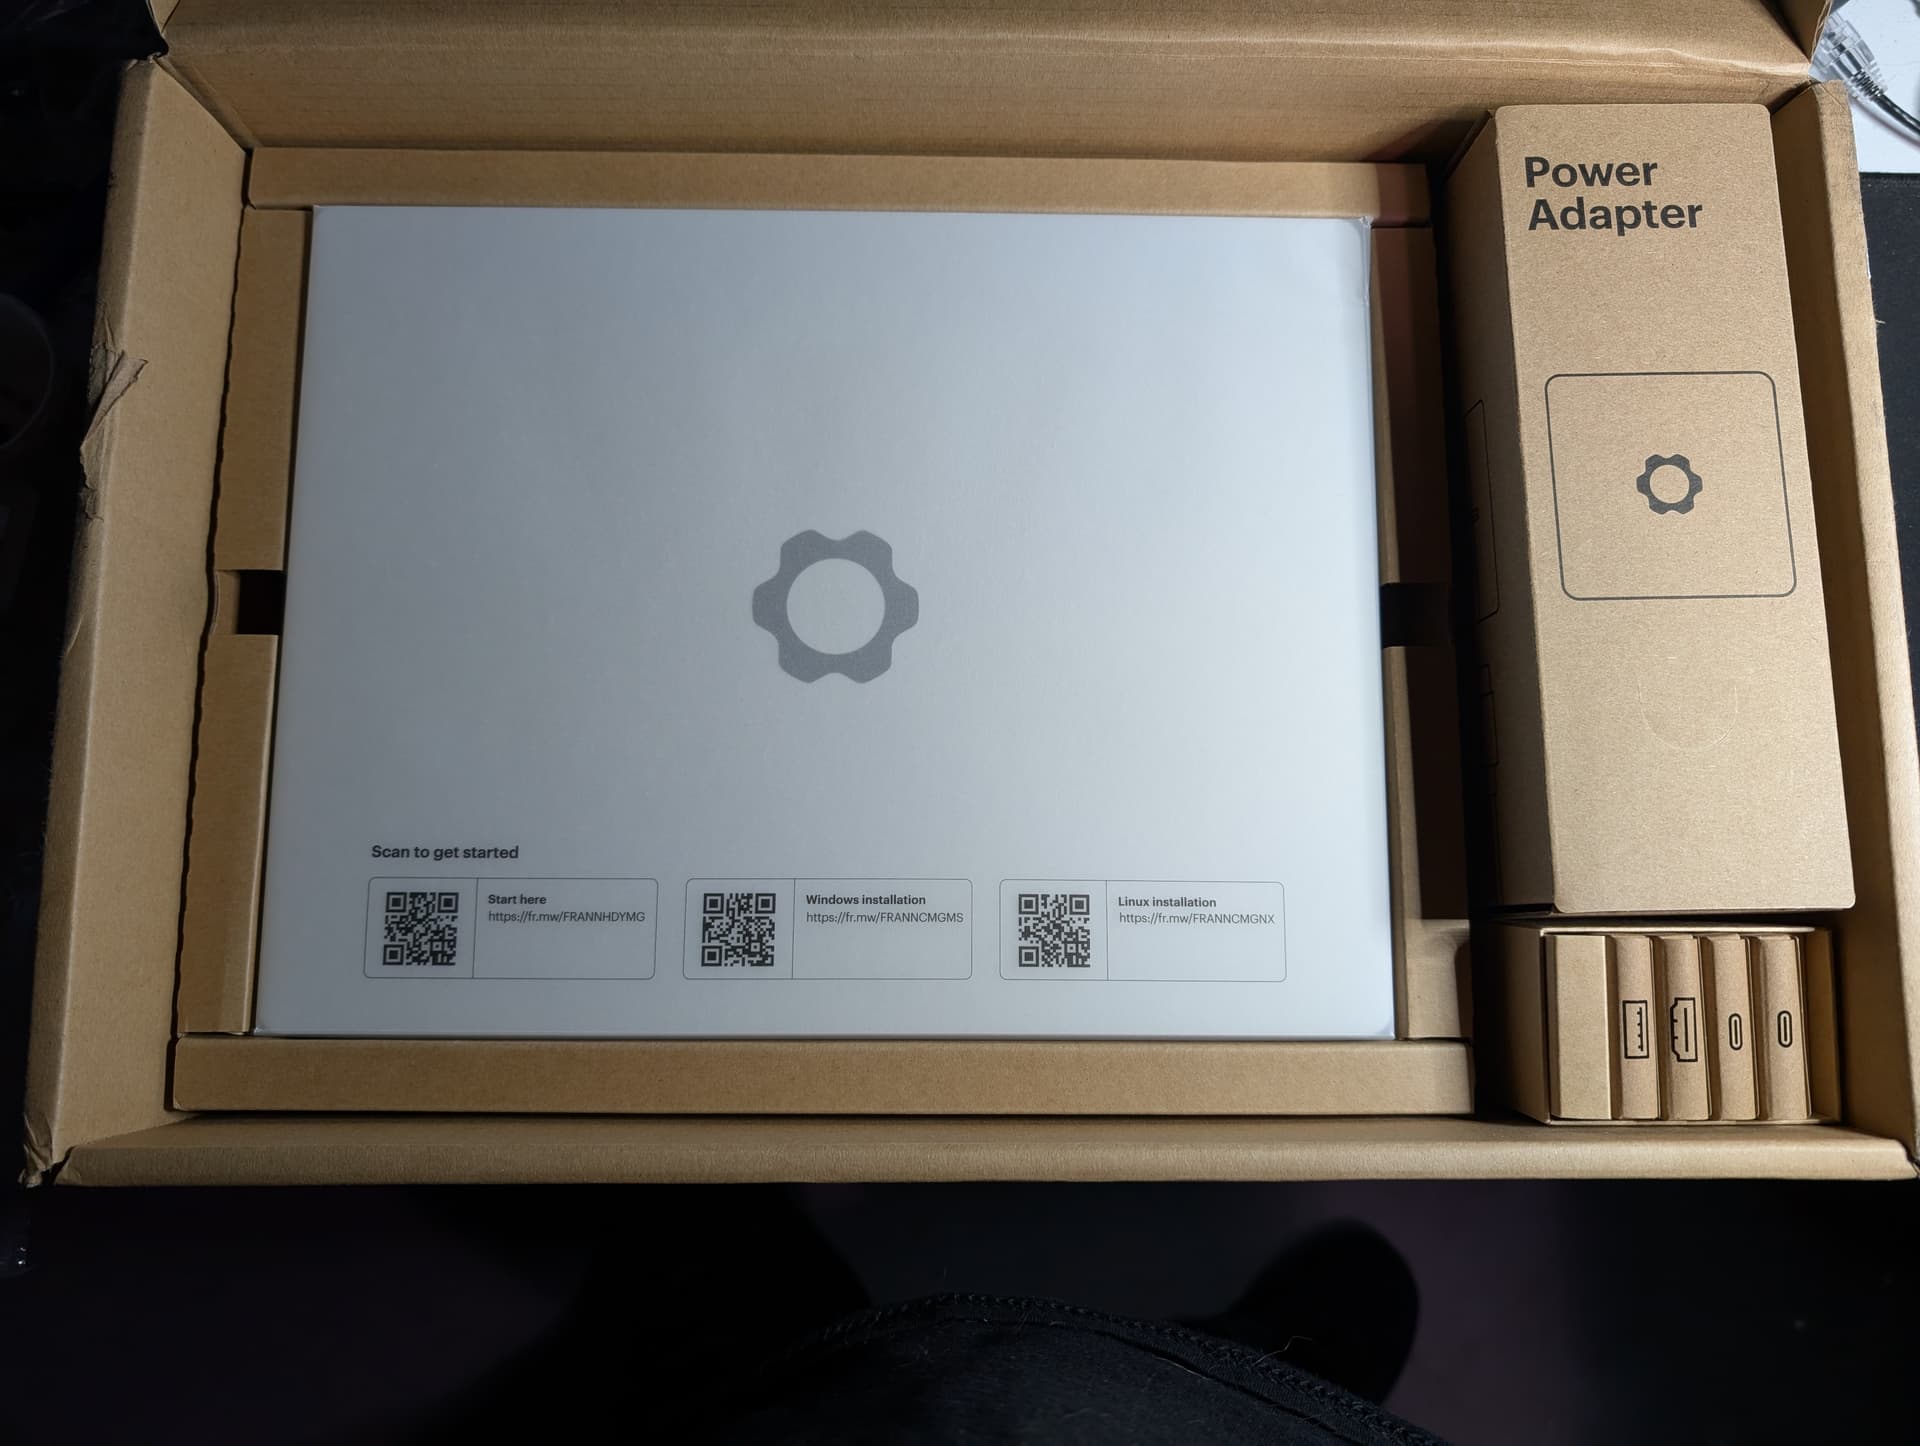
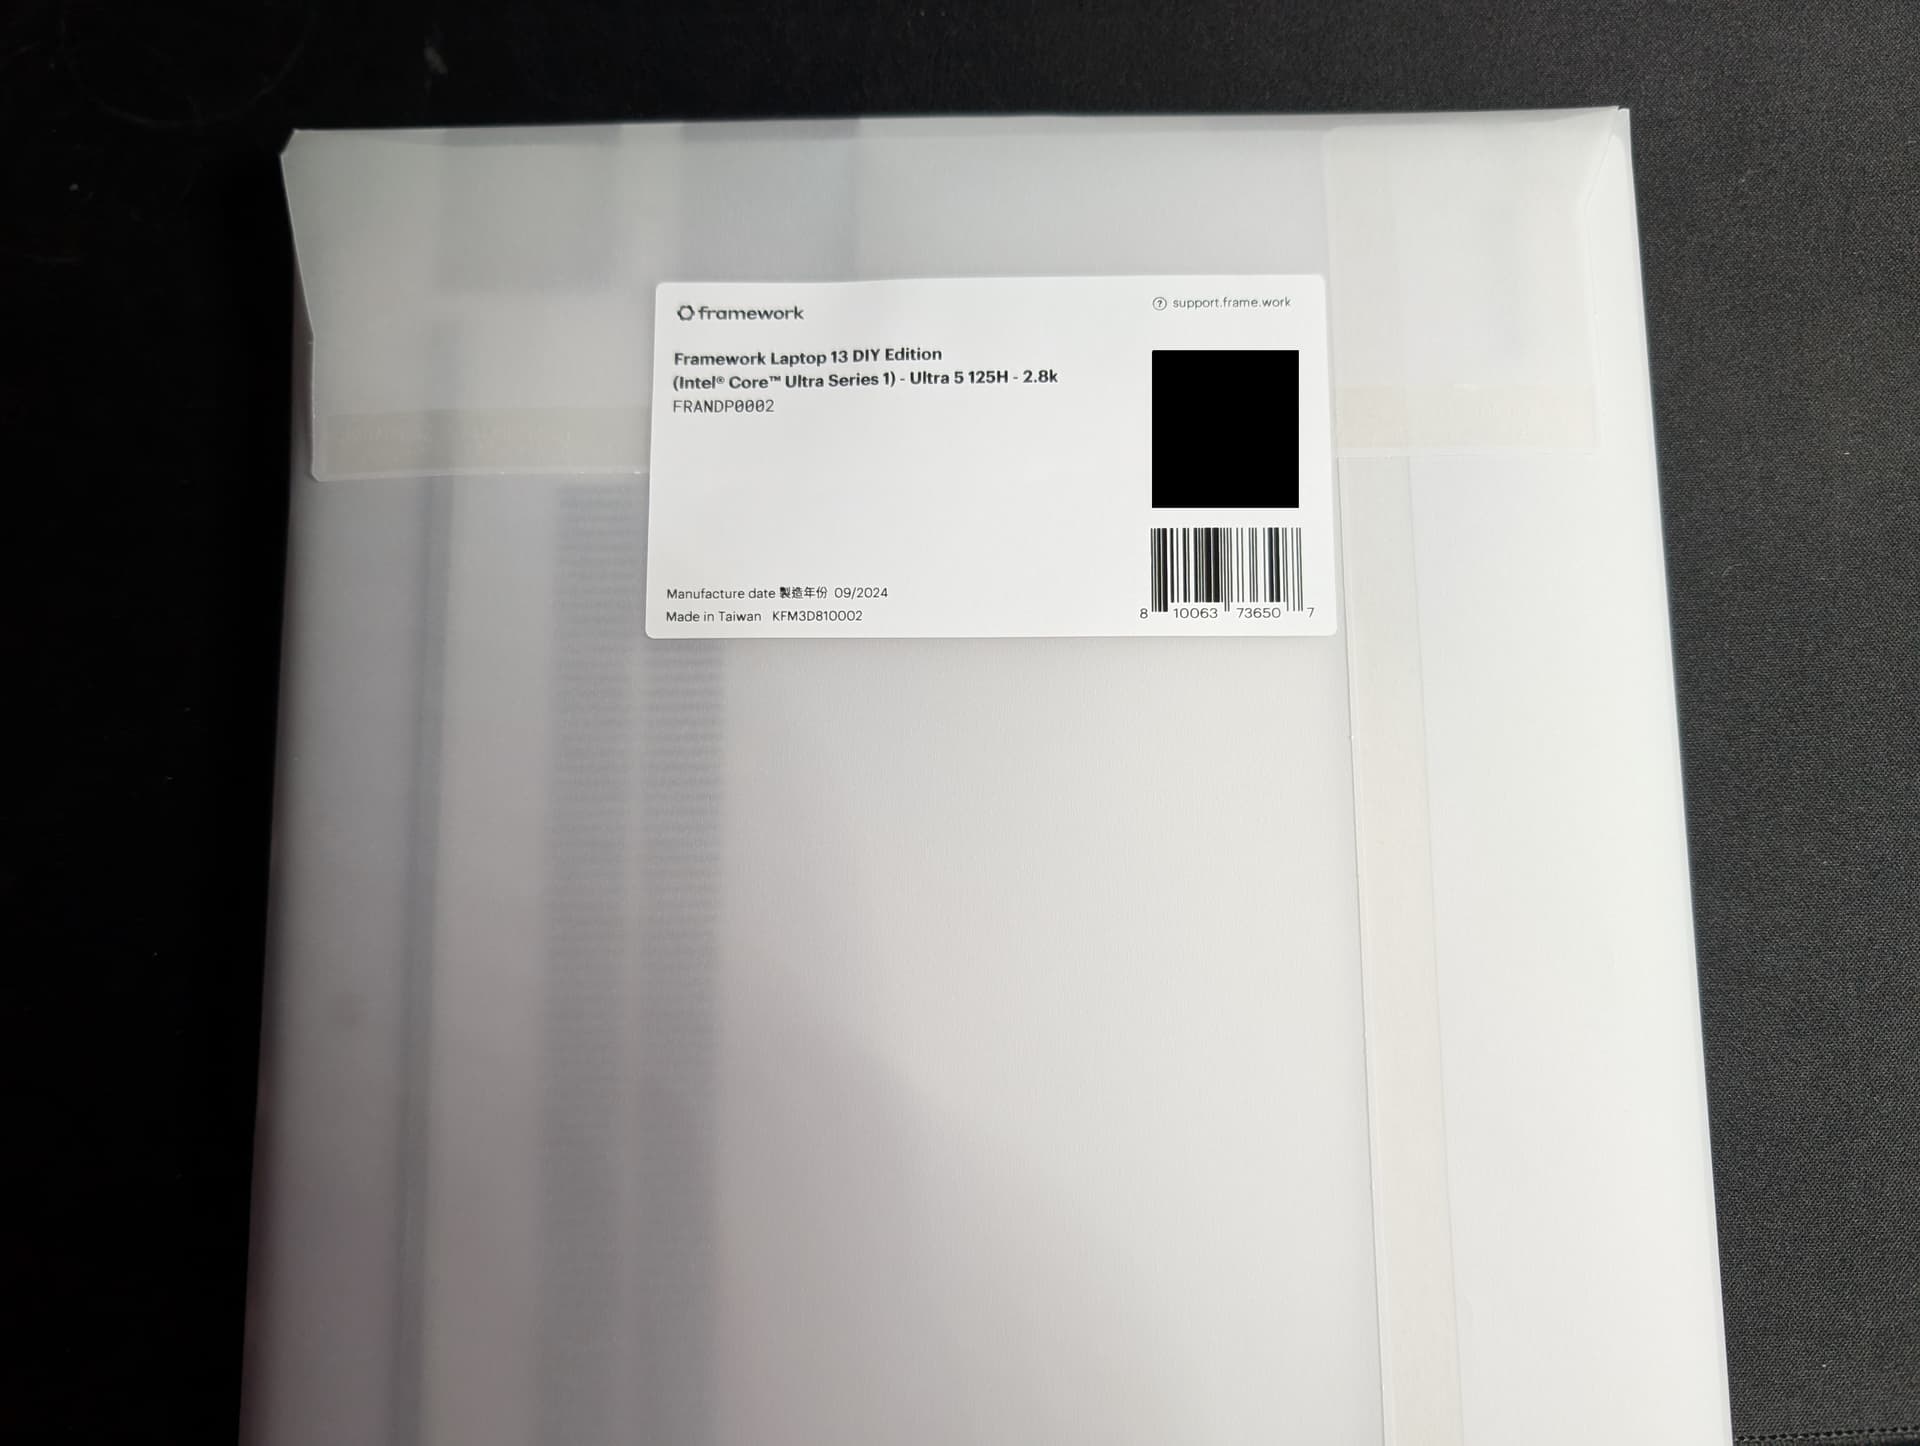
Next up is the chassis/laptop. It ships in an almost butcher-paper like envelope, with some helpful QR codes printed on it.
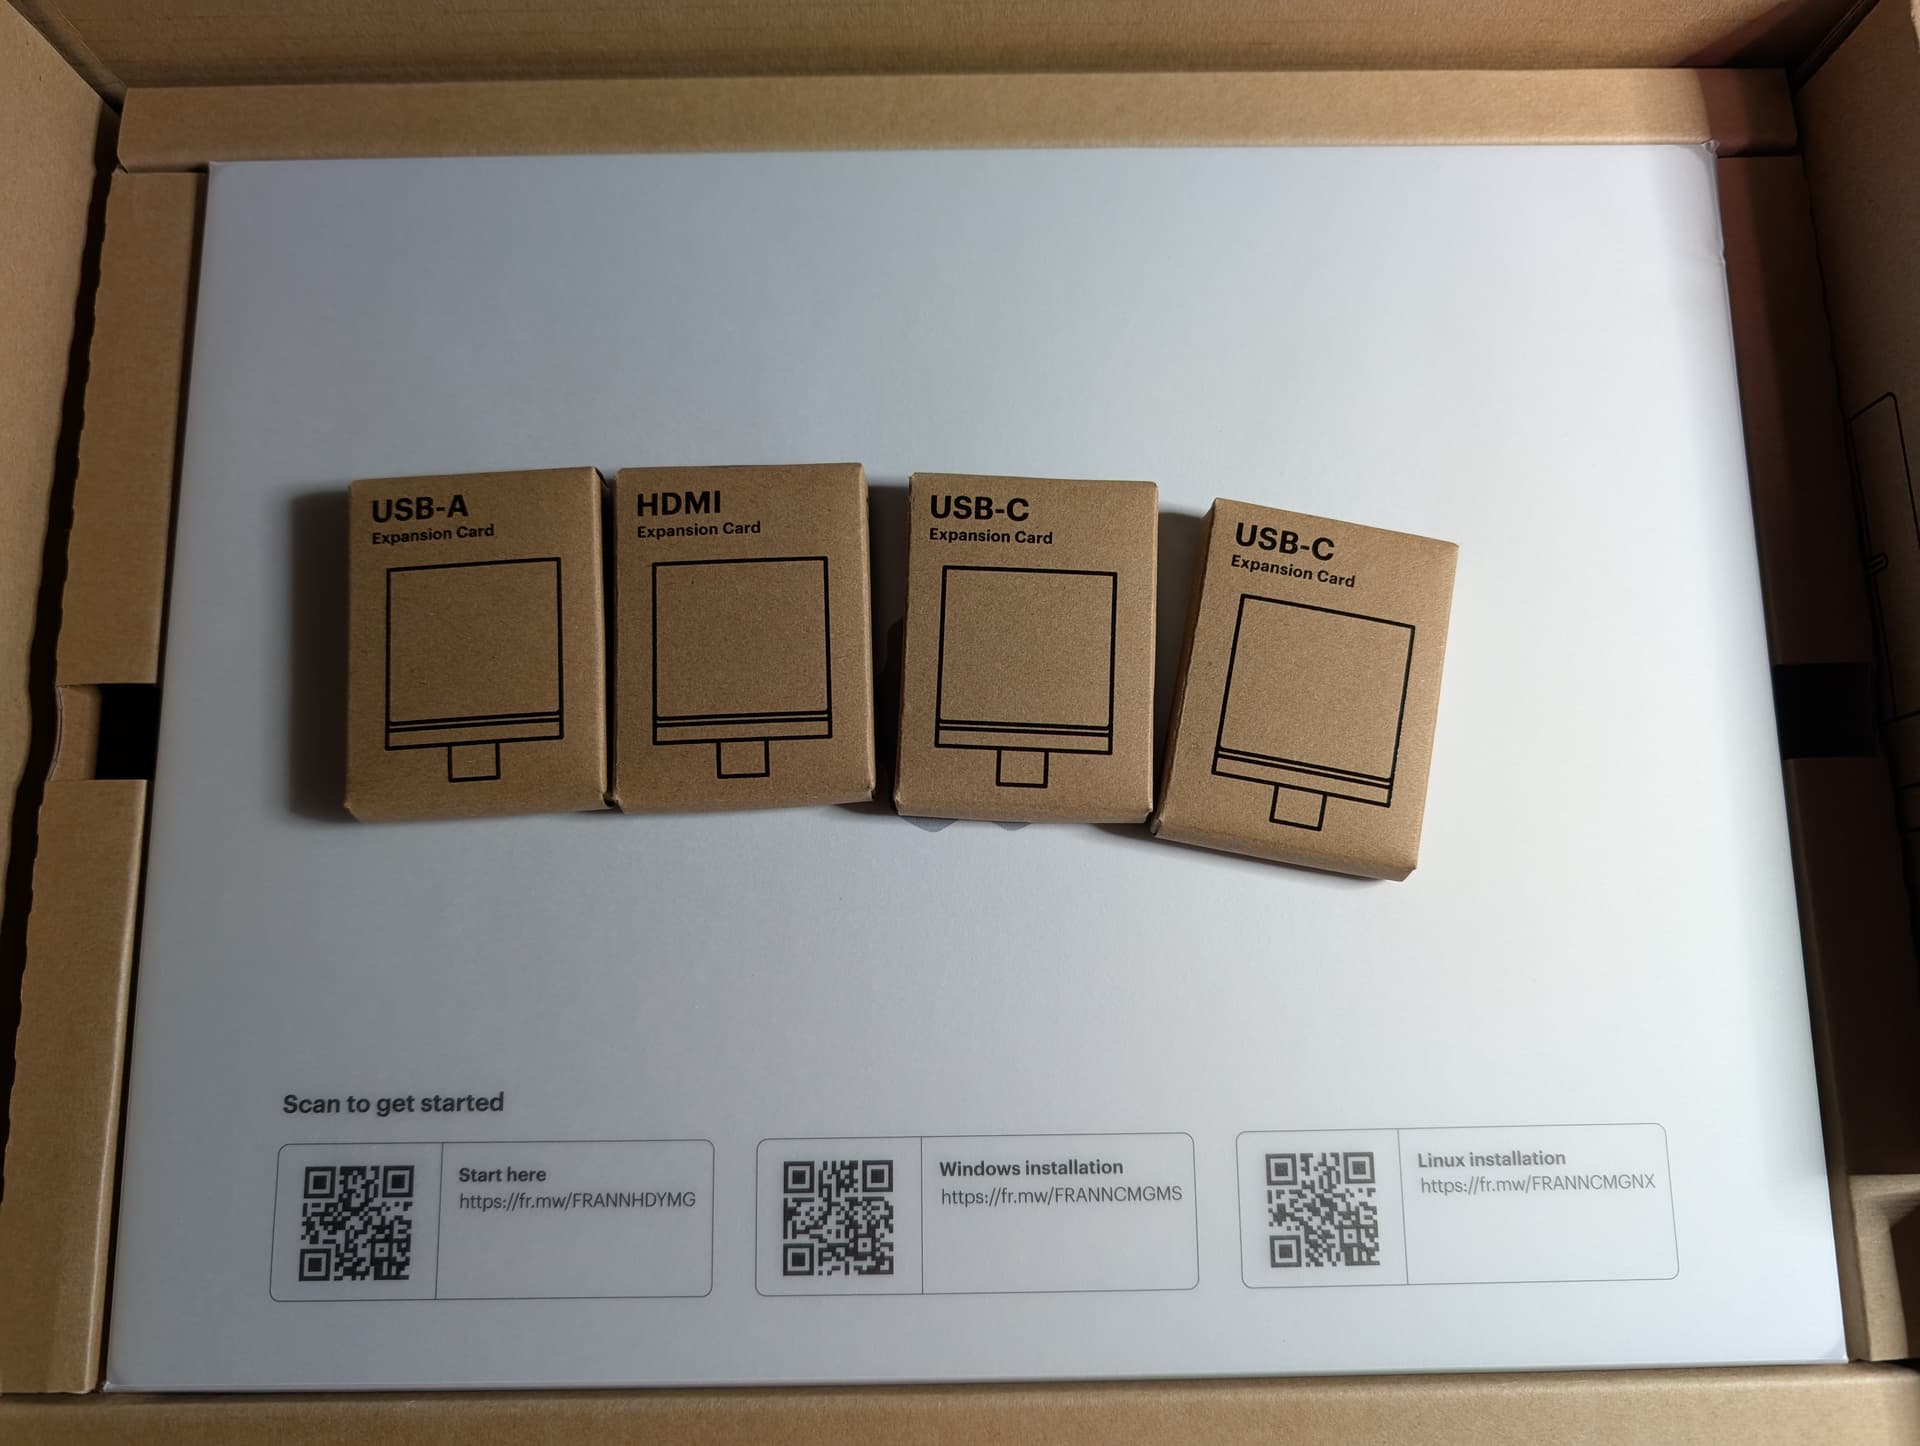
Here’s a closer look at the expansion card boxes. Each one provides I/O to the sides of the laptop. I chose two USB-C, one USB-A, and one HDMI. Only four of them can be used at one time, but you can absolutely buy more and swap them out in almost any configuration you want. There are some caveats for certain types, but overall it’s pretty flexible.
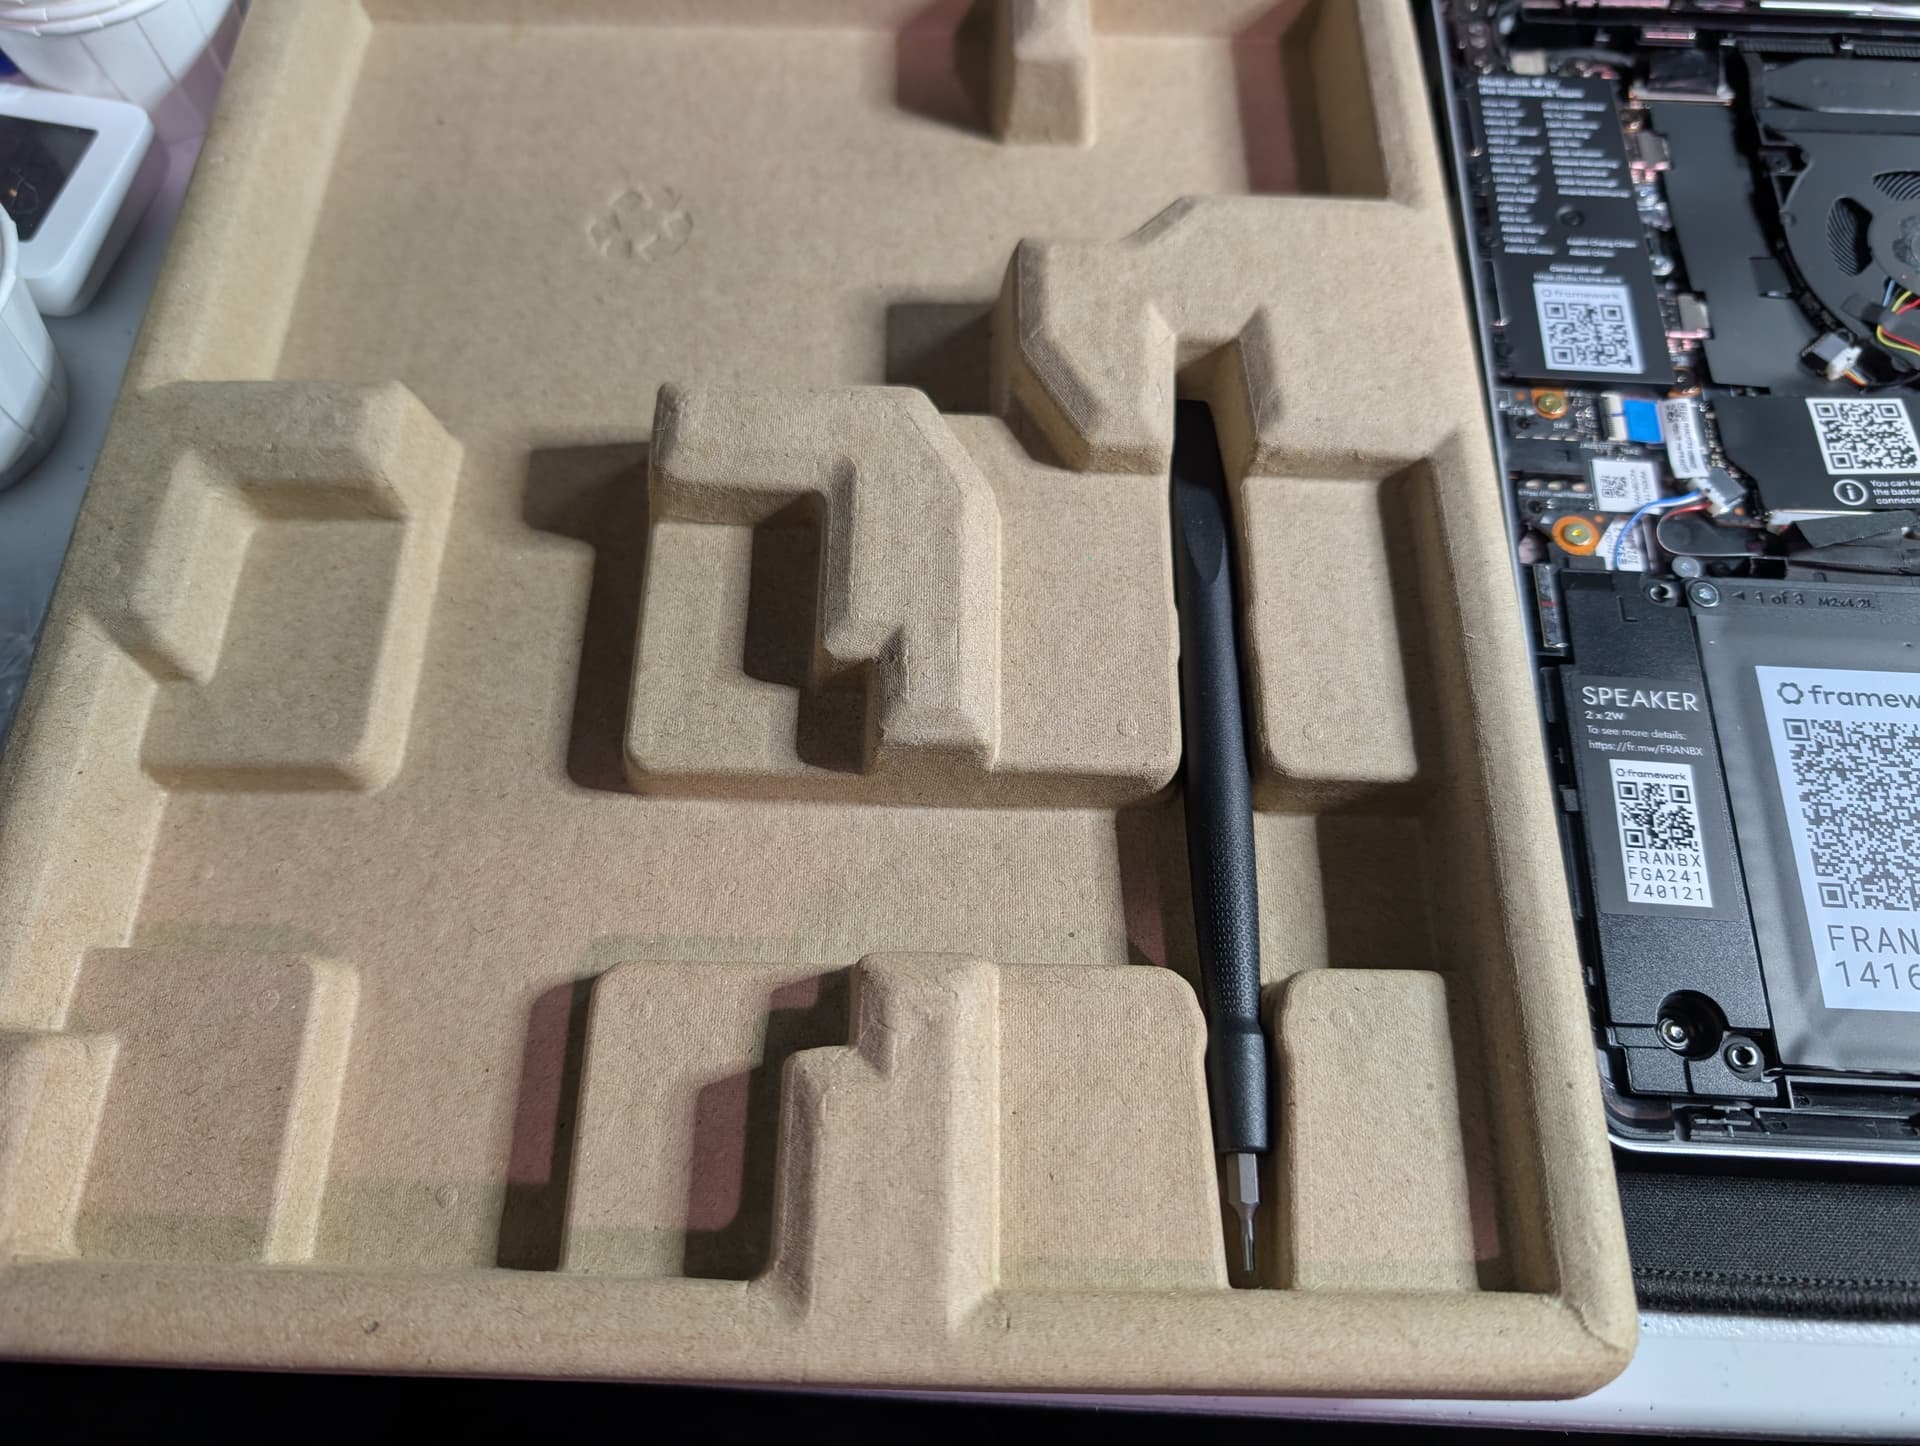
The box on the left contains the only tool you’ll need. It’s a screwdriver with a dual torx and phillips bit on one end, and a plastic separator tip on the other end. It would also contain the SSD, RAM, and additional expansion modules, but in my case it was just the tool.
This is a slightly more detailed look at the envelope that the chassis comes in. It also has the main specs for my specific device printed on it. I chose the Intel Core Ultra Series 1 main board with an Ultra 5 125H processor, and the 2.8k screen. I’ve placed a black box over the QR code on the envelope in case it has any data unique to this laptop, like a serial number.
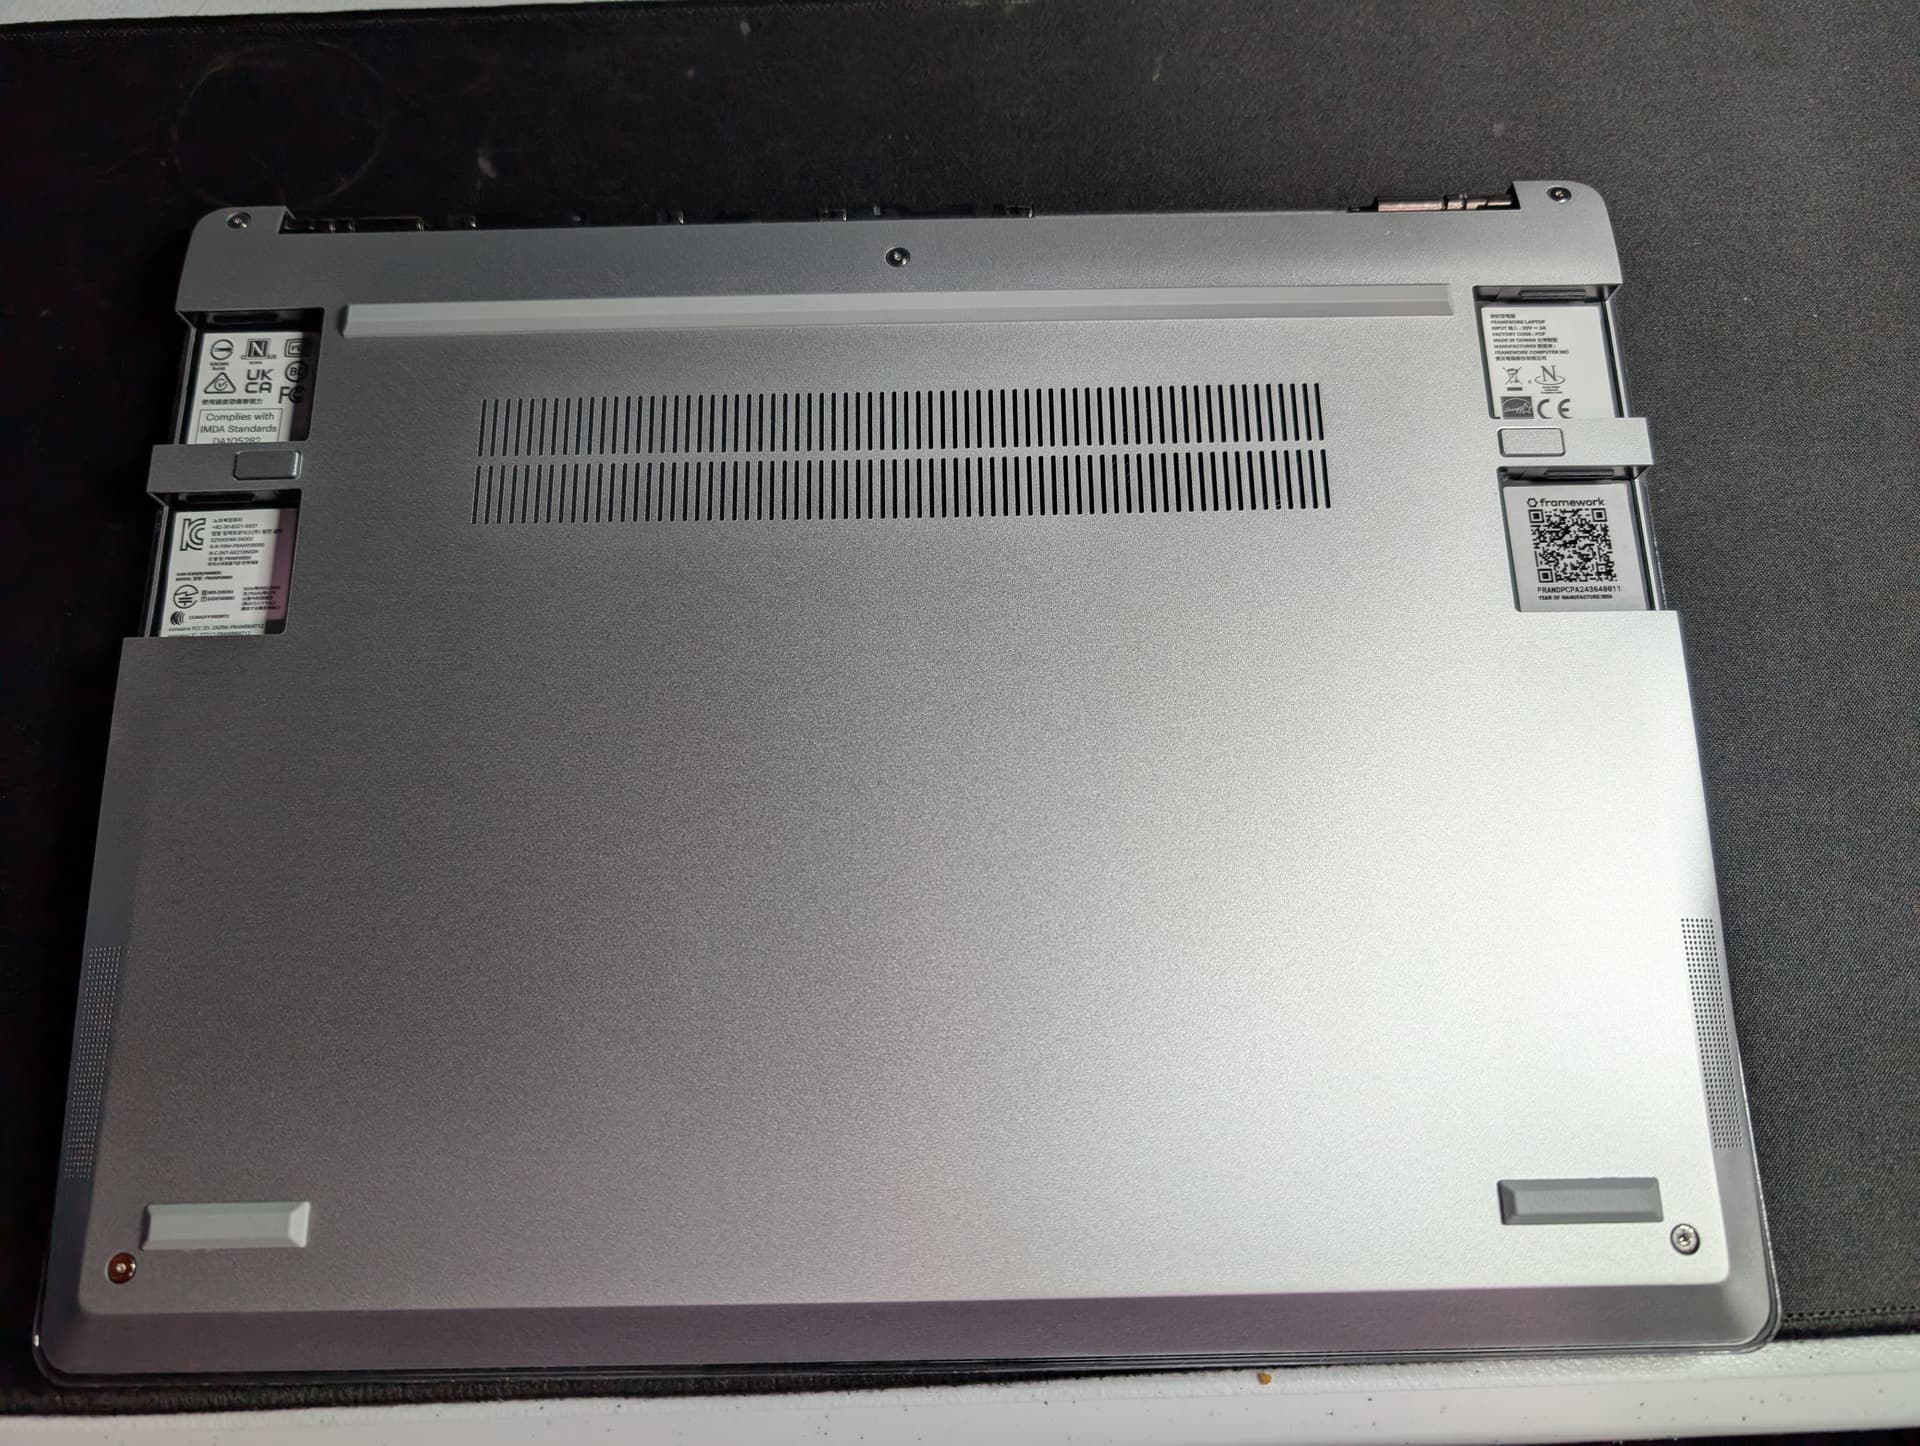
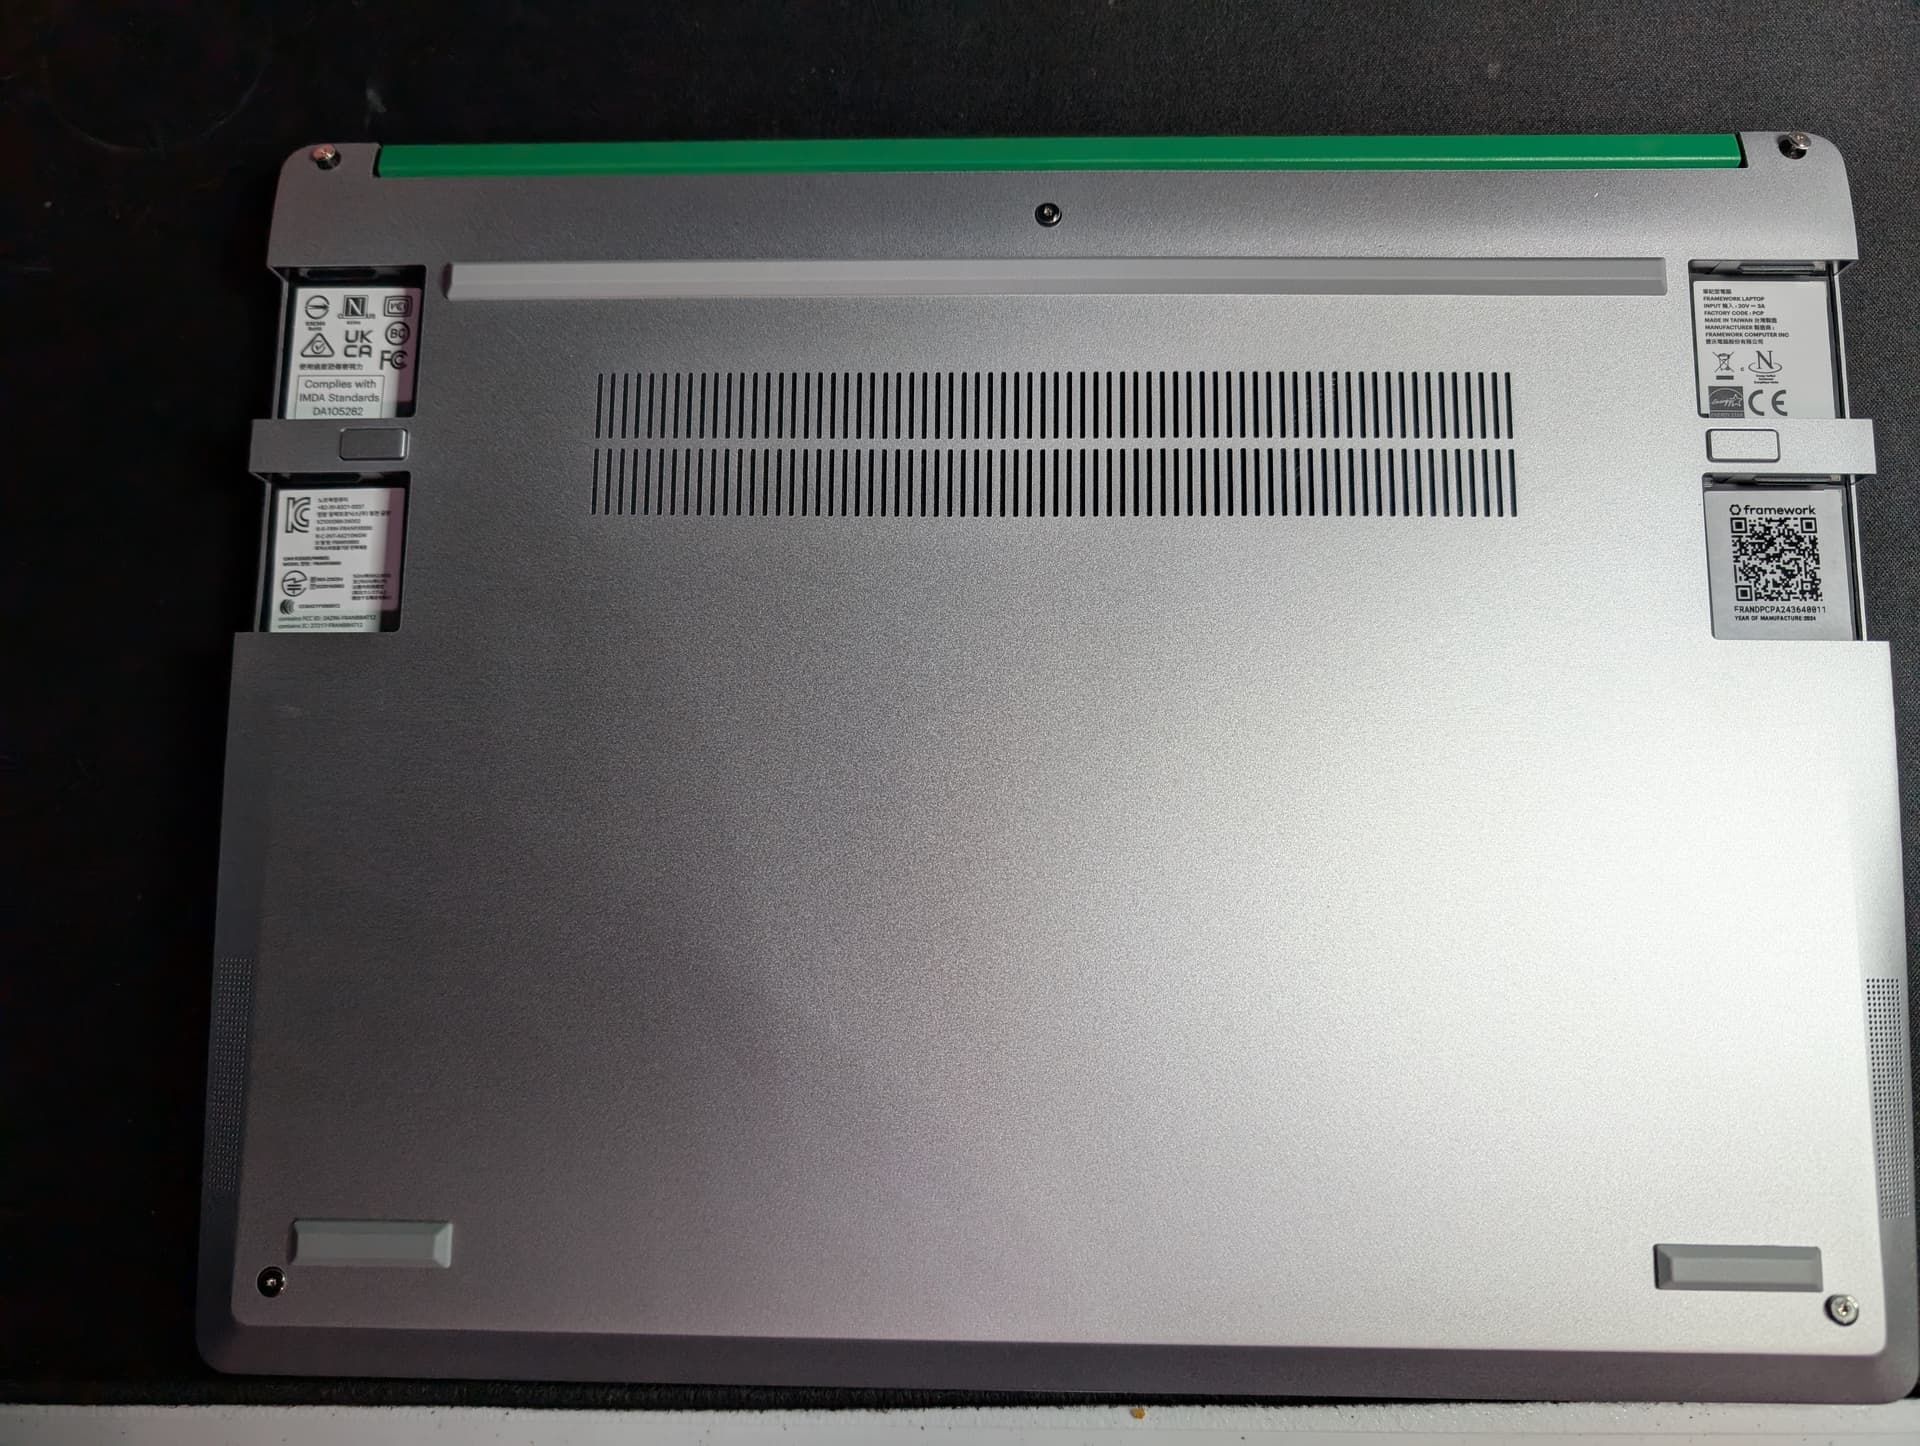
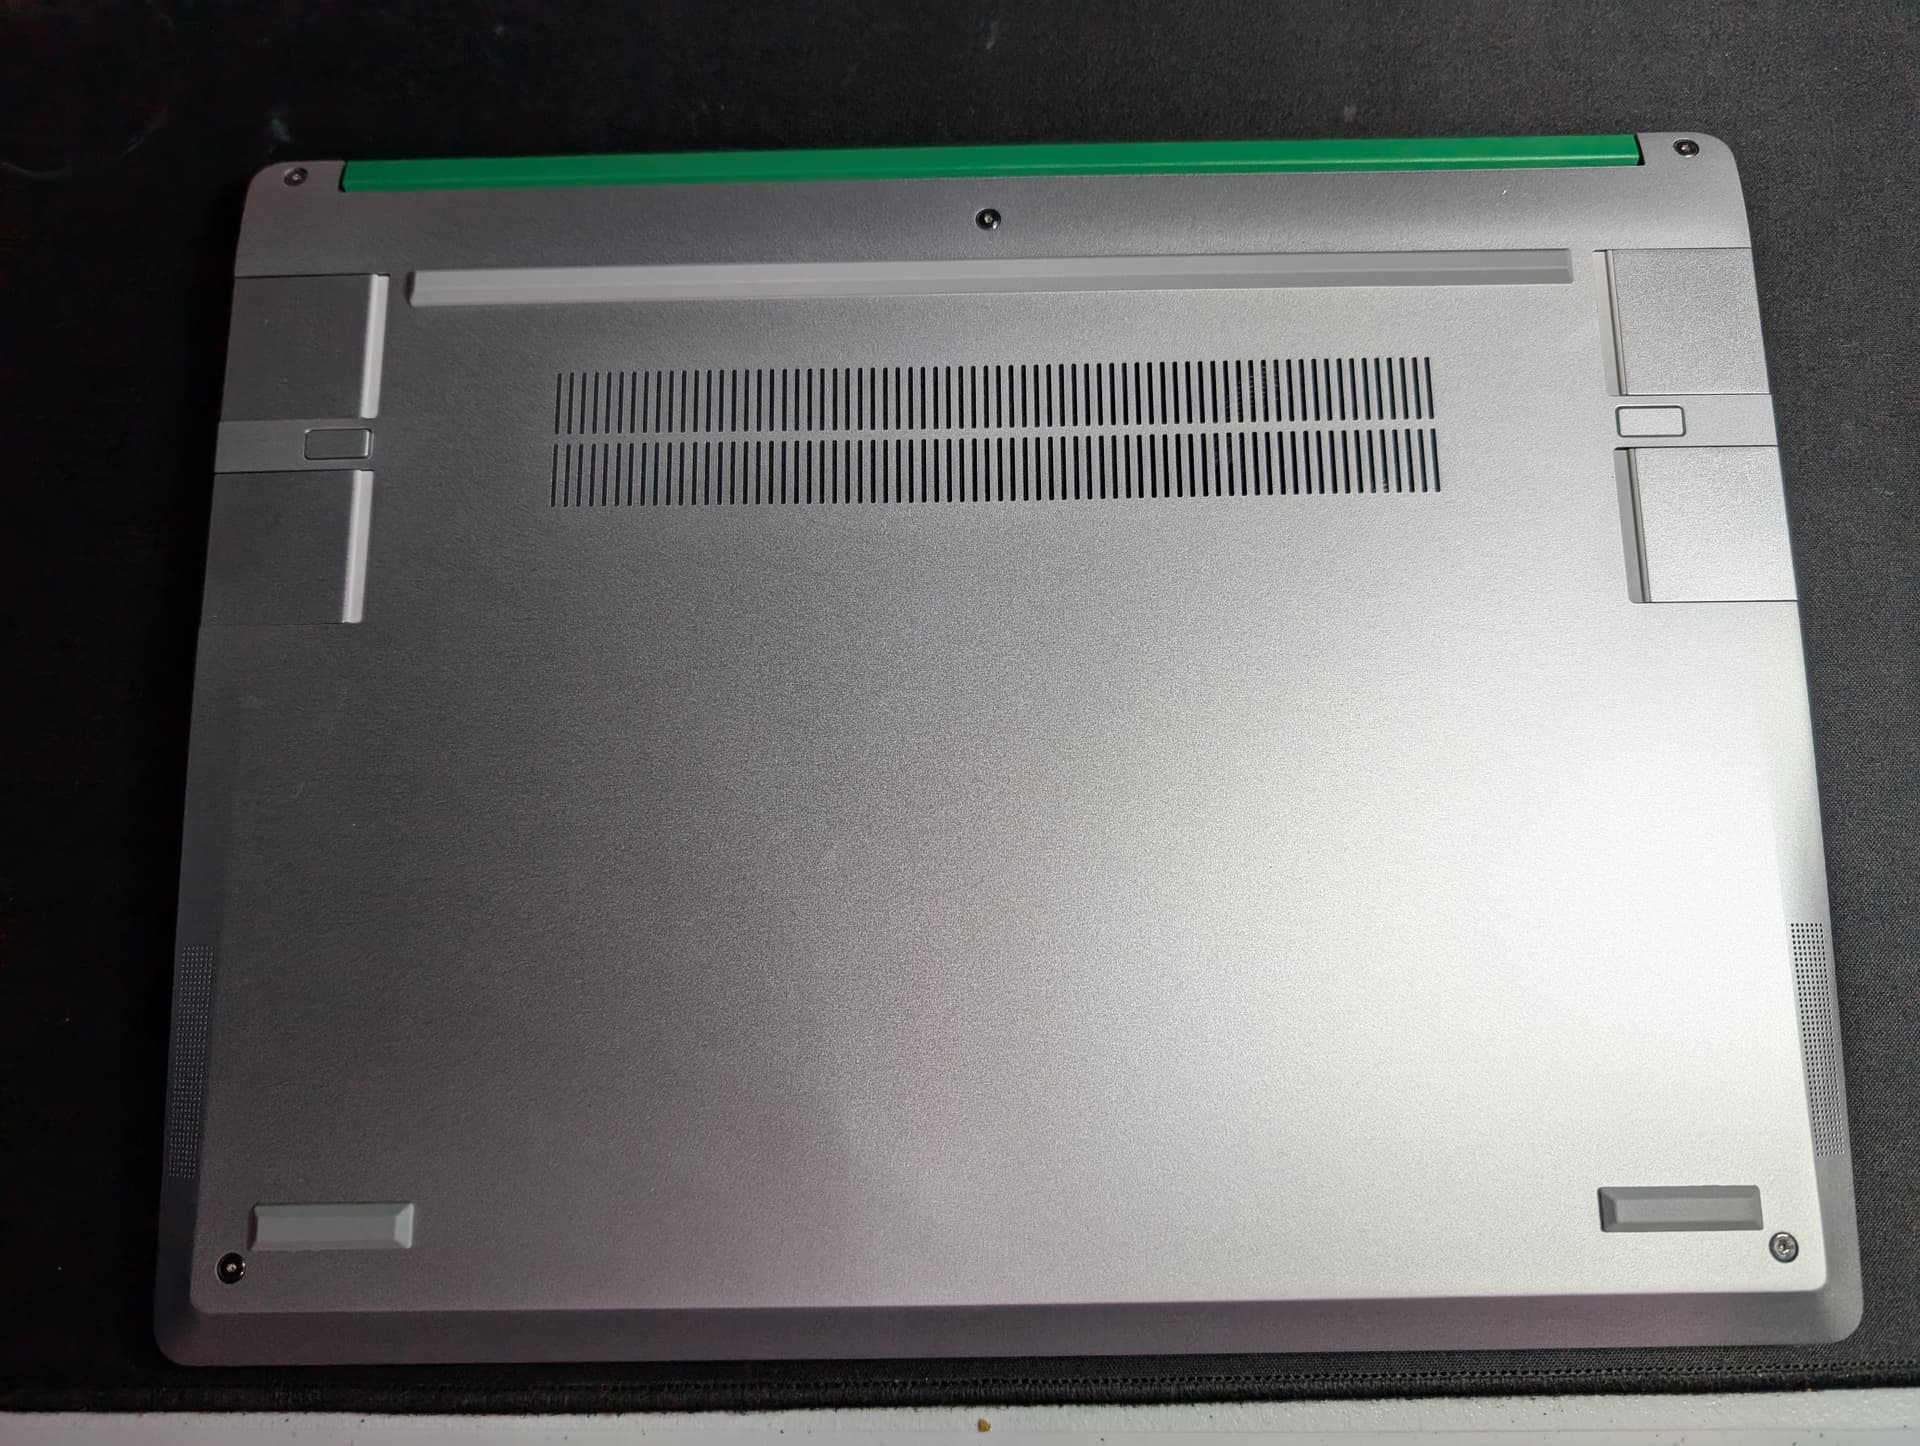
Here’s the underside of the chassis/laptop. You can see the exposed hinge up top, and the slots for the expansion cards. It’s notable that there are only five (torx) screws on the bottom in order to open the main compartment, and that they are all captive so there’s nothing to lose.
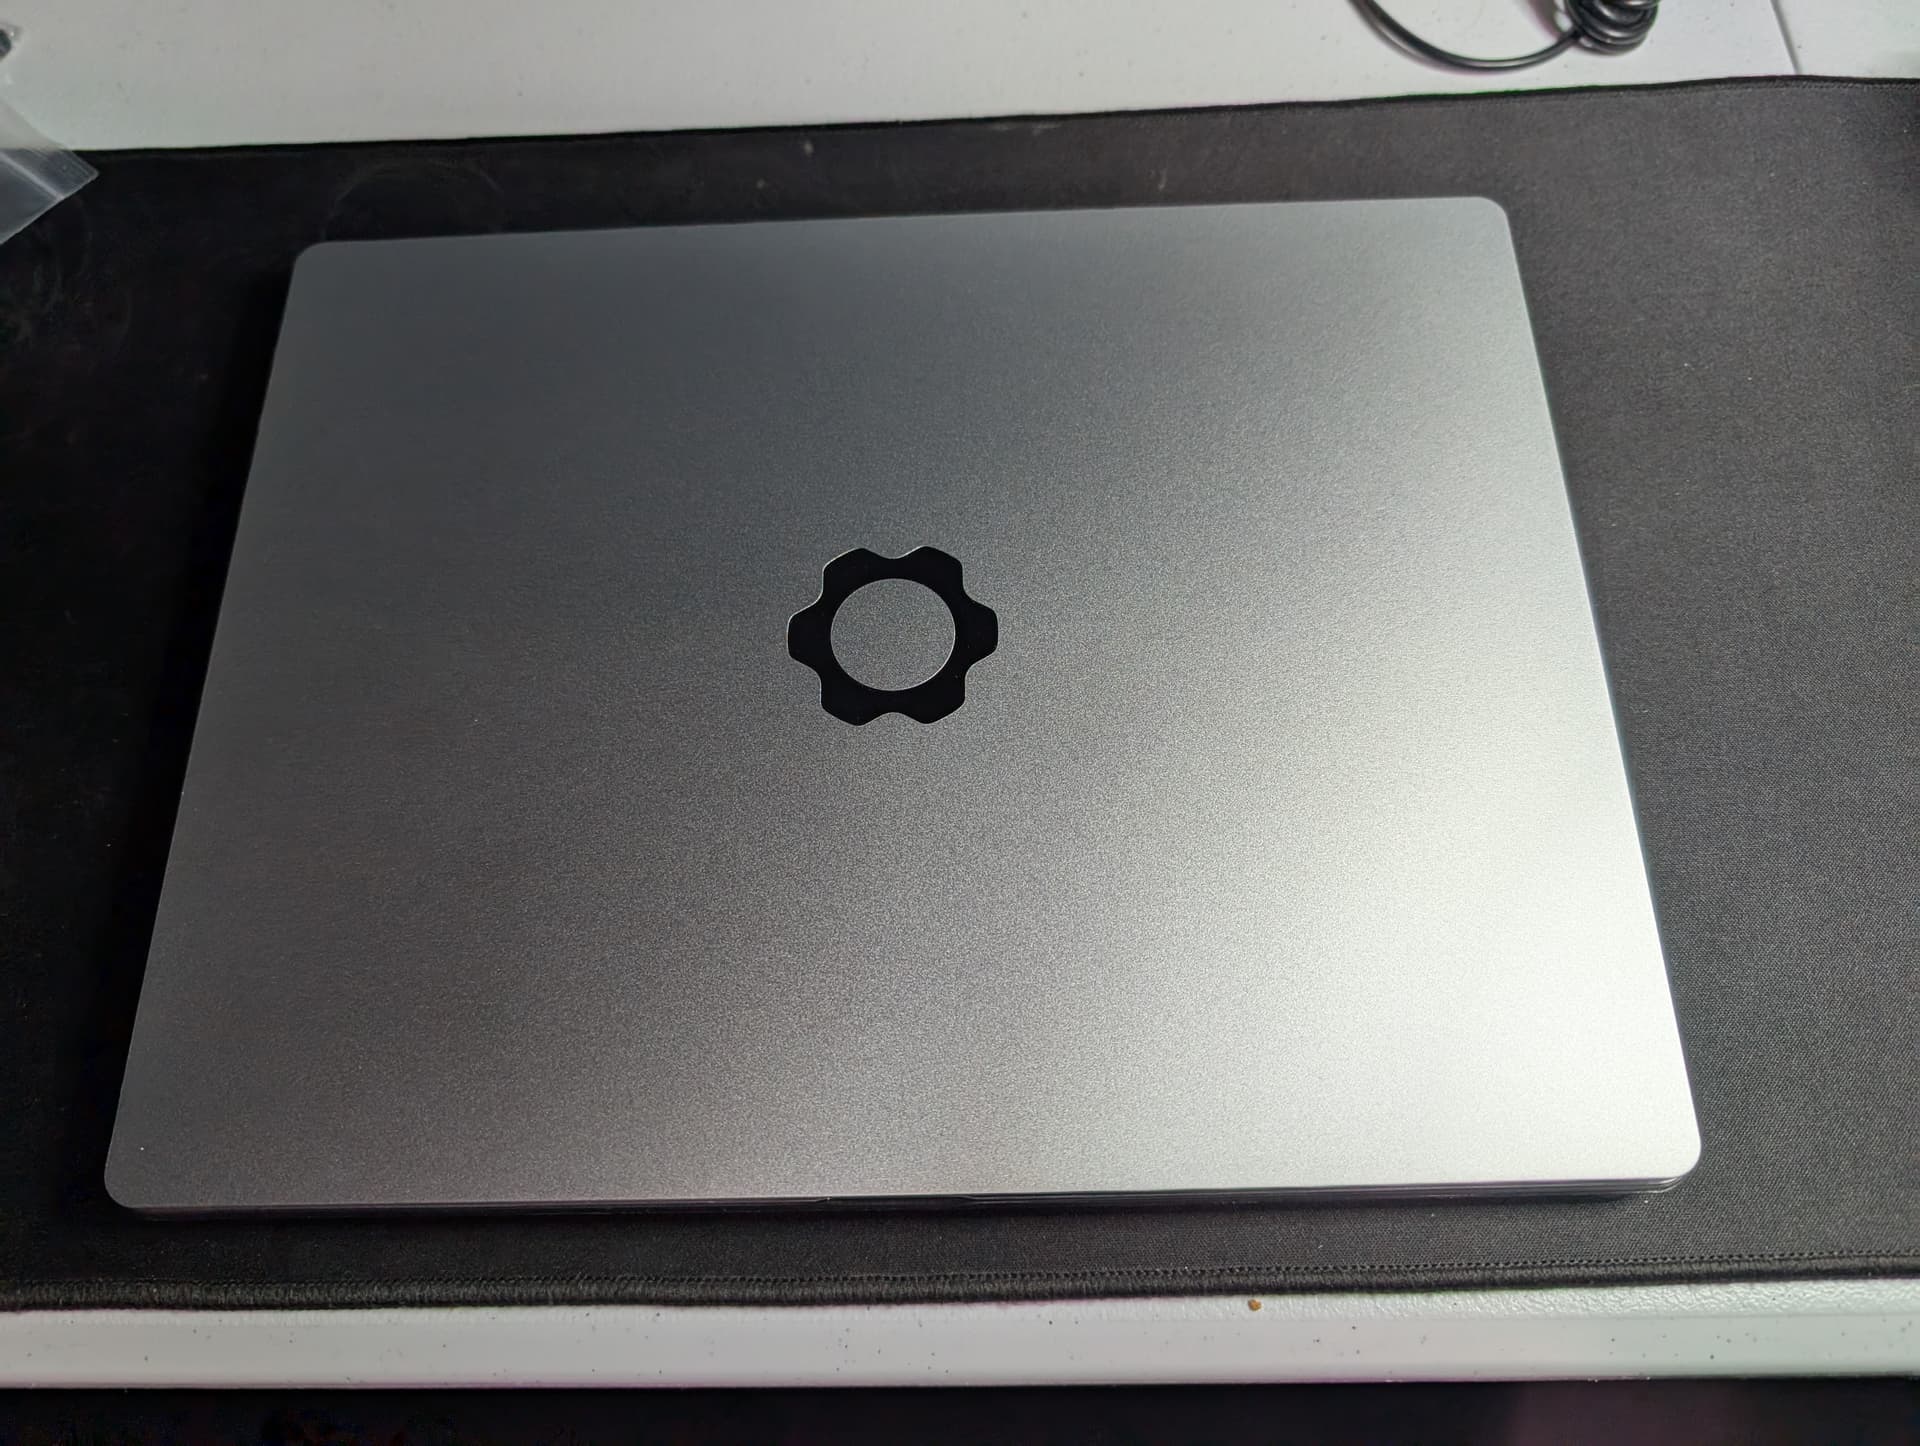
Here’s the top side of the chassis/laptop. It’s pretty understated, and more or less standard in a post-macbook world. I like that the logo is embossed, but that’s not exactly unusual either.
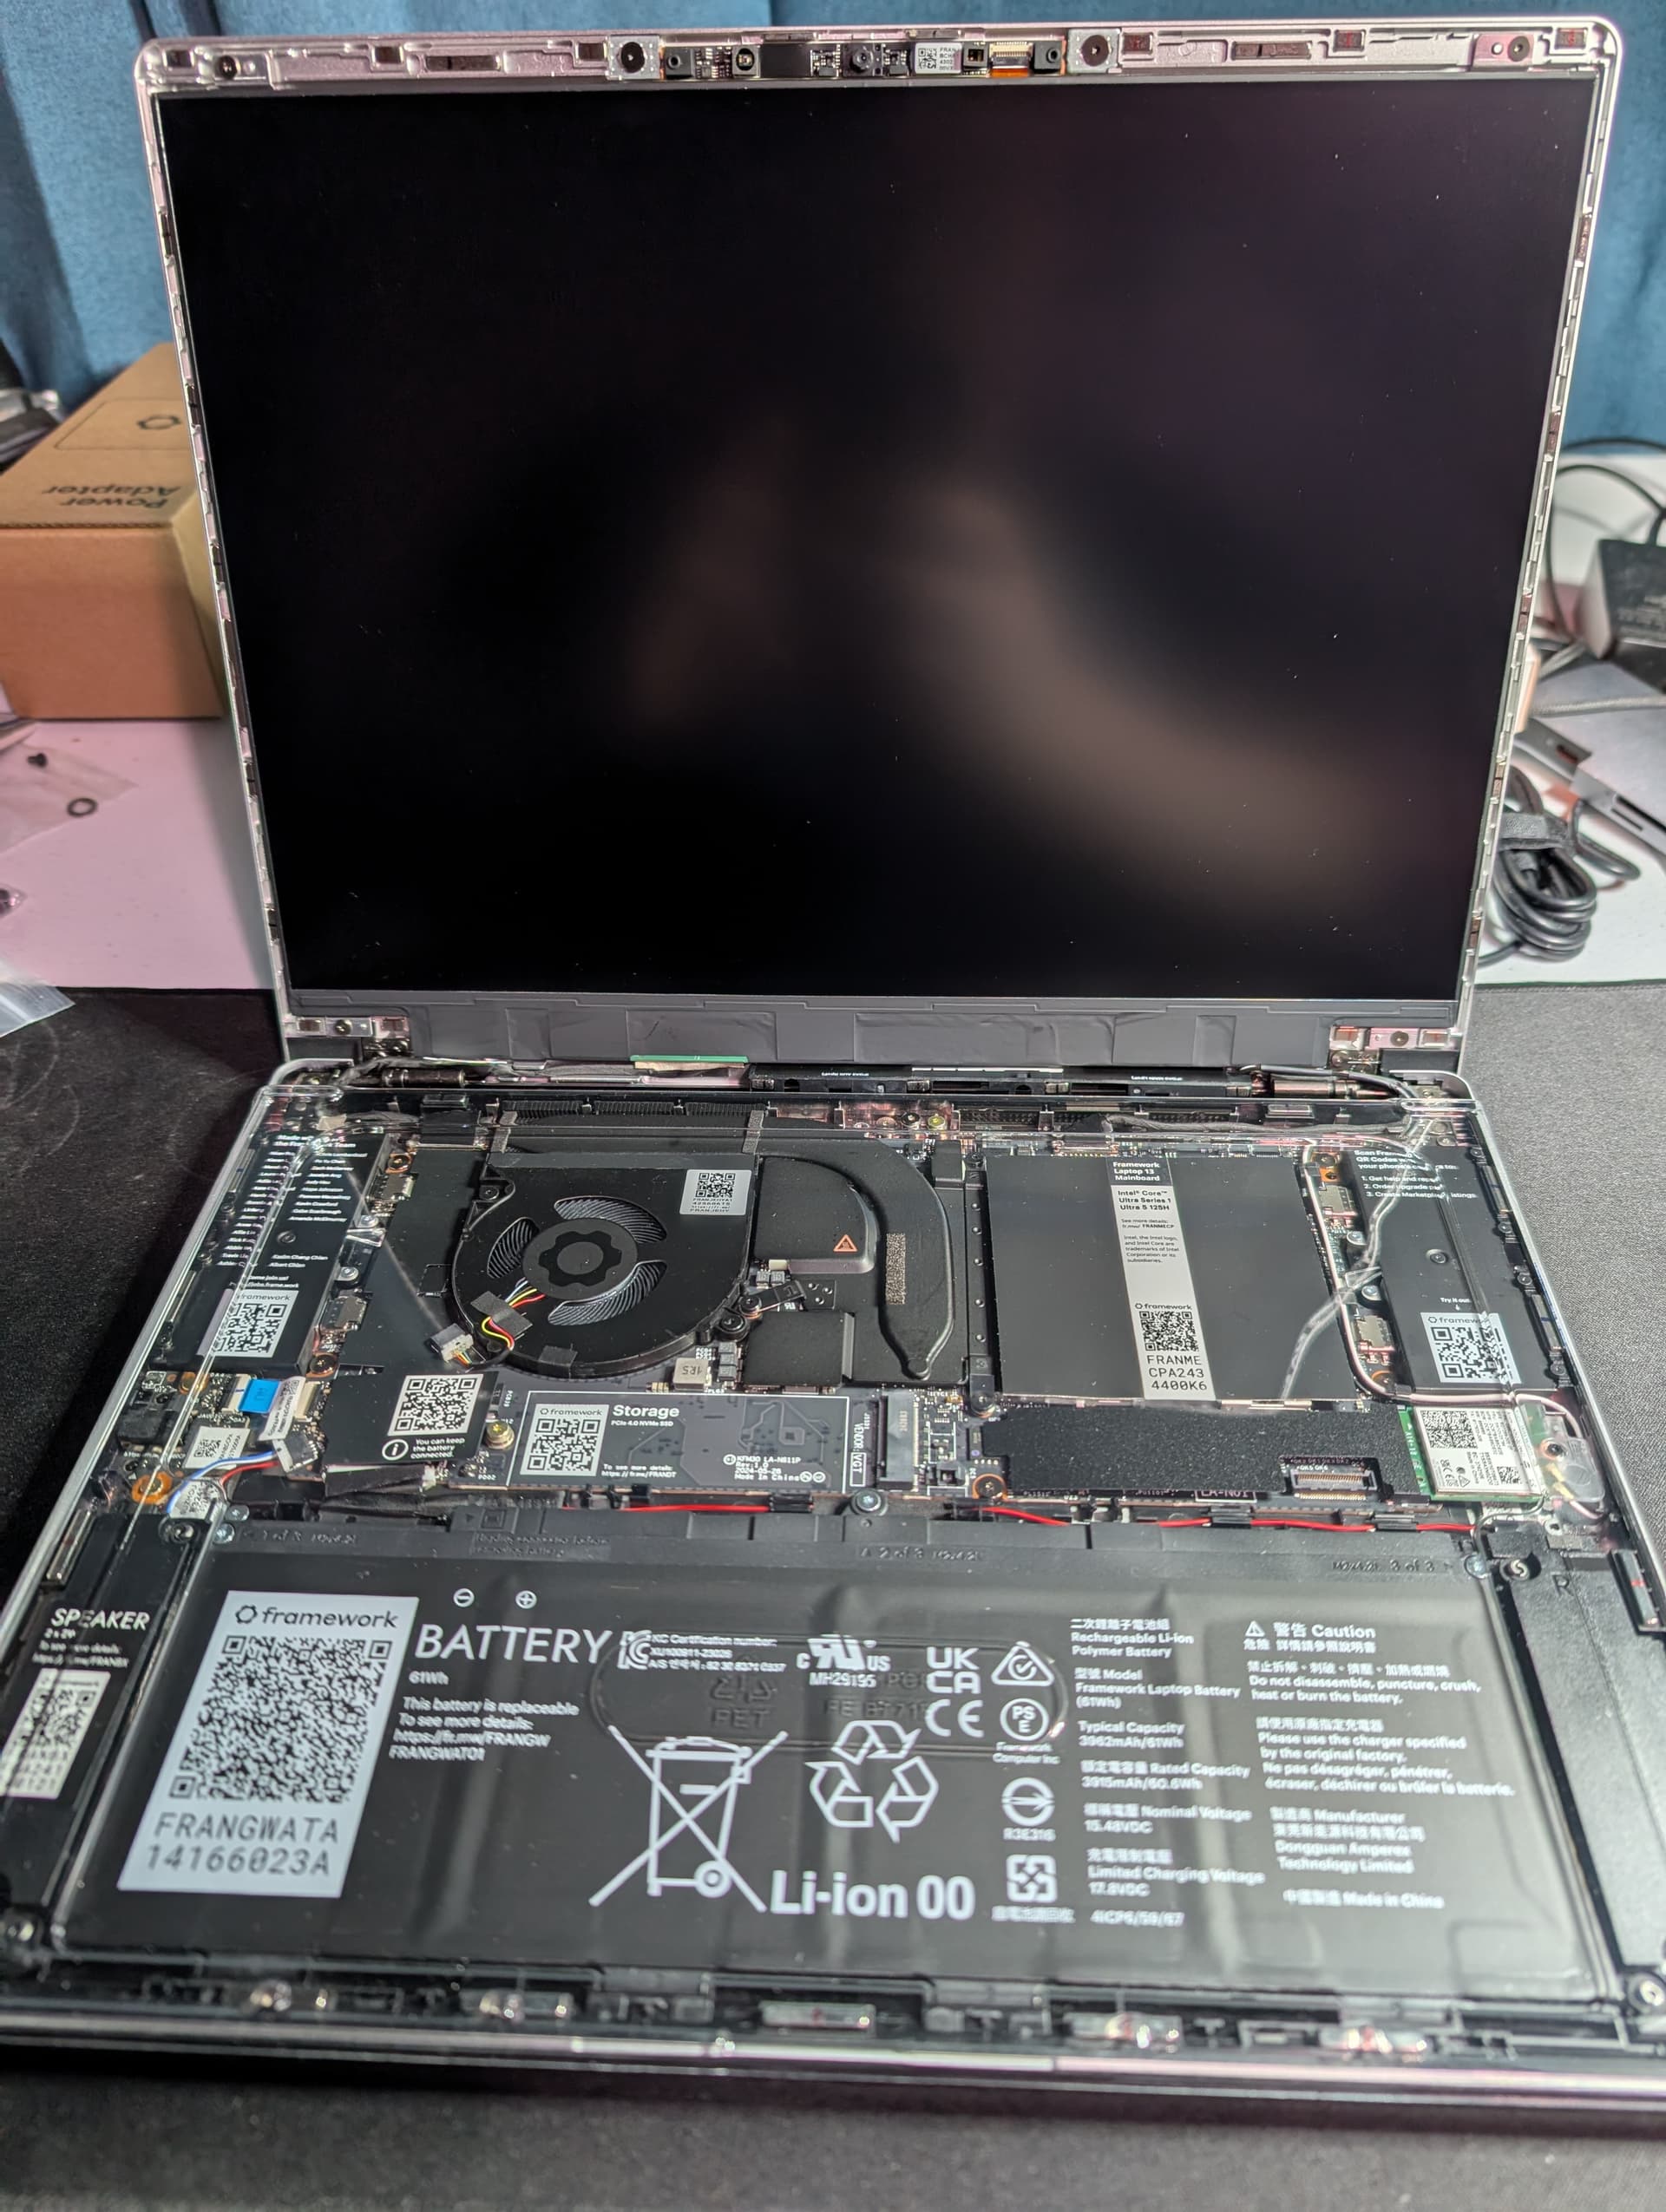
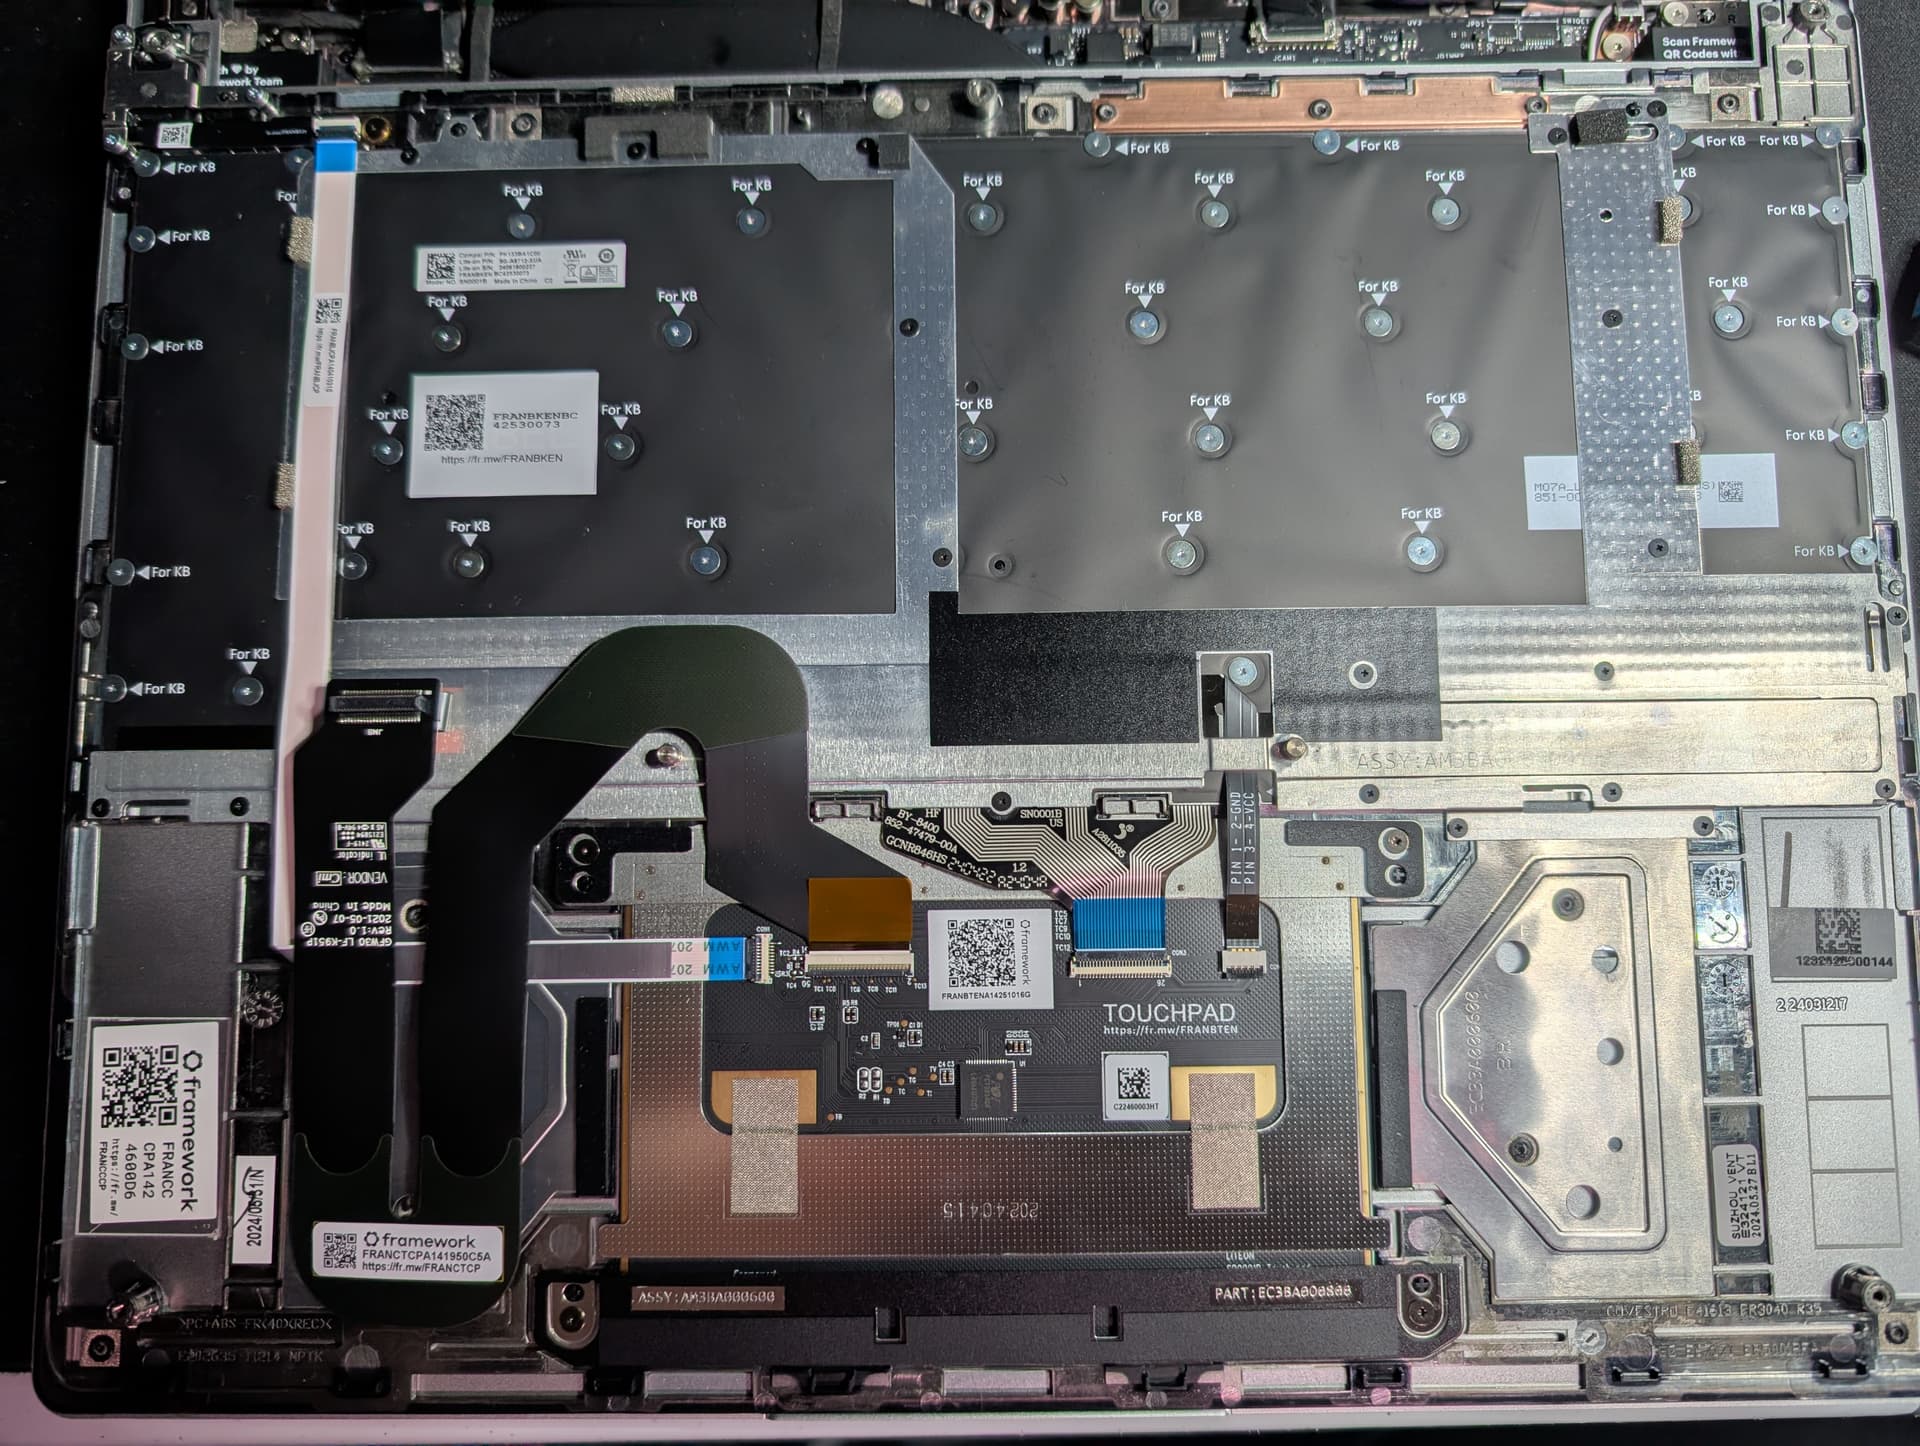
Here’s the chassis/laptop opened up. As you can see, the input cover hasn’t been installed yet, and neither has the bezel. This makes every component easily accessible. Everything is neatly labeled and has a QR code that leads directly to a guide about that specific part. Less clear in this photo is that there’s one of the only plastic packing materials, a tray that sits on top of the lower chamber and protects it and the screen from making contact.
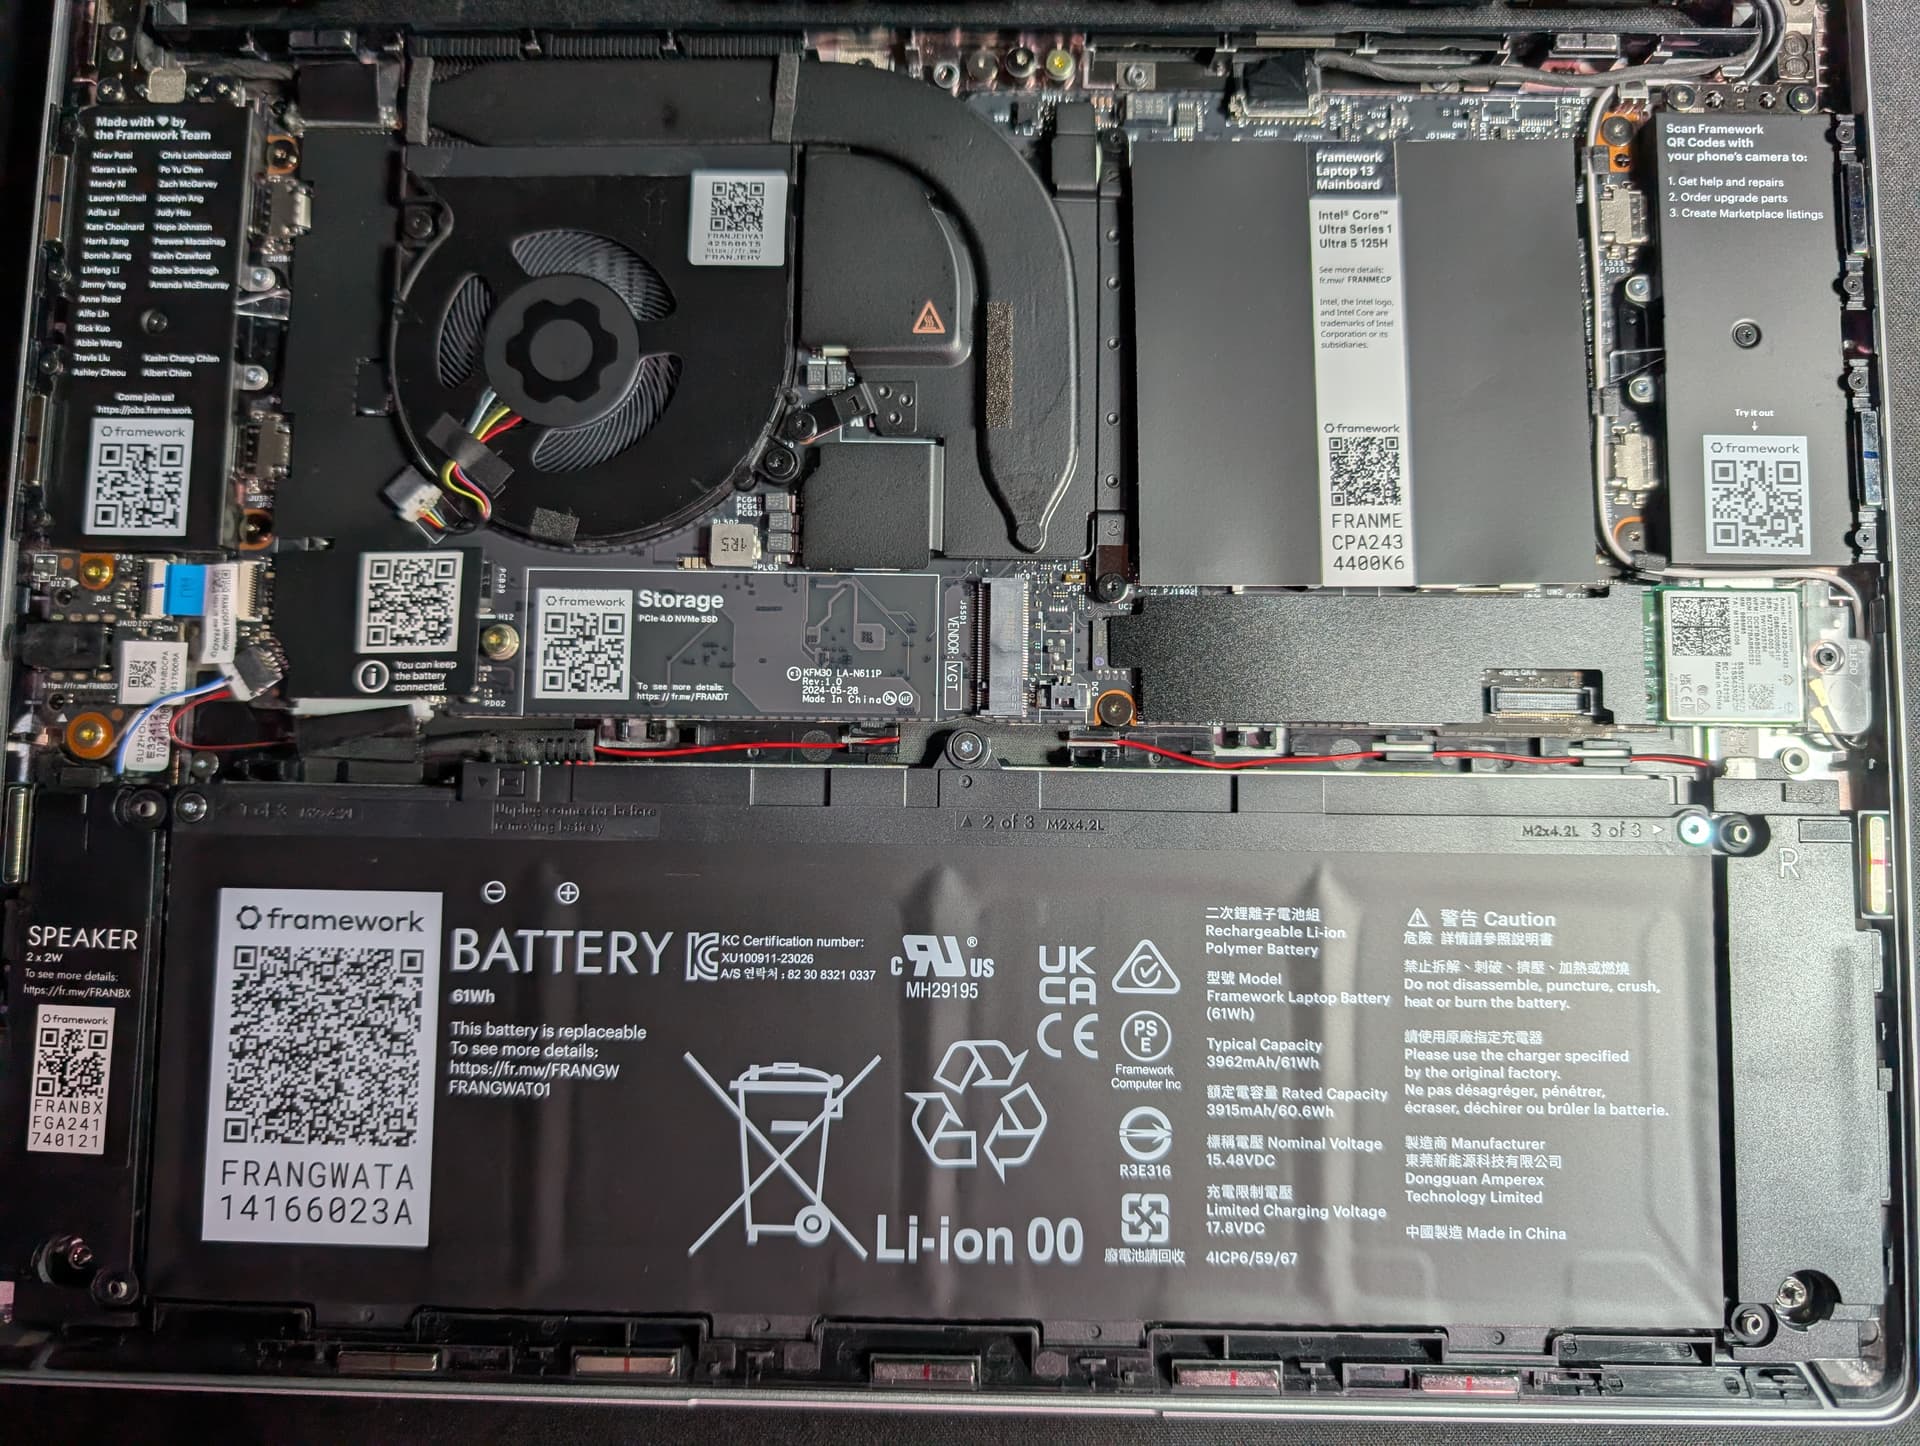
Here’s a better look at the contents of the lower chamber. The main board takes up most of the upper portion, with locations for the memory modules and the storage. In the middle right, you can see the Wifi/Bluetooth module, which is removable and upgradeable. The lower portion is mostly dominated by the battery, which, like everything else, is replaceable and upgradeable.
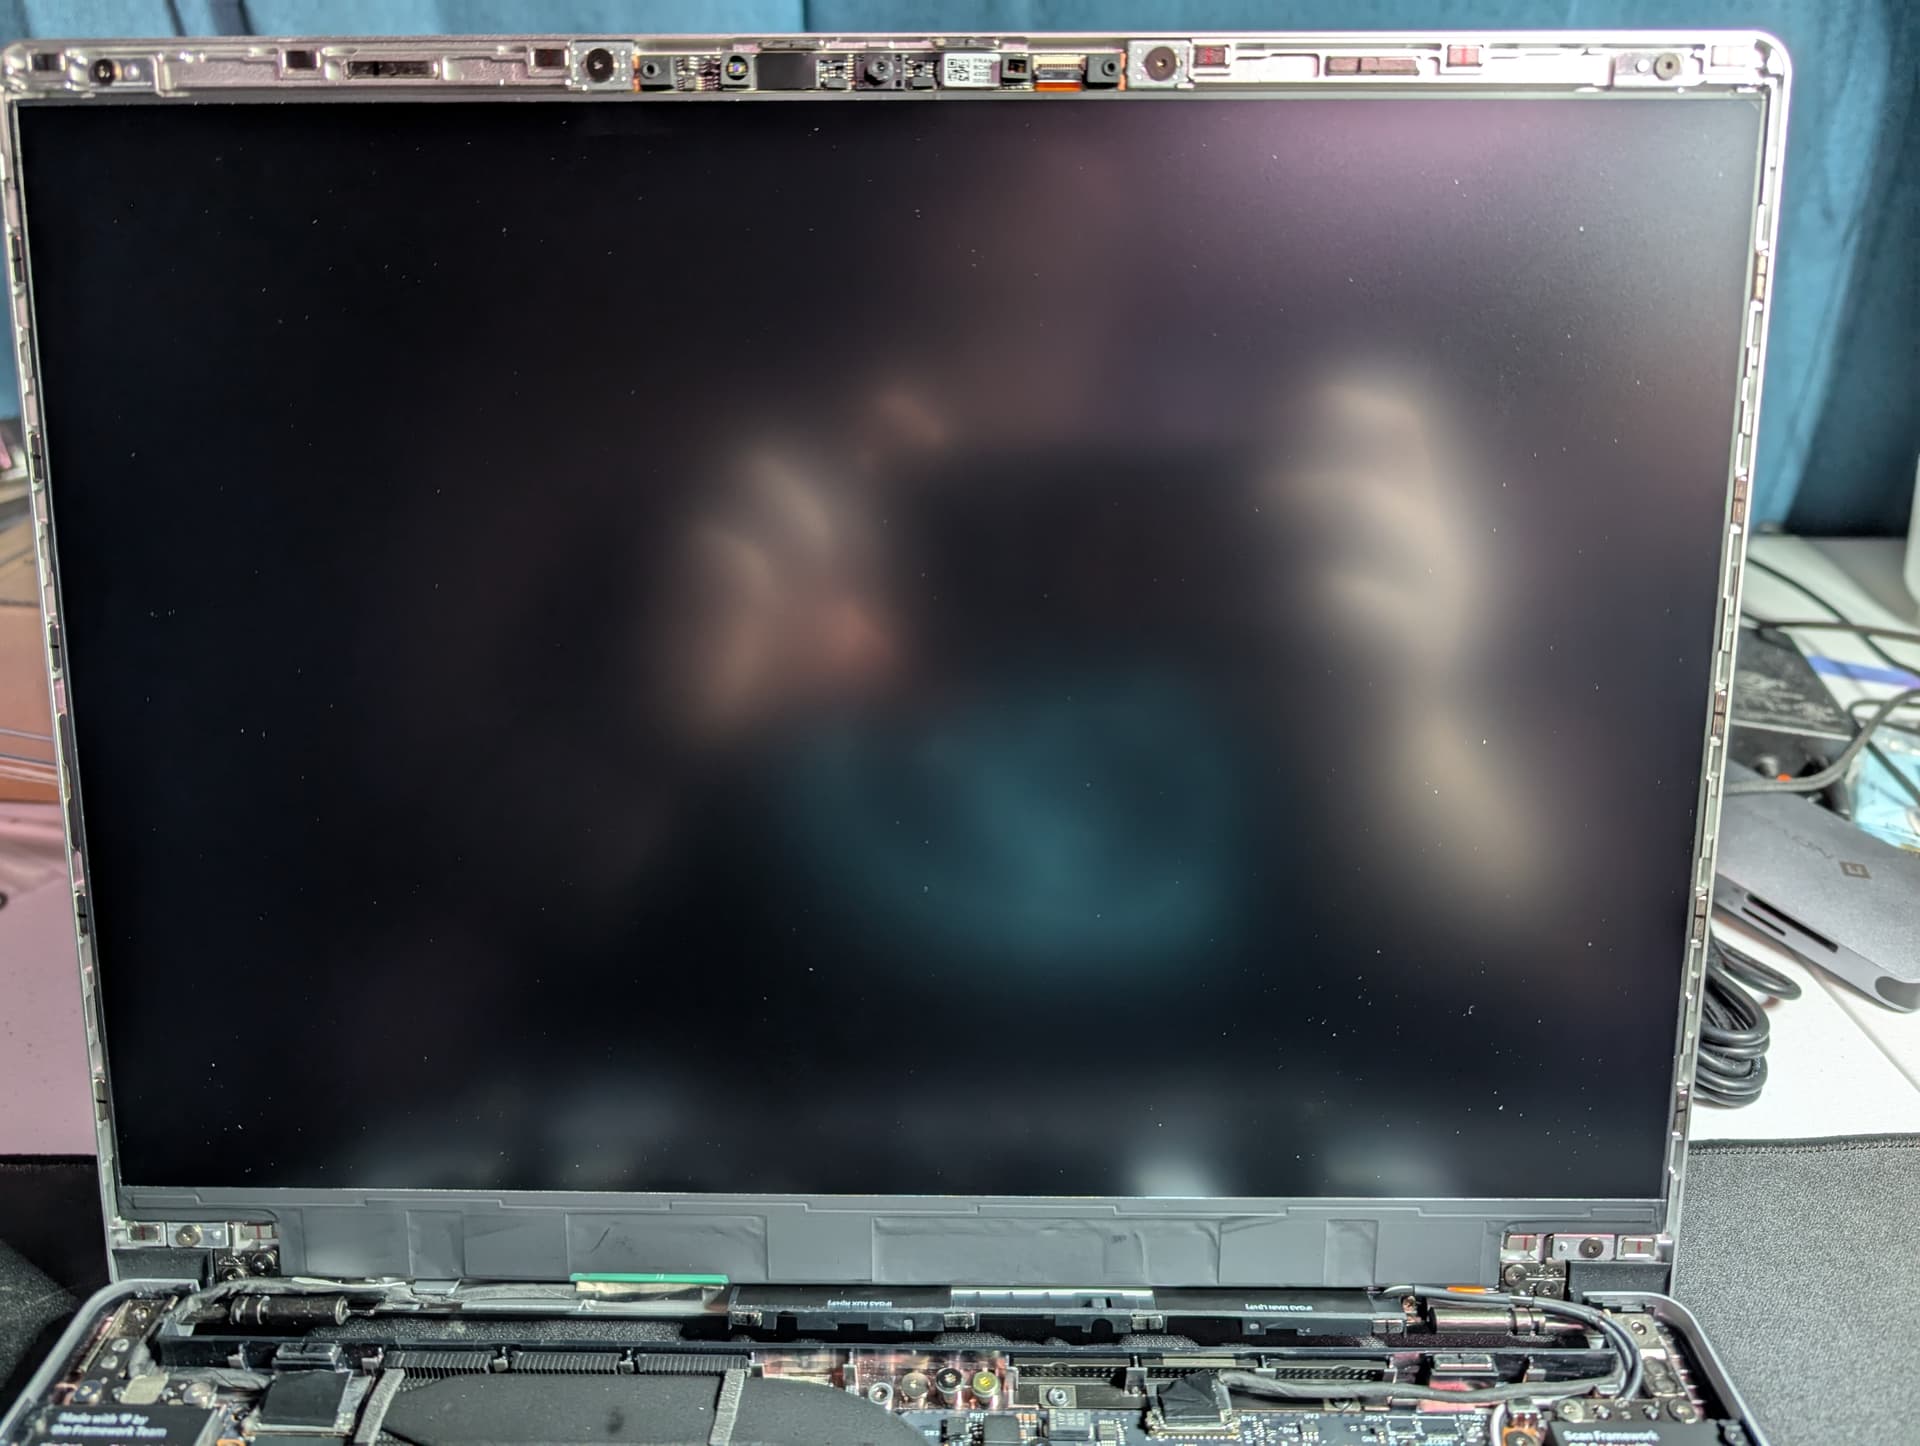
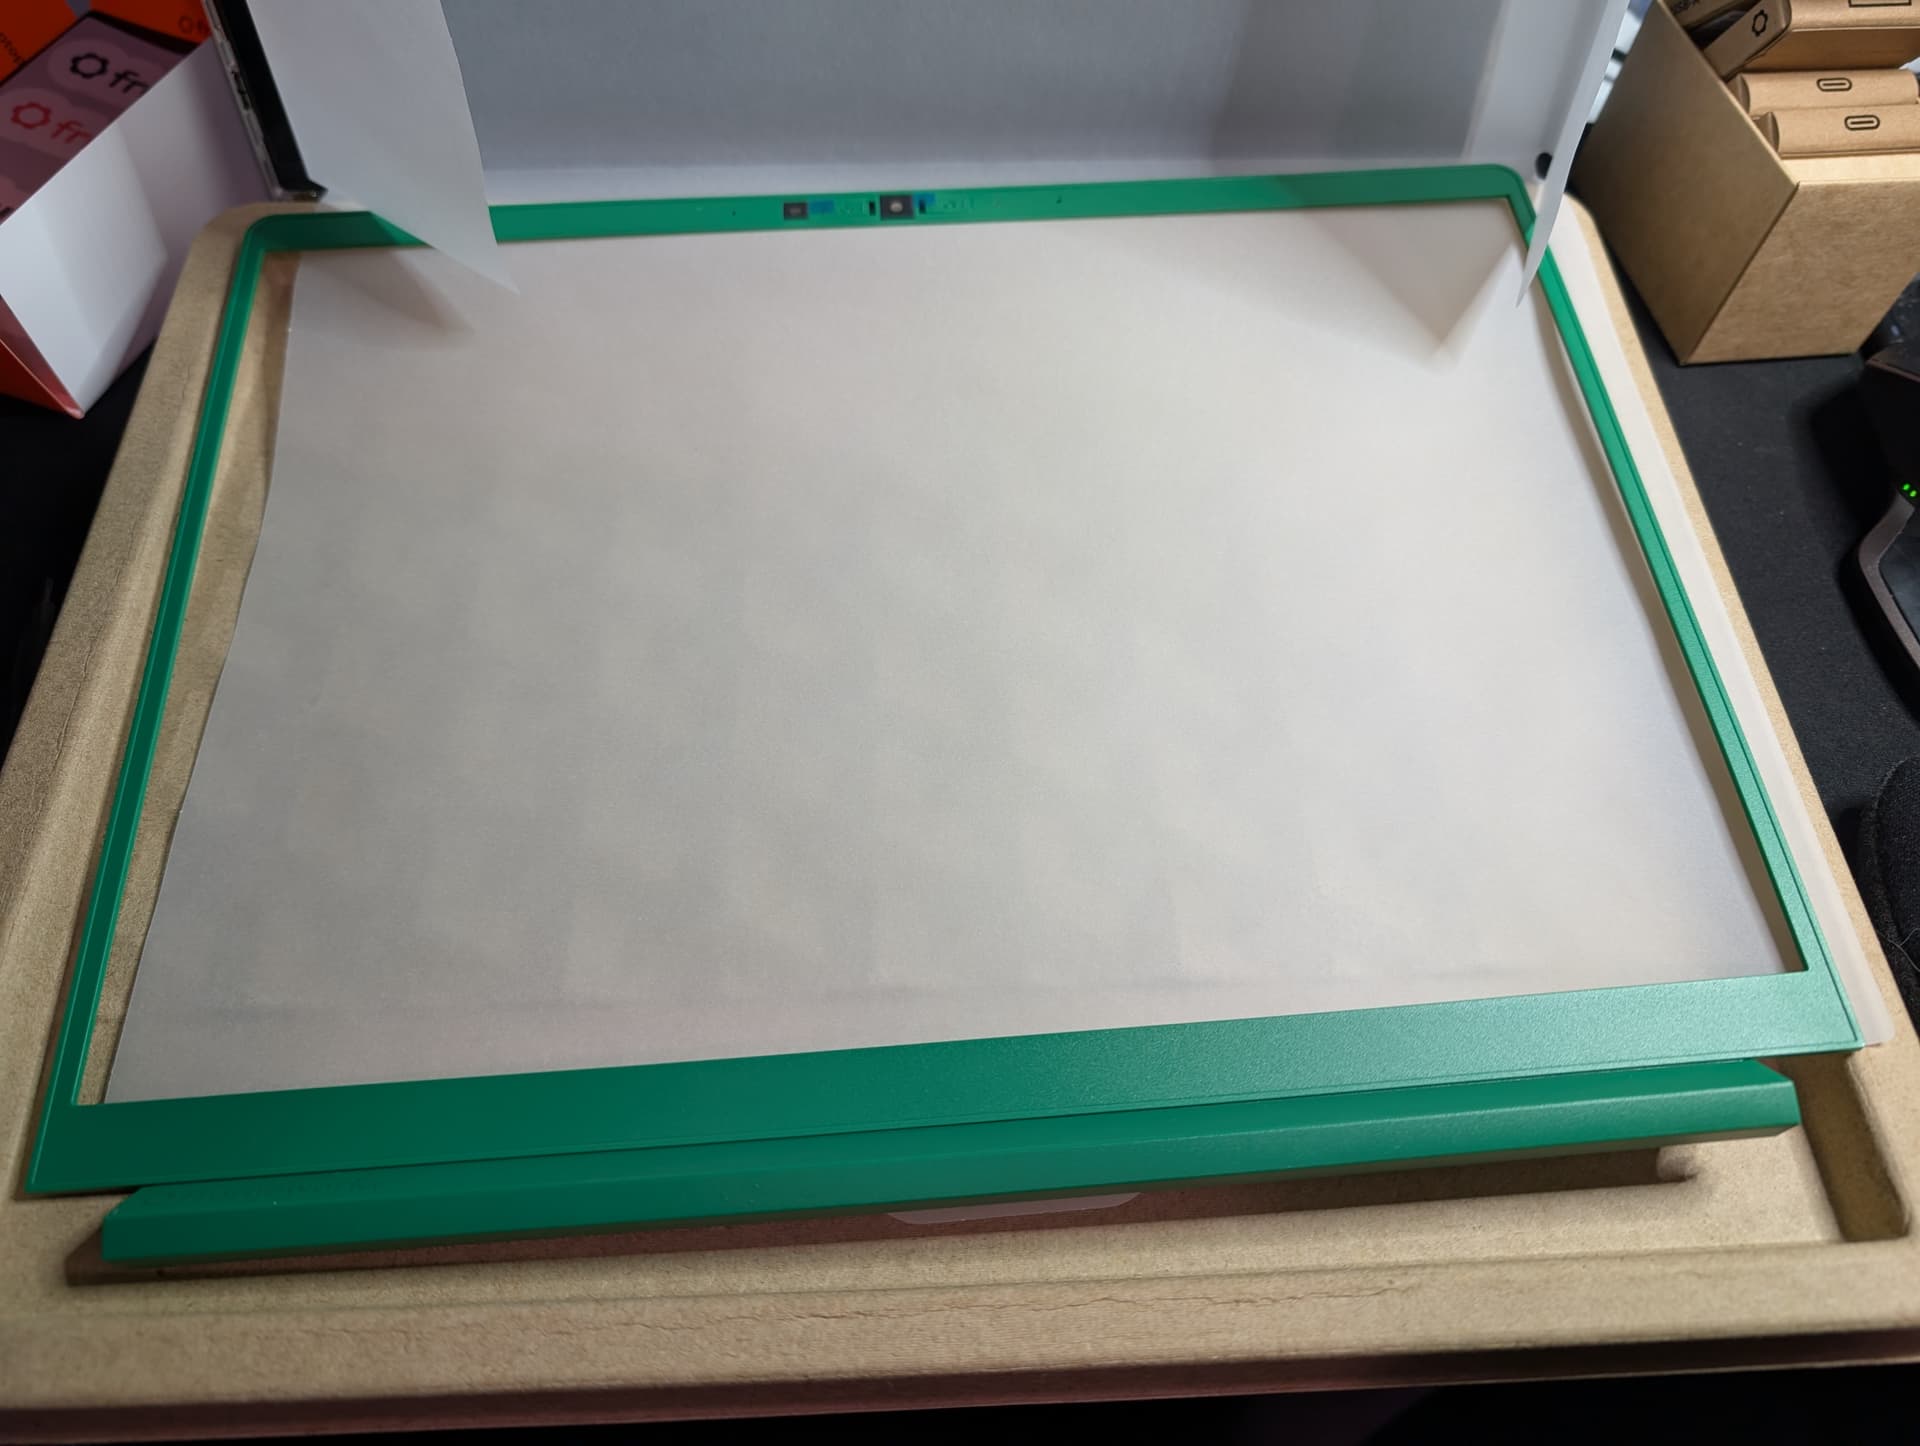
Here’s a closer look at the bezel-less screen. As you can see, it’s matte and sufficiently (I hope) obscures my identity. Bonus points for anyone who can identify the shirt.
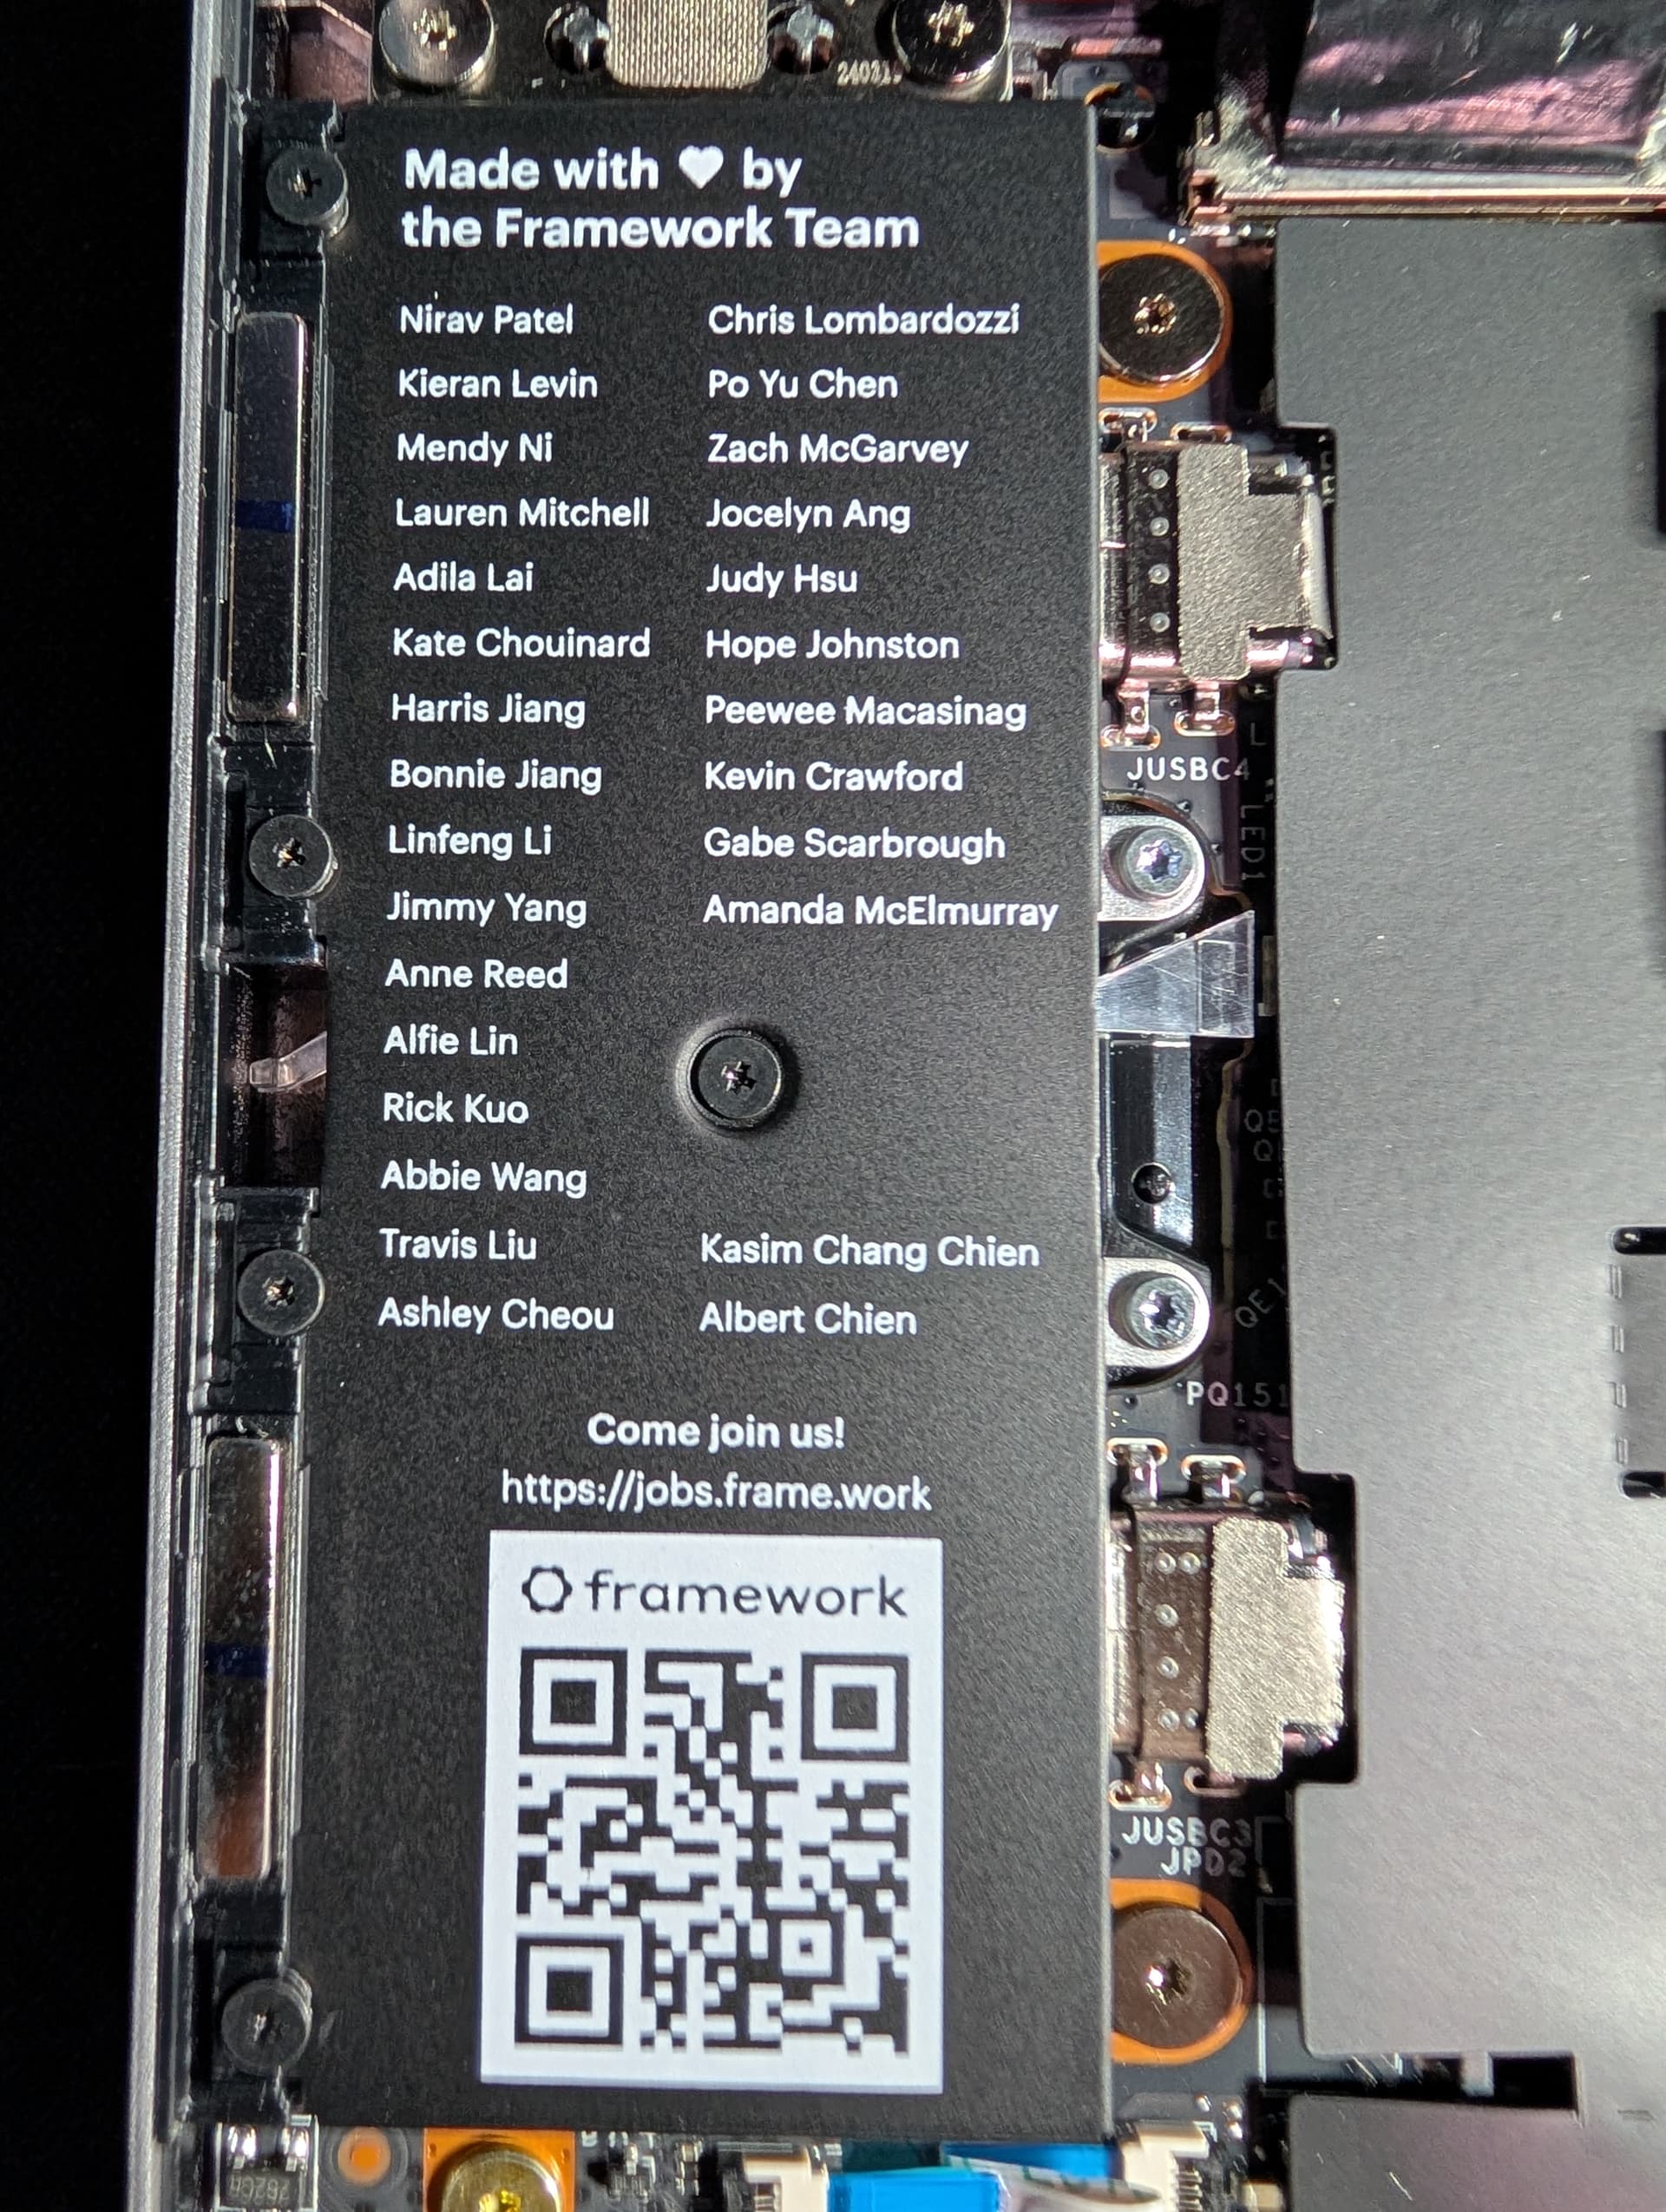
Here’s a close-up of the credits insert. It’s a nice personal touch to acknowledge the people who worked on this, and gives you an idea of just how small this company is. Also visible in this photos is the pull tabs on internal cables to make disconnecting them easier.
Here’s the contents of the box from earlier. Again, this would have had more in it if I had purchased storage and memory from them, or more expansion modules.
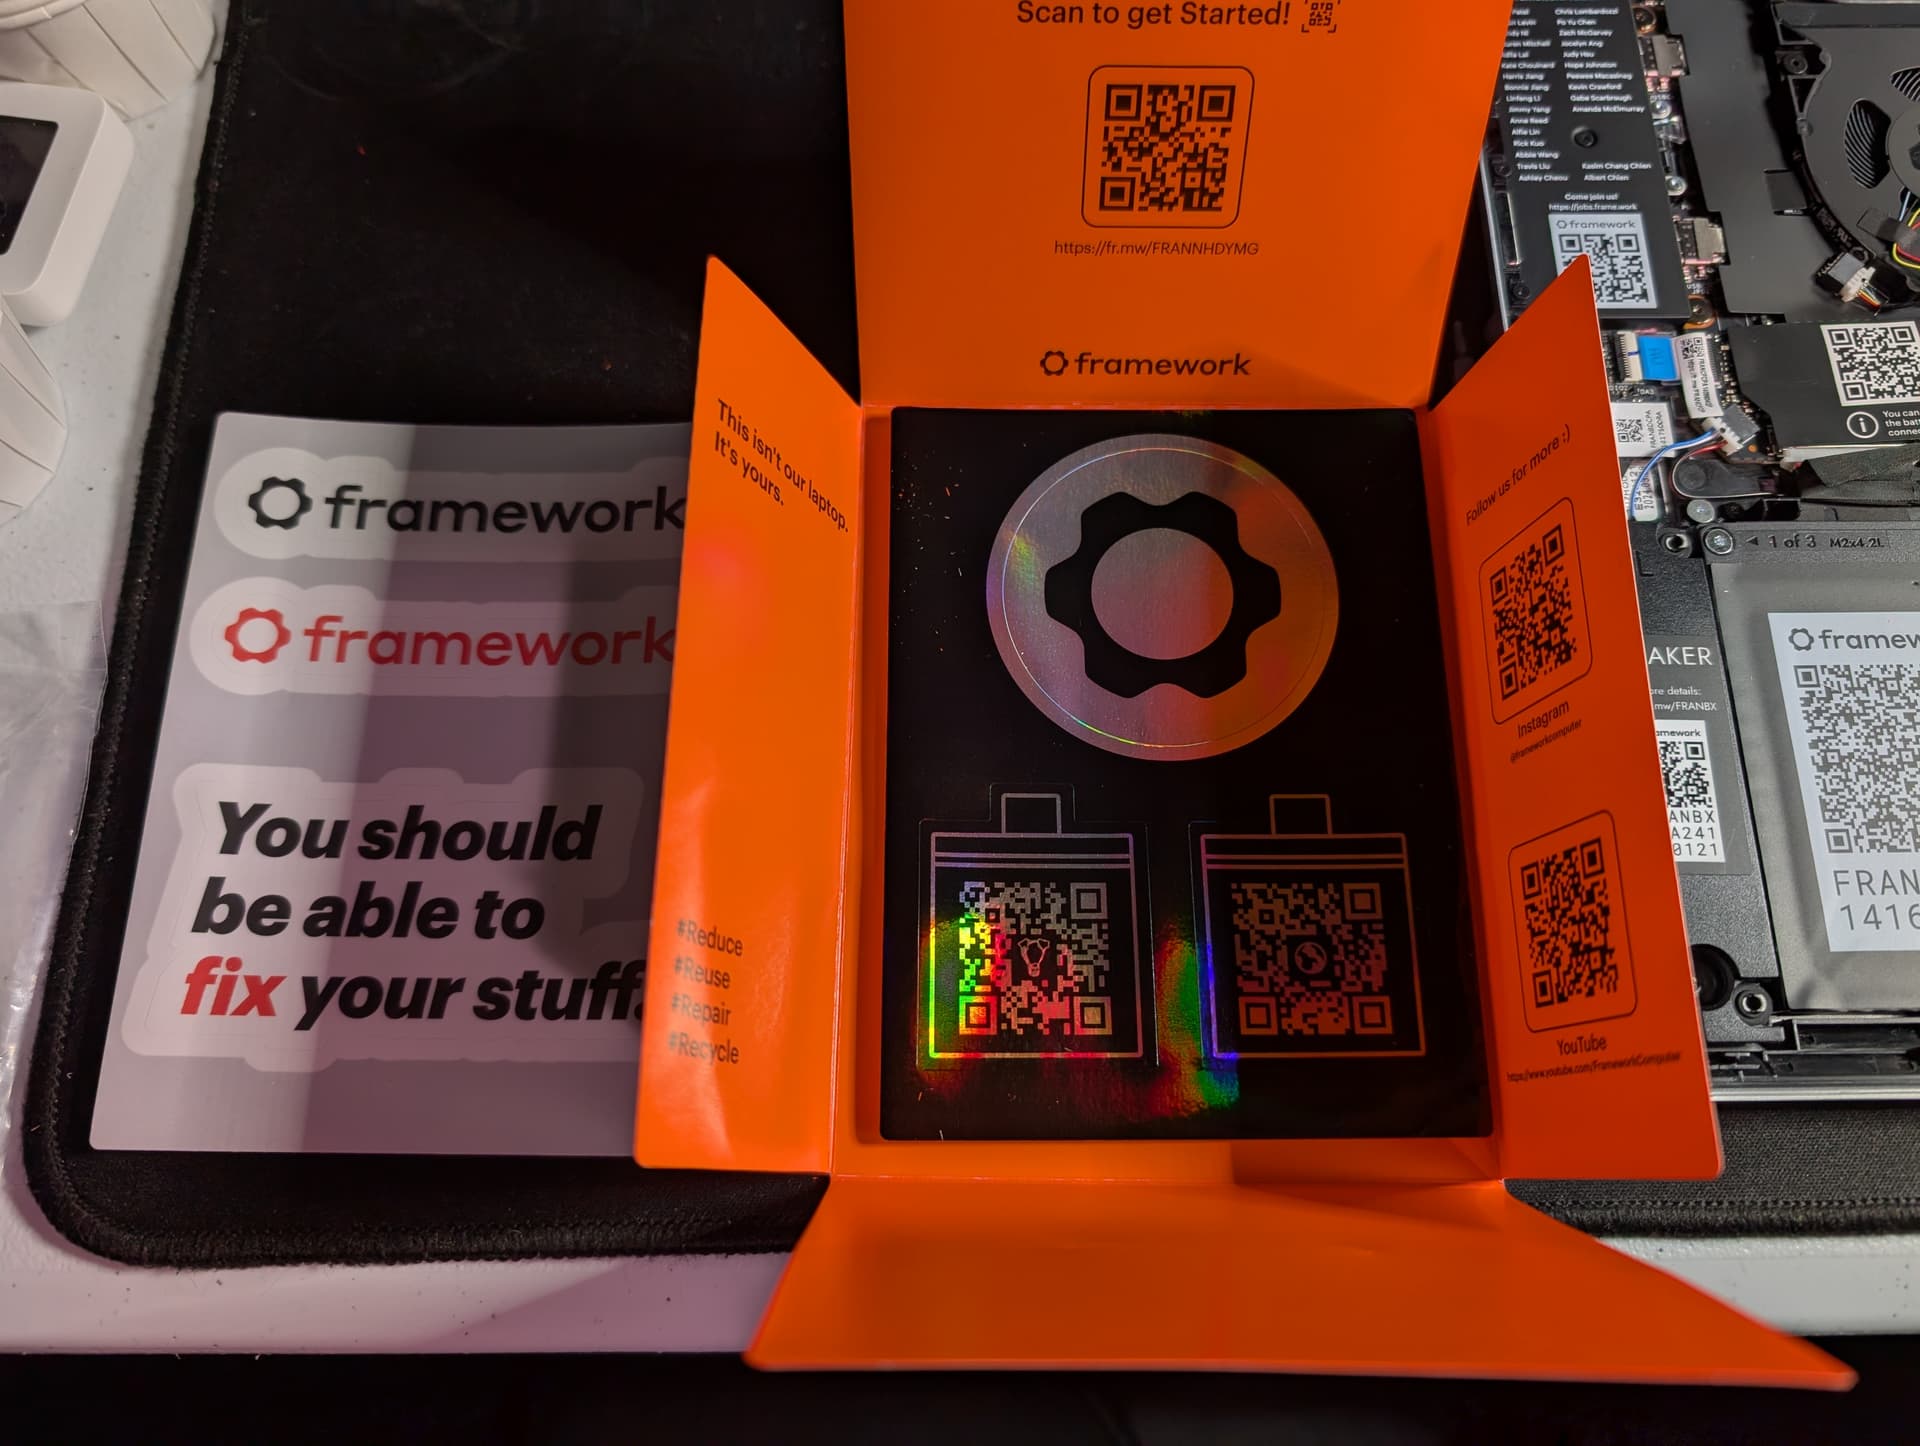
This is the little welcome packet that was in an earlier picture, opened up. It contains stickers and QR codes to various information and guides.
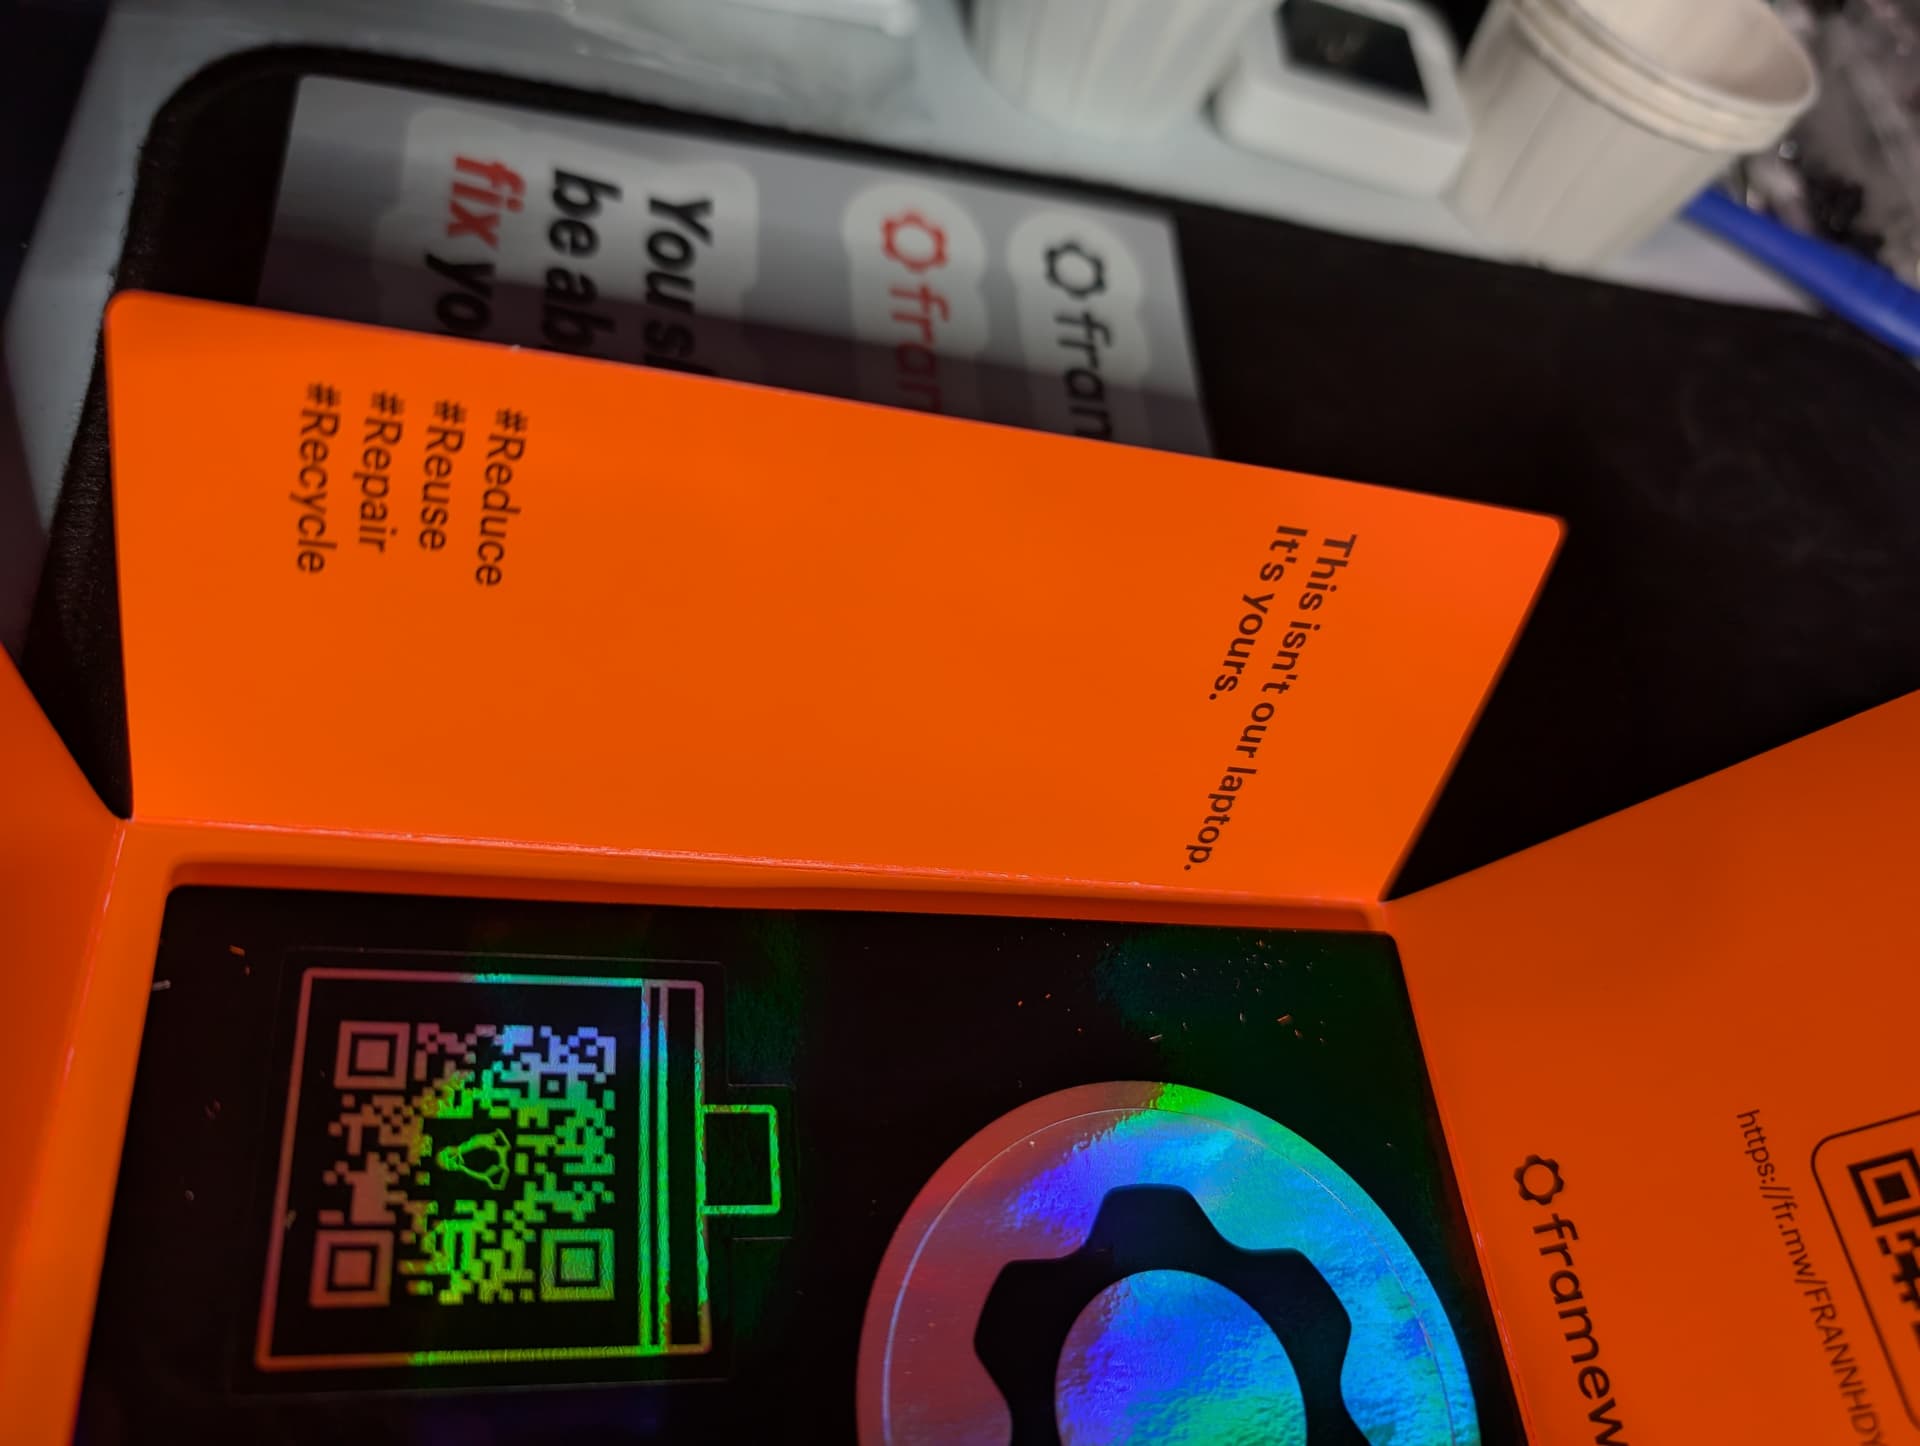
It wasn’t as clear in the other photo, but I liked this “This isn’t our laptop, it’s yours.” It’s a pretty good statement of intention, and contrary to how much electronics is sold these days.
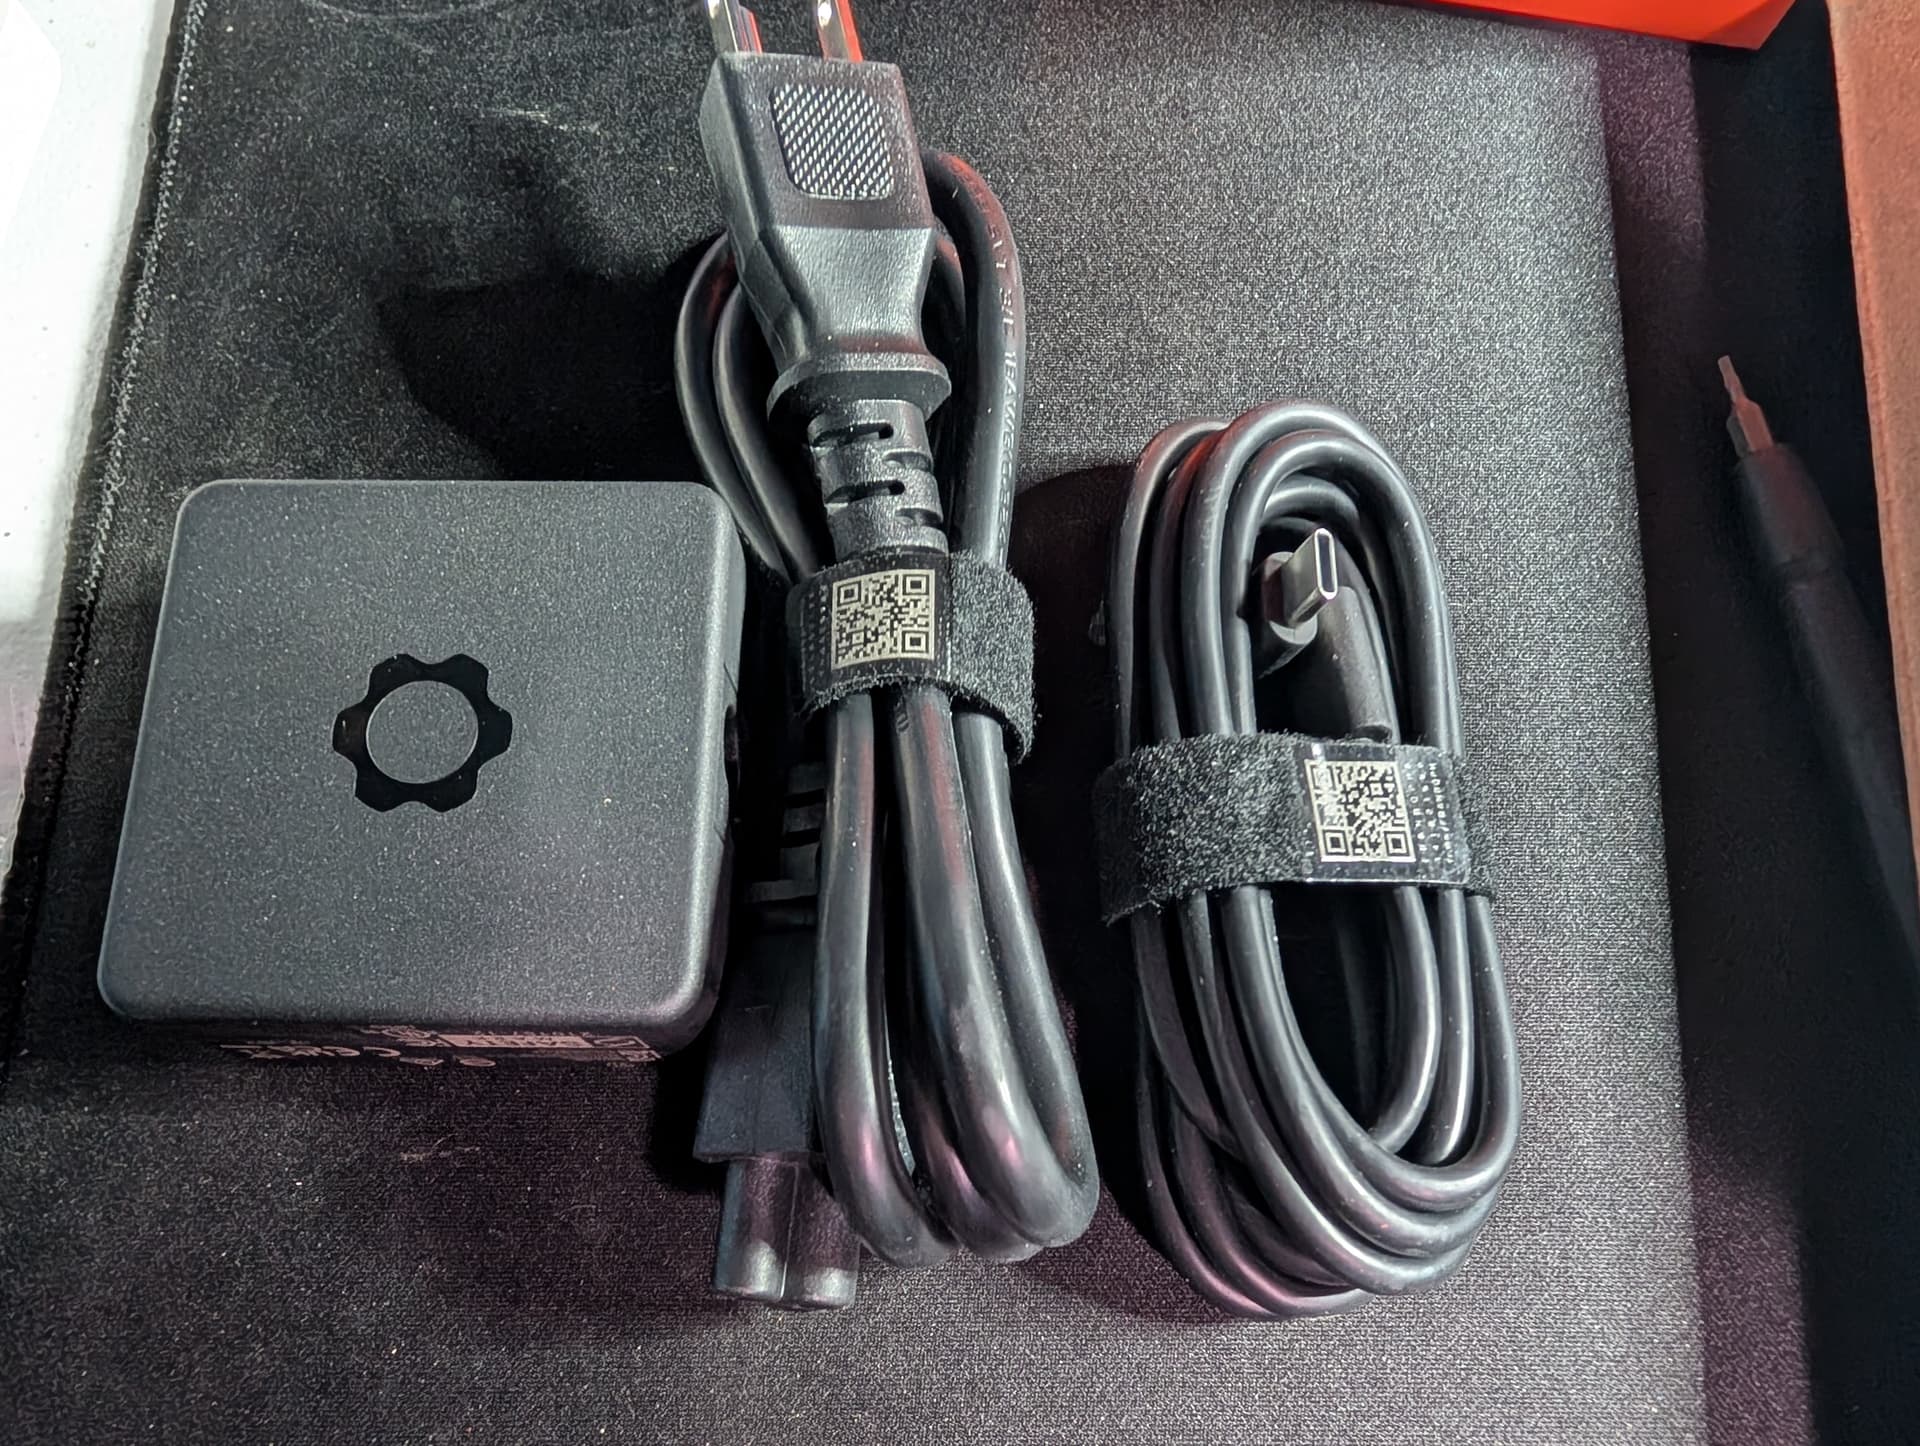
Here’s what the power adapter looks like. It’s a good length, both in the receptacle-to-brick portion, as well as the brick-to-laptop portion. The USB-C end is a right-angle plug, making it easy to connect to the laptop.
The bezel comes in a similar paper envelope. I opted for green, but there are a variety of colors available for a small premium over the standard matching grey.
The Input Cover kit also comes in a paper envelope. It’s backlit, which isn’t evident in the picture but is indicated by the glyph on the space bar. You can also see the super and alt gr keys.
Here’s a shot of all four of the expansion cards. They’re pretty much compact USB-C adapters, and slide into the cavities on the sides of the chassis, which you can see two in the upper-right of the shot. You can also see the headphone jack.
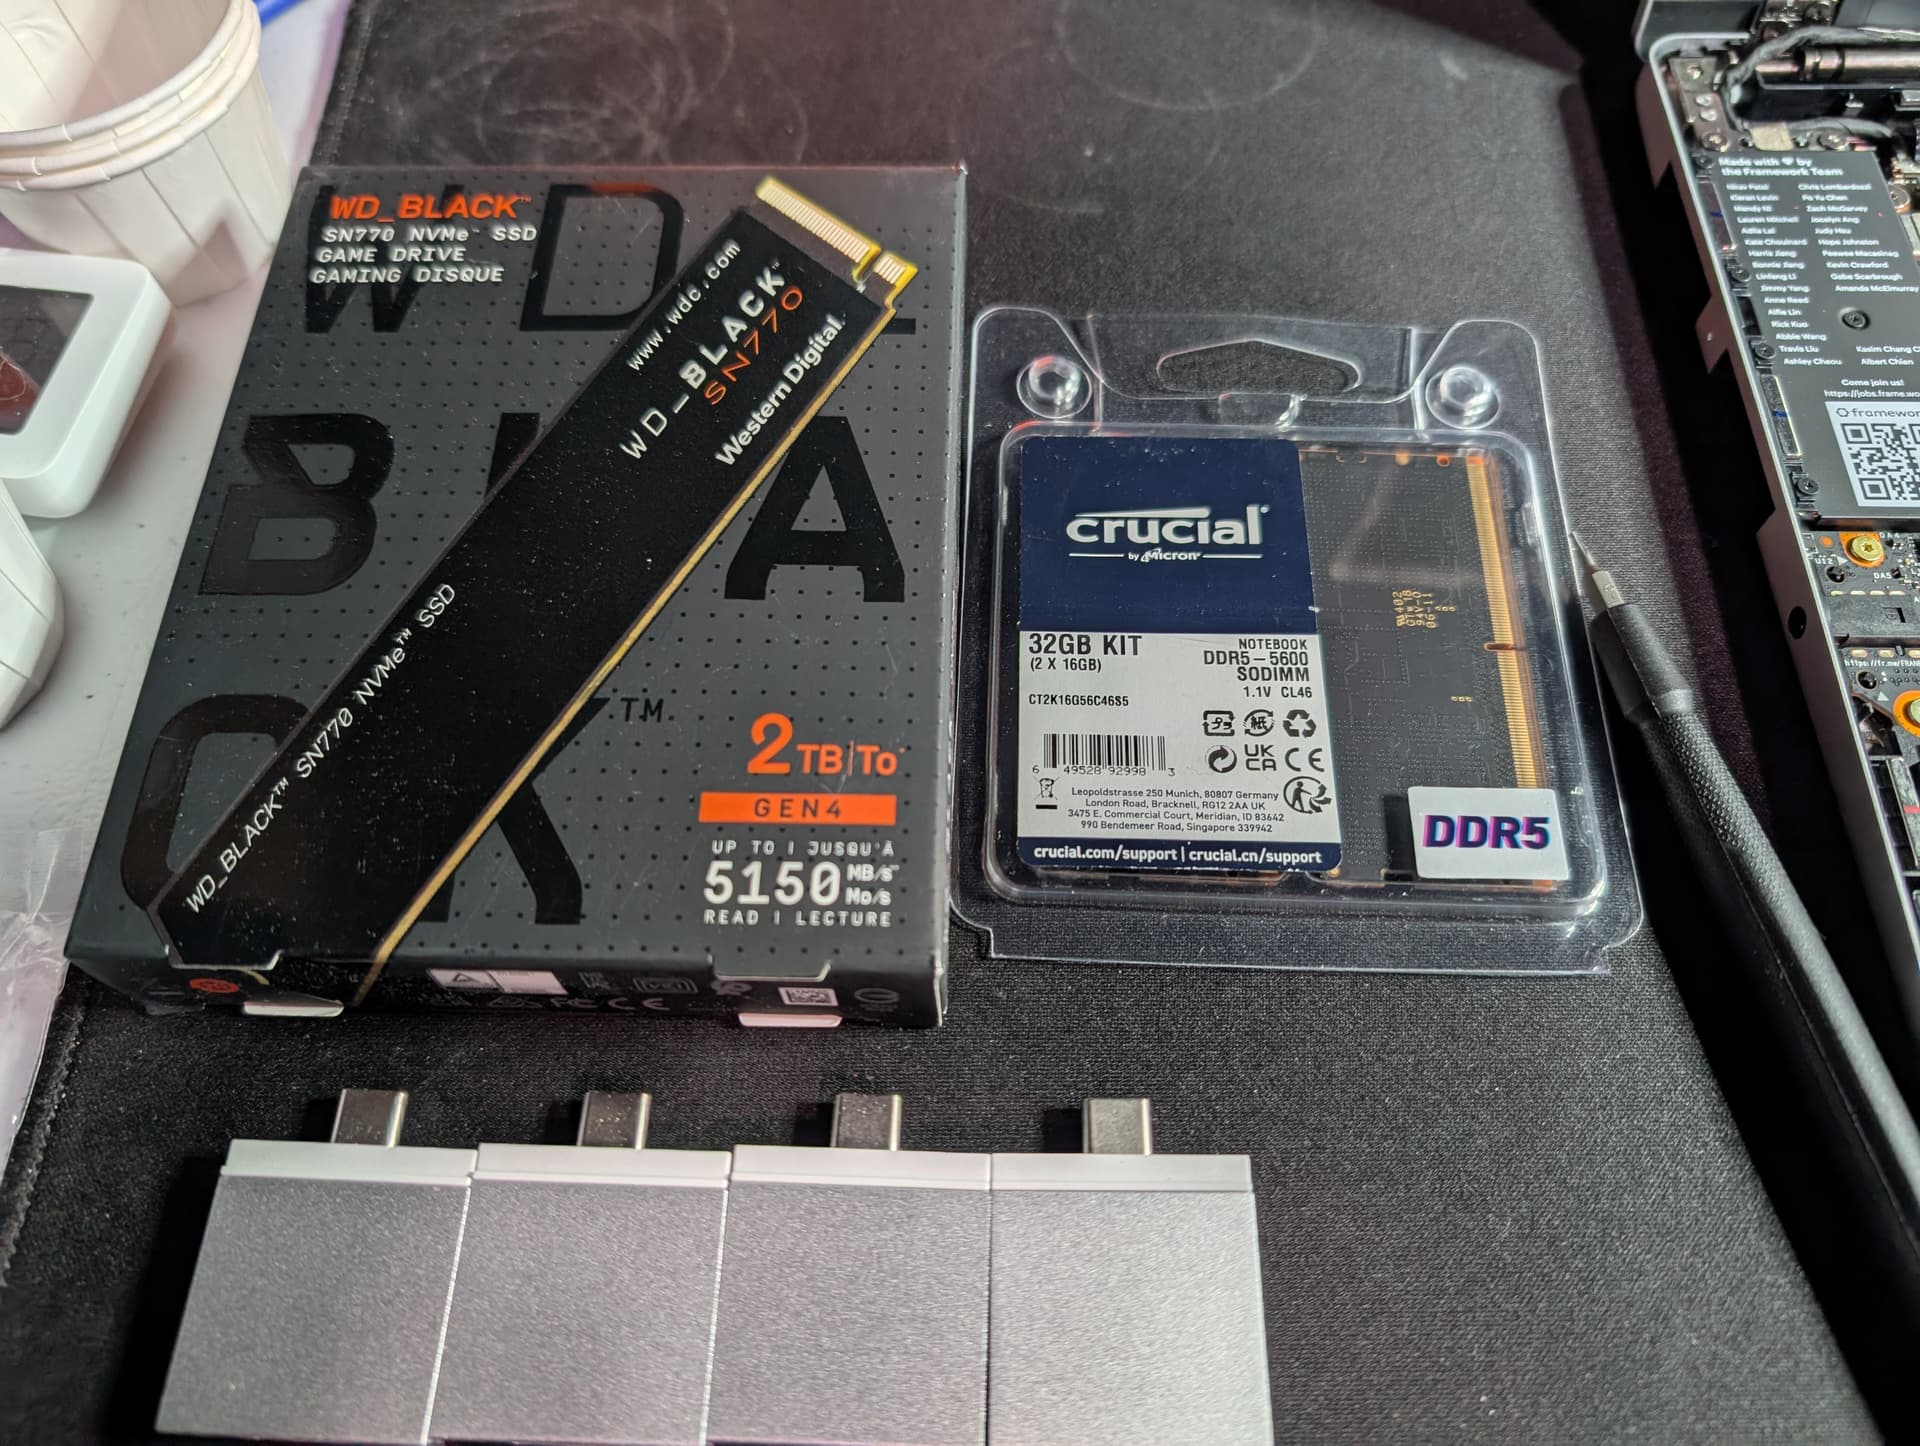
Here’s the storage and memory that I purchased separately. The savings were significant enough that I was able to double the capacity that I would have otherwise purchased directly for a fairly minor premium.
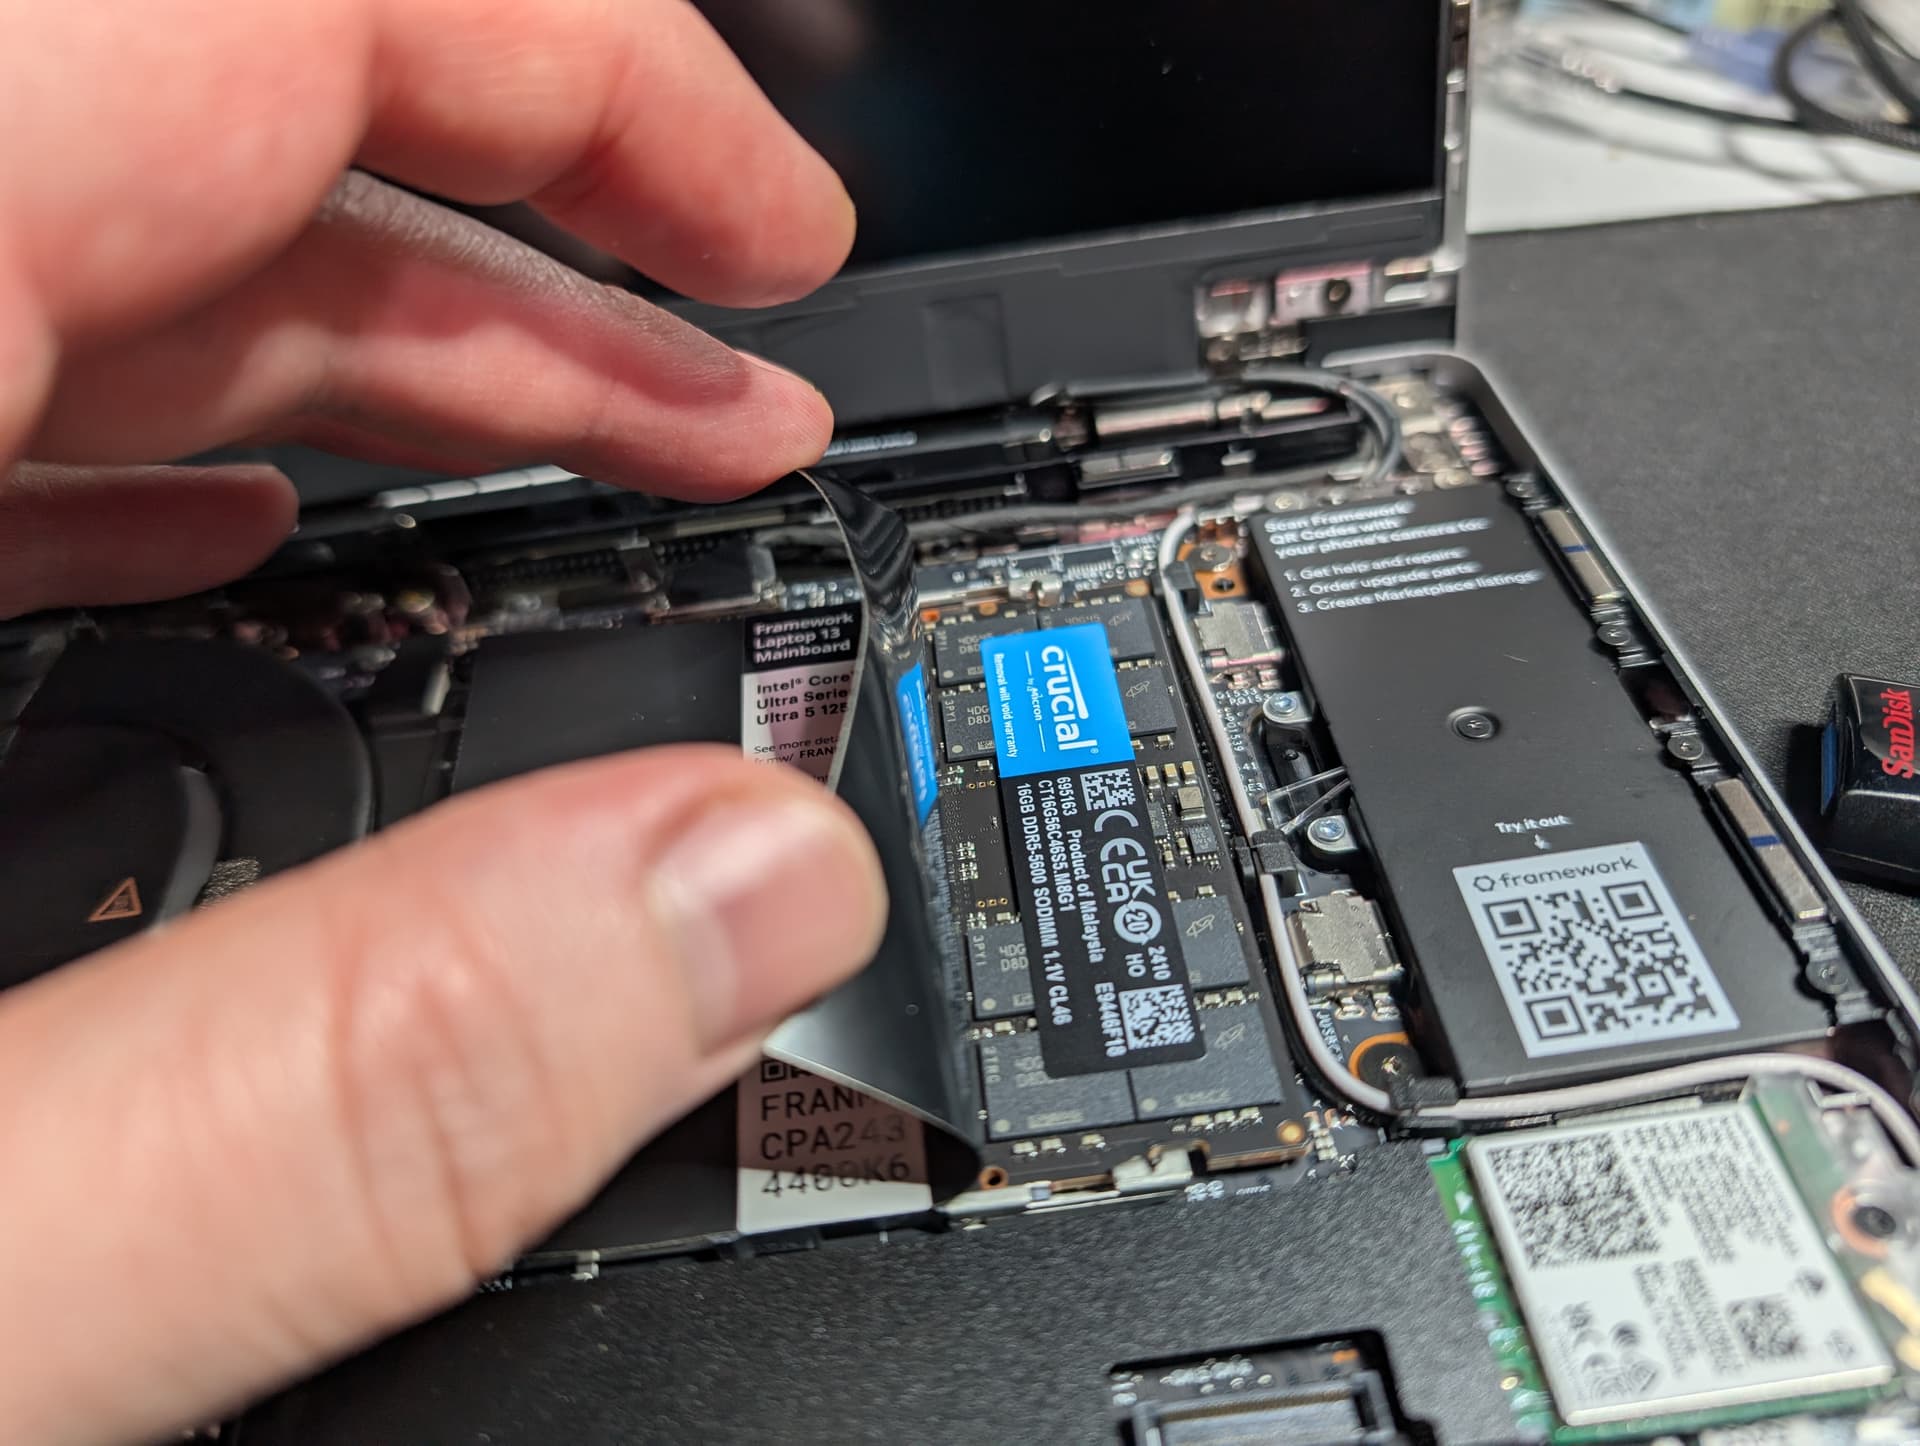
This is what it looks like to install the memory modules. You lift the plastic flap, align the module, and snap it in.
This is after the storage is installed. This is the only non-captive screw that you have to deal with, and it’s tiny. Modern SSDs are so much easier to deal with.
This is the underside of the Input Cover. The curvy ribbon cable approximately in the middle is the only part that has to connect to the main board. The rest is held in place with magnets until the screws on the bottom are fastened.
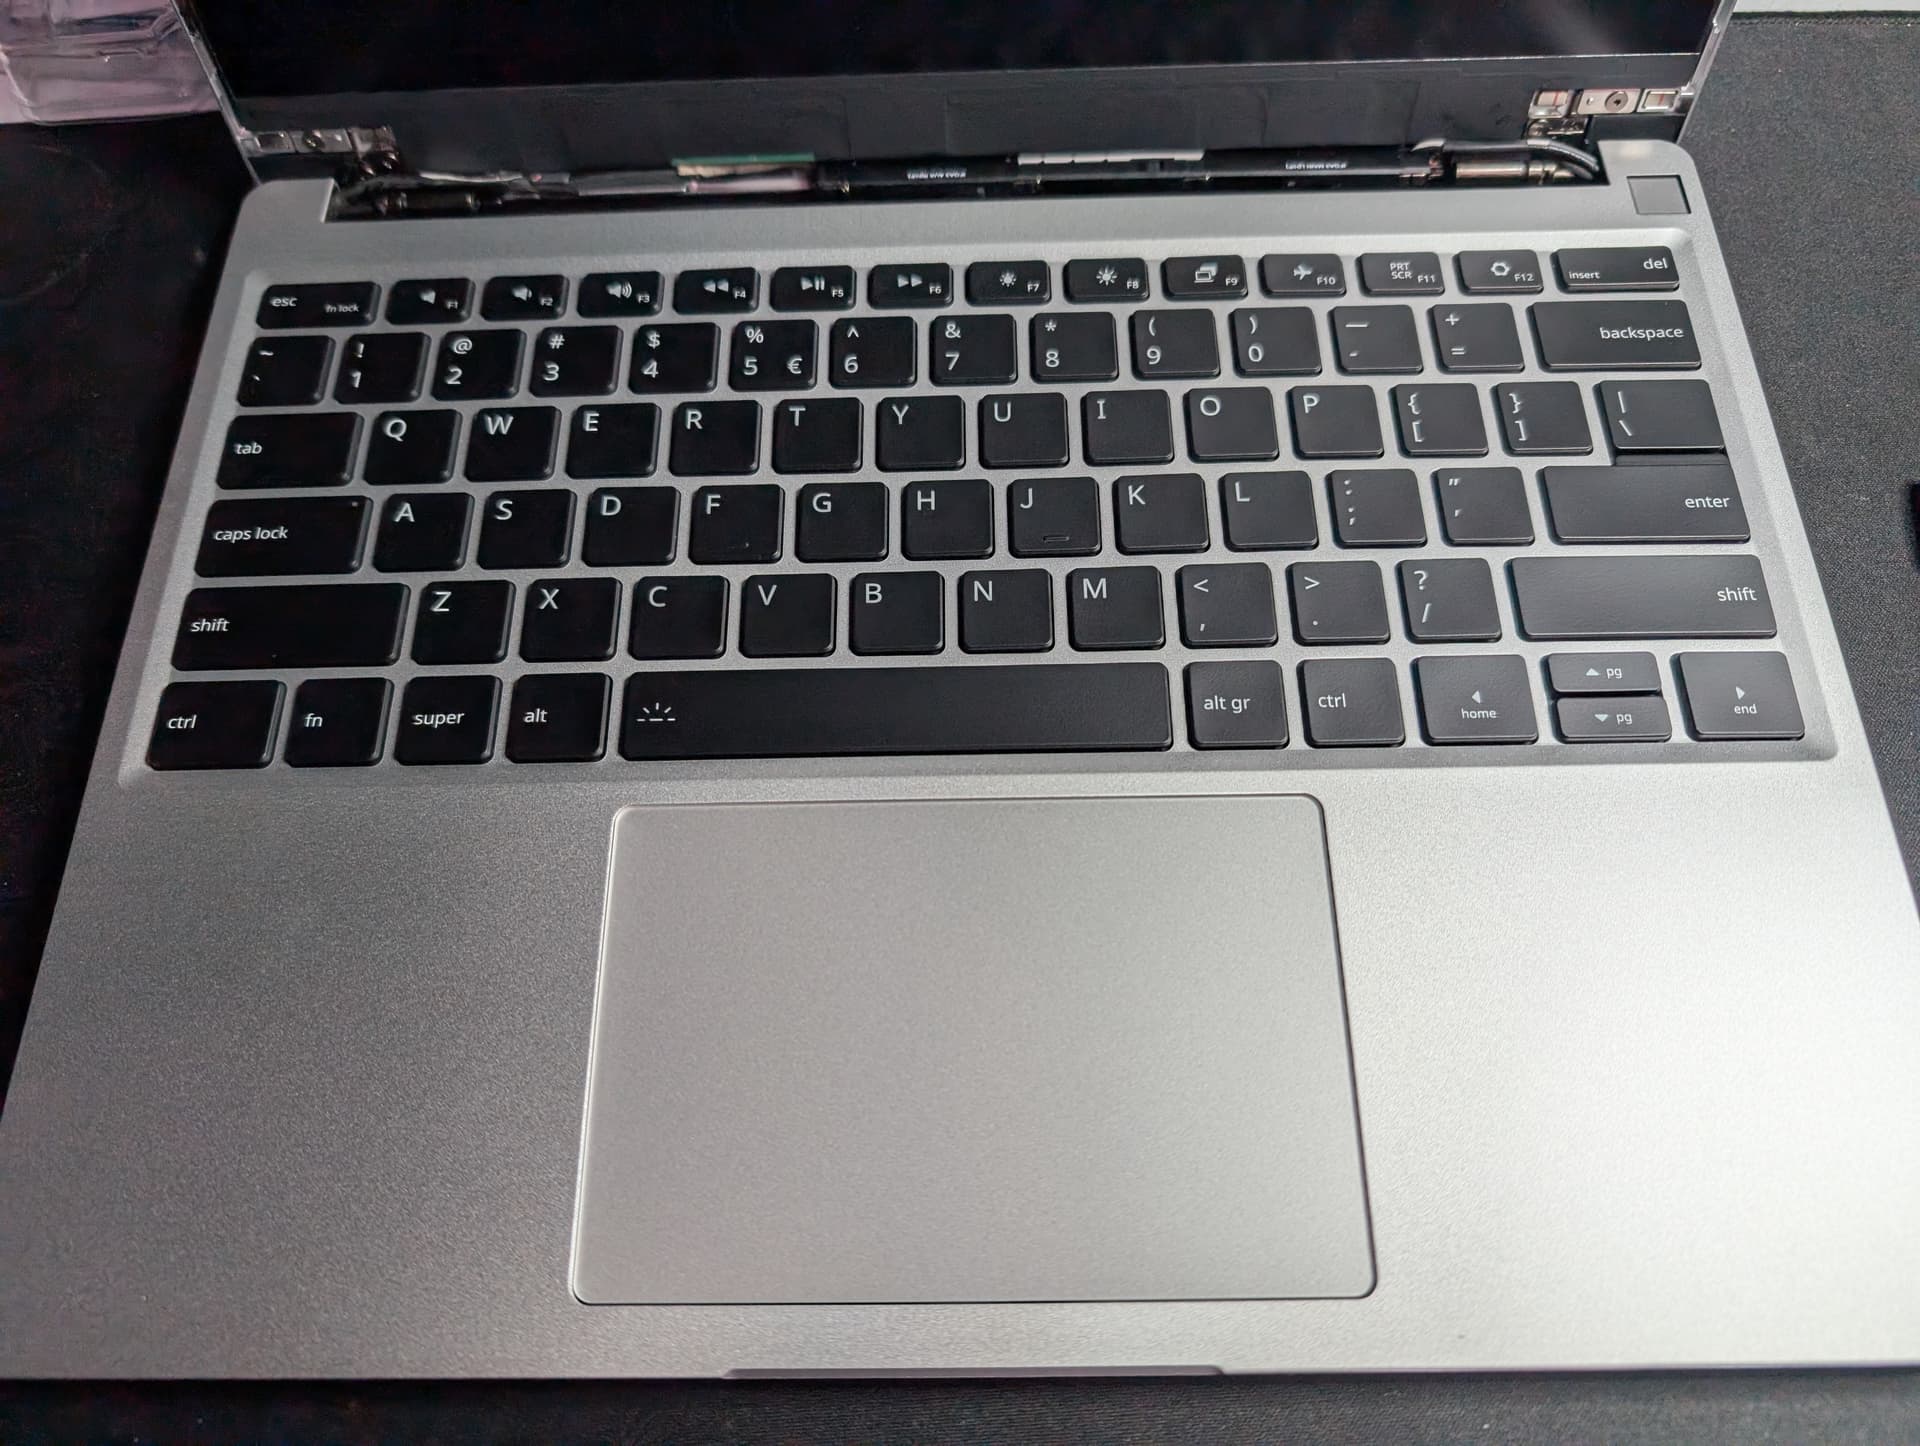
This is what it looks like with the Input Cover attached. It’s almost finished.
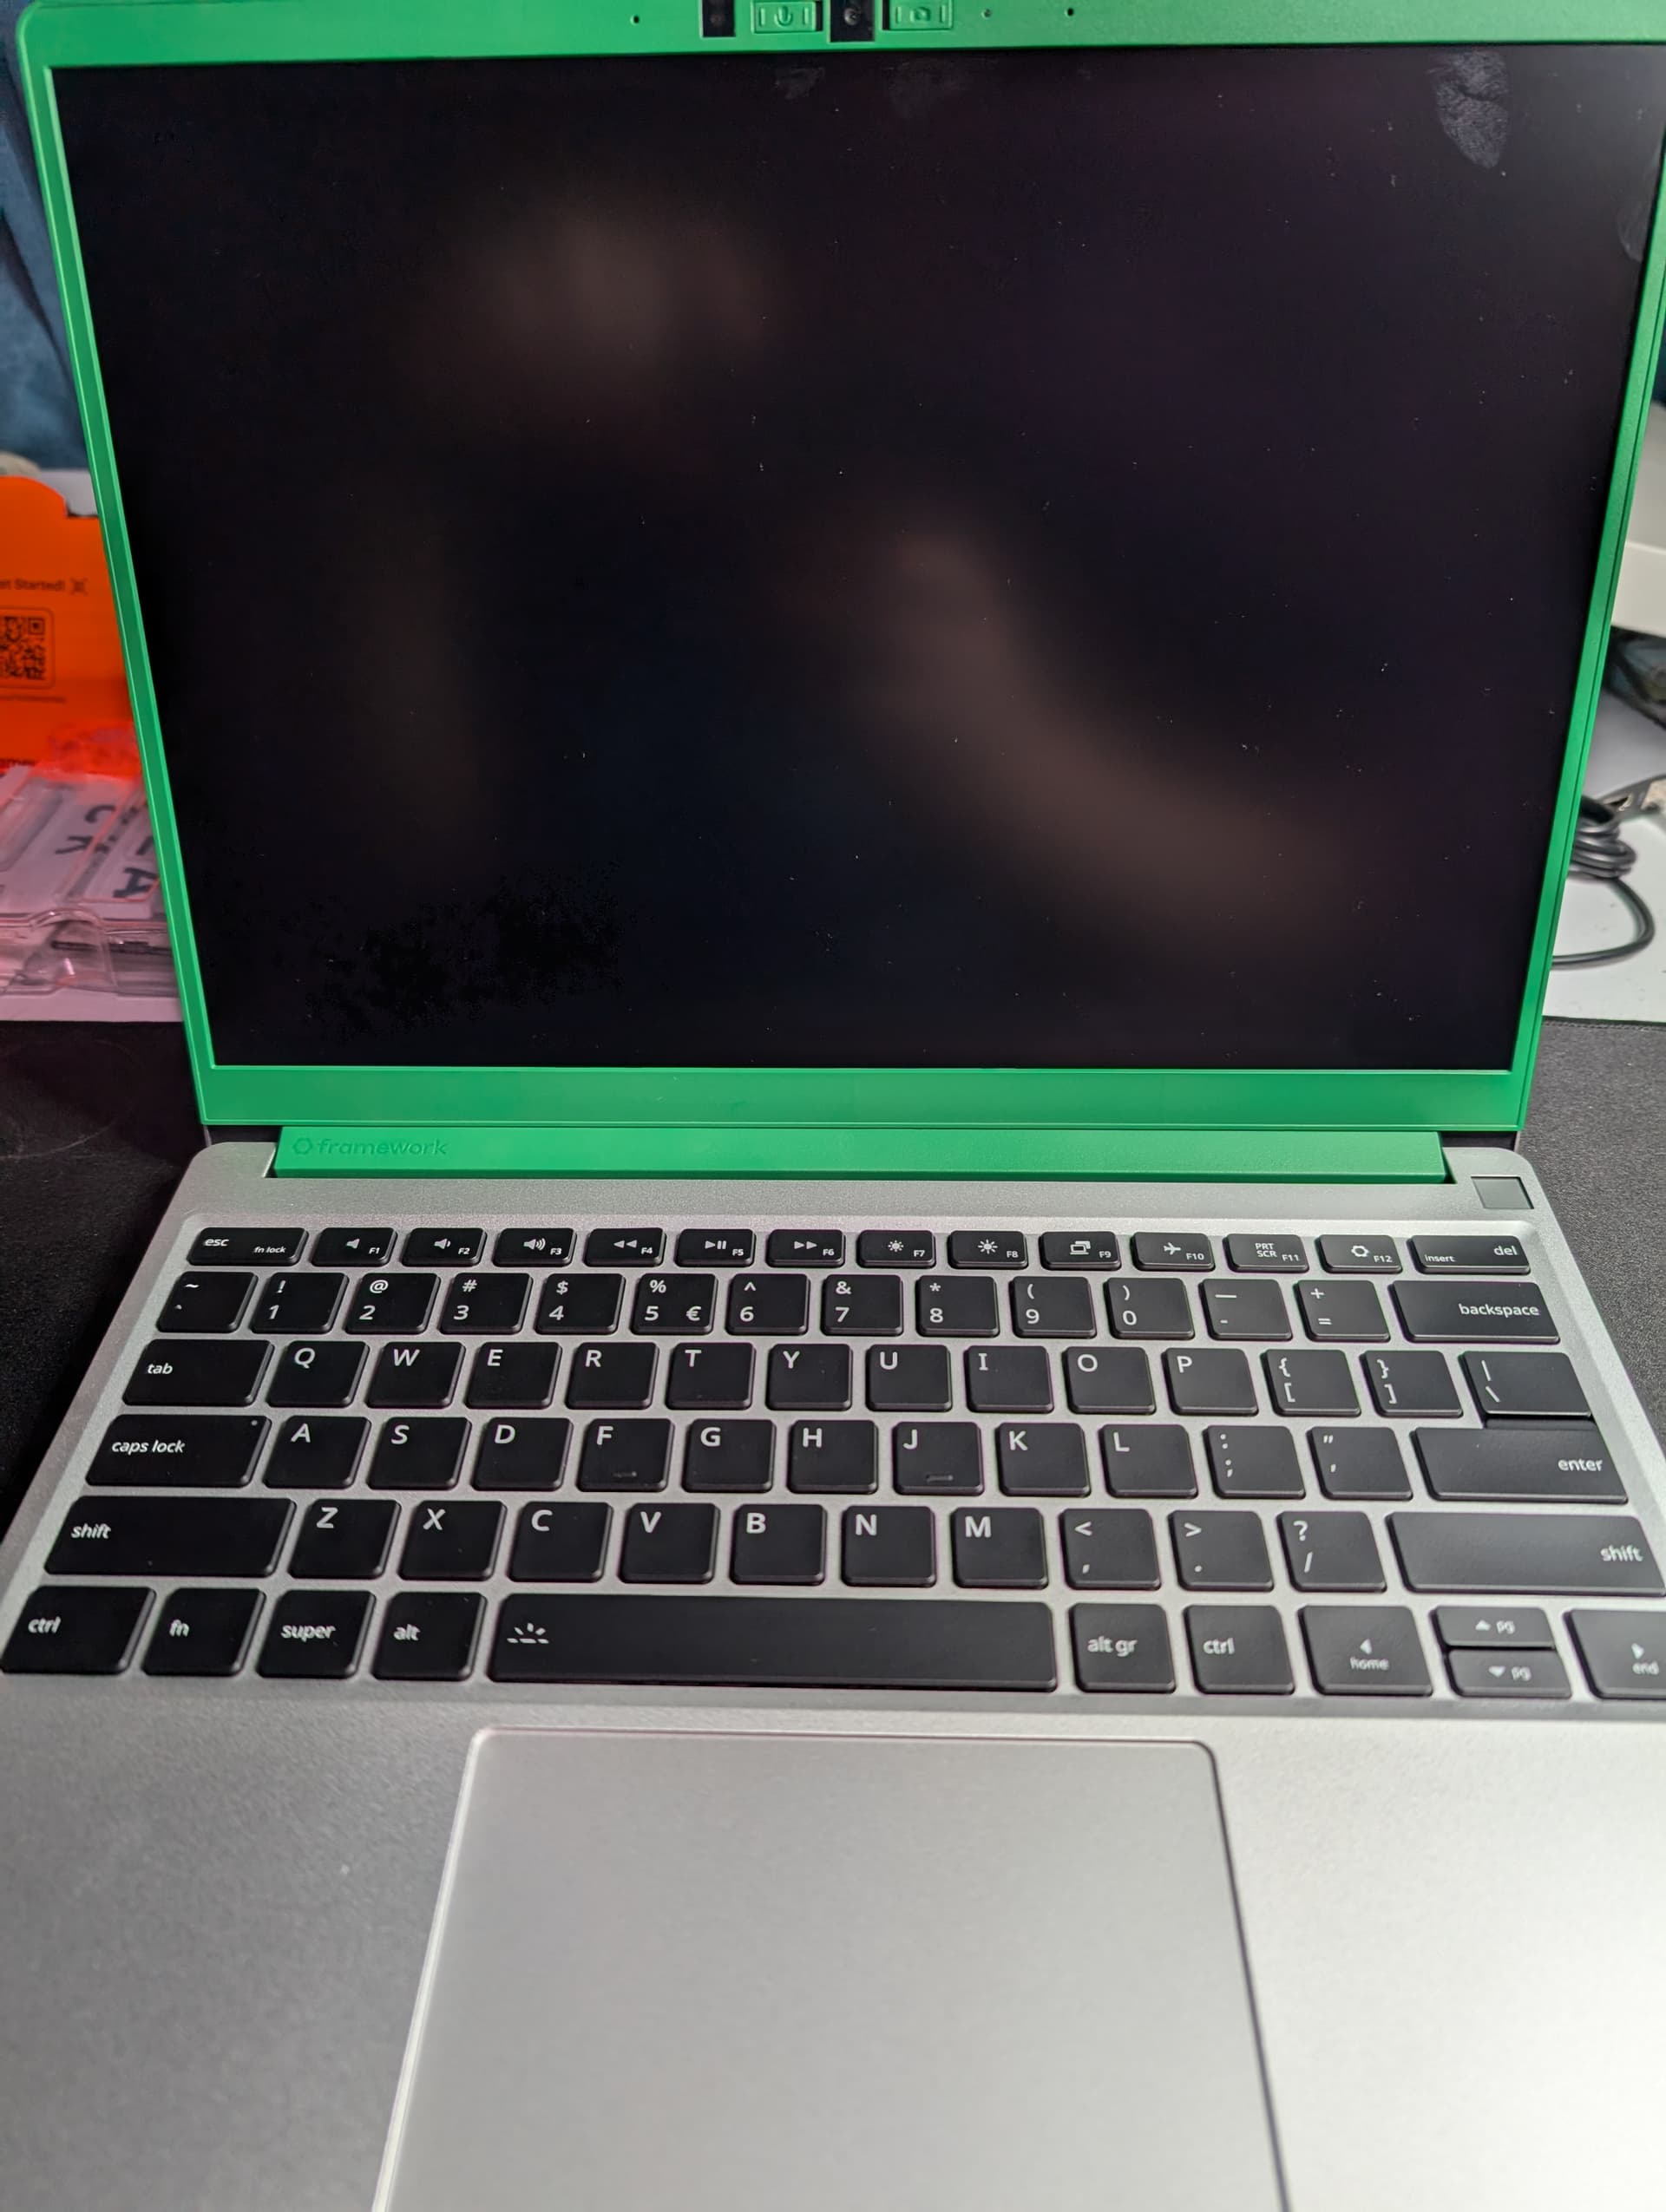
And this is what it looks like with the bezel installed. This includes physical switches to disable both the camera and microphone, independently.
This is the underside again, ready to be fastened together and have the expansion cards installed. You may also notice that the bezel wraps around and covers the previously exposed hinge. You actually open the screen to a full 180 degrees (completely flat) in order to install the bezel.
This is what it looks like with all four expansion cards installed. Those aren’t gaps, but indentations that are used to more easily remove them, along with the button in the middle to release the latch.
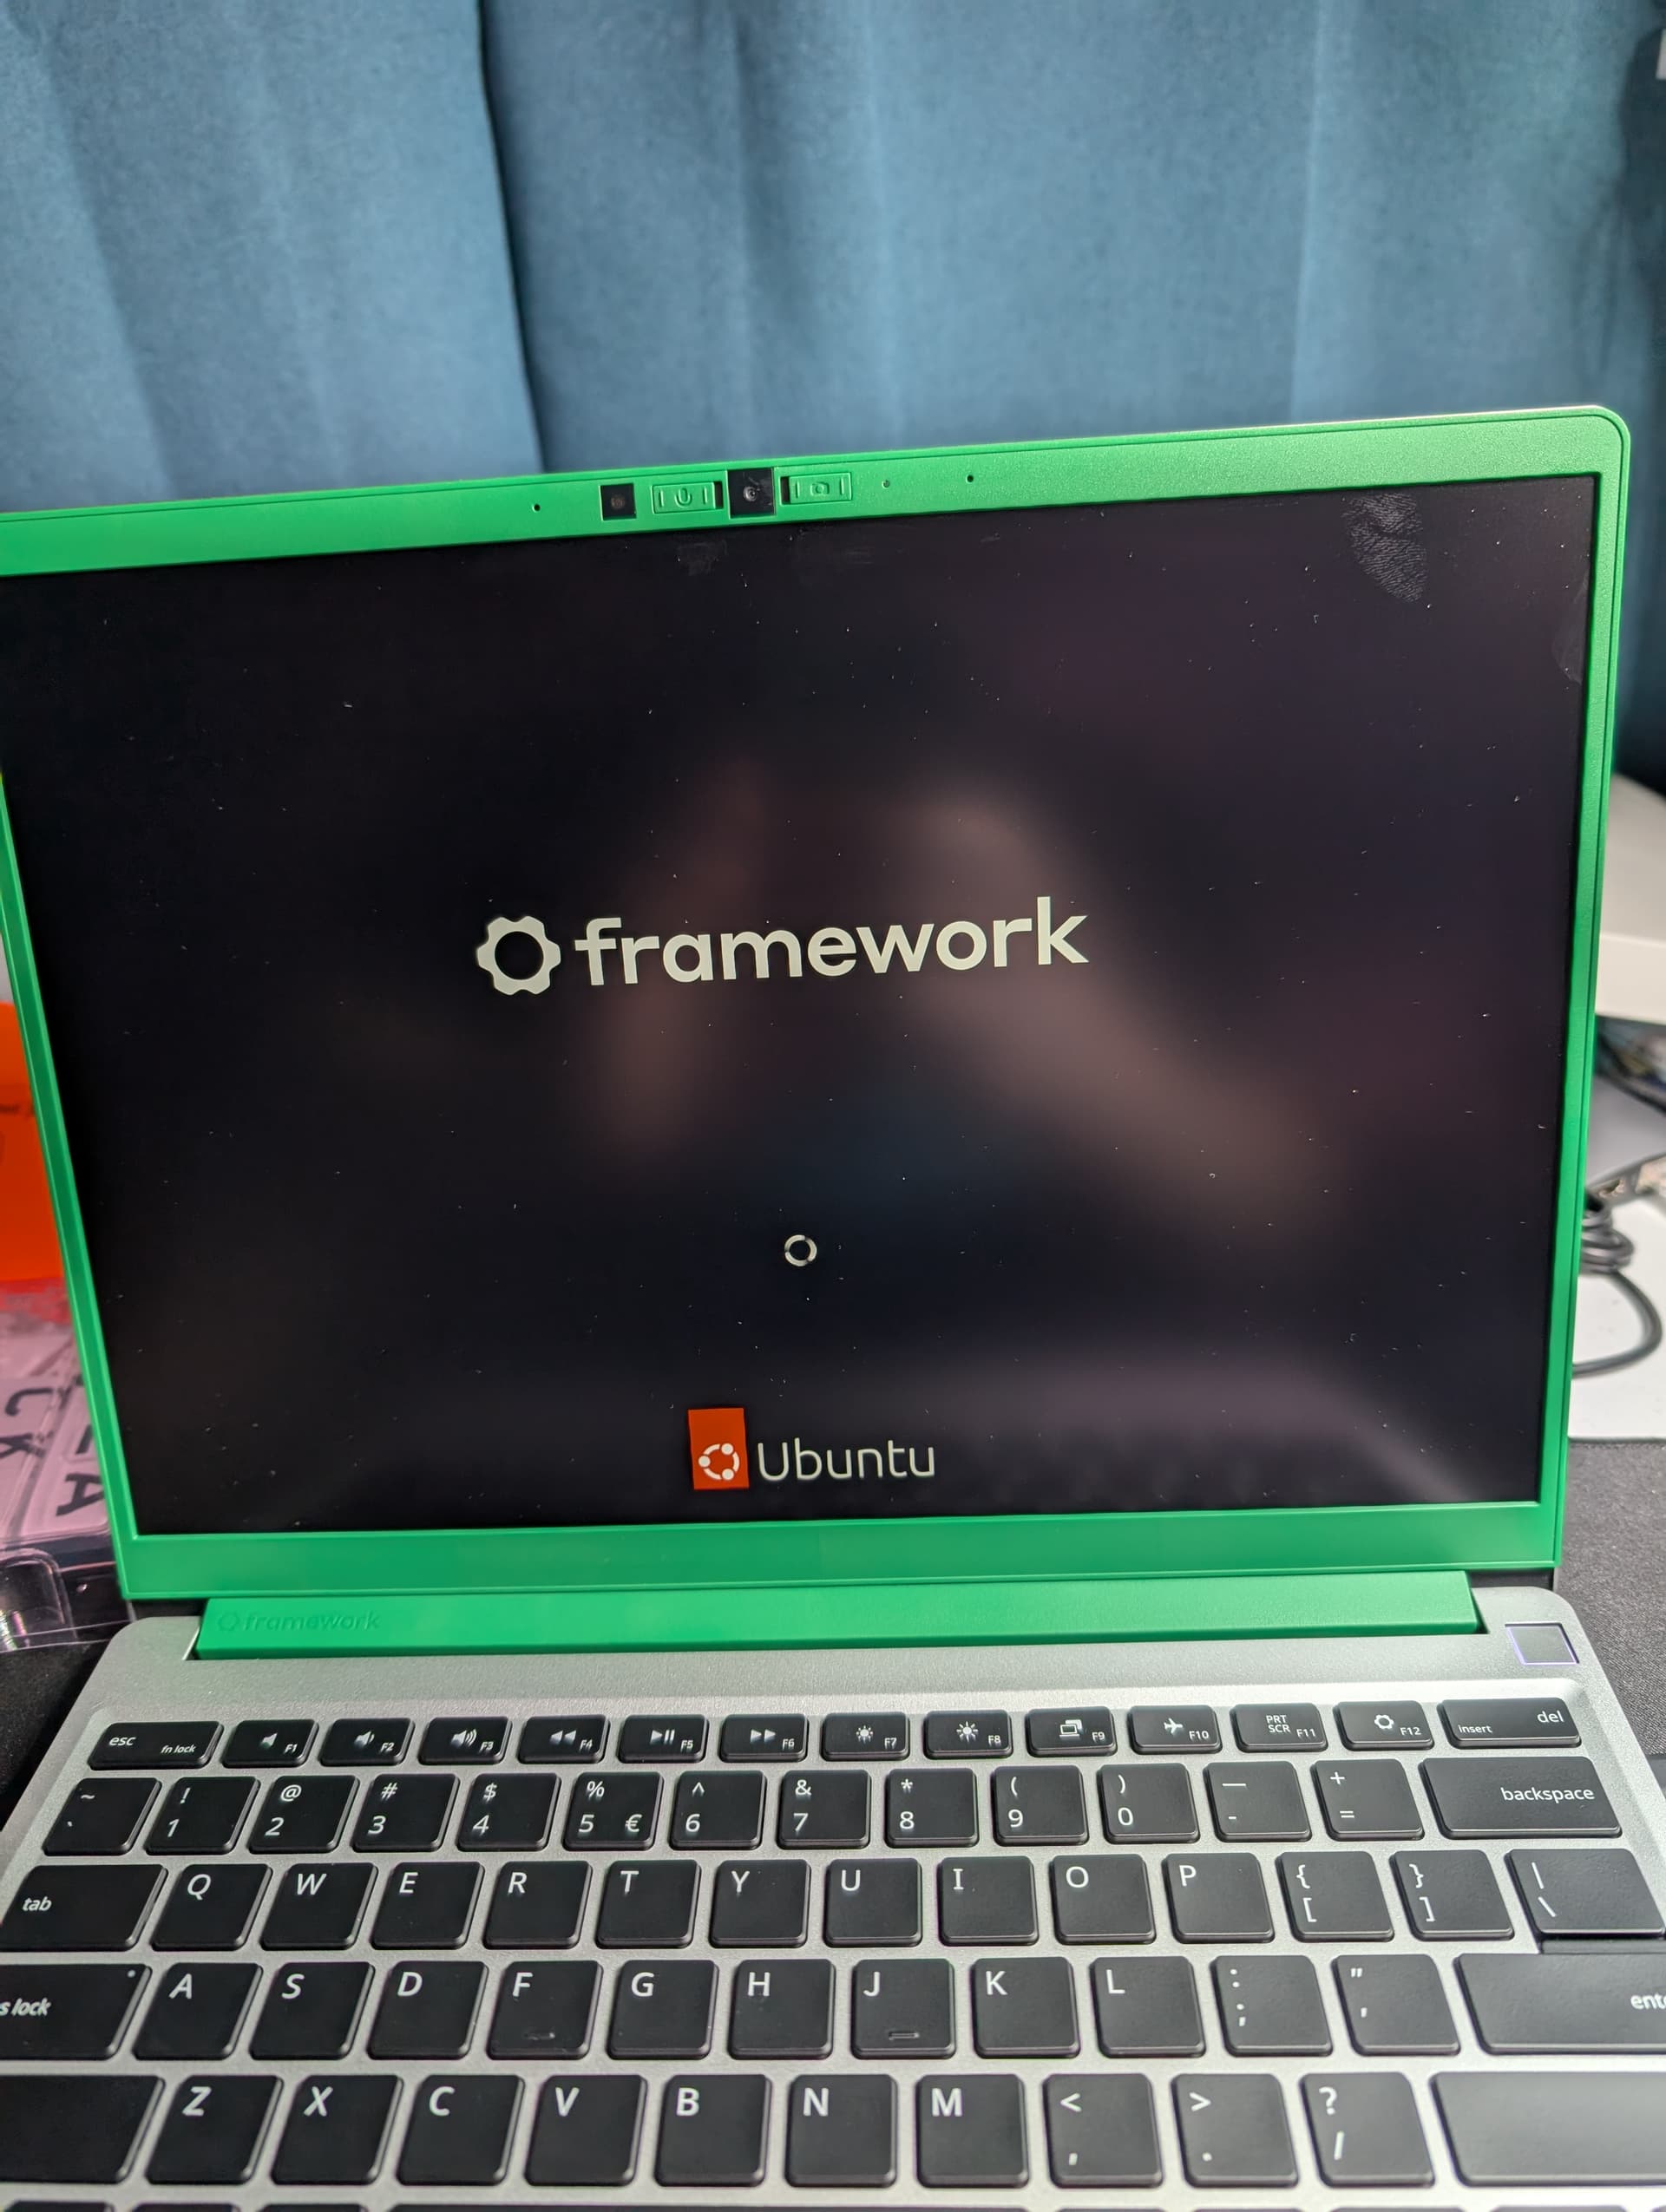
Here it is booting for the first time.
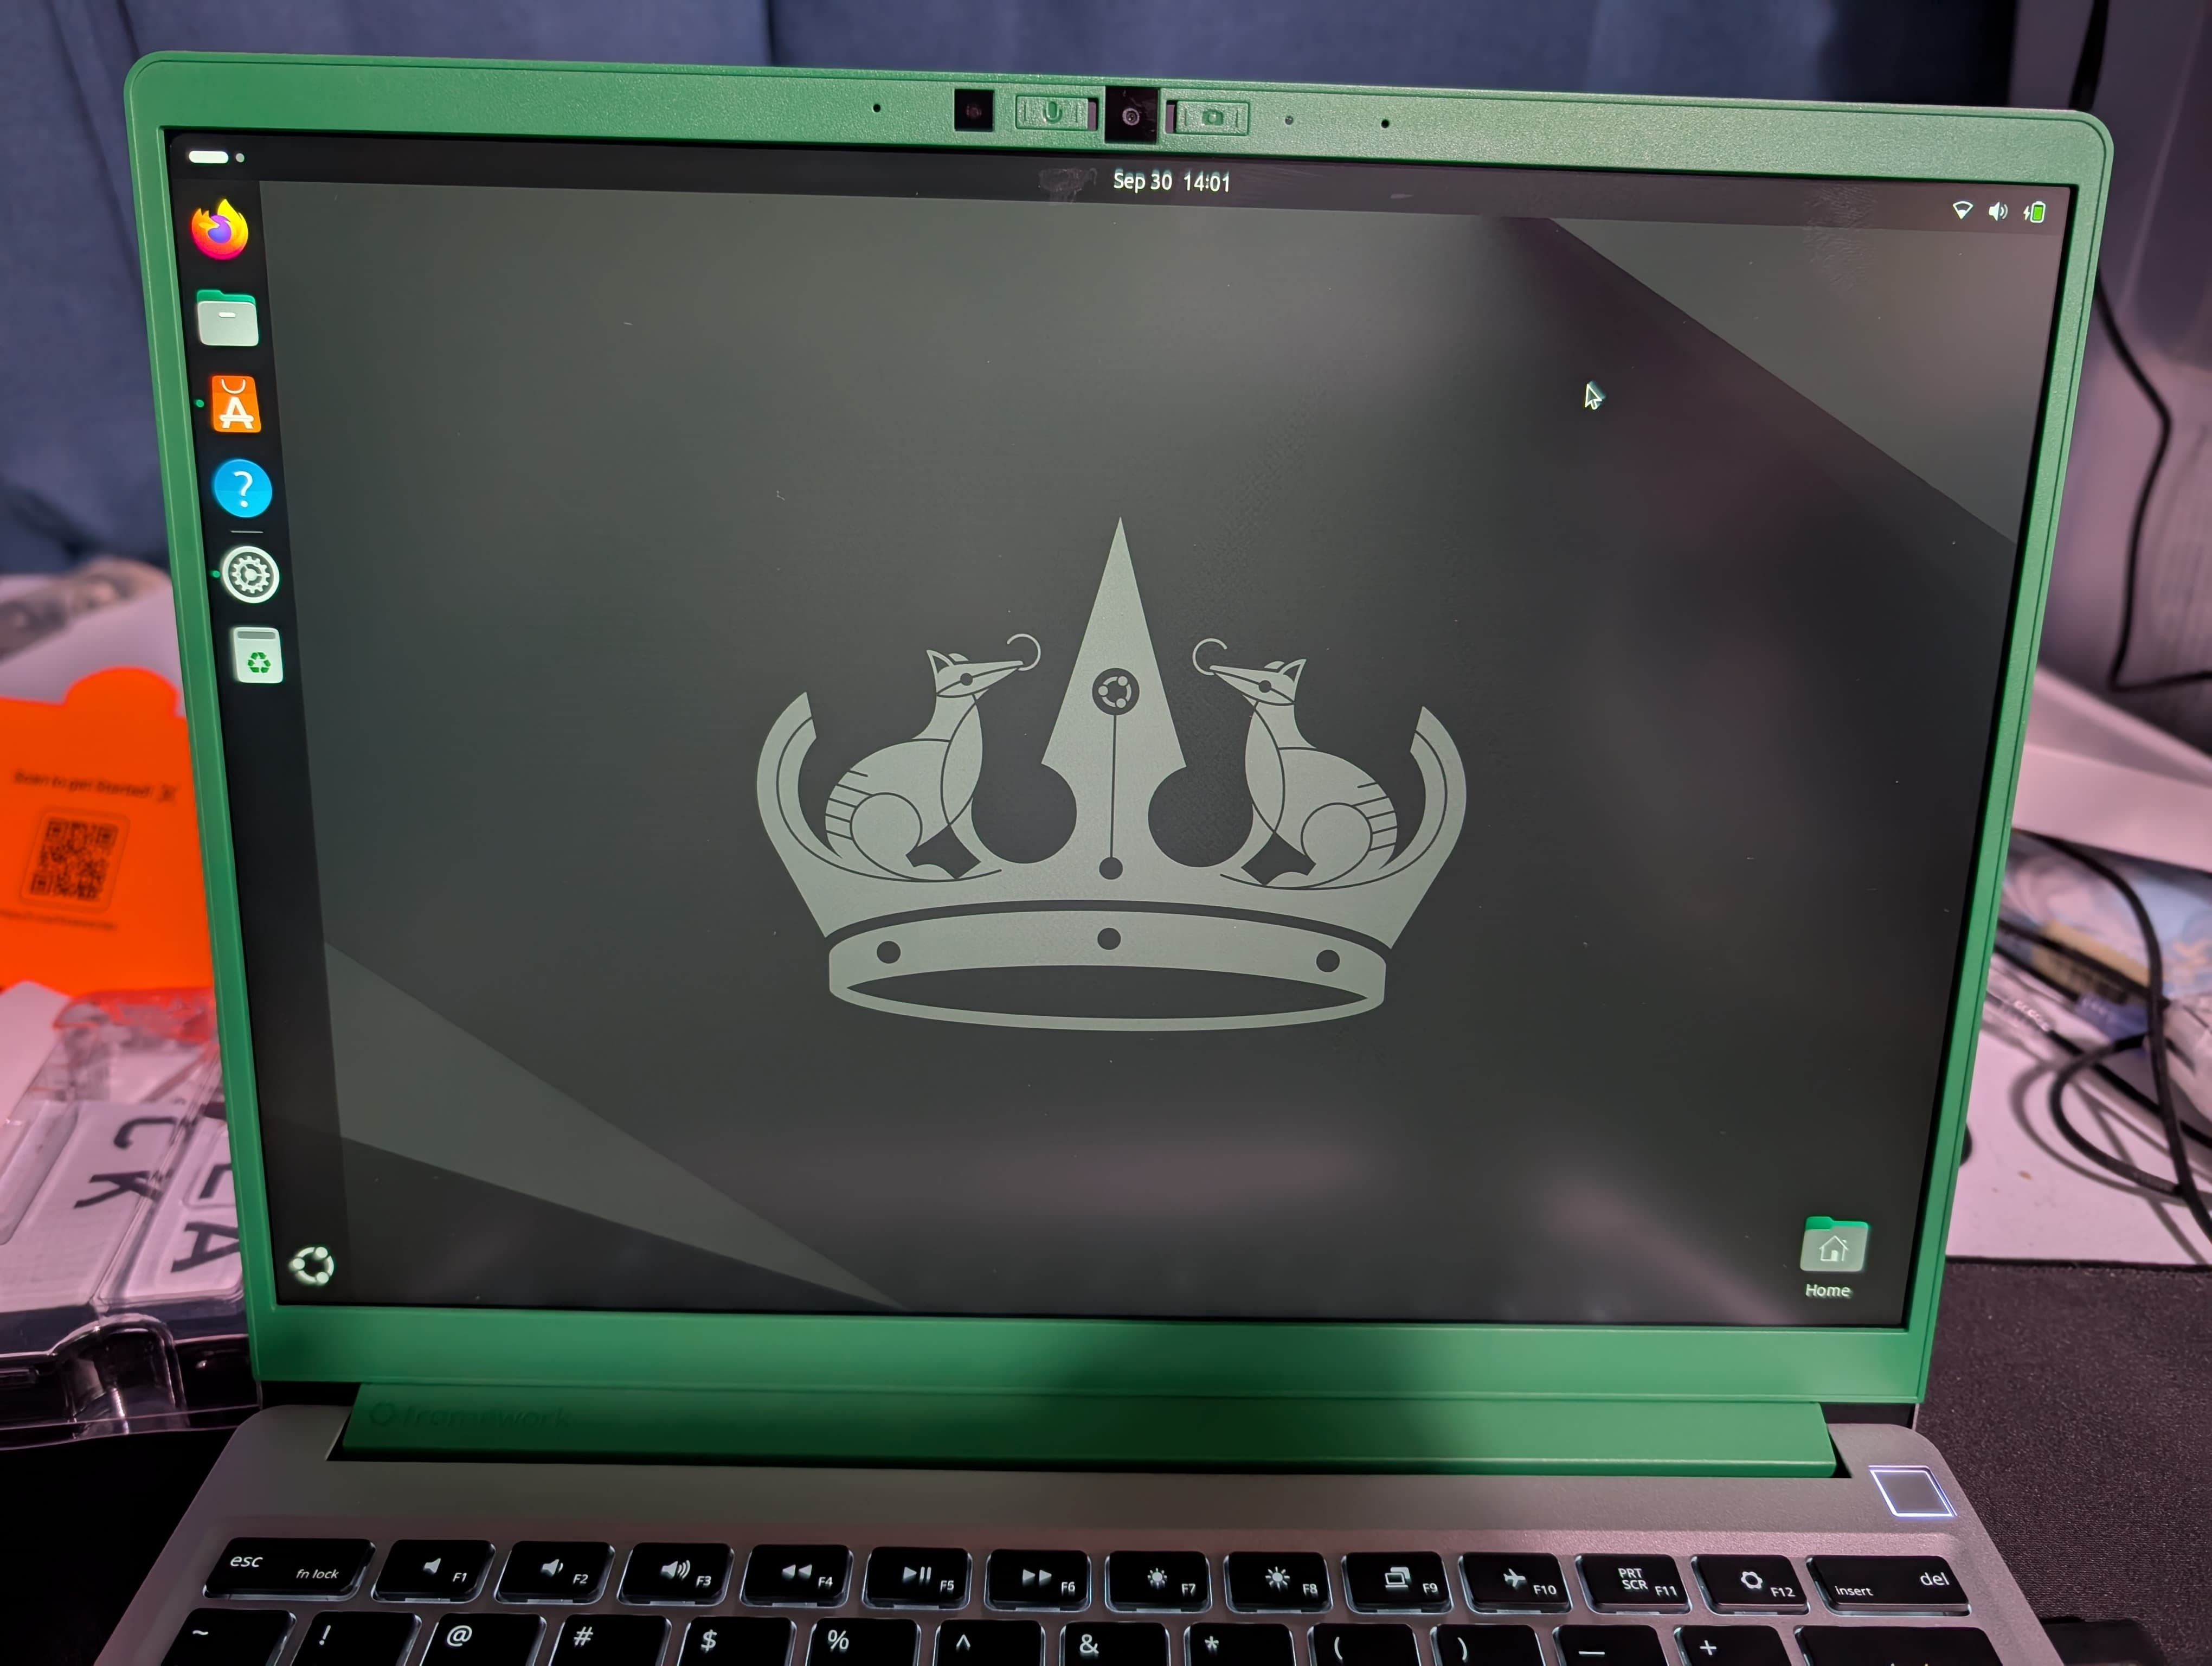
Here it is with a mostly default install of Ubuntu 24.04.
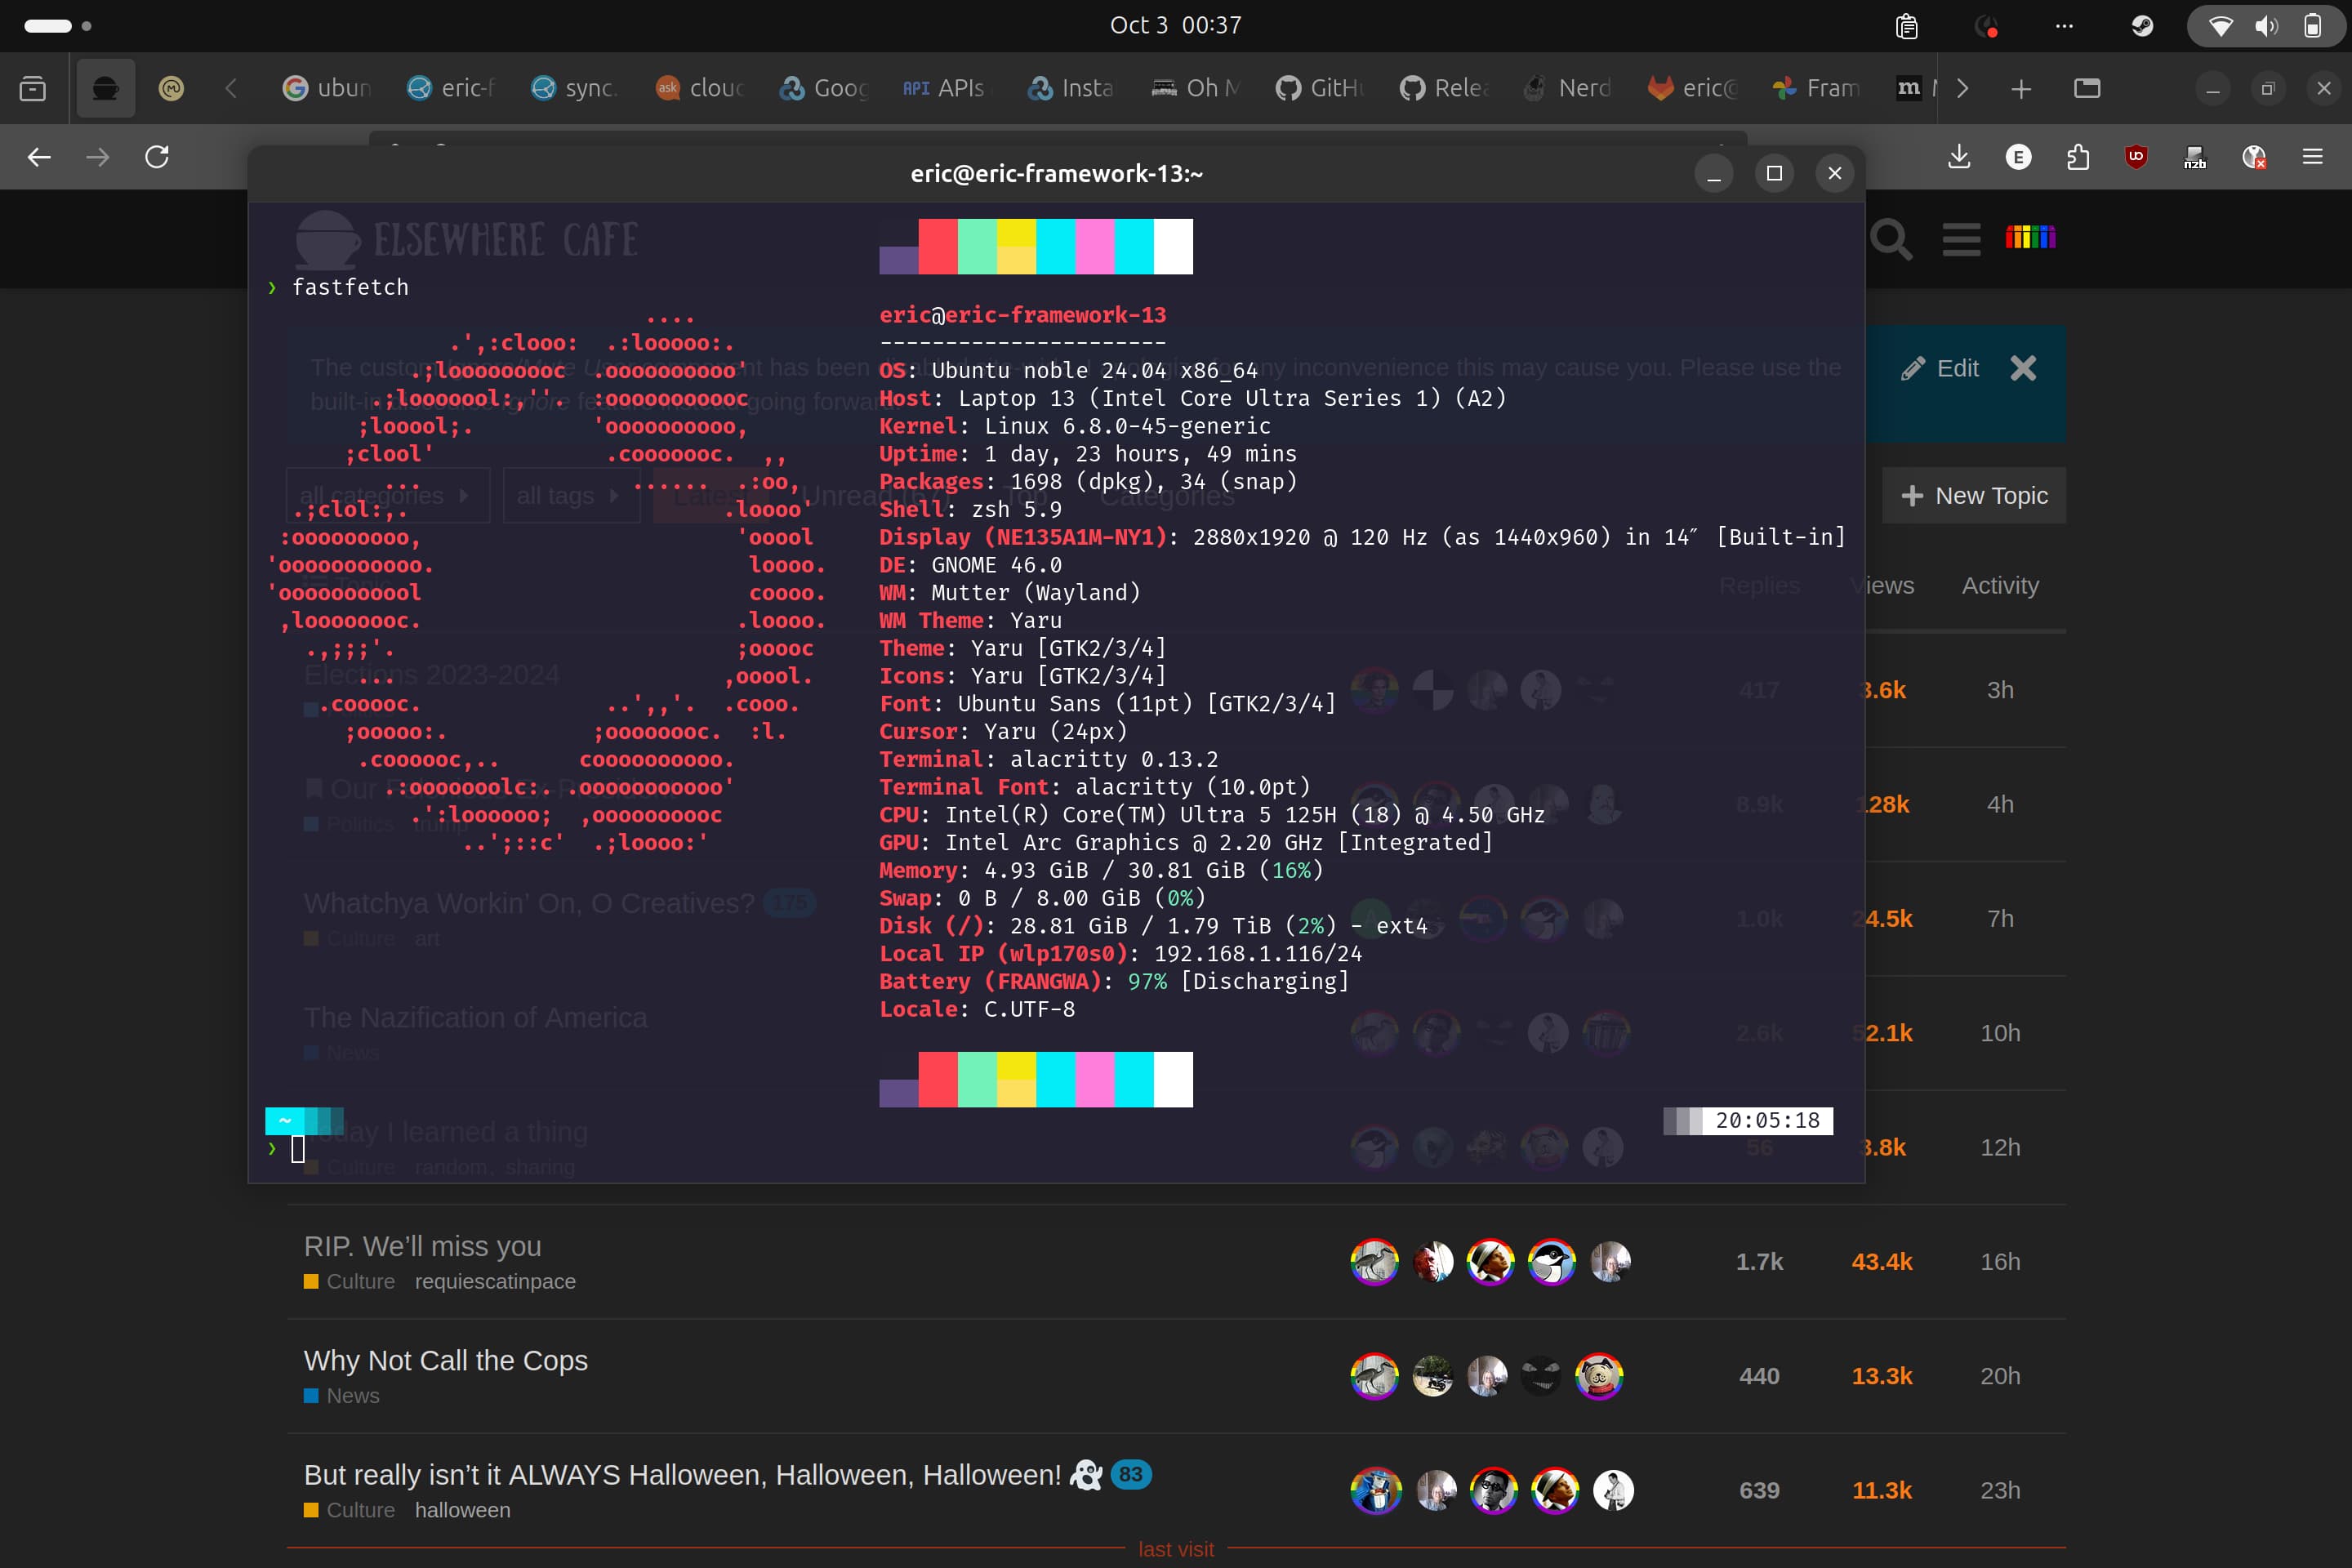
Speaking of Ubuntu, here’s the obligatory fastfetch screenshot:
I’d like to cover a little more on Linux in the next installment. In the meantime, feel free to ask me anything about all of this.