That’s a great pickup line when you’re into pirates.
17 Likes
nah man, that’s super cool
13 Likes
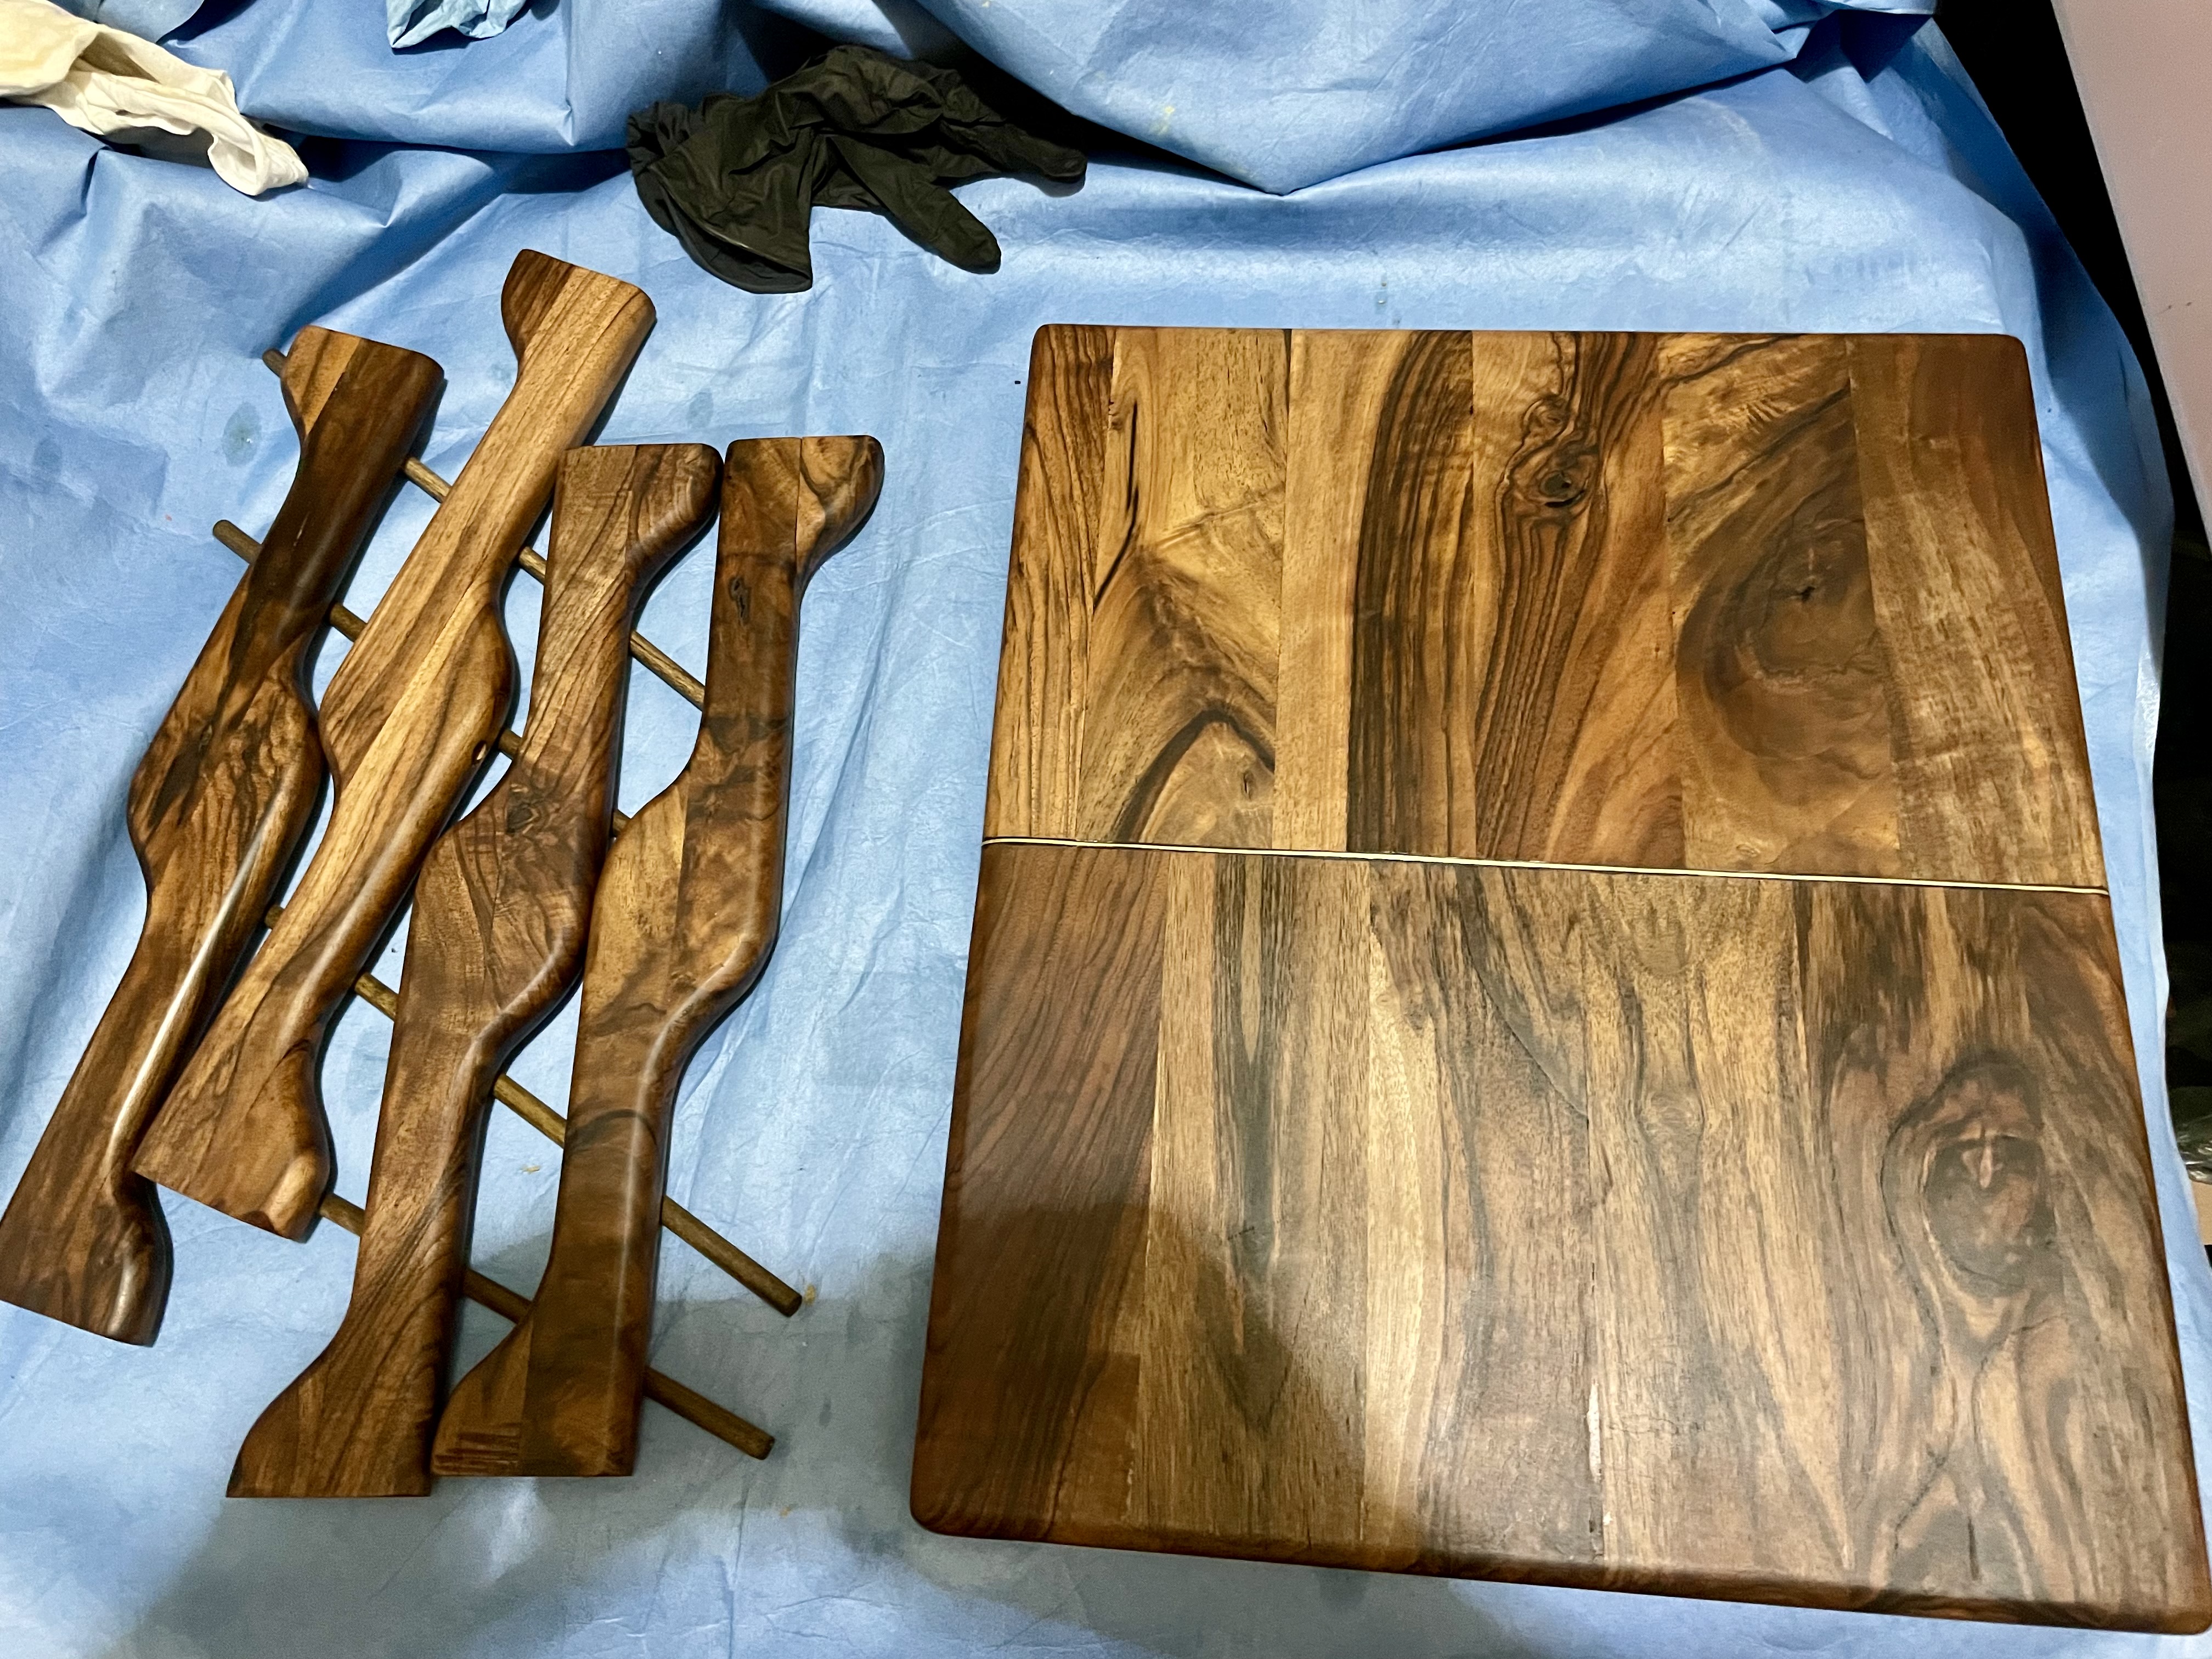
[blush] It’s just really nice wood.
I consulted my client (my daughter) who didn’t like how jarring the middle seam is, so she suggested a brass or black separation between the two halves. So I routed in a v groove and inlayed it with brass wire and backfilled with black epoxy.
Now with the first of multiple coats of varnish:
19 Likes
Like an open book!
Lovely, indeed!
16 Likes
Thank you! I hadn’t seen the book visage but now I do. Perfect, since my daughter is an avid reader!
15 Likes
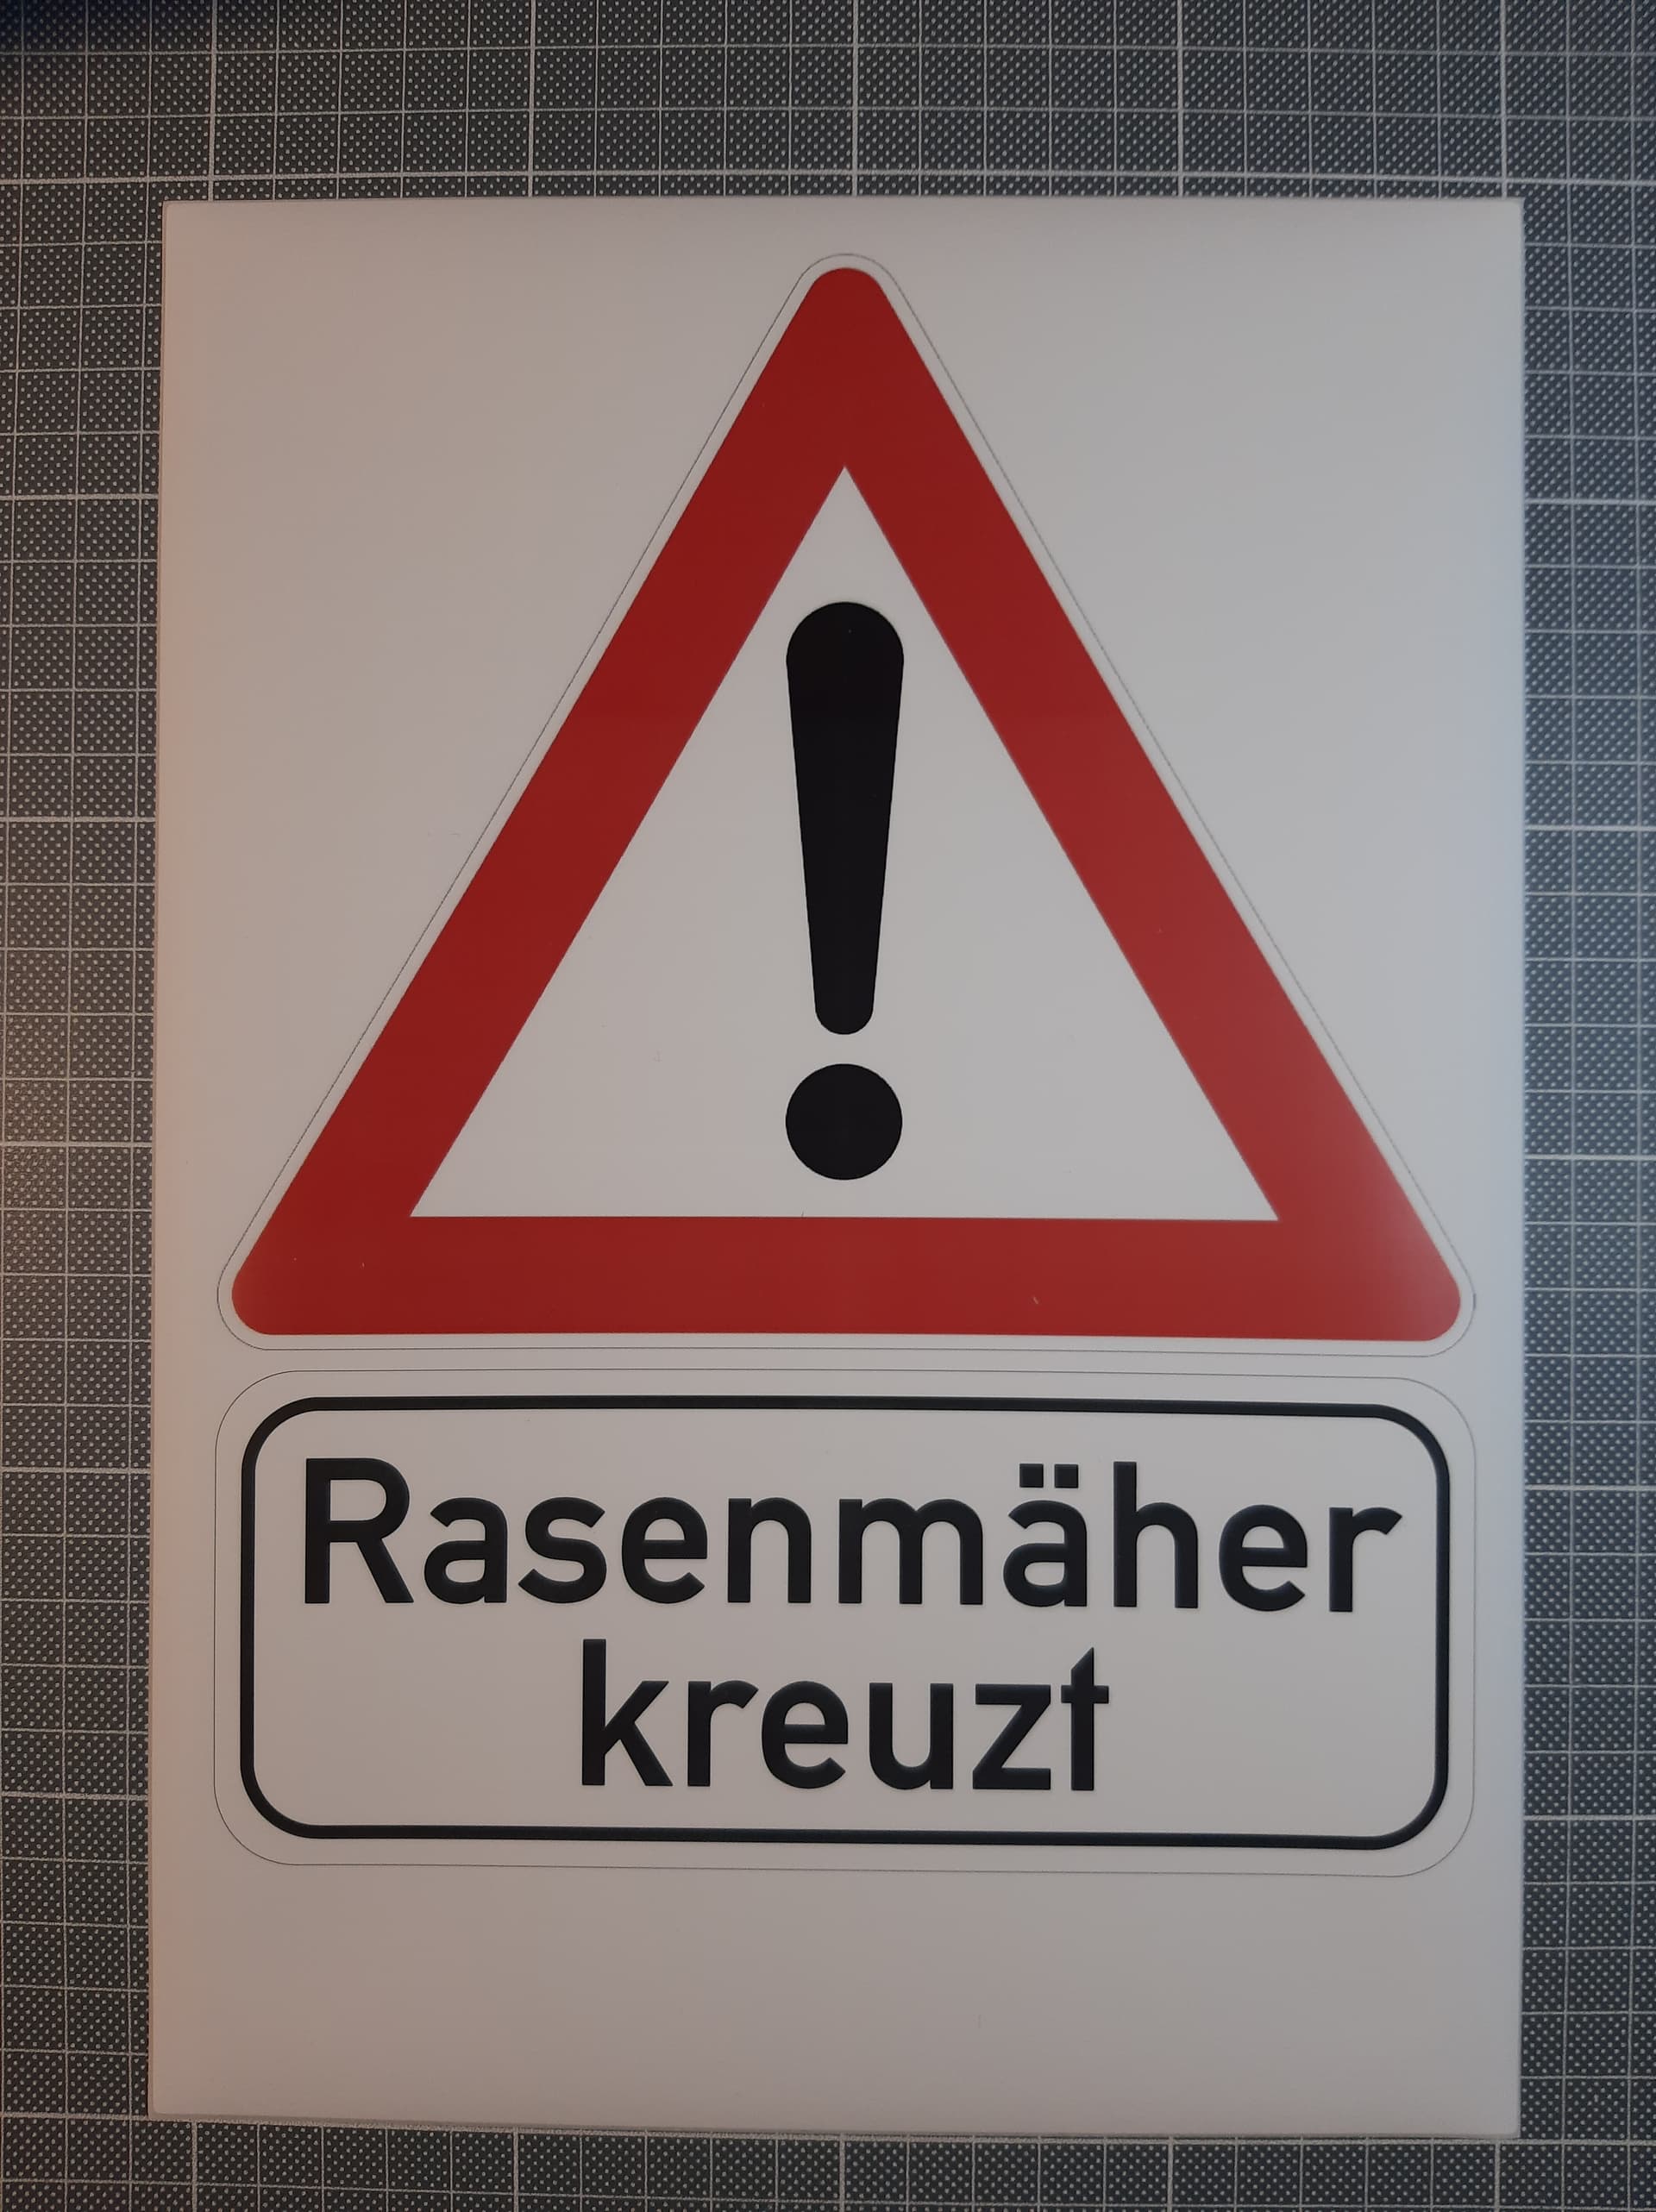
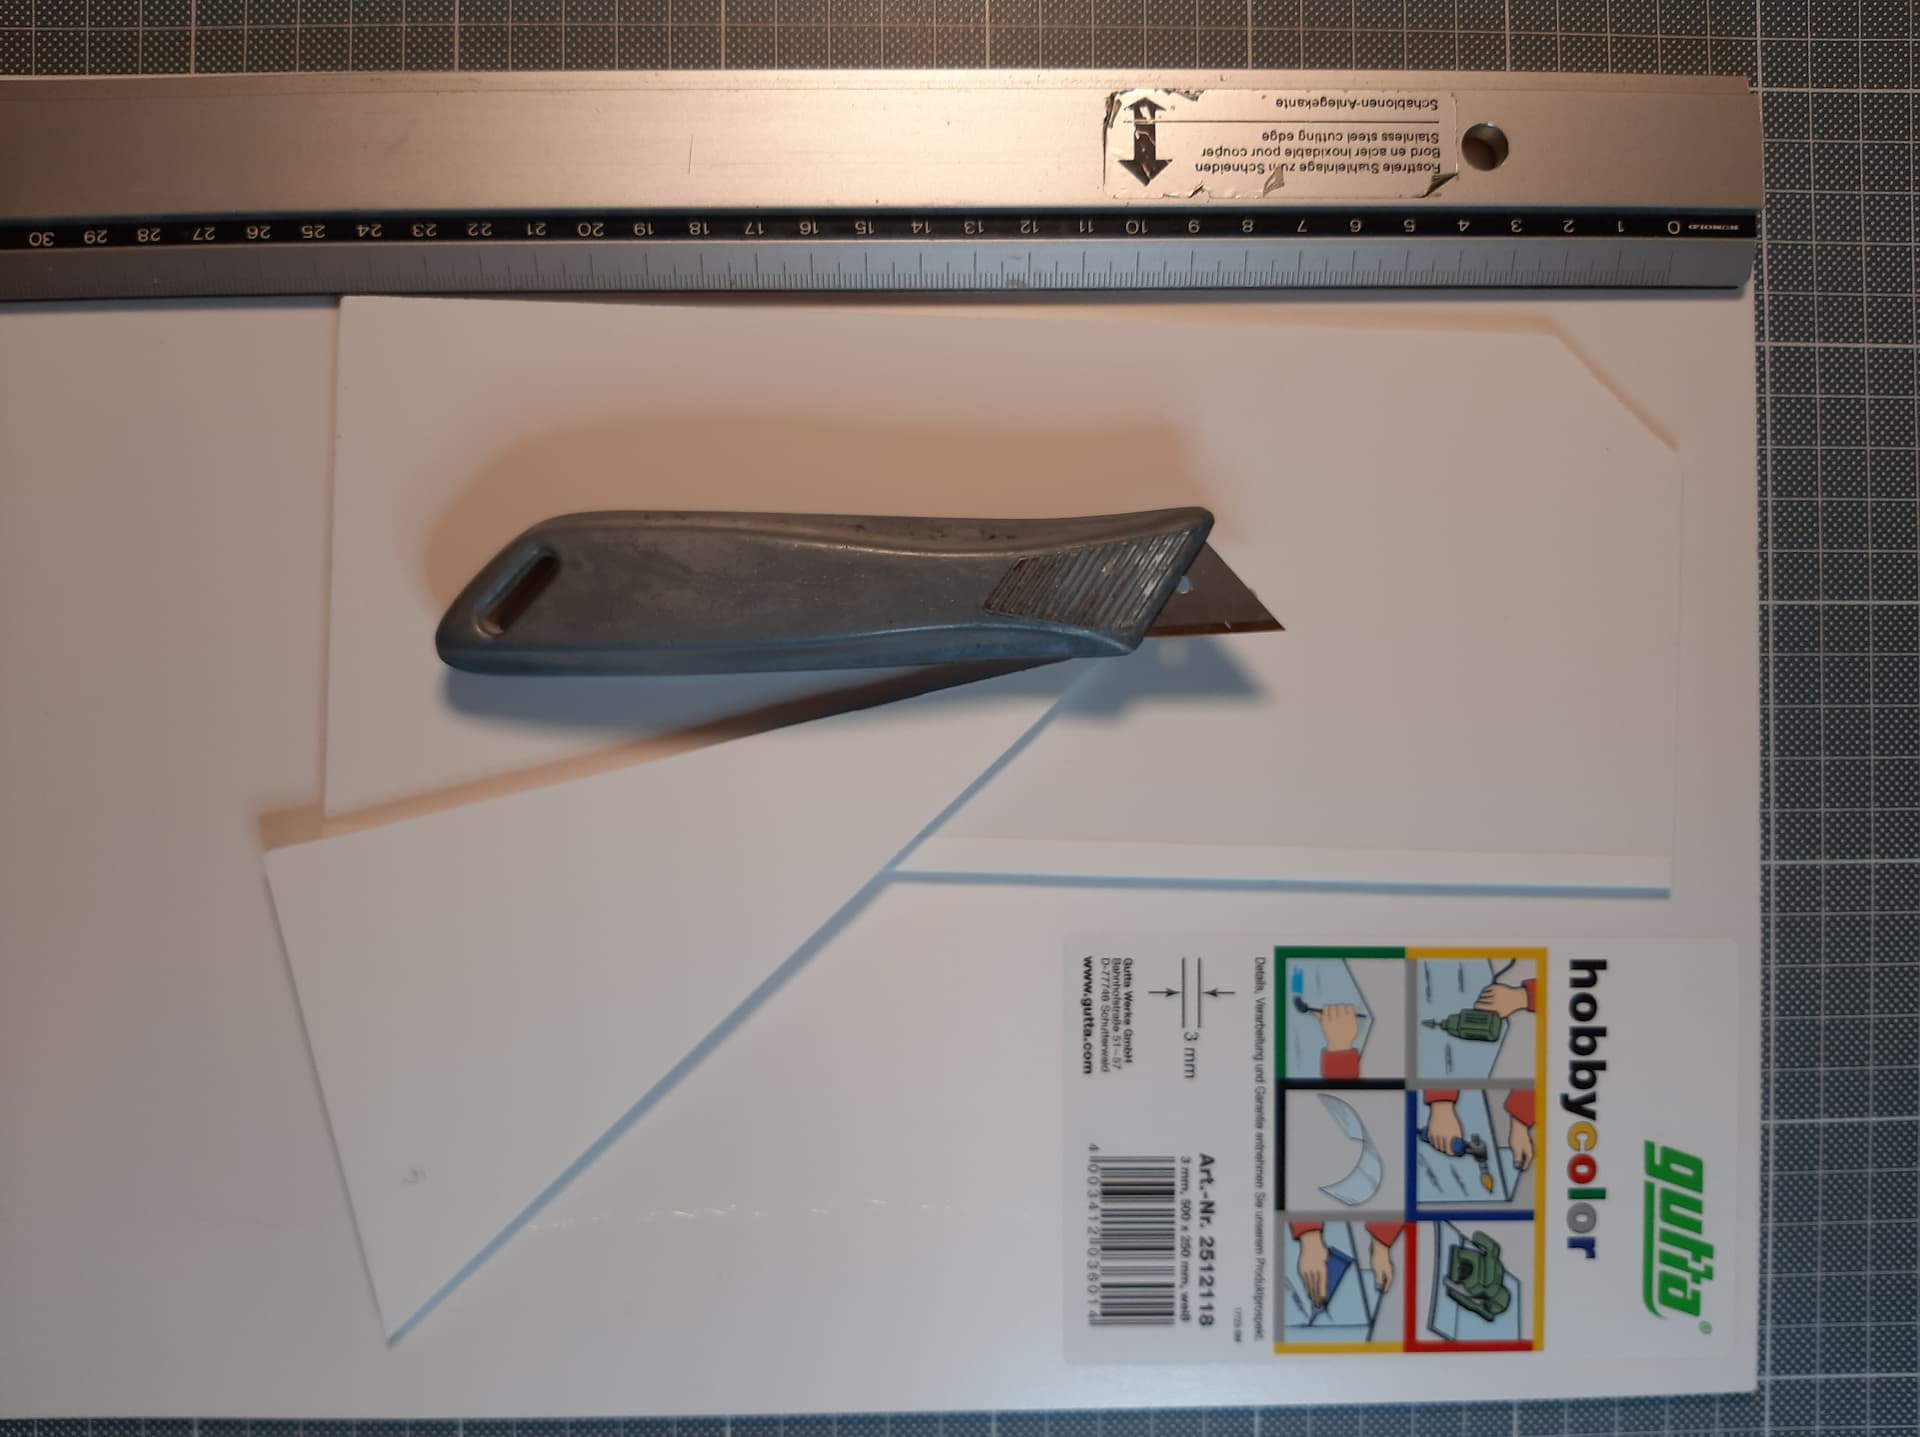
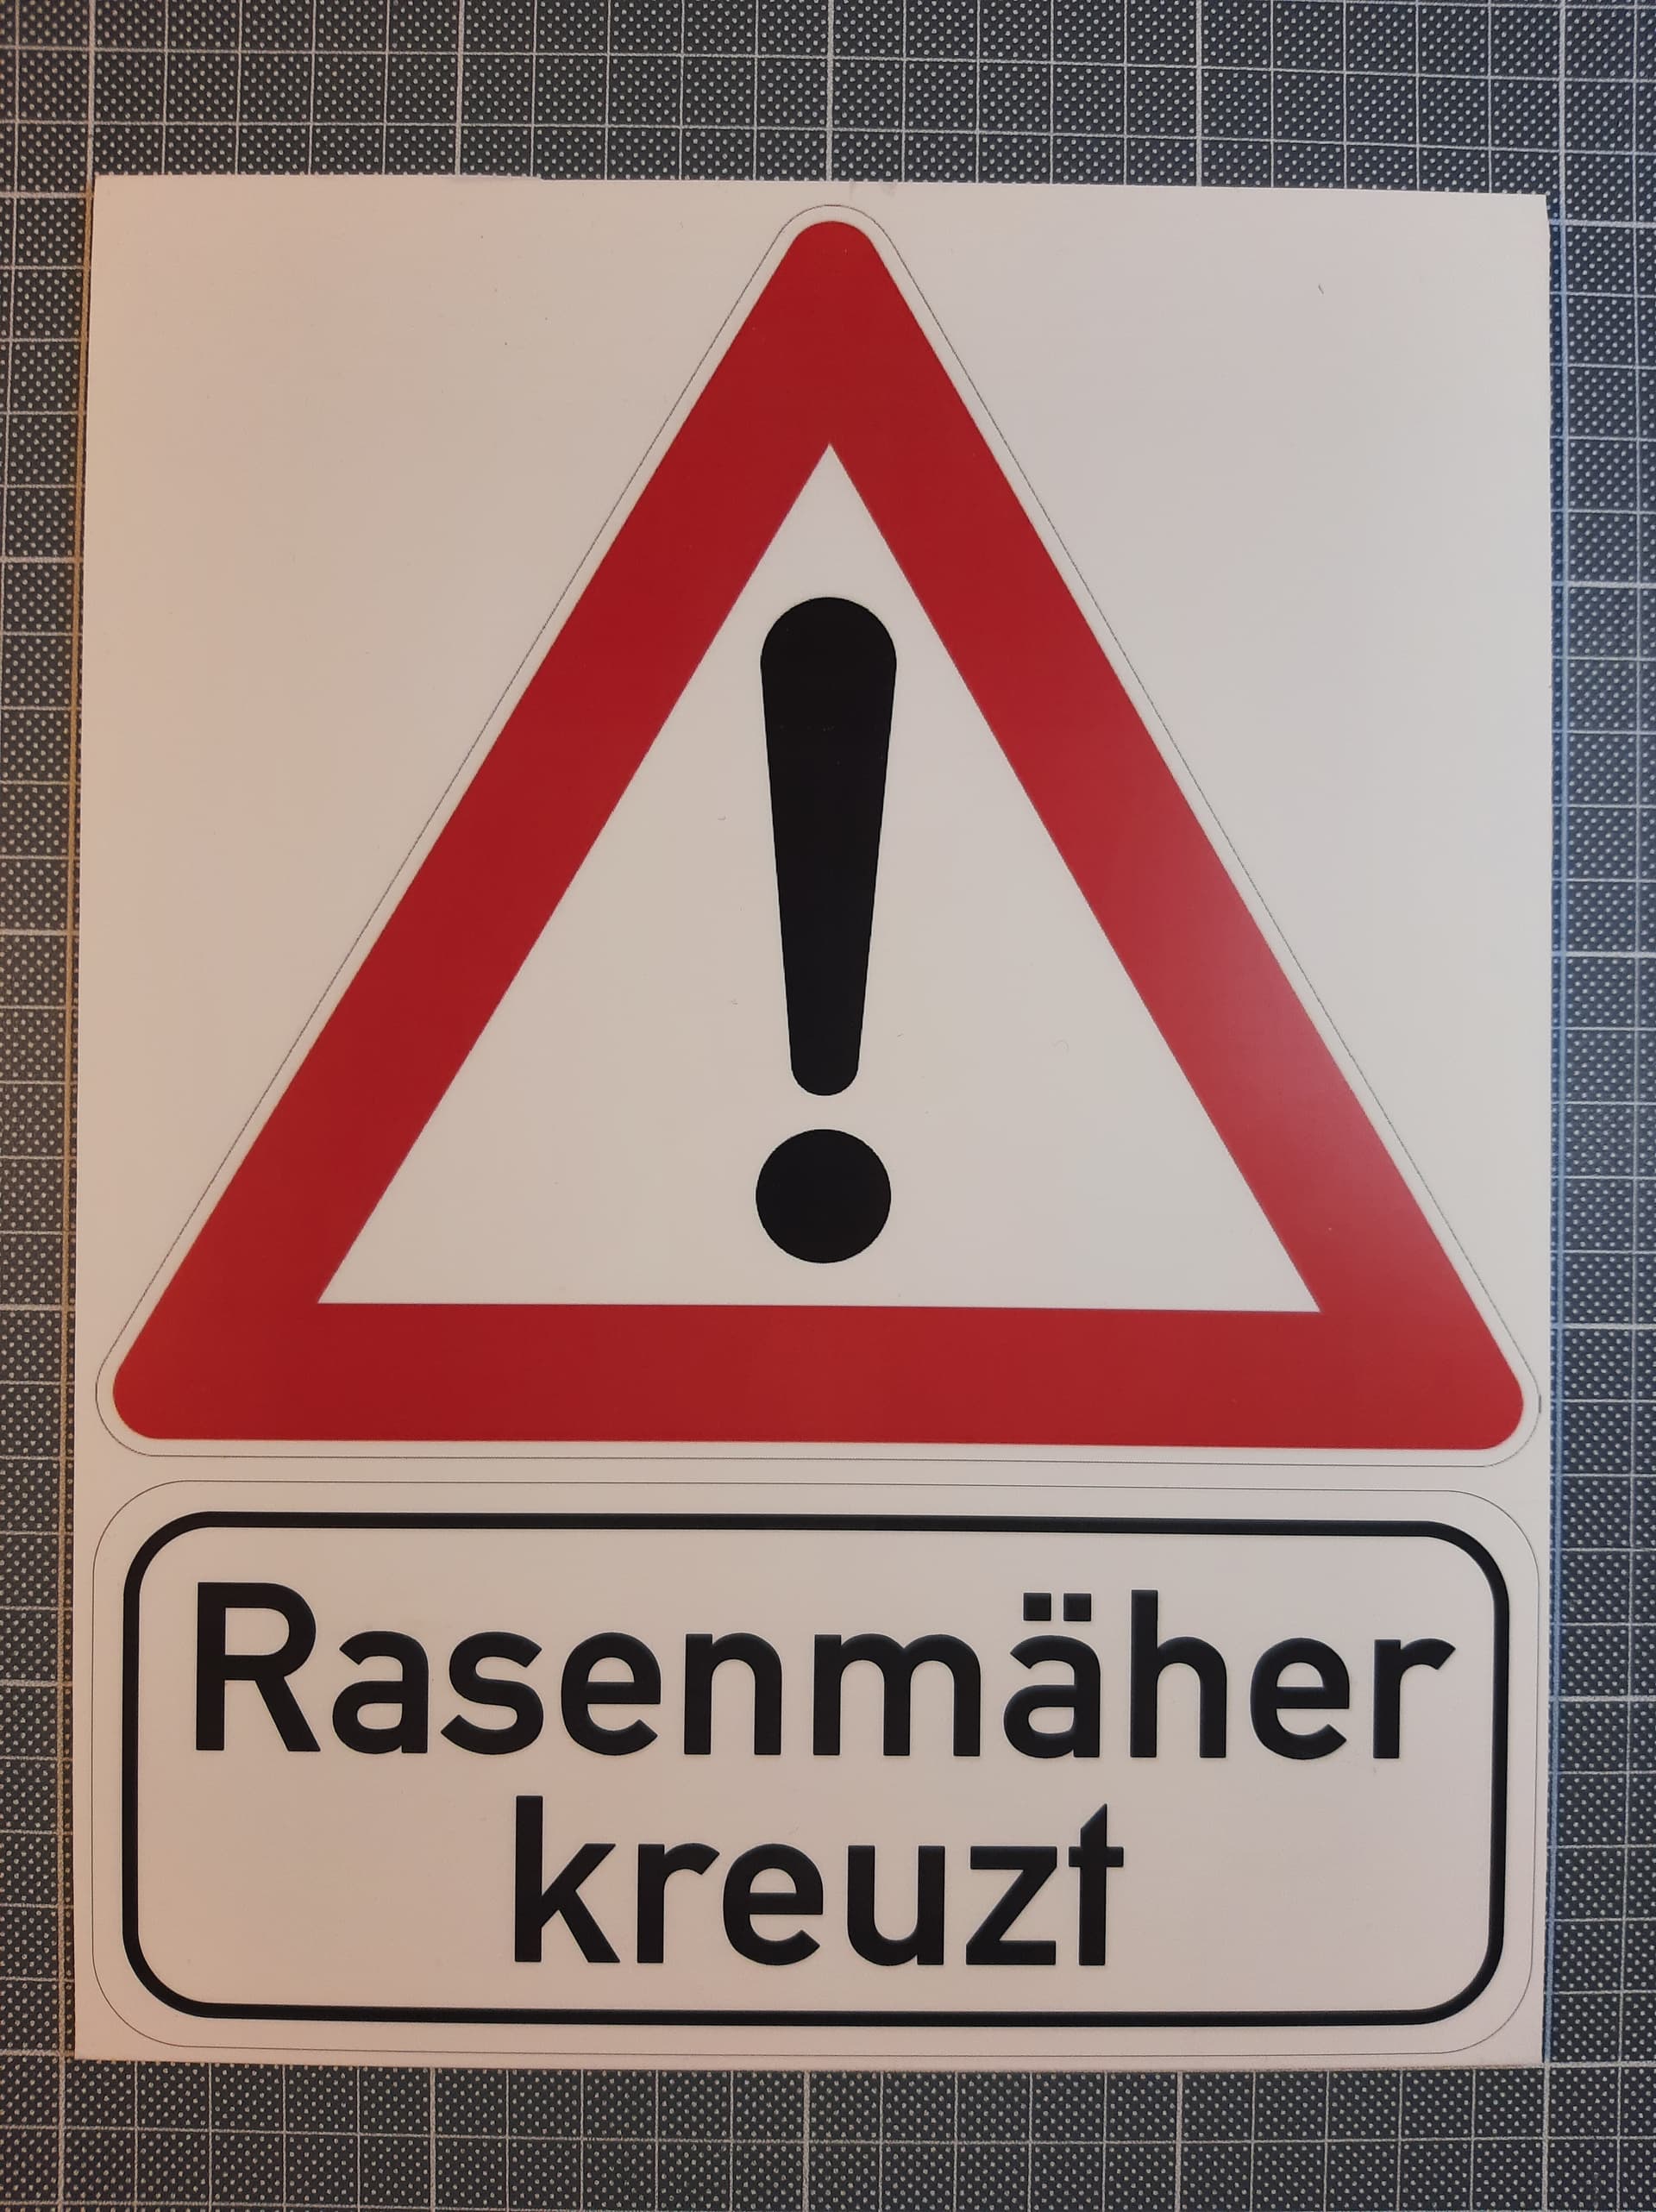

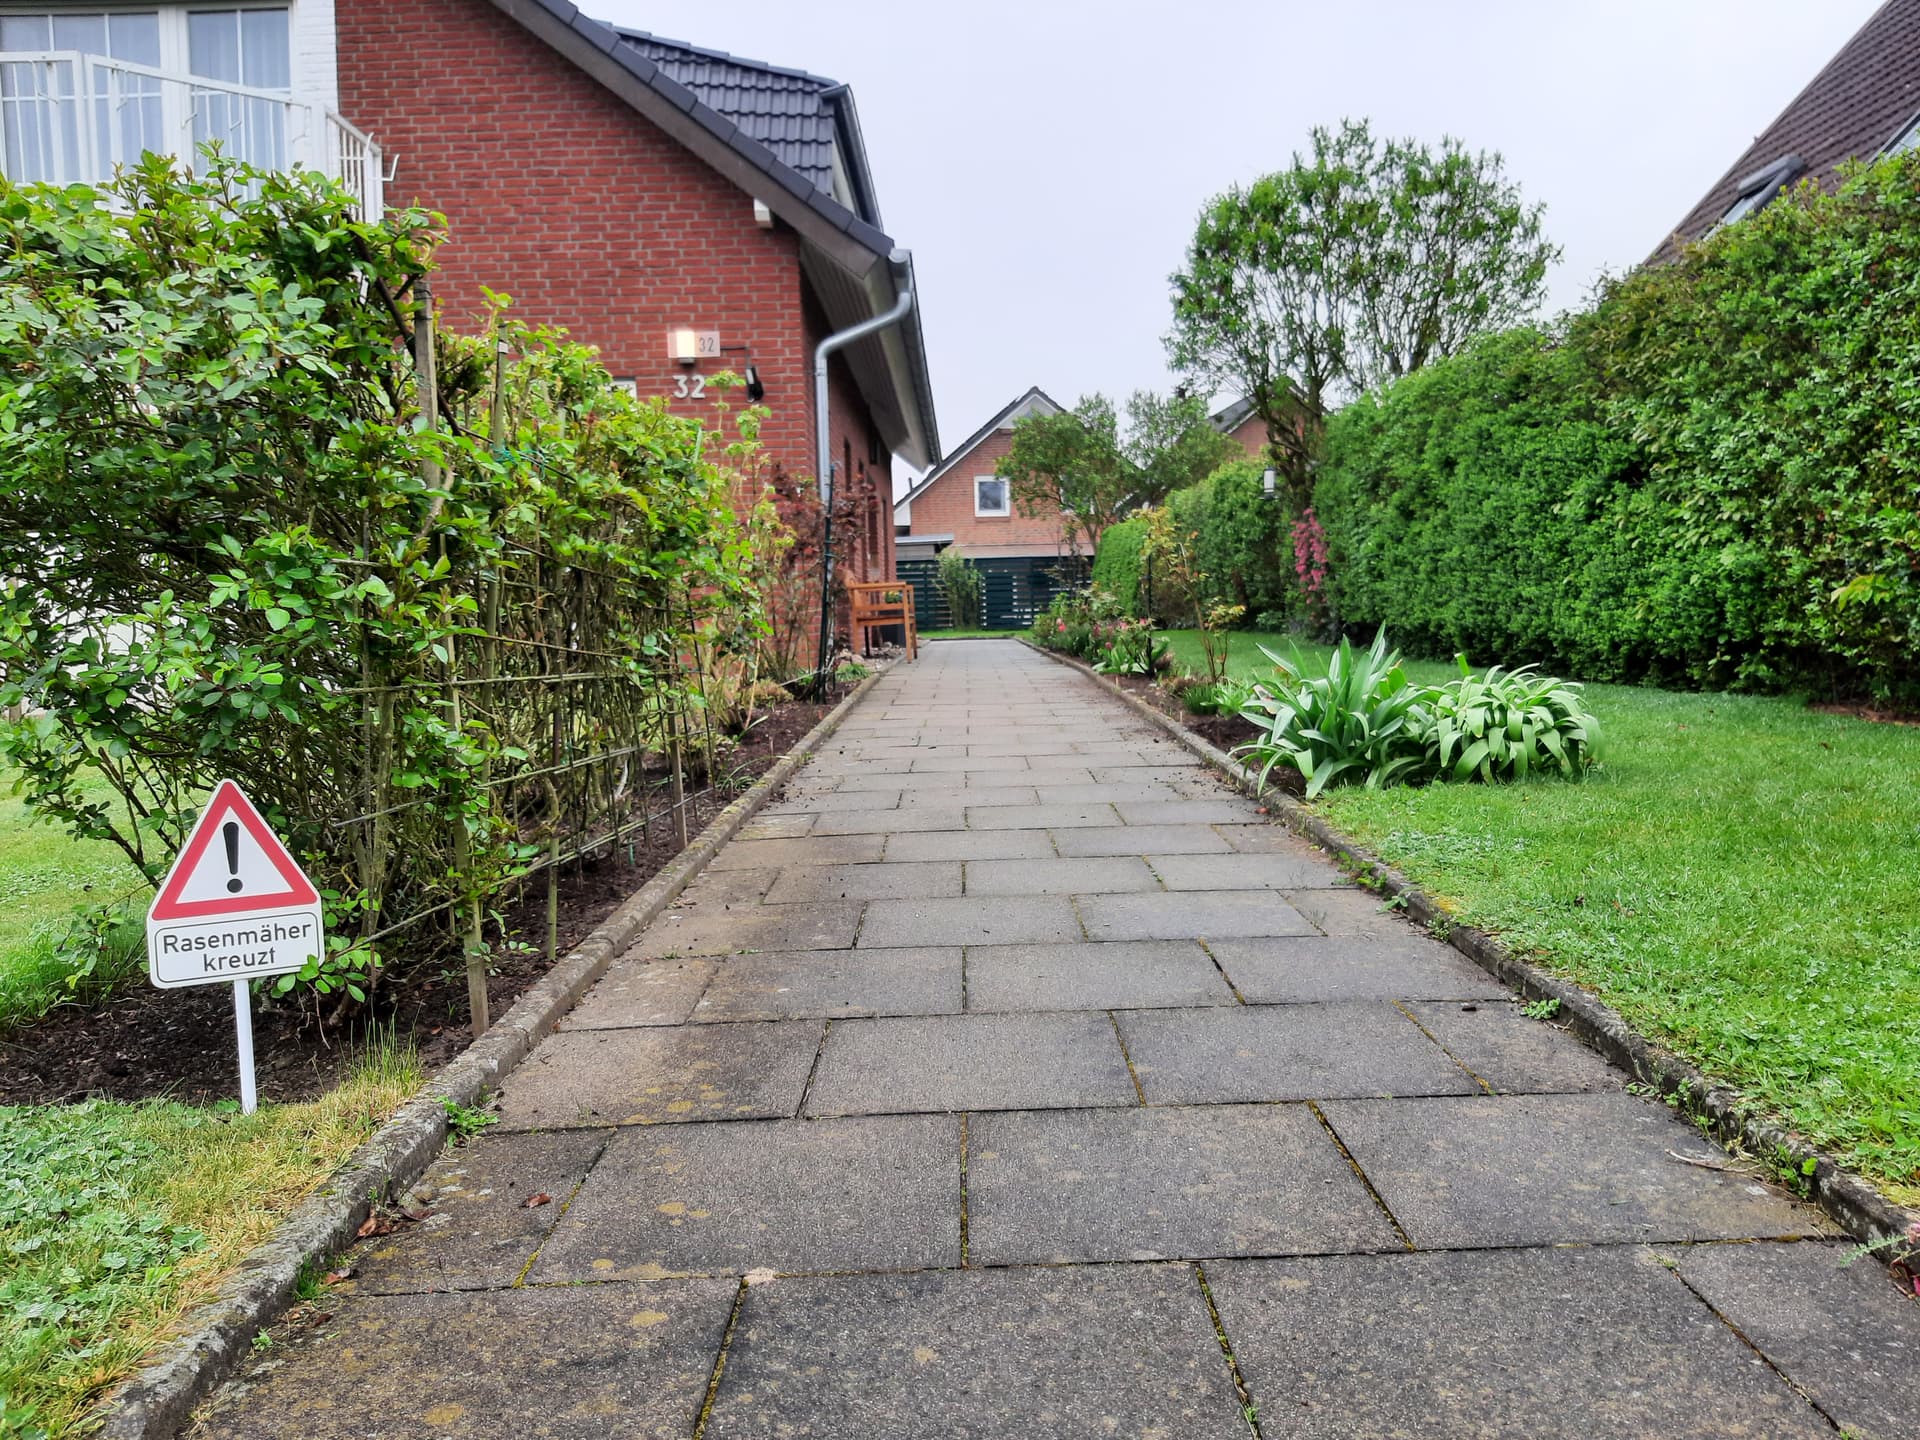
I made two of those for my dad’s 90th birthday.
They’re for the bit of the garden path where the lawnmower robot trundles across.
And will give the neighbours something to talk about.
24 Likes
Well executed!
15 Likes
The word Trundle just isn’t used enough these days. My thanks to you.
16 Likes
I owe this entirely to The Register. They like using words like trundlebot or fondleslab.
13 Likes
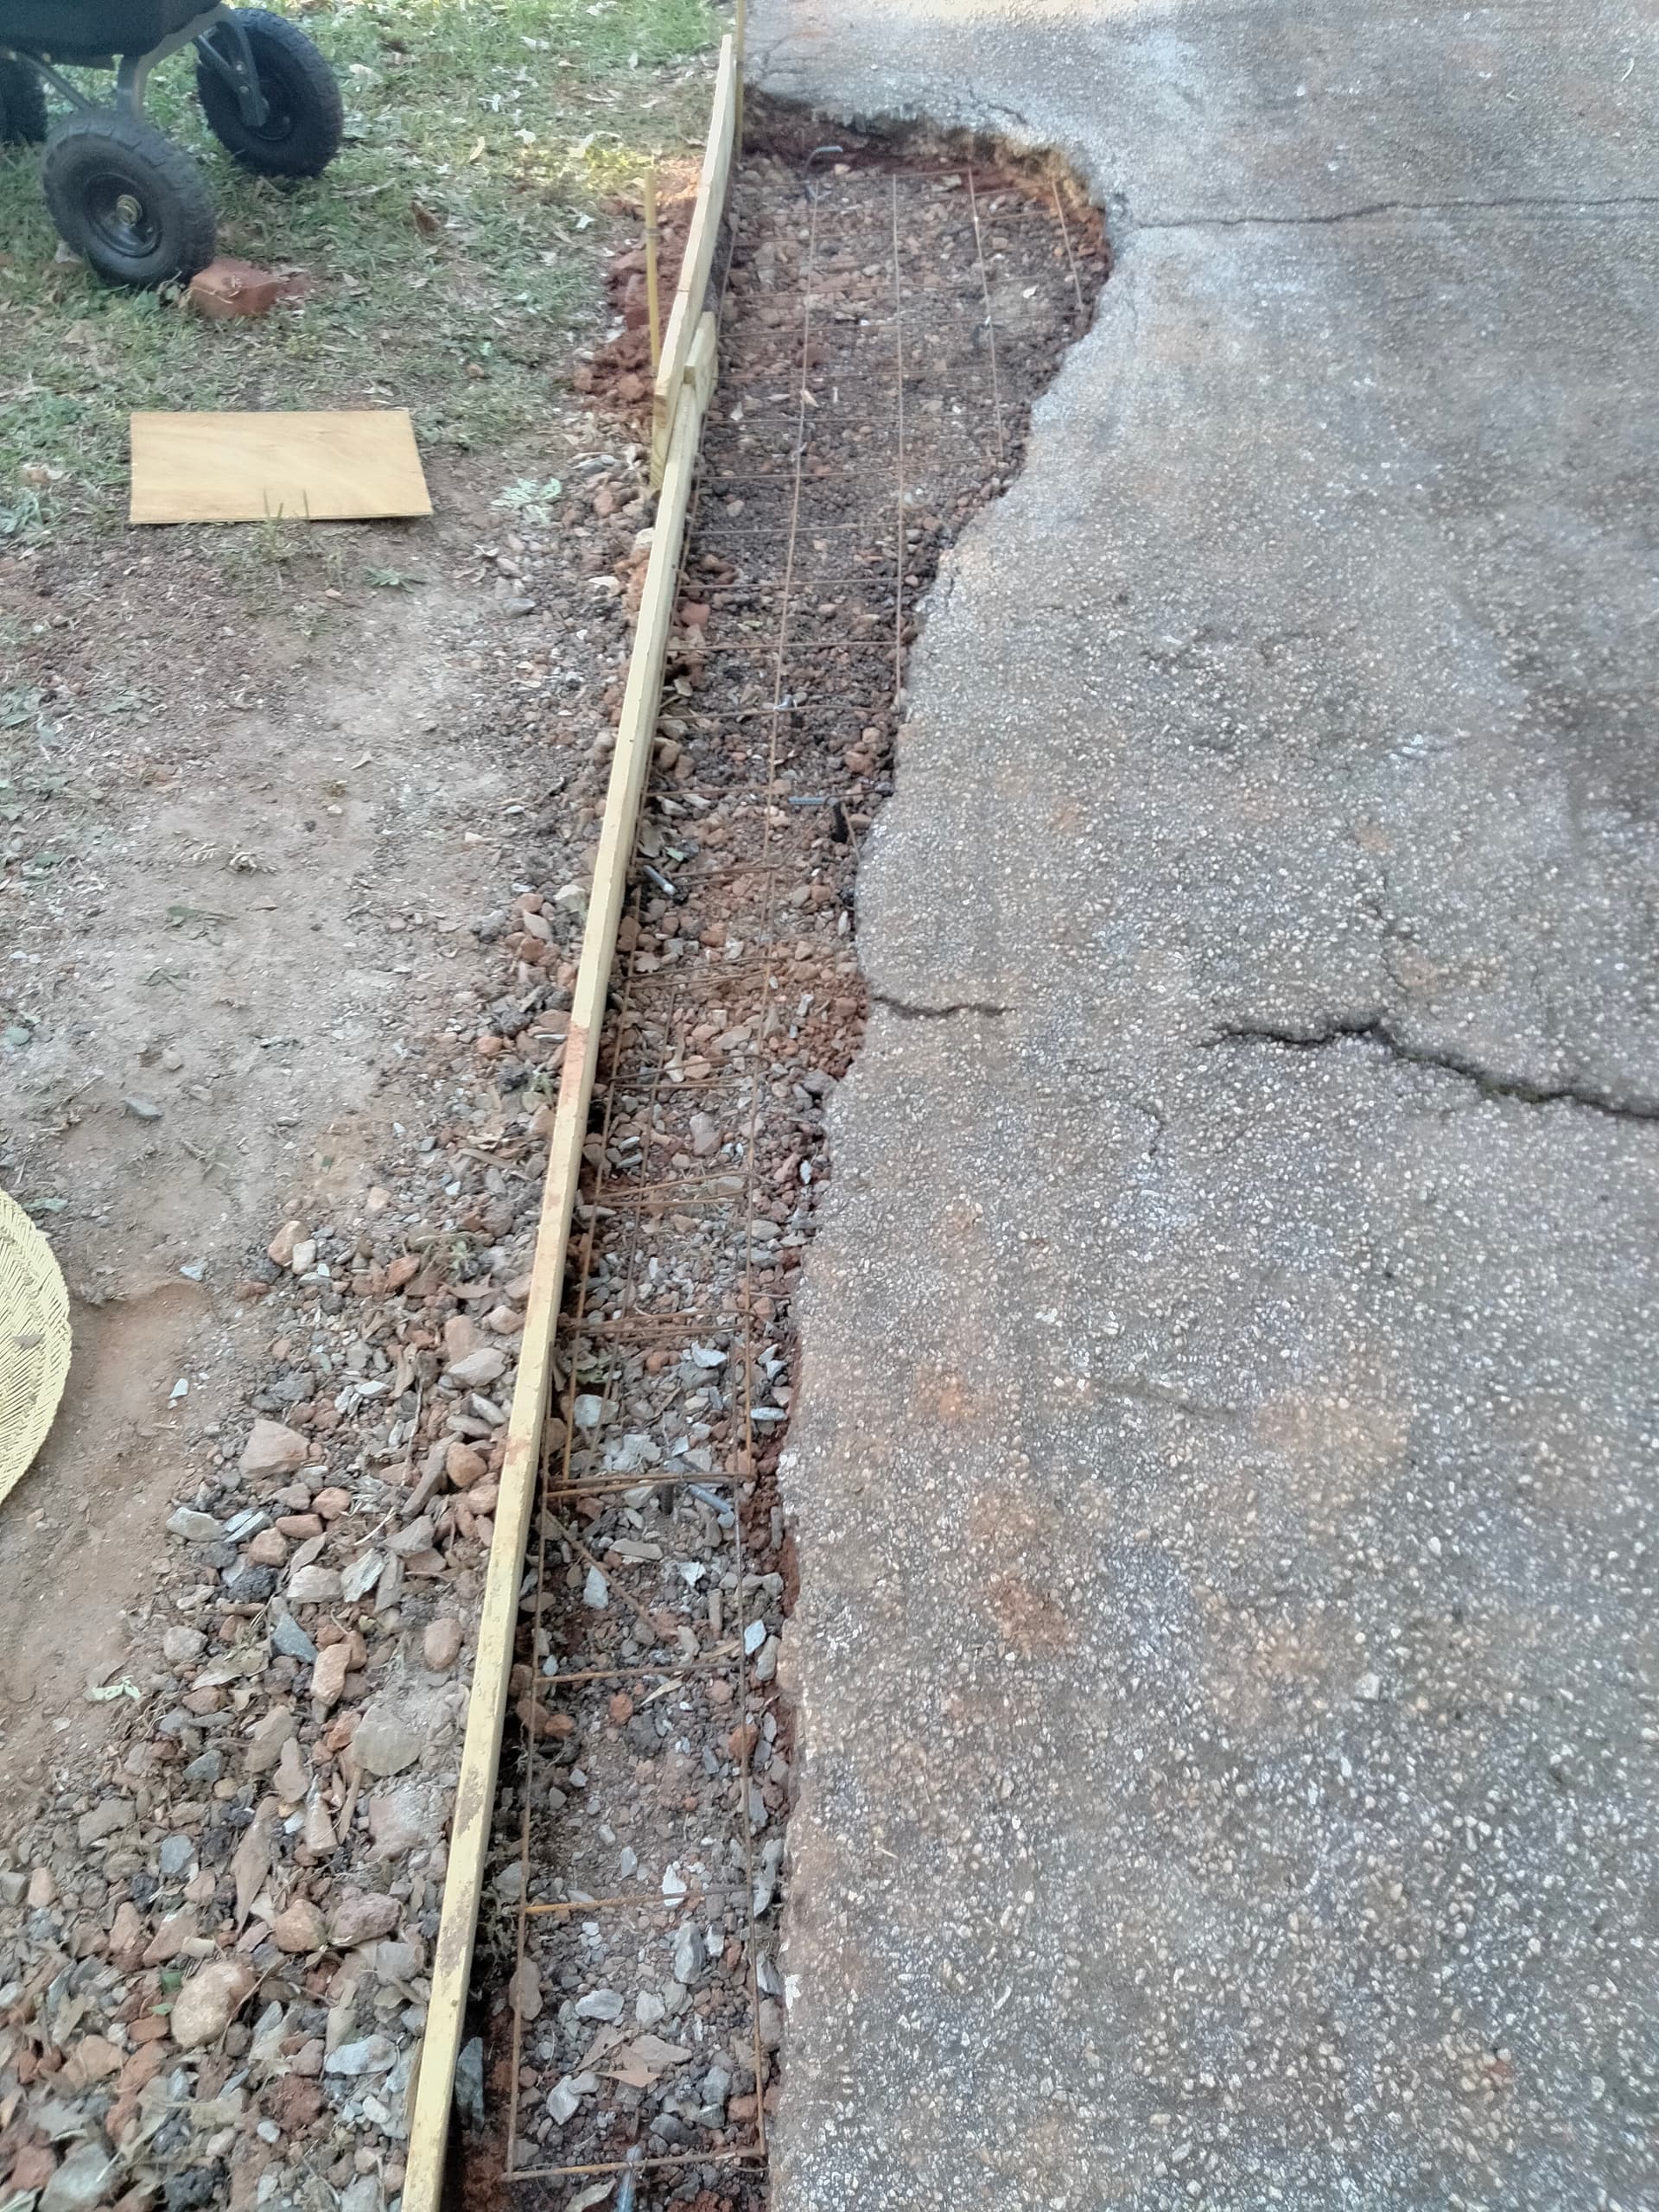
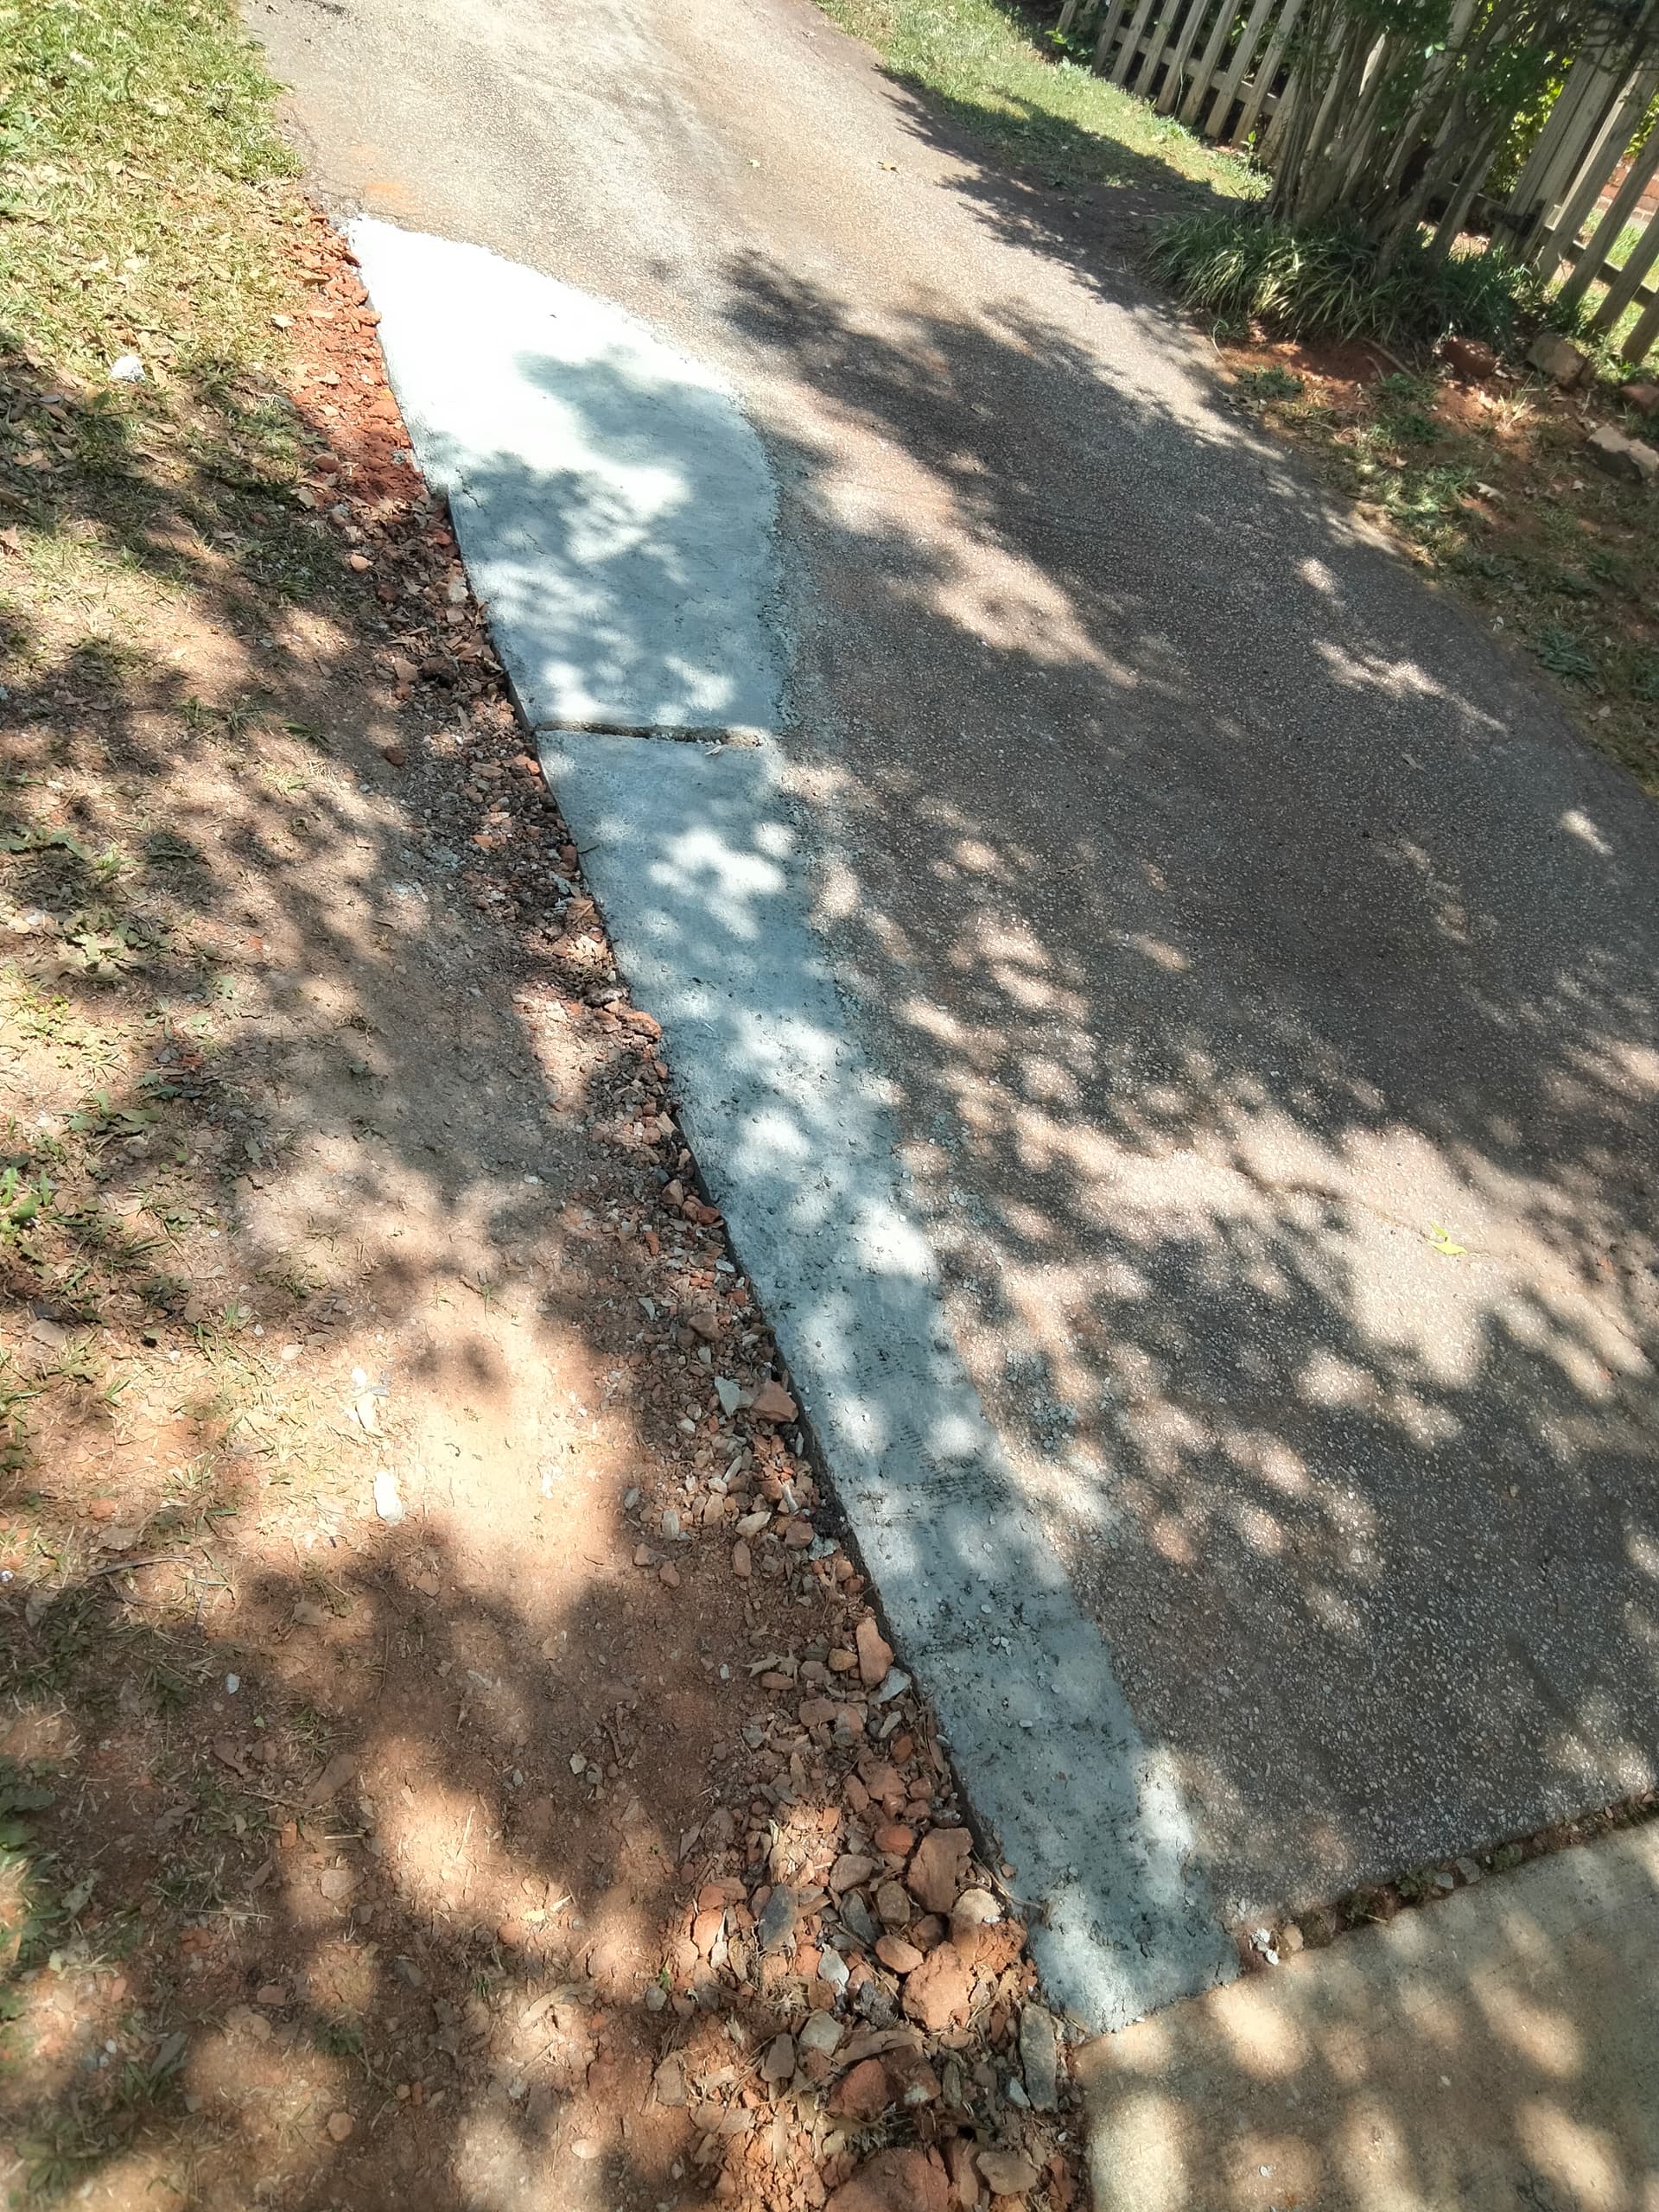
at home I patched the driveway.
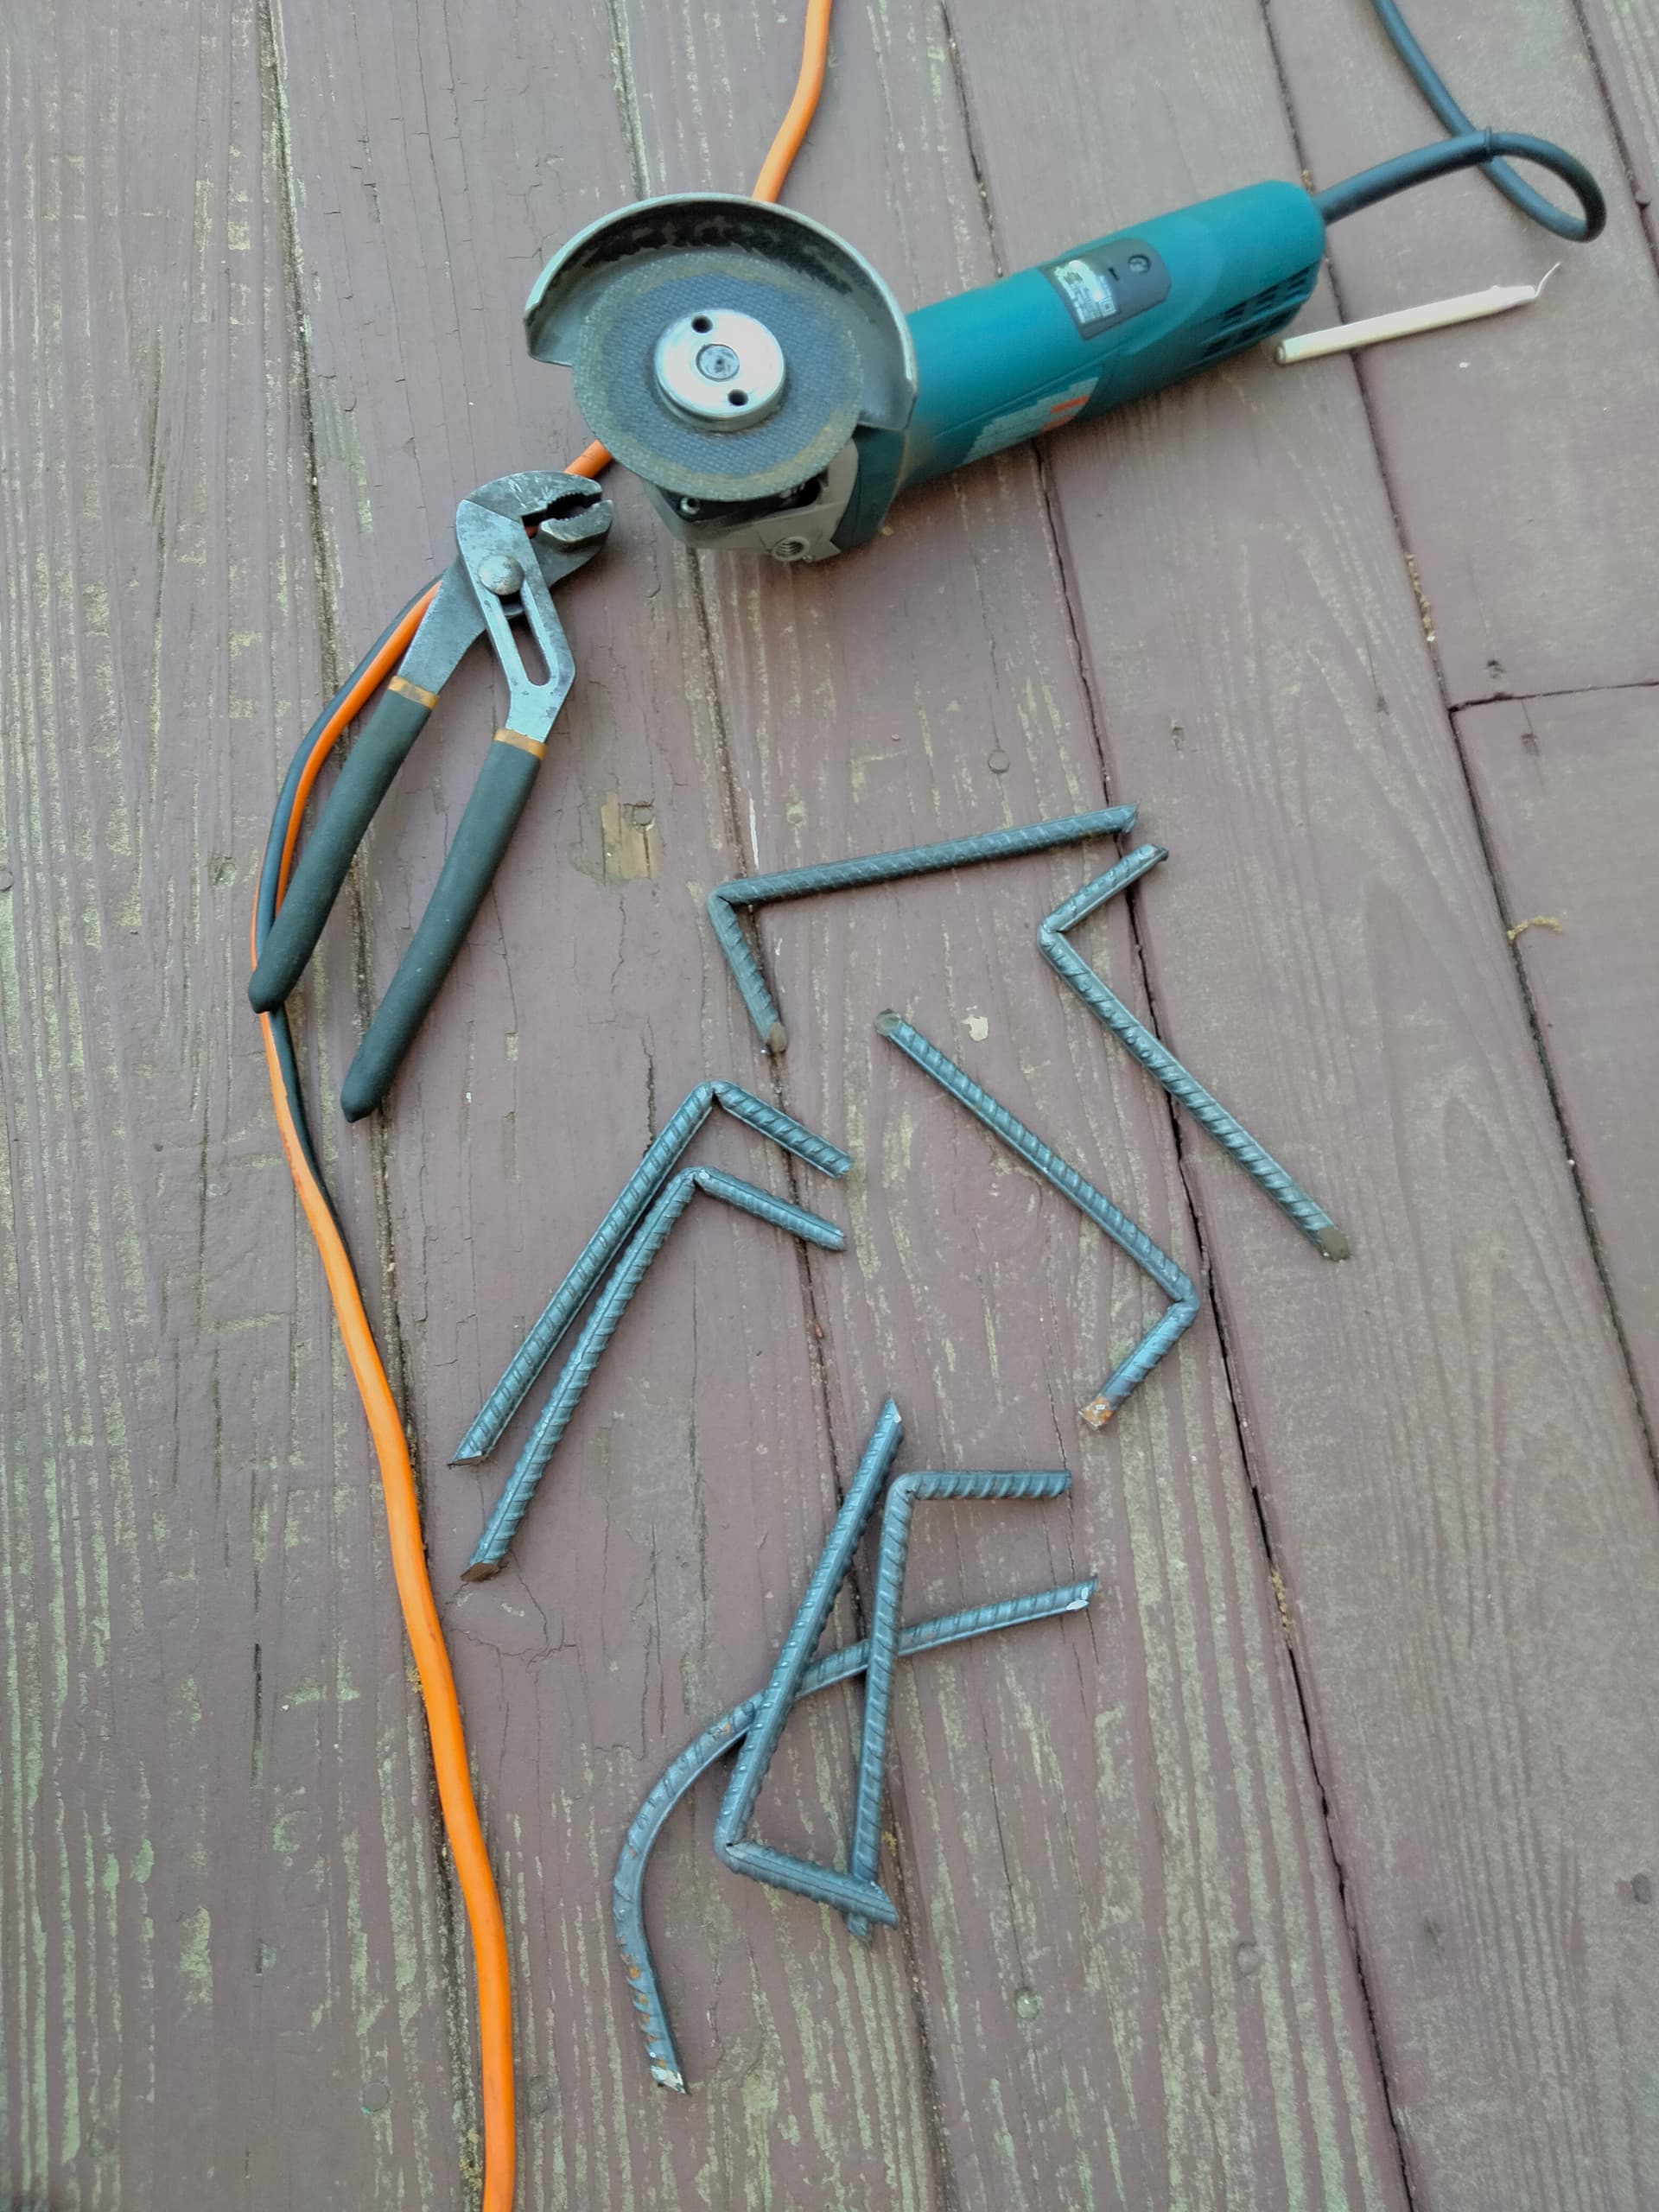
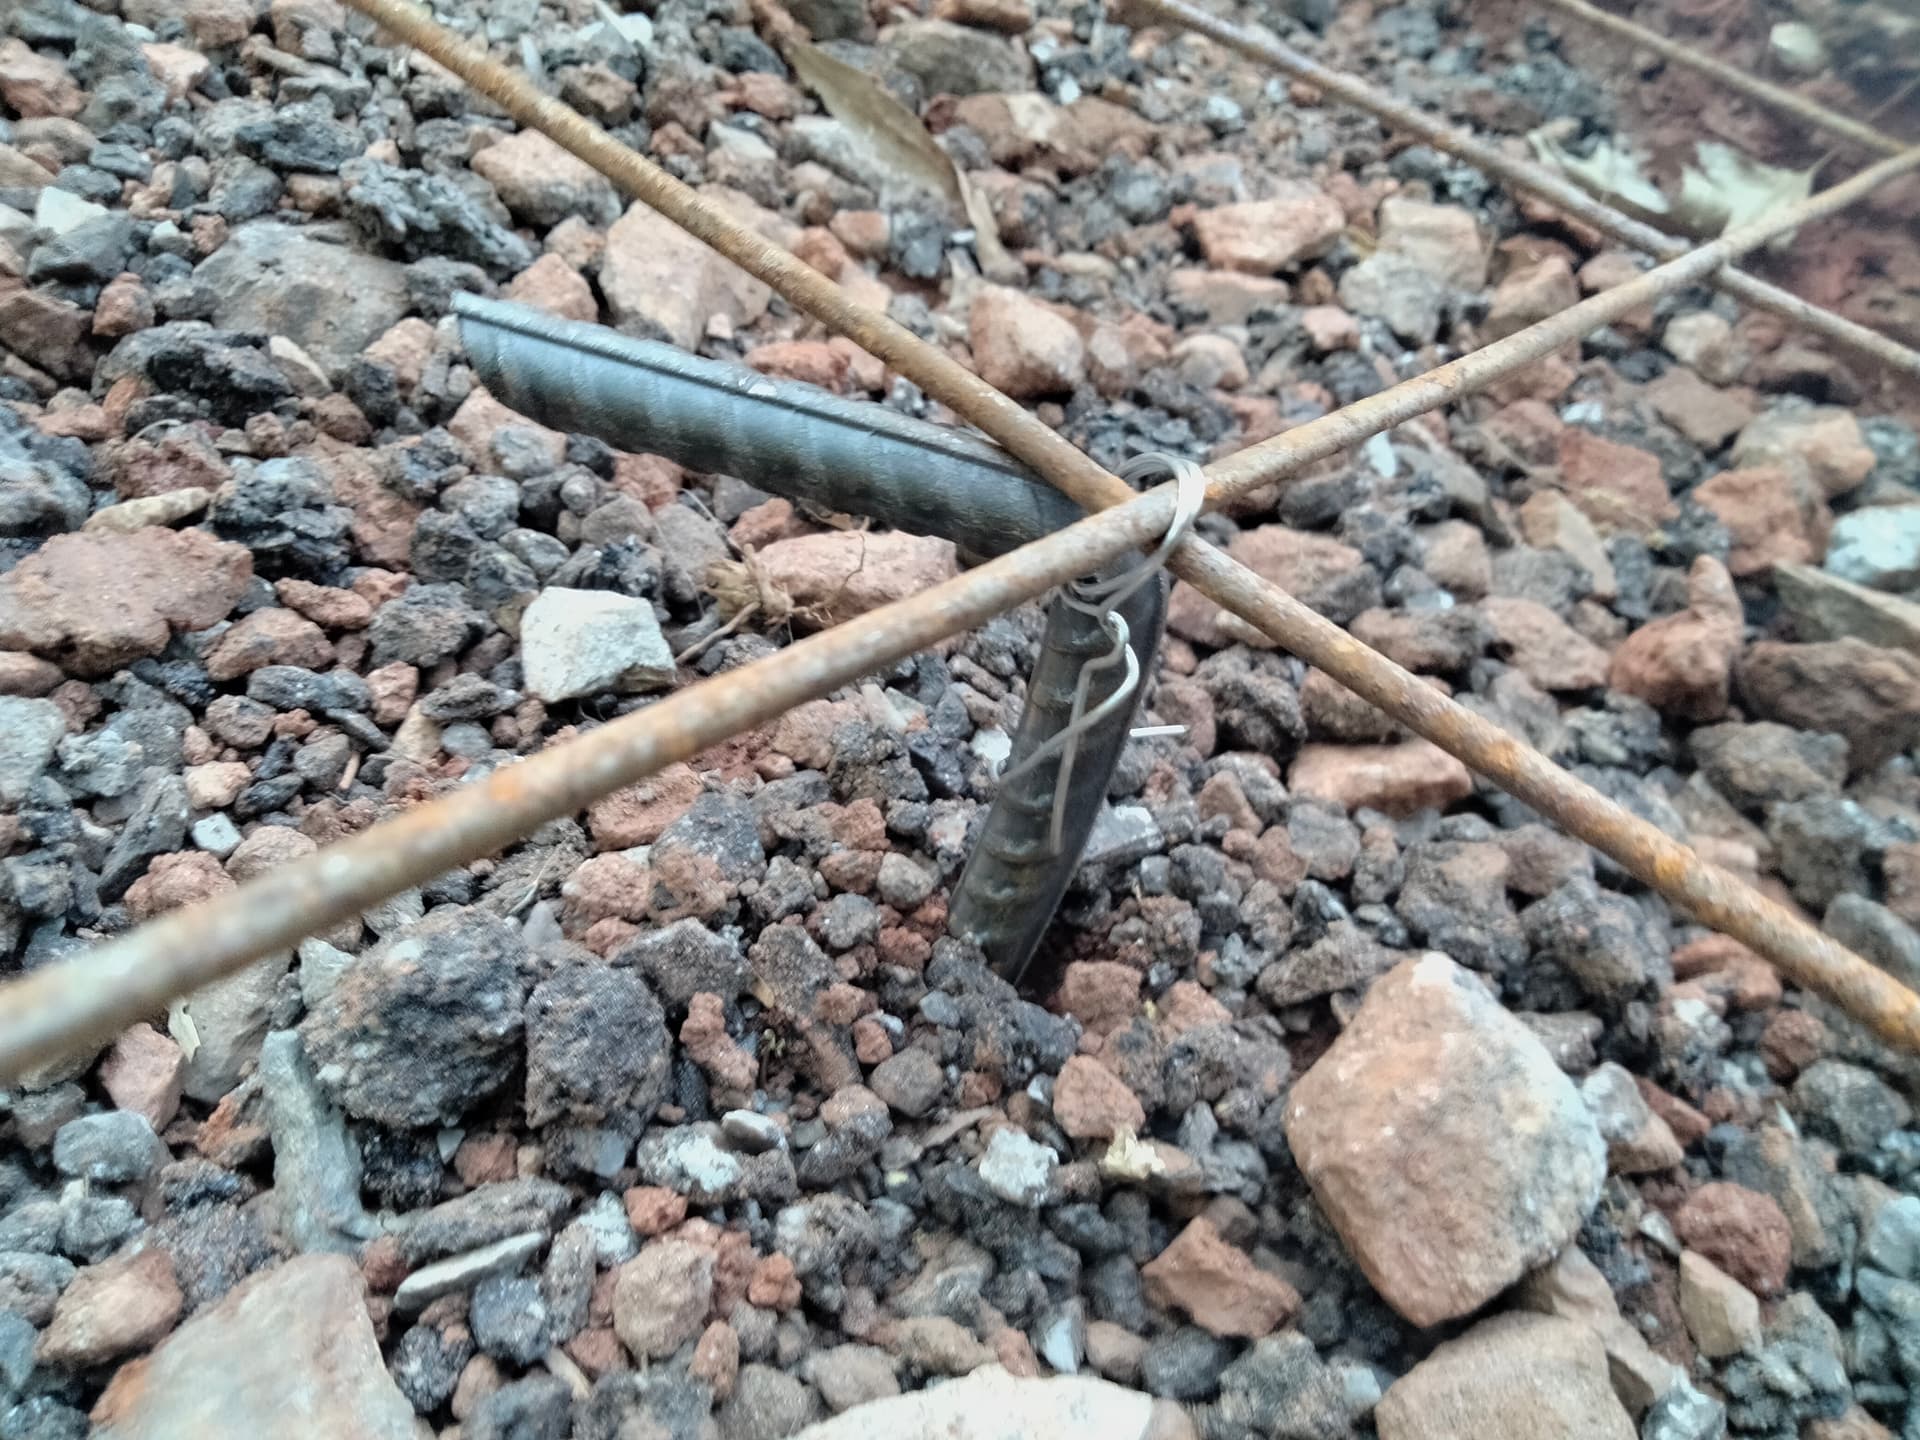
Atlanta’s minimal frost line allows a slab of the minimum thickness, 4 inches, thank goodness. since it is on a steep incline I wanted it pinned down with rebar. here’s cutting and angling it.
and since cars go over it I reinforced it with the rebar mesh stuff. maybe not necessary but better than being wrong. the landlord thought that the previous asphalt patch sinking down meant that it was eroding underneath. I told him that wasn’t what was happening, asphalt just sinks into itself when it’s a half assed patch but he wanted it redone. more money for me.

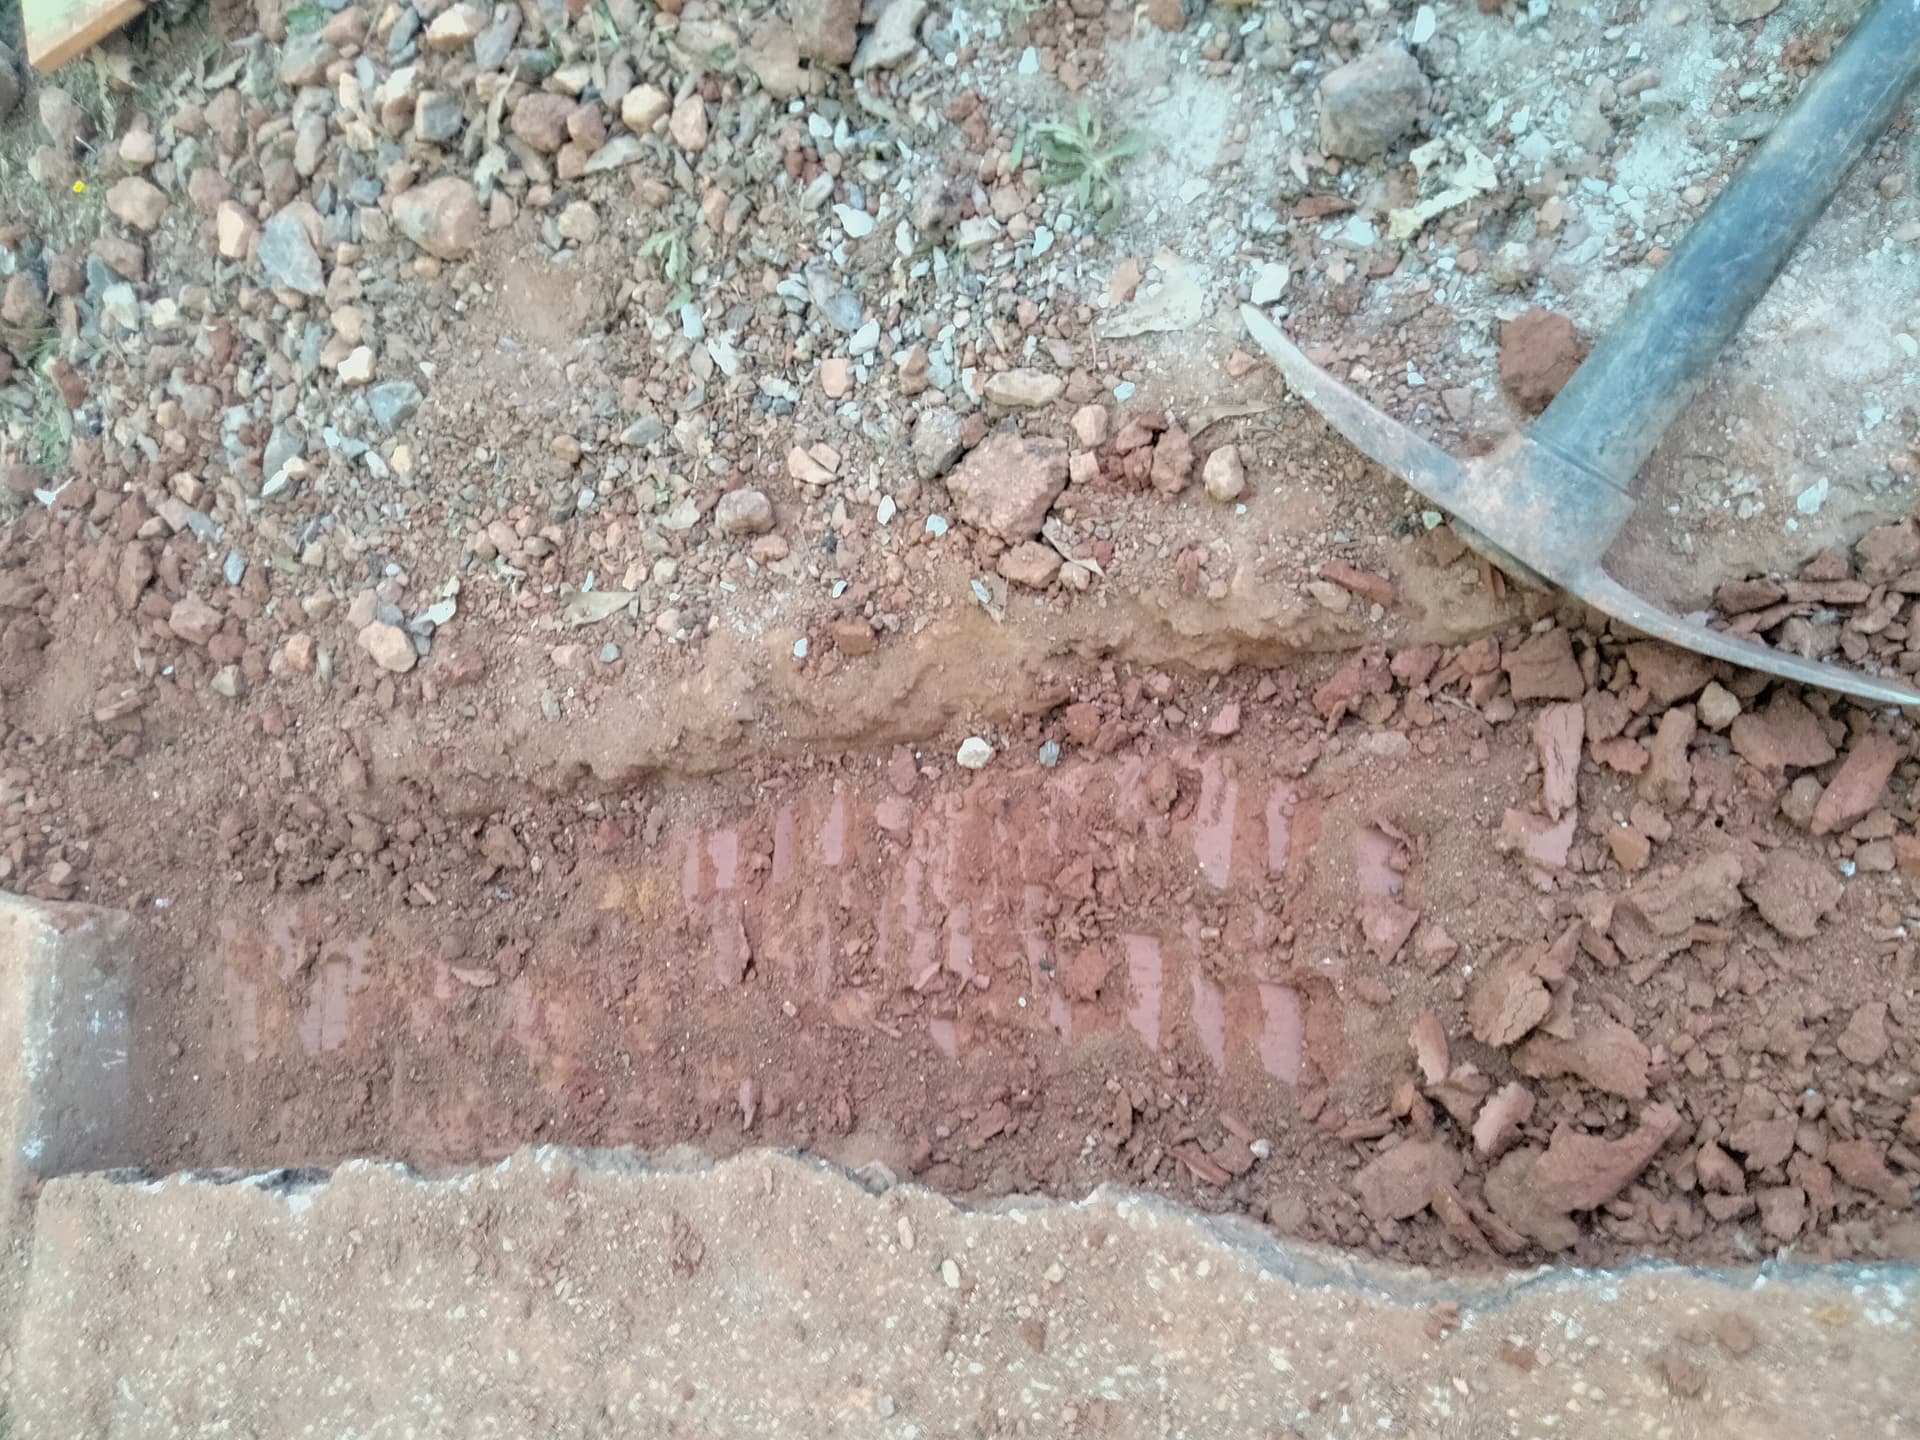
for anyone unfamiliar with Georgia red clay, it’s pretty much rock hard. digging the depth and prepping the wooden side and rebar was the bulk of the job. mixing the concrete was a little easier, and pouring and smoothing it was the easy part.
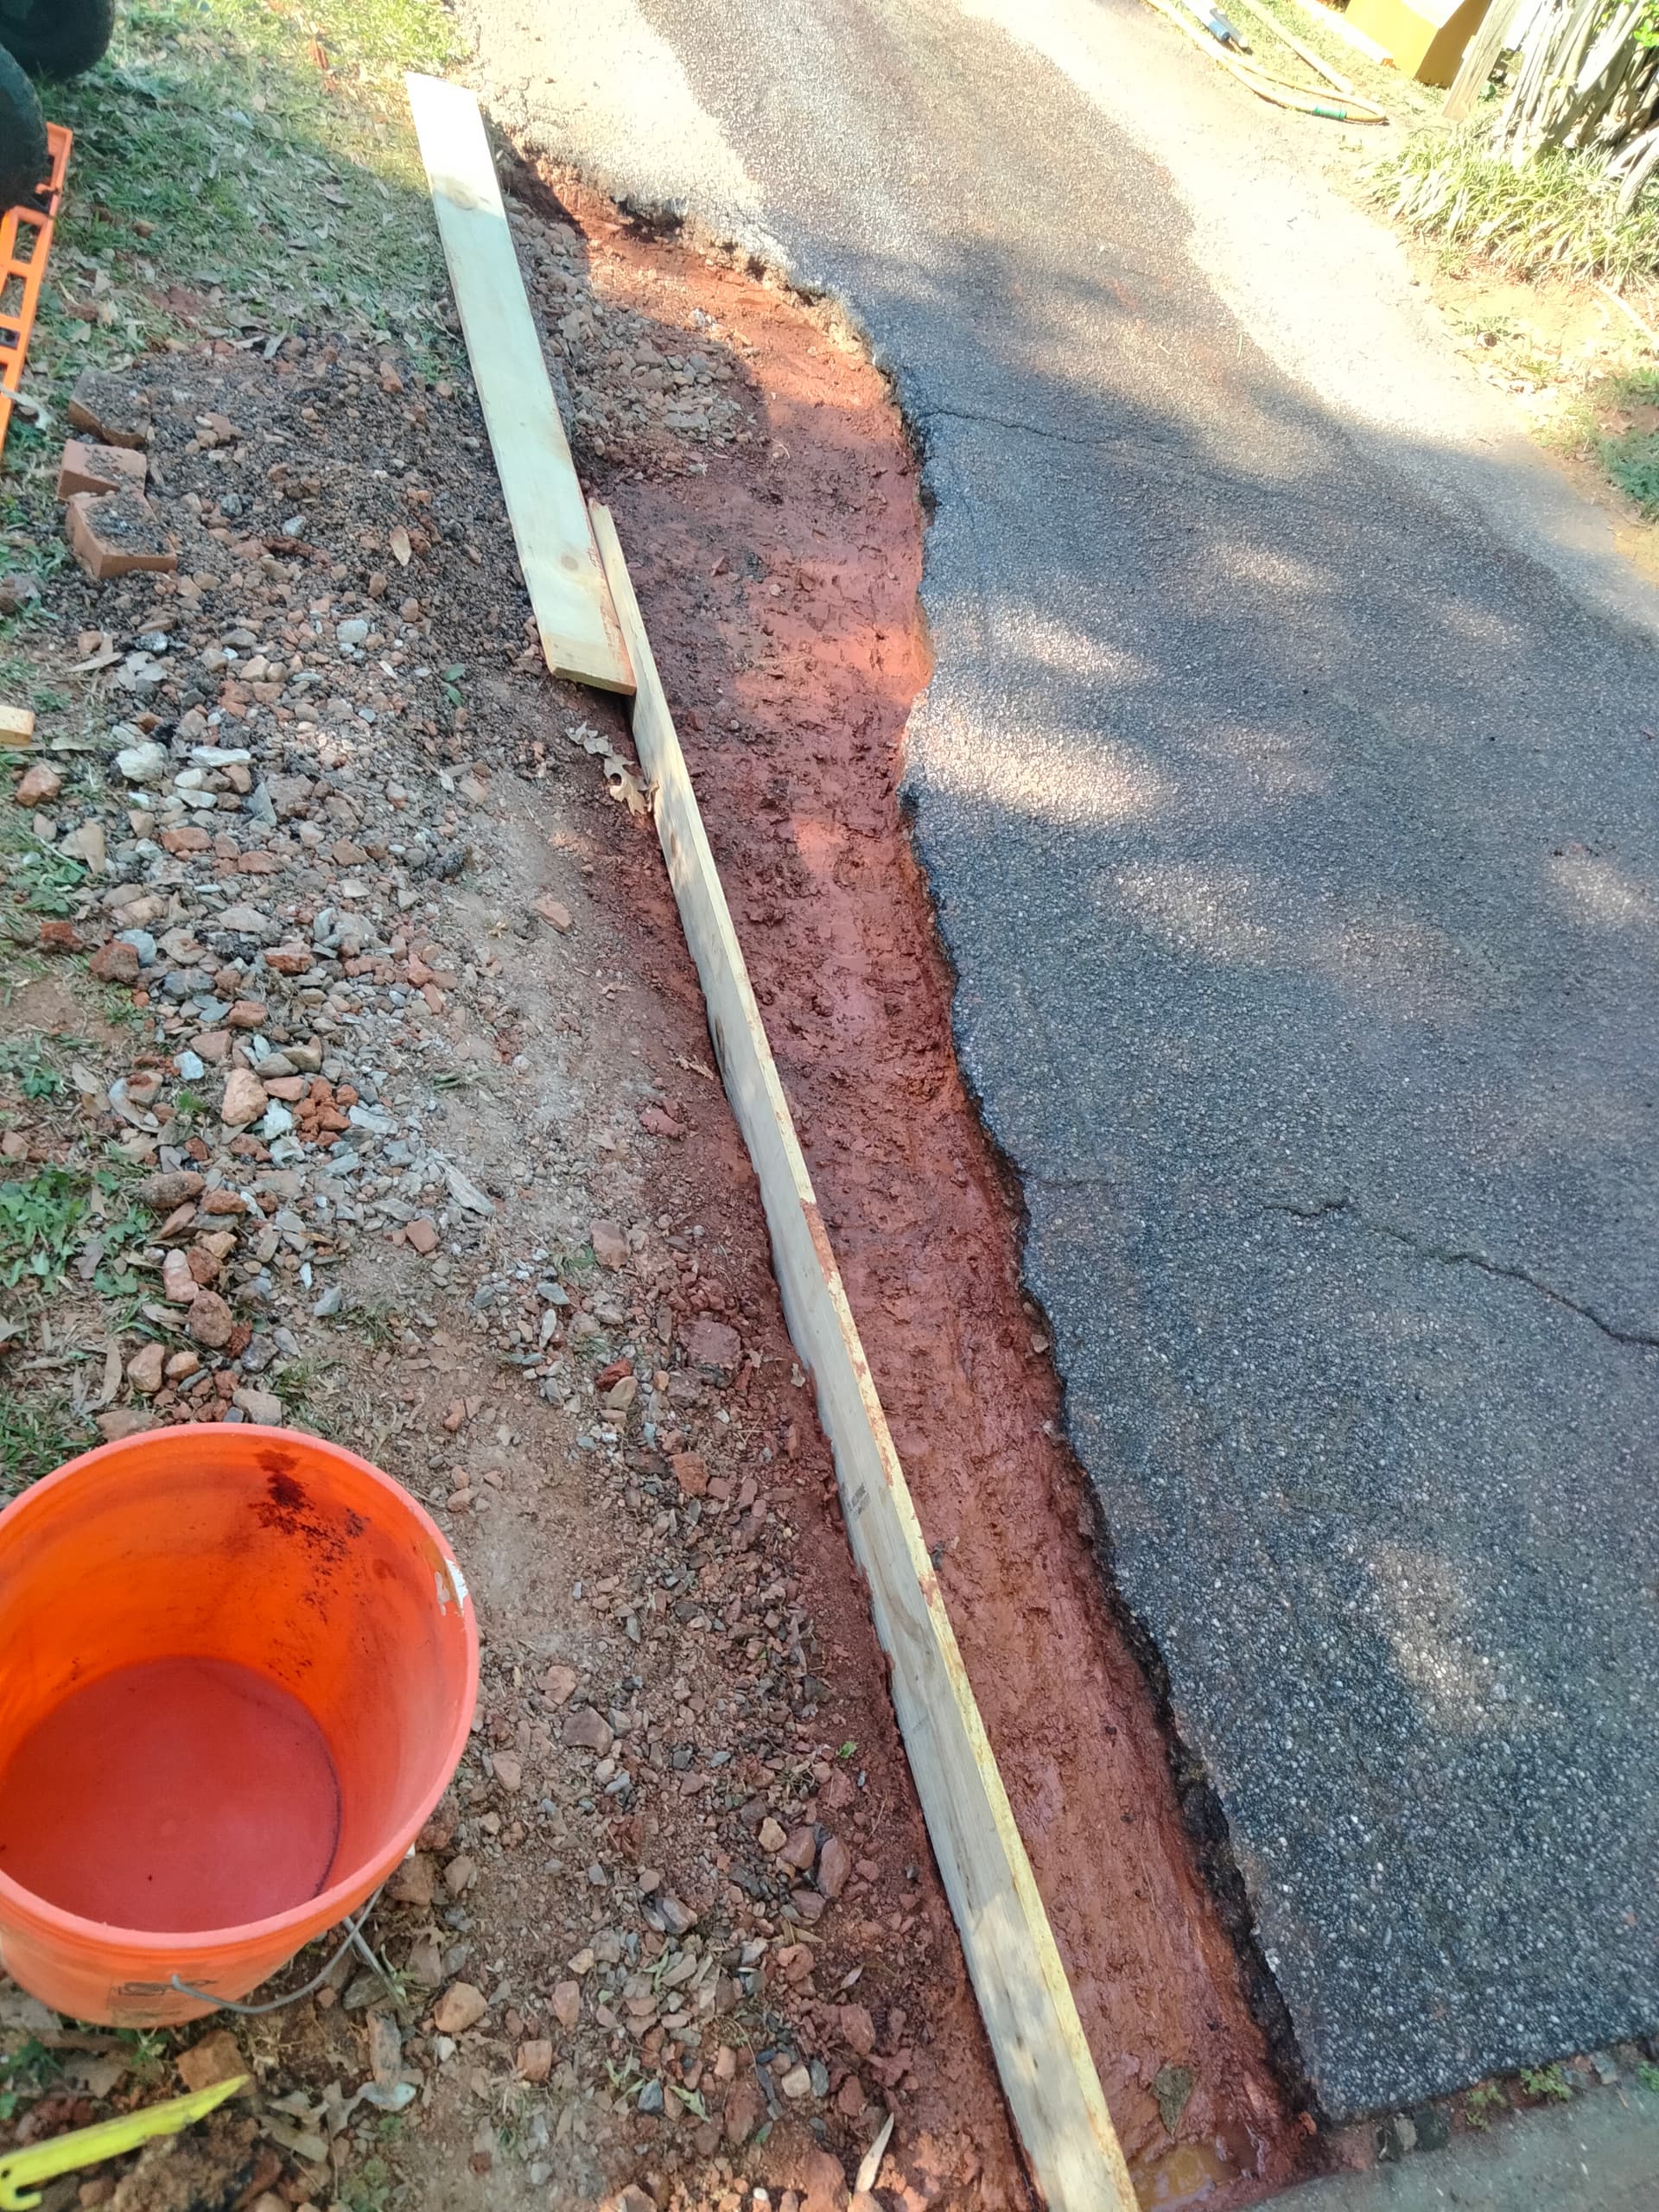
putting a little gravel down seems to be the pro move, there was plenty from the digging and the demo-ing of the asphalt.
23 Likes
Excellent work!
17 Likes
@noahdjango the precision of you and your bosses work is so amazing
@DukeTrout you’ve brought out the beauty in that wood! Lovely little table
@FGD135 such cute signs! I imagine they are very pleased with how official they look
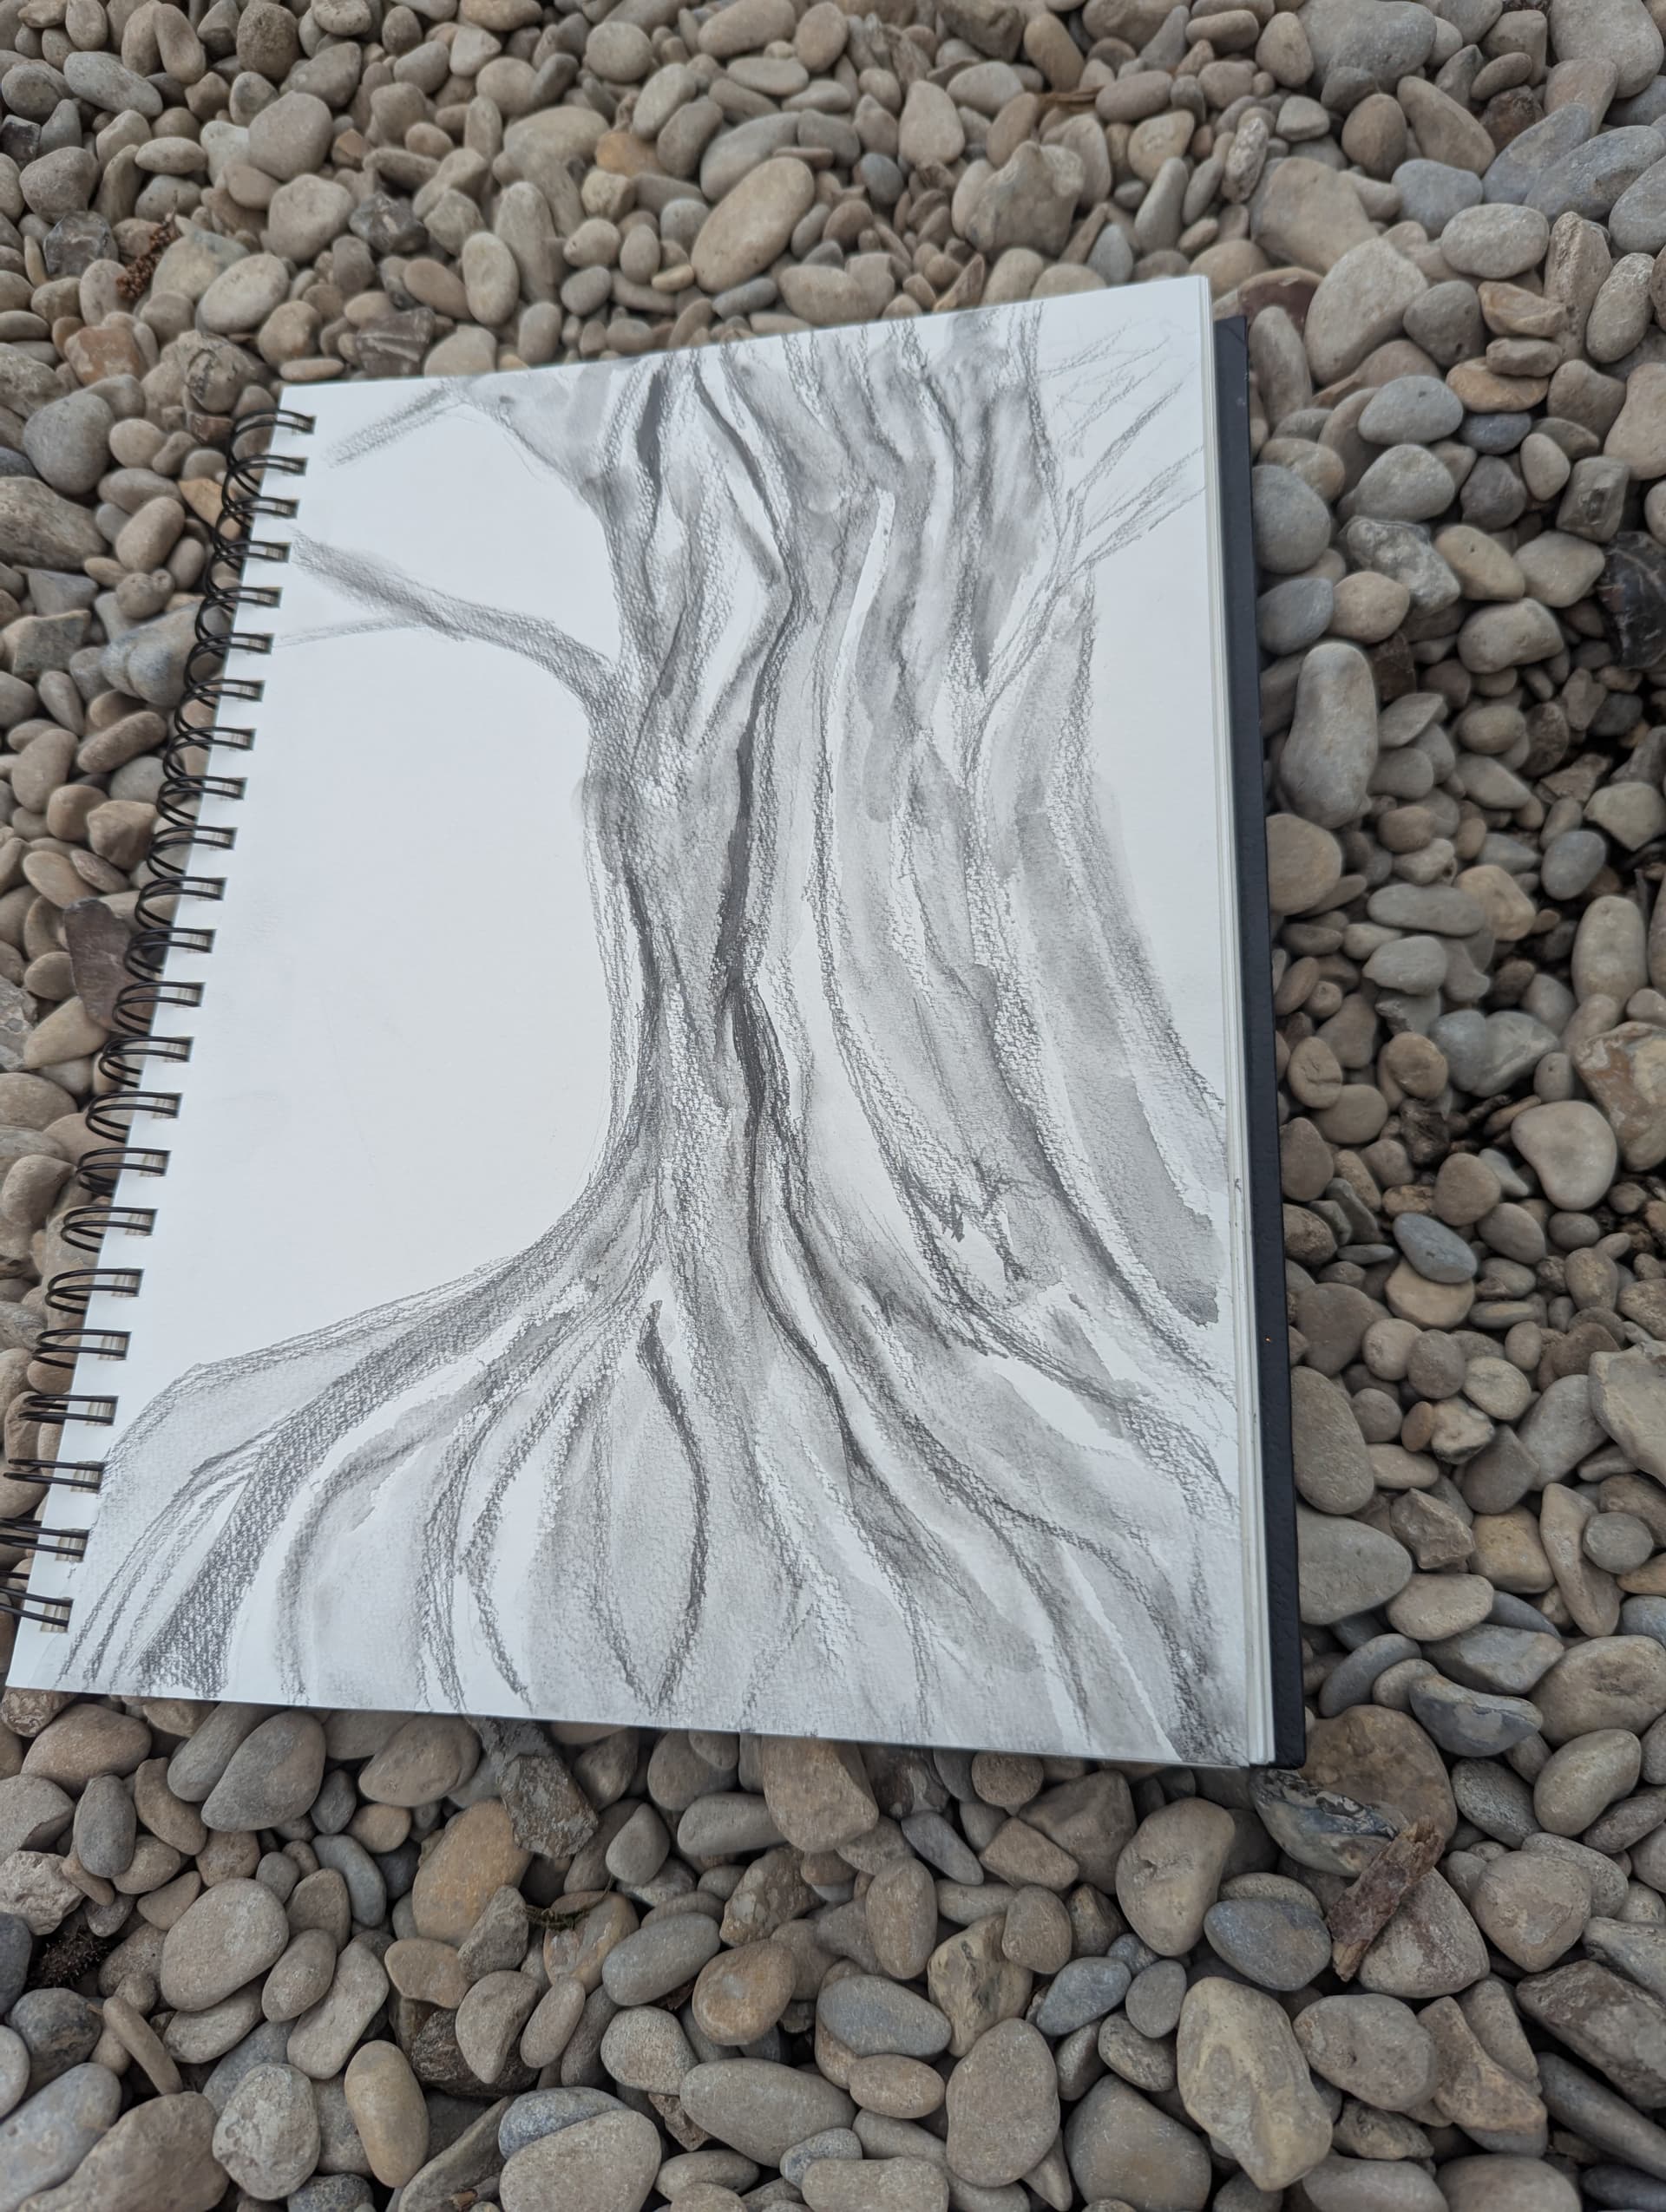
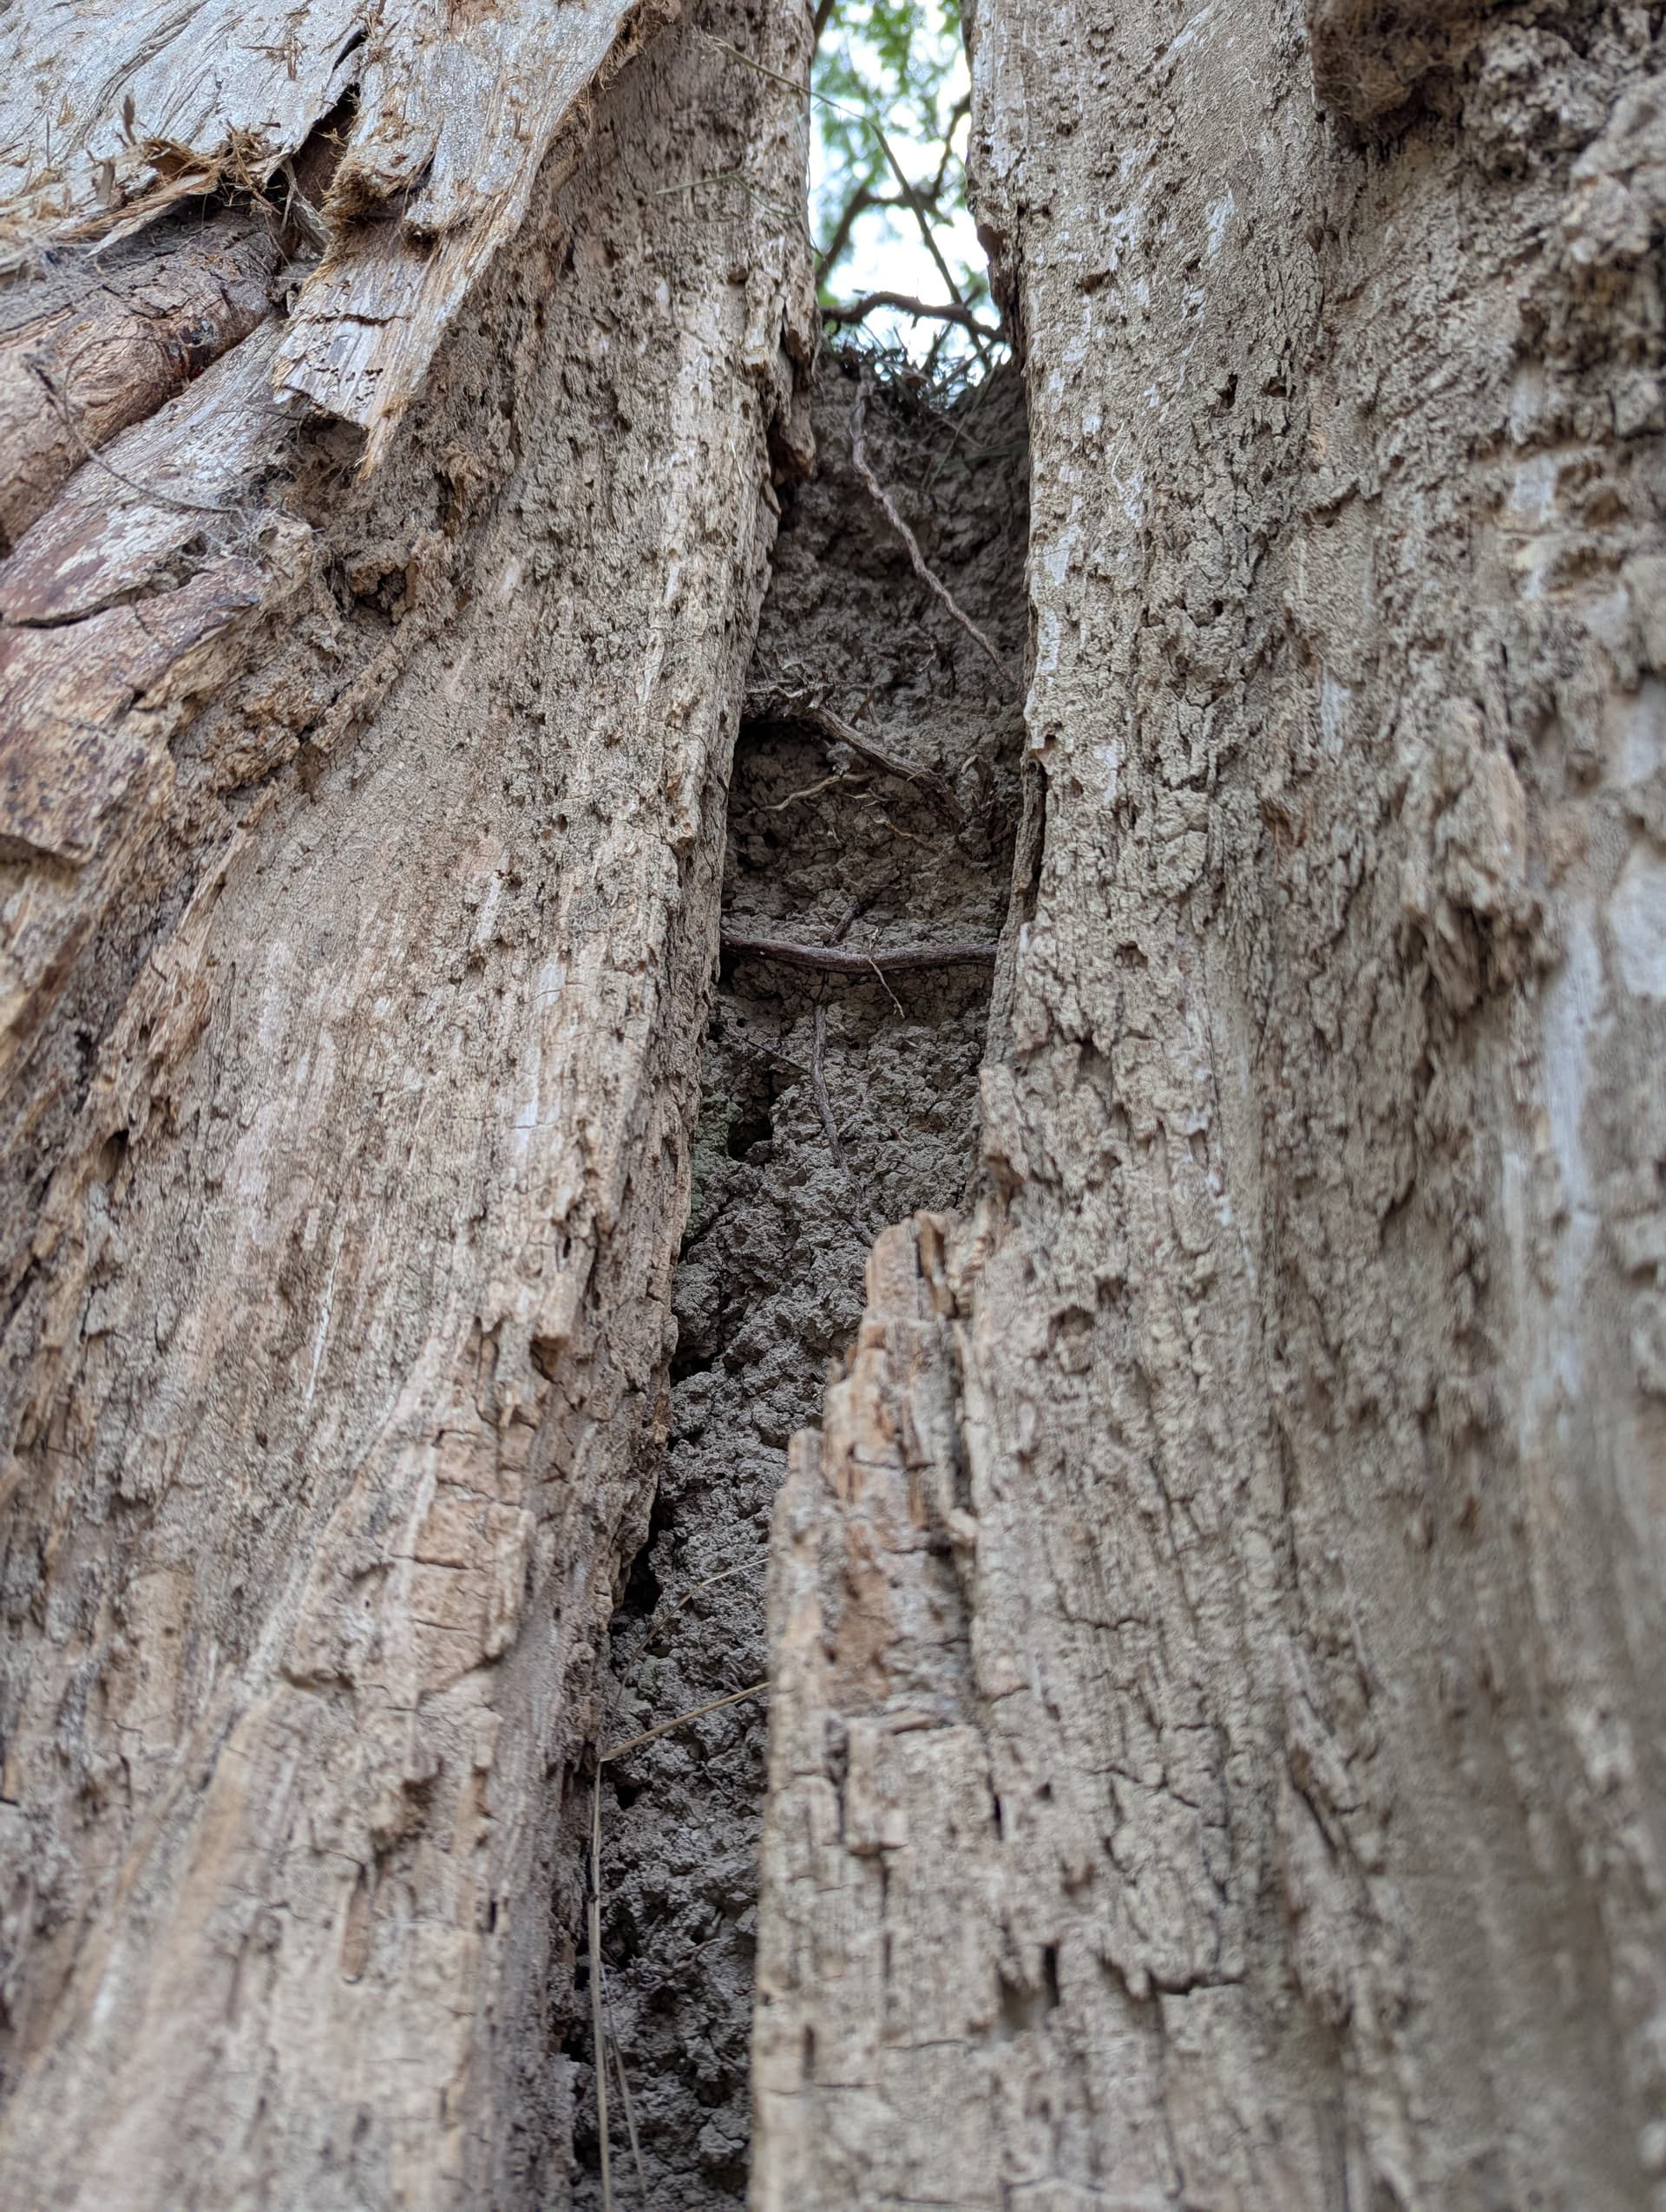
I sketched some trees this weekend while camping. I had water soluble graphite but no brush. Used my fingers and water from our bottle. This is a Bald Cypress. They get gigantic and tend to hollow out. You can see the mud that’s stuck inside in the photo. 5 feet of mud from some major flood.
I think I might add some green washes to the second one, for the leaves. That is a live oak, way up on the limestone cliffs.
Bald Cypress- sketch
Bald Cypress photo (more will be in the going places thread soon)
Live oak

21 Likes
Beautiful! She looks like a tree spirit! A dryad emerging from the bark!
15 Likes
Lovely!
You really captured the muscular contortions of the live oak!
For the green wash, I only mention this because I was sketching live oaks just over a month ago myself and had a hard time finding the green I wanted, pyrelene green seems to offer the whole range of what I wanted. The light lights work for Spanish moss of the sun hitting the leaves, and darker darks work for the leaves and trunk in shadow. Fell in love with the color.
Pyrelene green watercolor
Link is to watercolor but it’s available in all kinds of media.
Post pics if/when you add color!
15 Likes
Ooh, thanks for the tip. I’ll have to check to see if I have that color. The young live oak leaves in the sun are a very distinct green
10 Likes
Well, there have been some hiccups on the end table.
The first was that the brass inlay decided to buckle. I think this was because I polished it with a Dremel, and that built up heat and expanded the brass, which caused compression stress. It buckled a couple of days later. So I had to cut it and give it some expansion room and re-inlay the ends. Which means starting from scratch with sanding. I’ve got to the “end” of sanding and found gouges that required backtracking a few grits and re-sanding. During that process, since I’d started finishing, I made “wood gravy” as a grain filler and that’s been interesting. Today should spell the end of filler and the beginning of finishing (again). Fingers crossed.
20 Likes

12 Likes
Well, I jinxed myself. Found a long scratch in the surface this morning. Made the decision to sand it out. Picked a new piece of 800 grit sandpaper and started sanding away the scratch and some scuffs and took a quick look - holy crap! Why did the 800 grit cause so many gouges? Checked the sandpaper again - it was 320 grit!
I swapped it out for the proper grit and went back over the area to get rid of the new scratches, filled with wood gravy, letting that cure for a while before going back to finishing…
17 Likes
I said sanding and finishing was magic. I never said it was good magic! ![]()
15 Likes