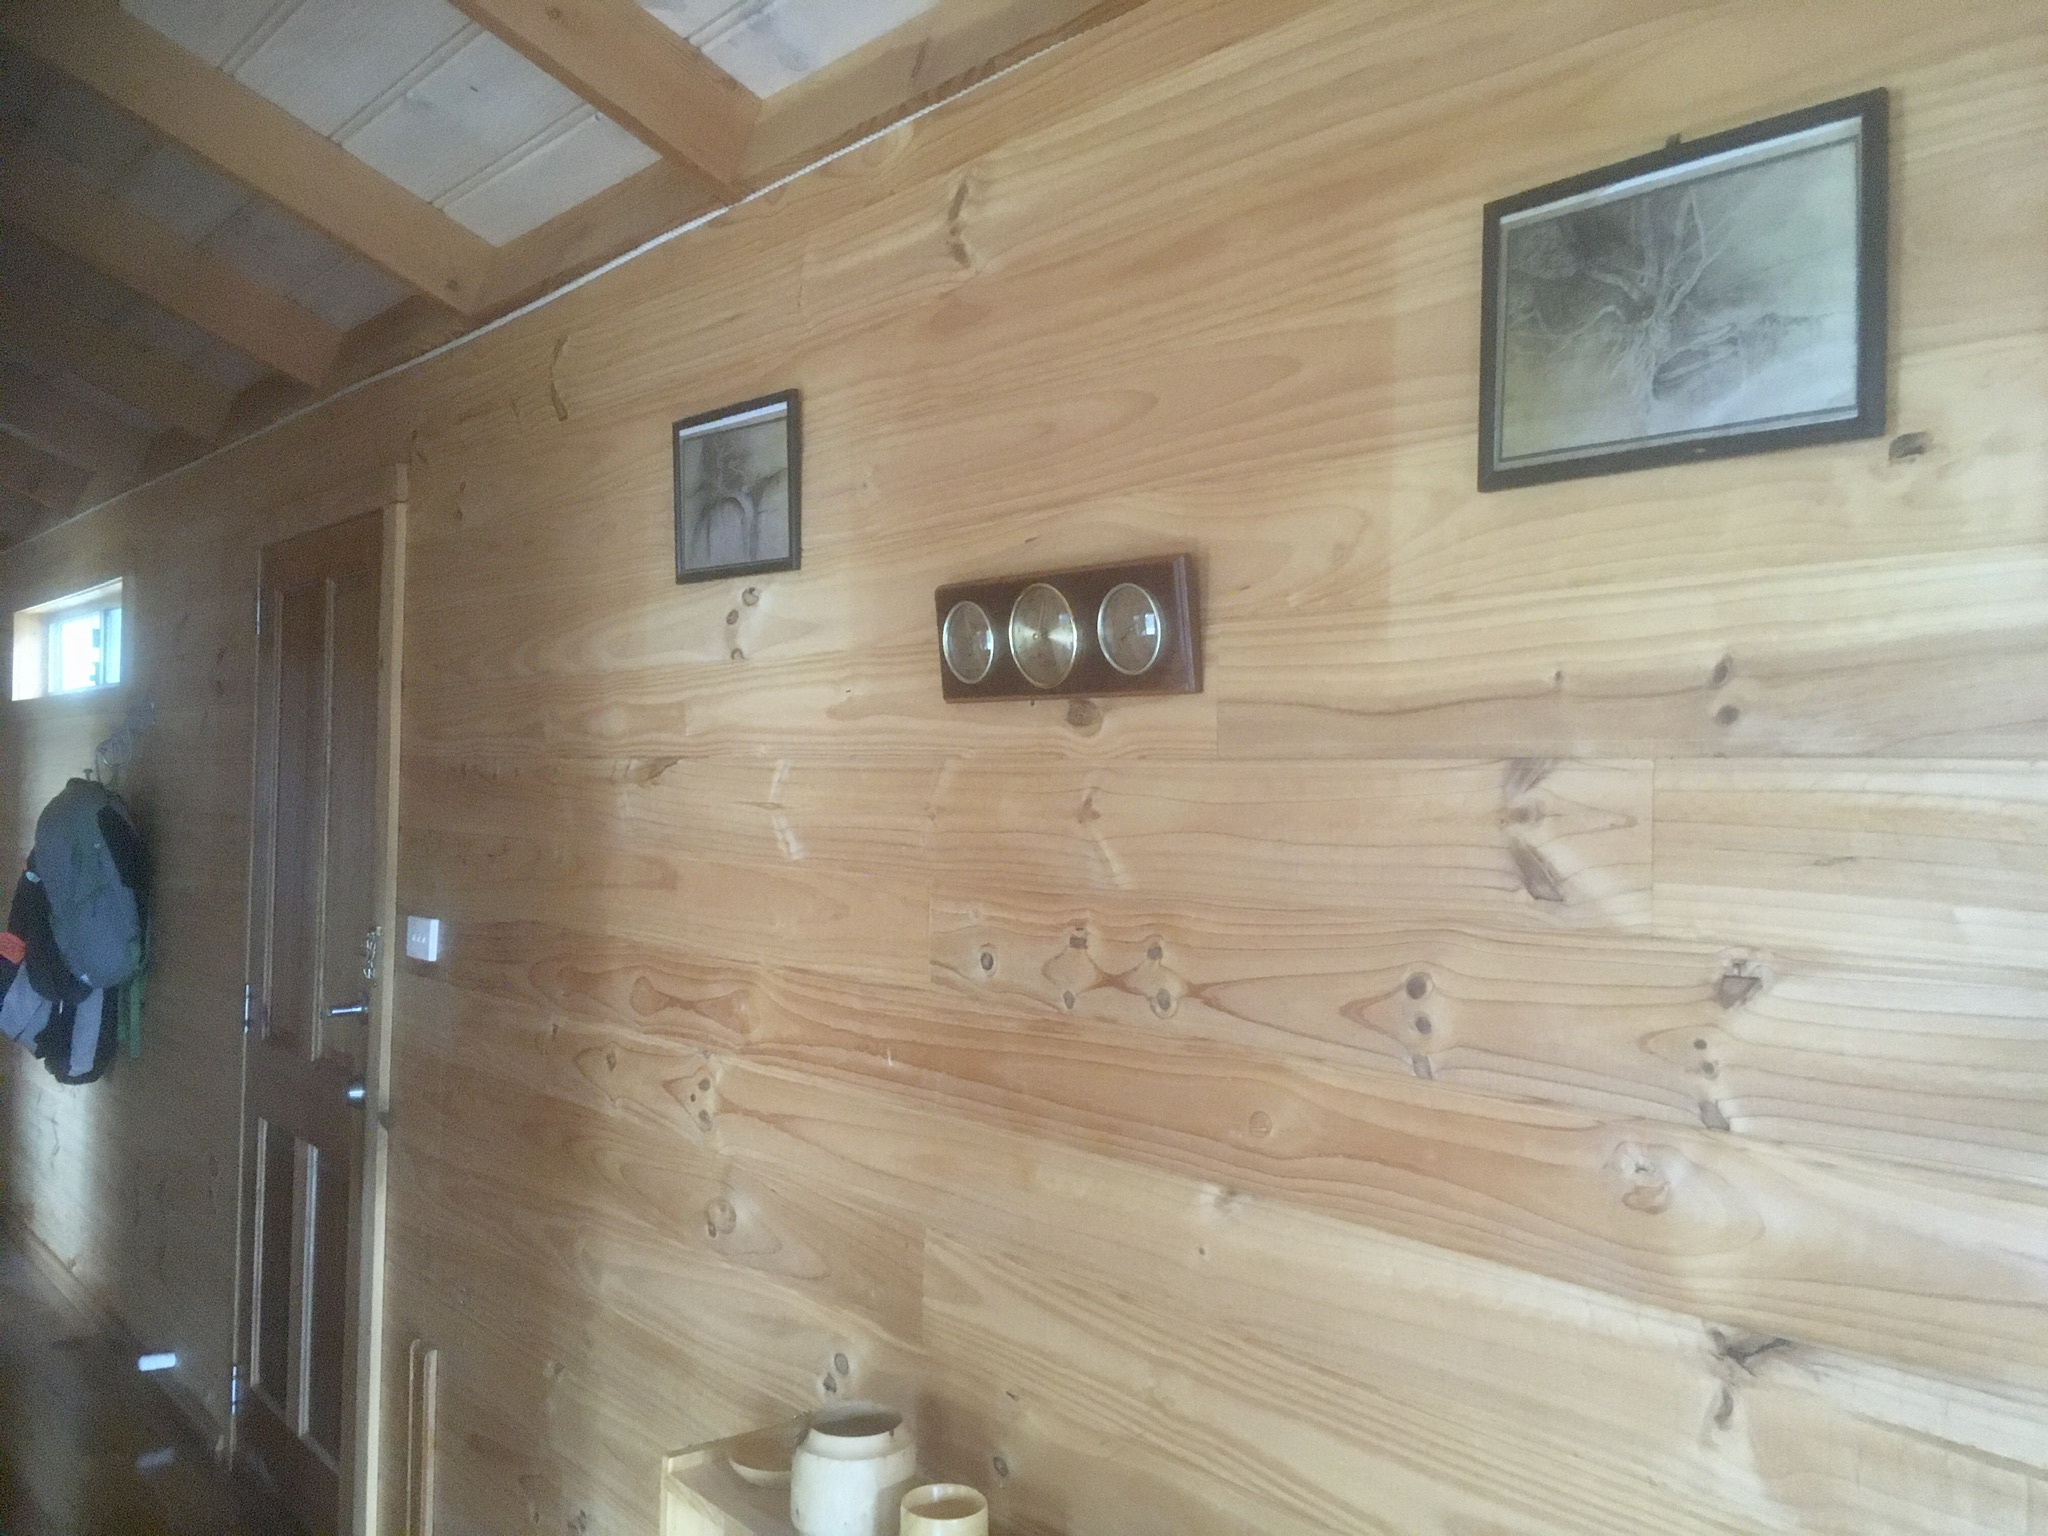
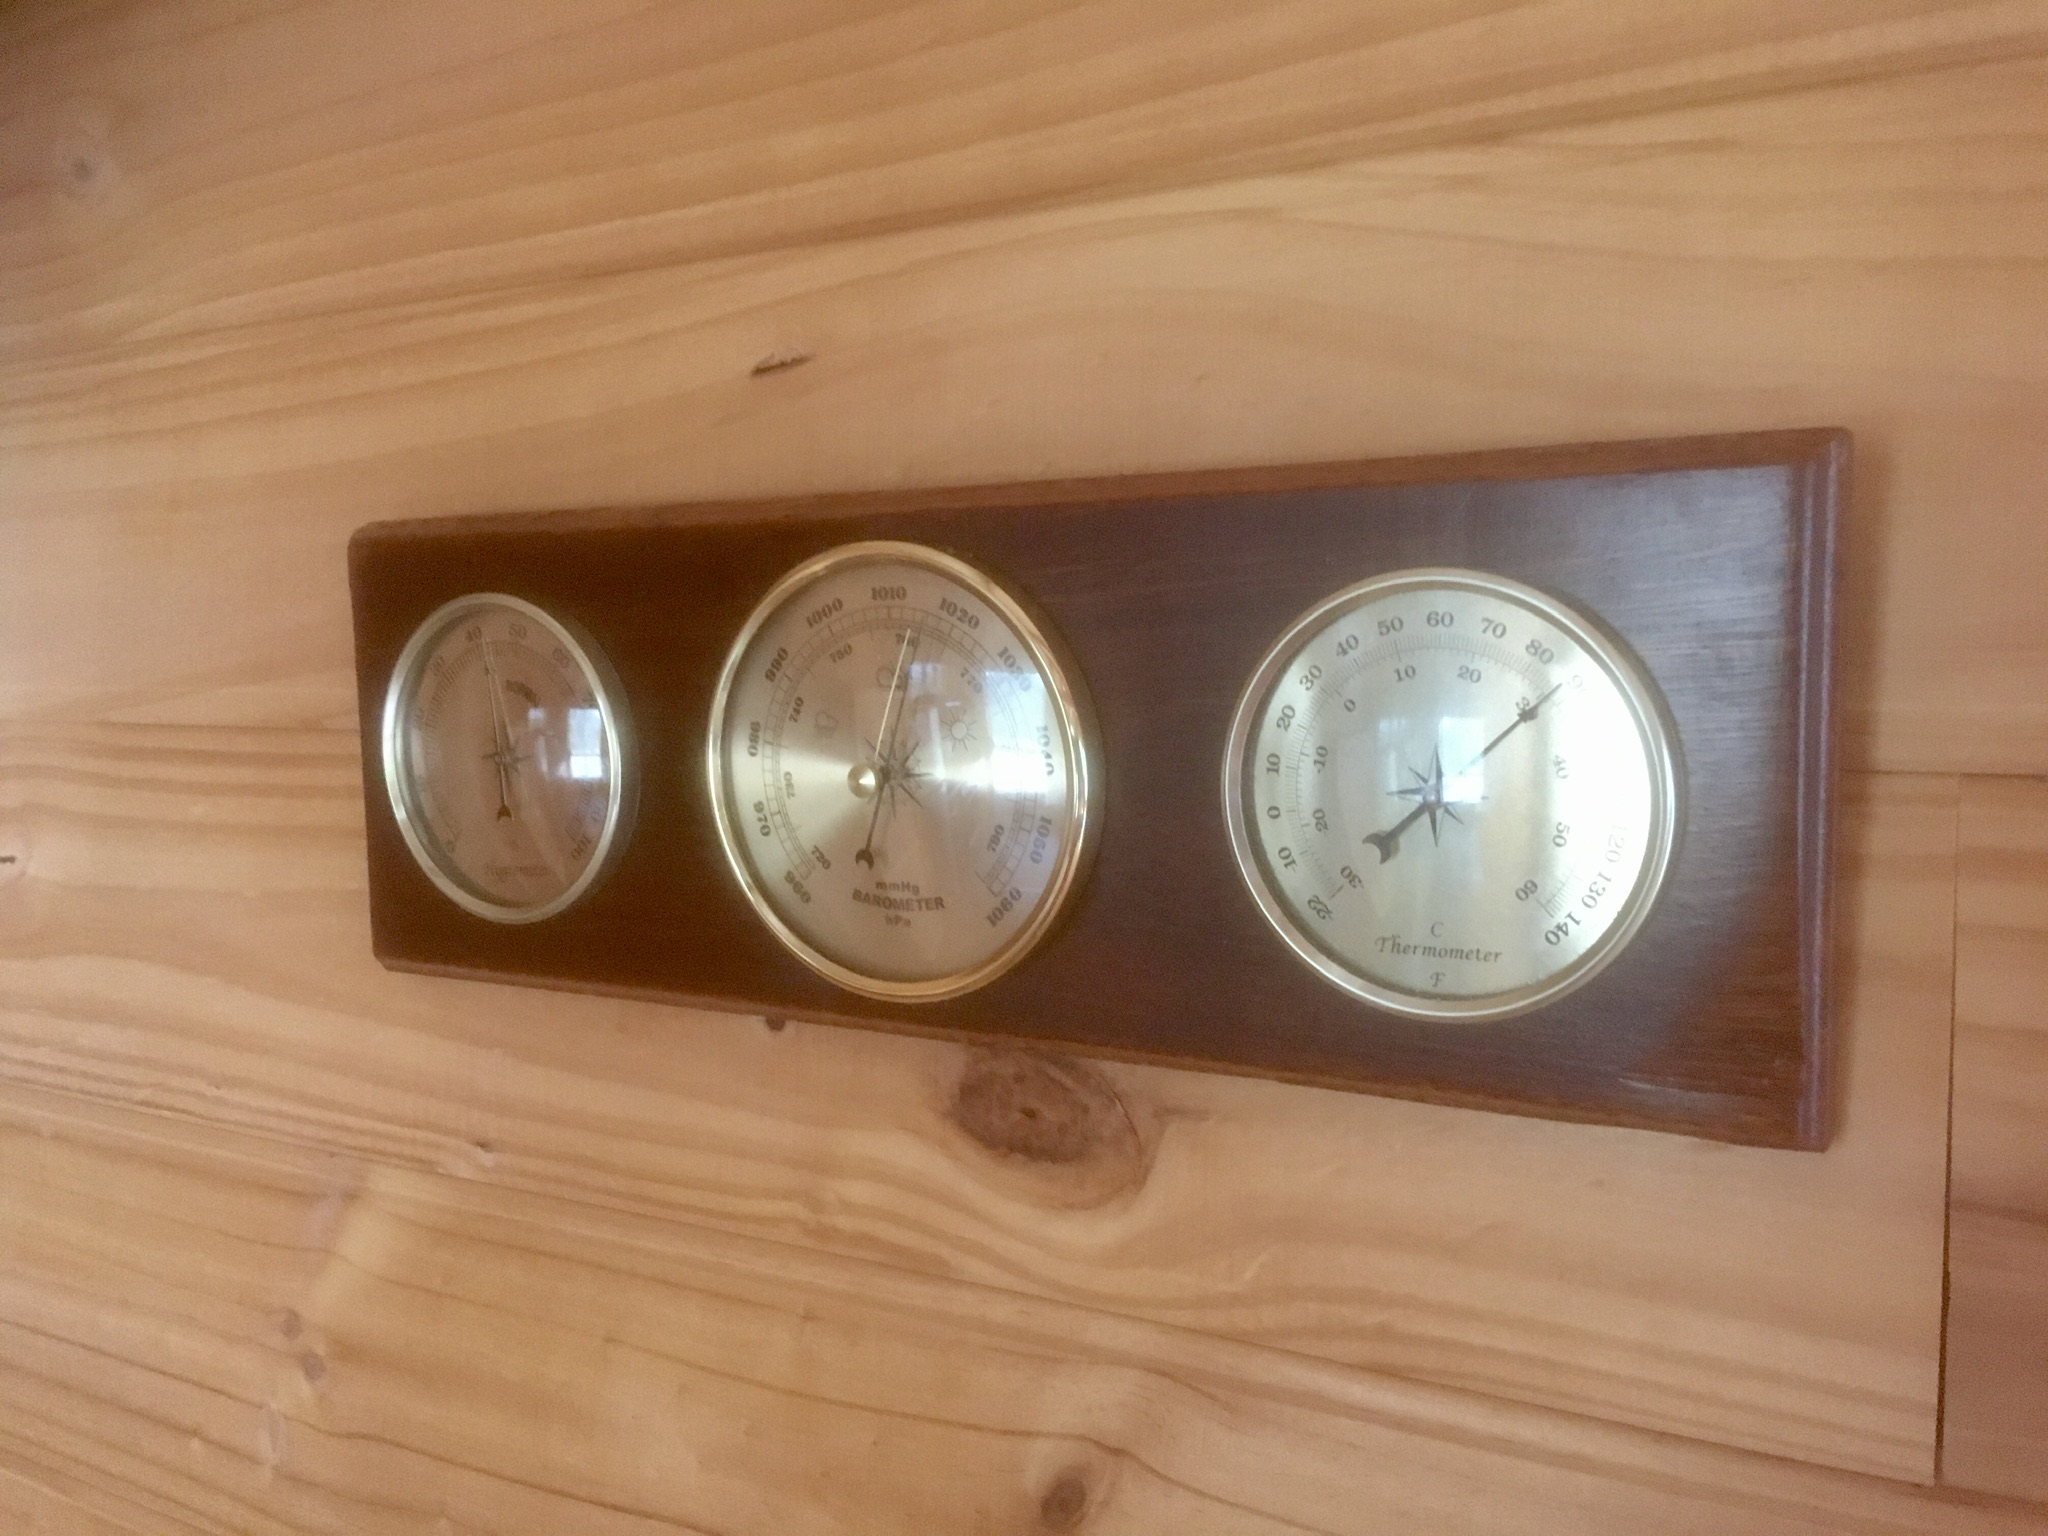
Thermometer, hygrometer and barometer in a bit of recycled blackwood. Just a matter of drilling a few big holes, really.
6 Likes
Cor, I’d like one’a those for my set of dials; it’s got a plastic frame.
“Totem”.
2 Likes
It’s exactly what the title says it is, lol.

1 Like
My latest release:
Improvised drone/dark ambient spook music. Modular synth, some bass ukulele, bass guitar, electric kalimba, and a lot of software.
4 Likes
Now I want to make a creepish film vignette just for this!
2 Likes
Some work here you might enjoy.
 model shop")
1 Like
Wow. I love everything about it. To have a job like that!
1 Like
Not making but wish I could!
2 Likes
I’ve set up my 3D printed “Psycho stairs” just to see how they look. They’re still unpainted so the detail isn’t too visible. They’re in three sub-assemblies so I can give them some more cleaning.
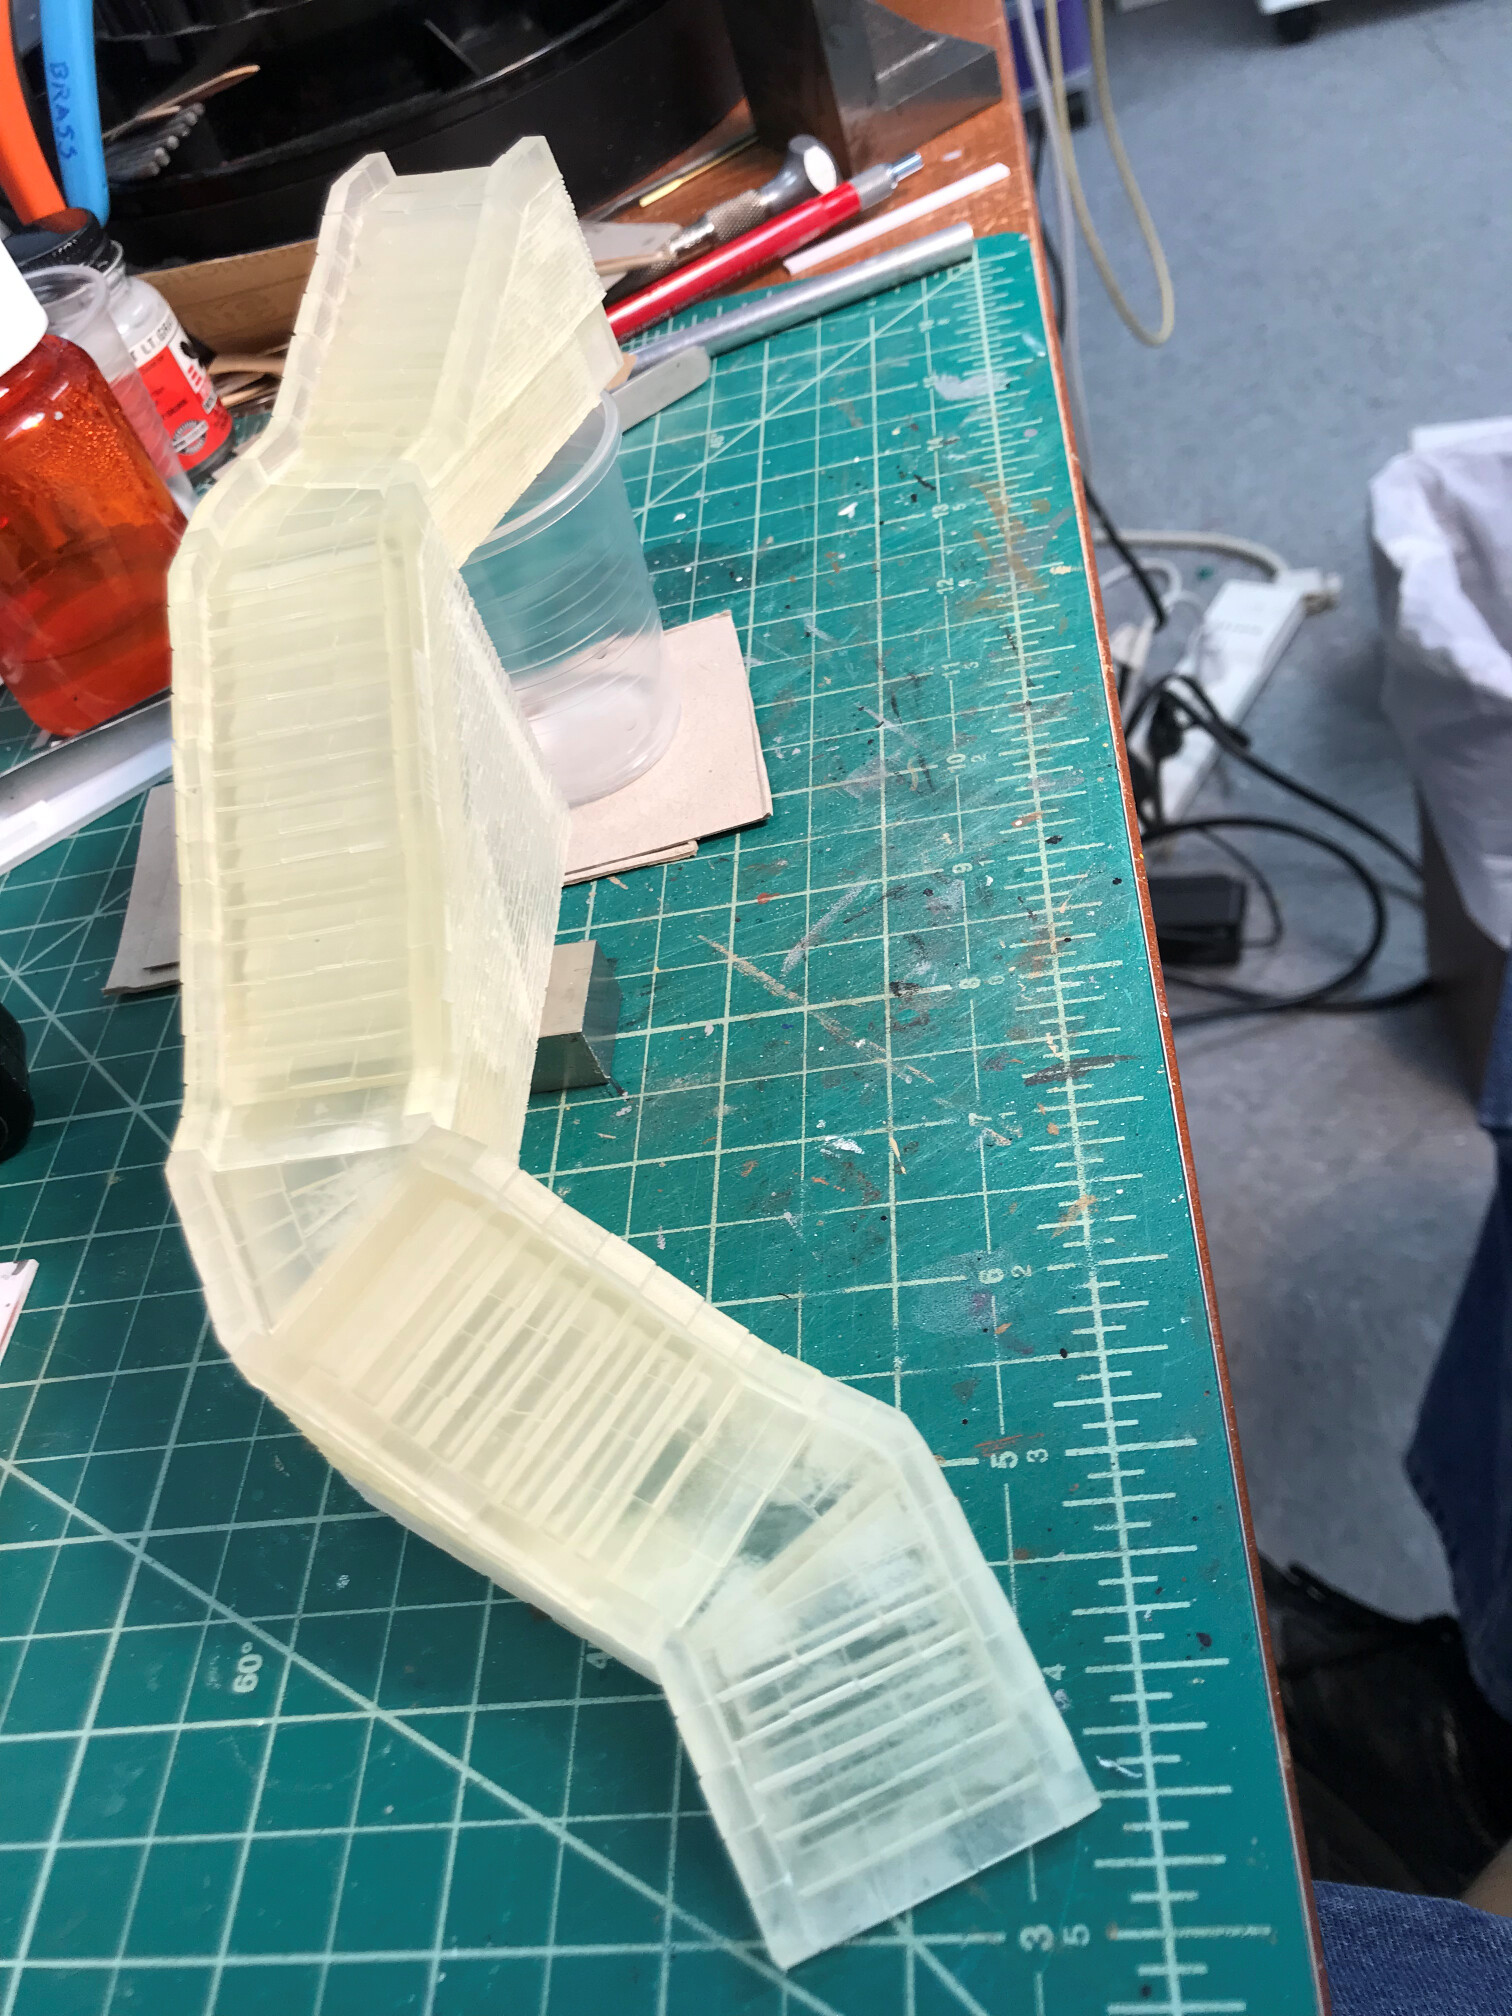
One problem with these parts is they are very hard to clean so the paint will adhere. I think I need to do some more cleaning on the sub-assemblies.
3 Likes
the house you built is way cooler than the original kit anyway. can’t wait to see it with the stairs
3 Likes
That’s going to take a while! I plan to have the house on the top of a hill, which isn’t built yet (though I have a two-three foot mound of thick layers of insulation foam piled up on the layout). But I may be able to cobble something together to get the sense of it. Thanks for the compliment!
2 Likes
Just to clarify – that’s true for the fine detail parts in general. They have a waxy coating that’s part of the 3d printing process.
2 Likes
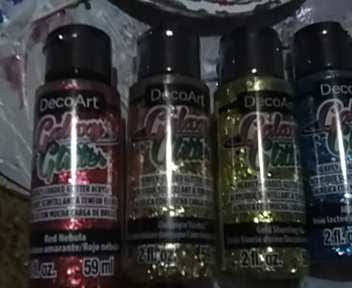
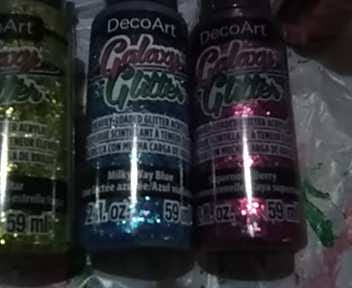
My brother took me out shopping today, and we went to a place called Rainy Day Art in Grosse Pointe Woods. I nearly cleaned out their inventory, and the price was what I’d pay for just plain acrylic paints of the same brand! He bought me some canvases at a discount place called Ollie’s Outlet.
2 Likes
sure, but you can build a hill out of any old thing, right?

5 Likes
I’ve been feeling too lazy to make any serious projects lately, but fortunately there are things to make in which careless and half-arsed is an integral part of the vibe:
Birdhouses made from scrap timber salvaged from a house demolition at the end of my street. Just a few quick cuts and a bit of glue.
7 Likes
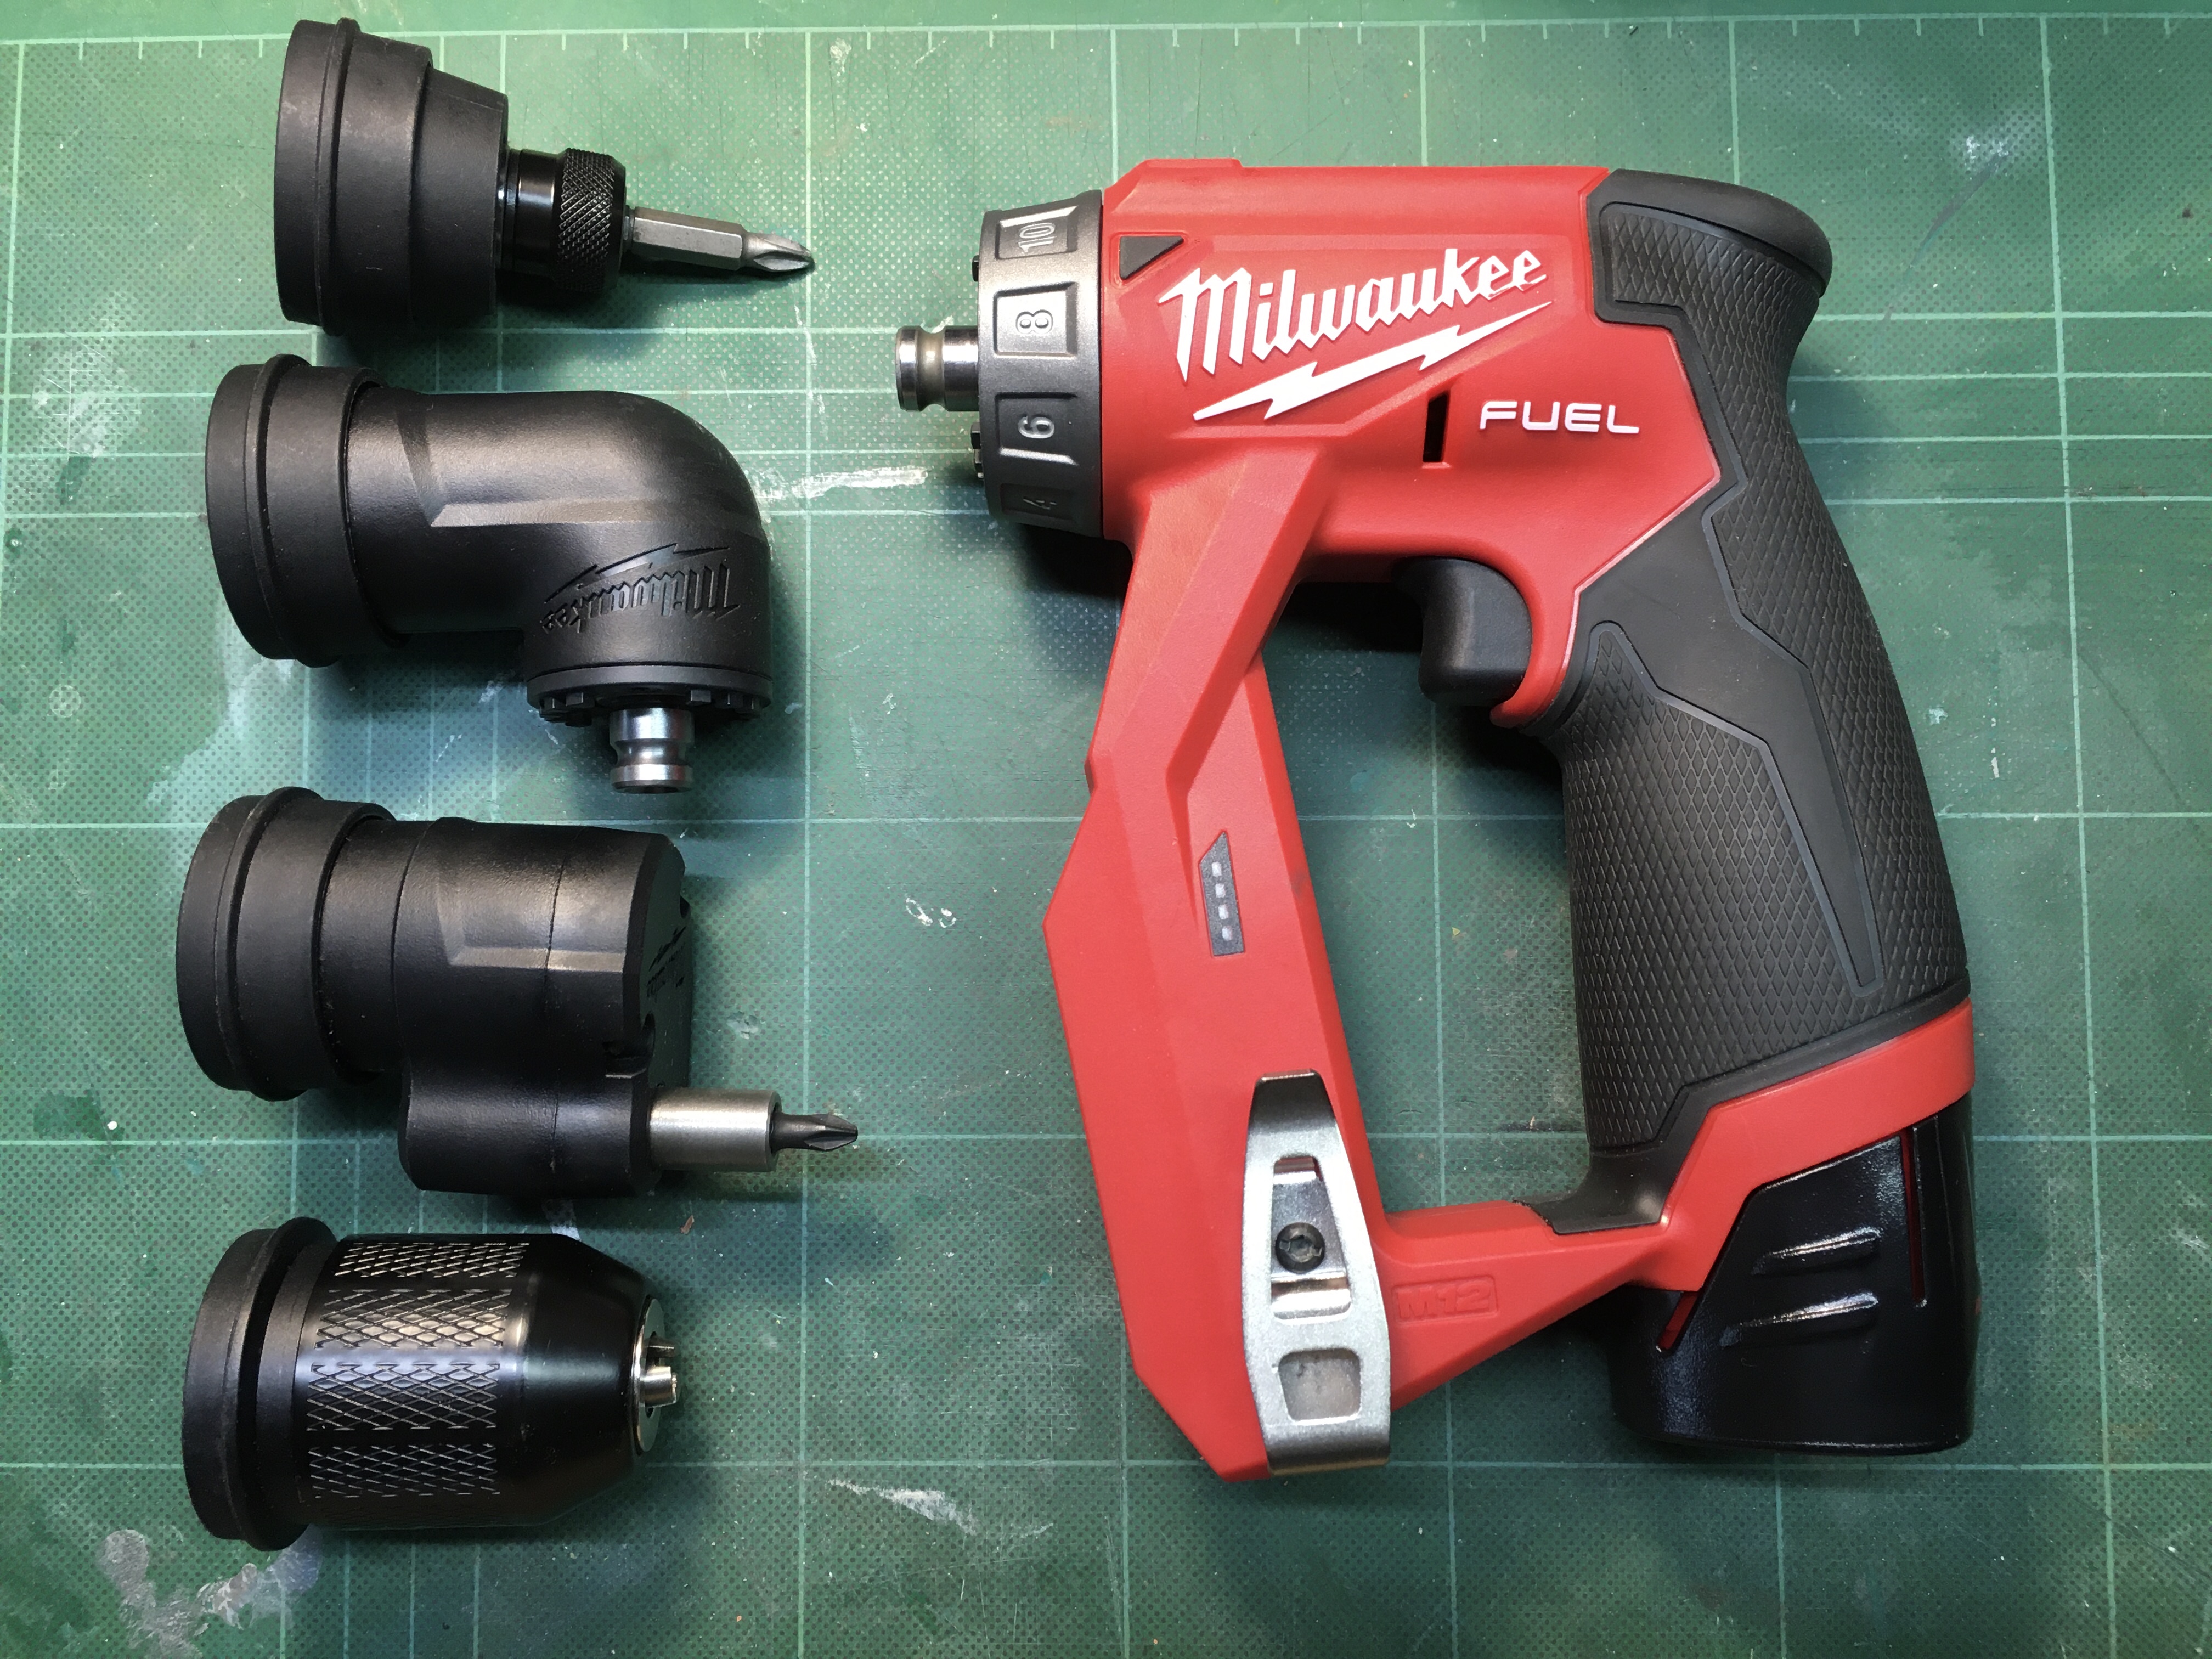
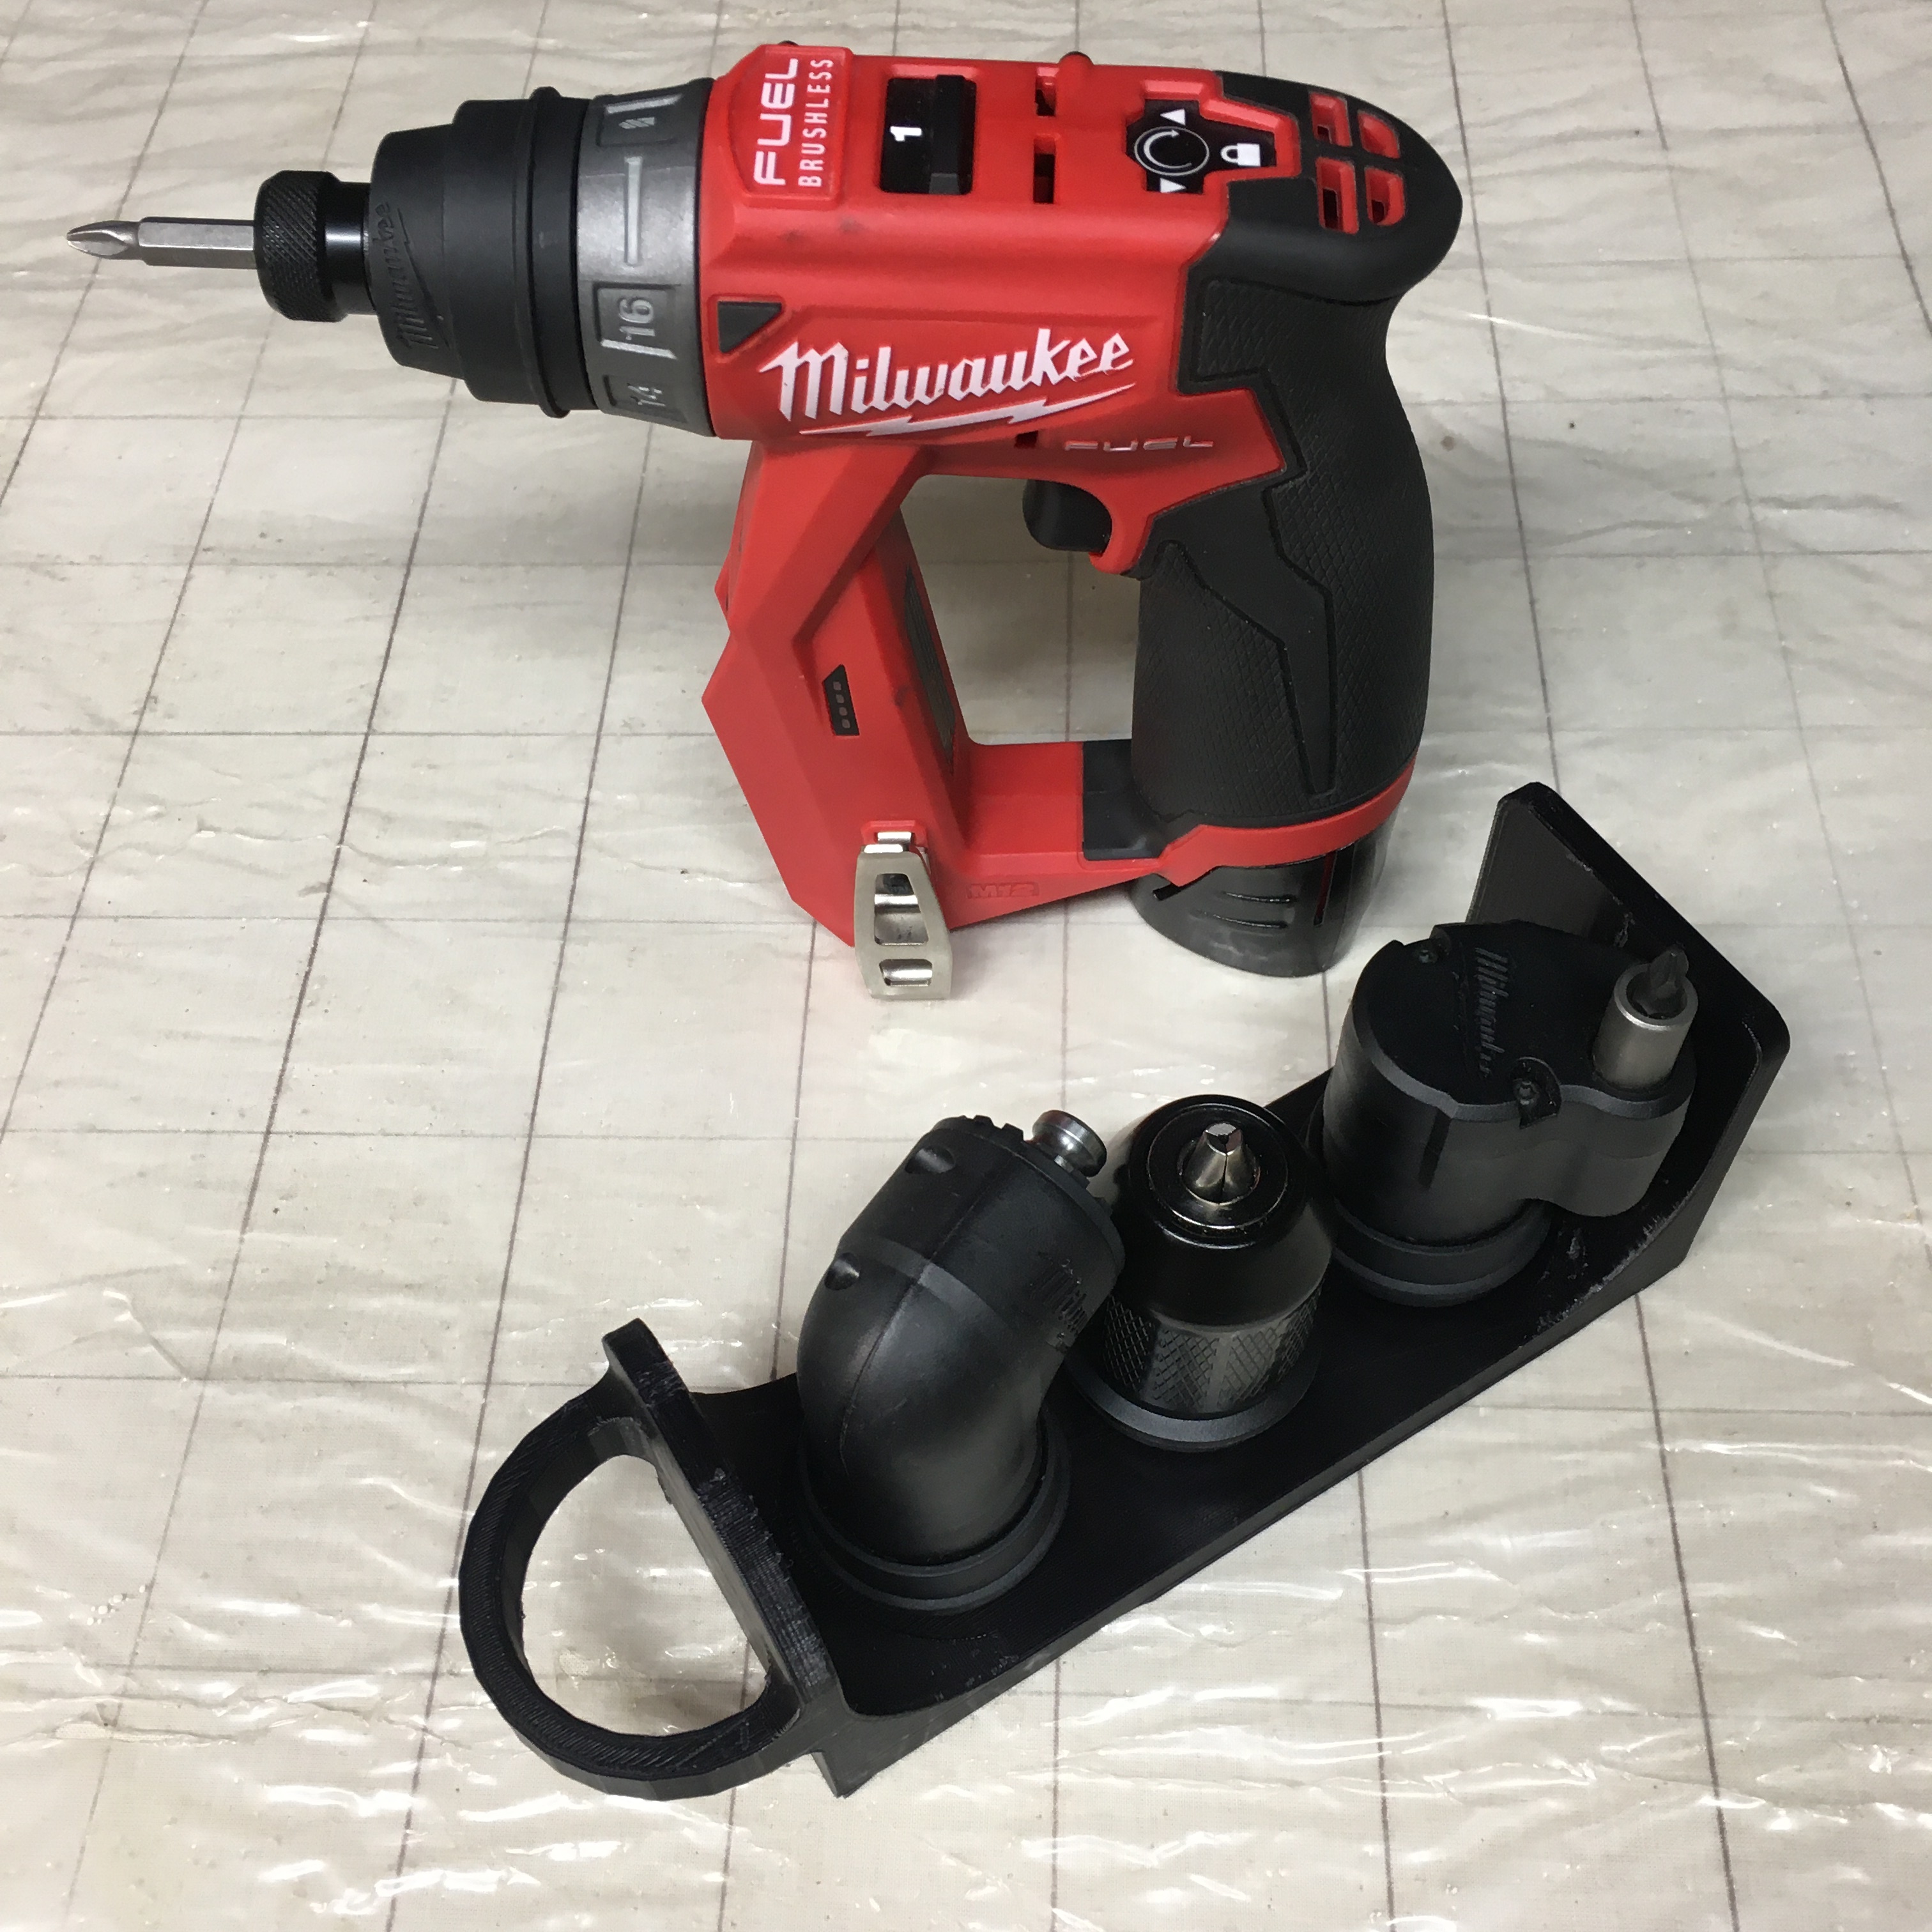
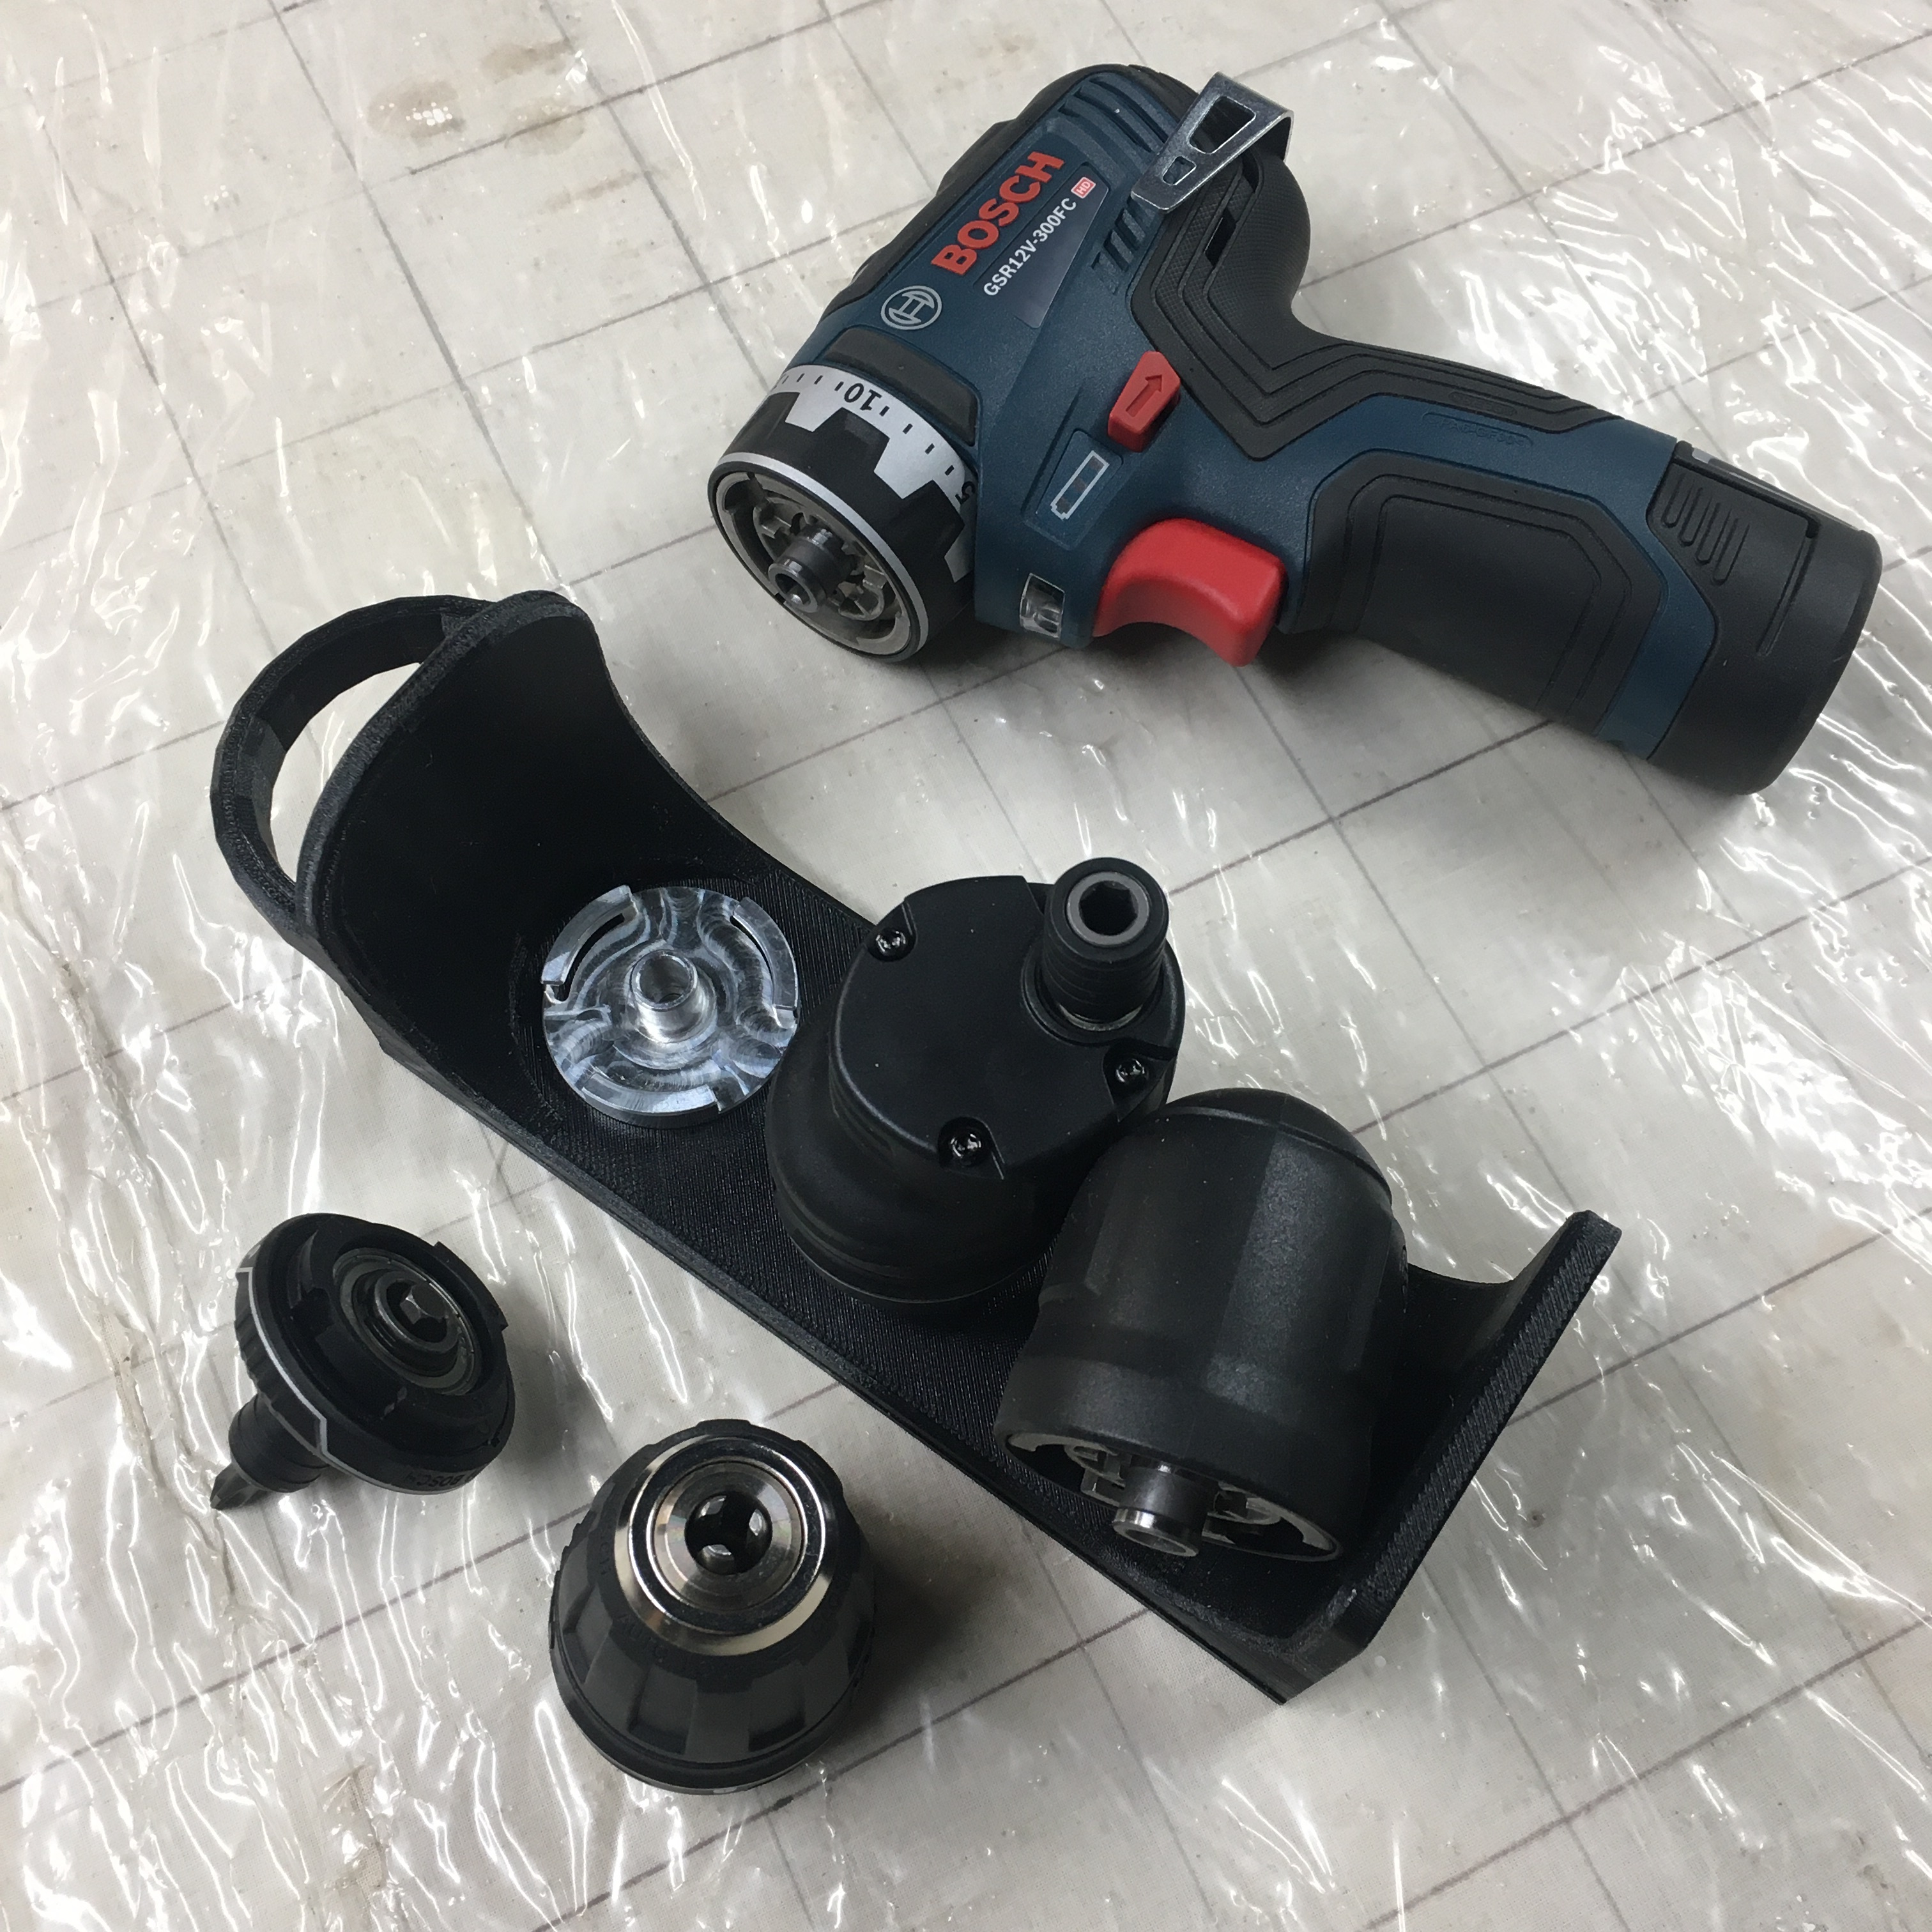
I am in the midst of a project to try and make a commercial product out of an idea hatched in my workshop. I have a milwaukee 12v drill with interchangeable chucks - its called an installation drill, not super powerful, but compact and light for smaller jobs and installing things, or maintainence work. Its an all around drill for me. I kept the drill chuck on the drill, and the other three chucks in a box on my bench which was for the birds. Sometimes I would take the drill out of the shop to do a job at my studio, and I’d drop the chucks in my tool bag and they would be rolling around the bottom out of reach. So I decided to make a rack to mount the chucks too. Prototyped it in 3d printed nylon, ended up getting the chuck mounts machined in aluminum, pitched a group buy of 30 of them to try and lower the cost, sold them all in 3 days. So ordered parts for more. Made a version for the Bosch drill, now working on third version for DeWalt, Hilti, and Metabo drills.
5 Likes
Alas I have to stay away from starchy foods.
1 Like
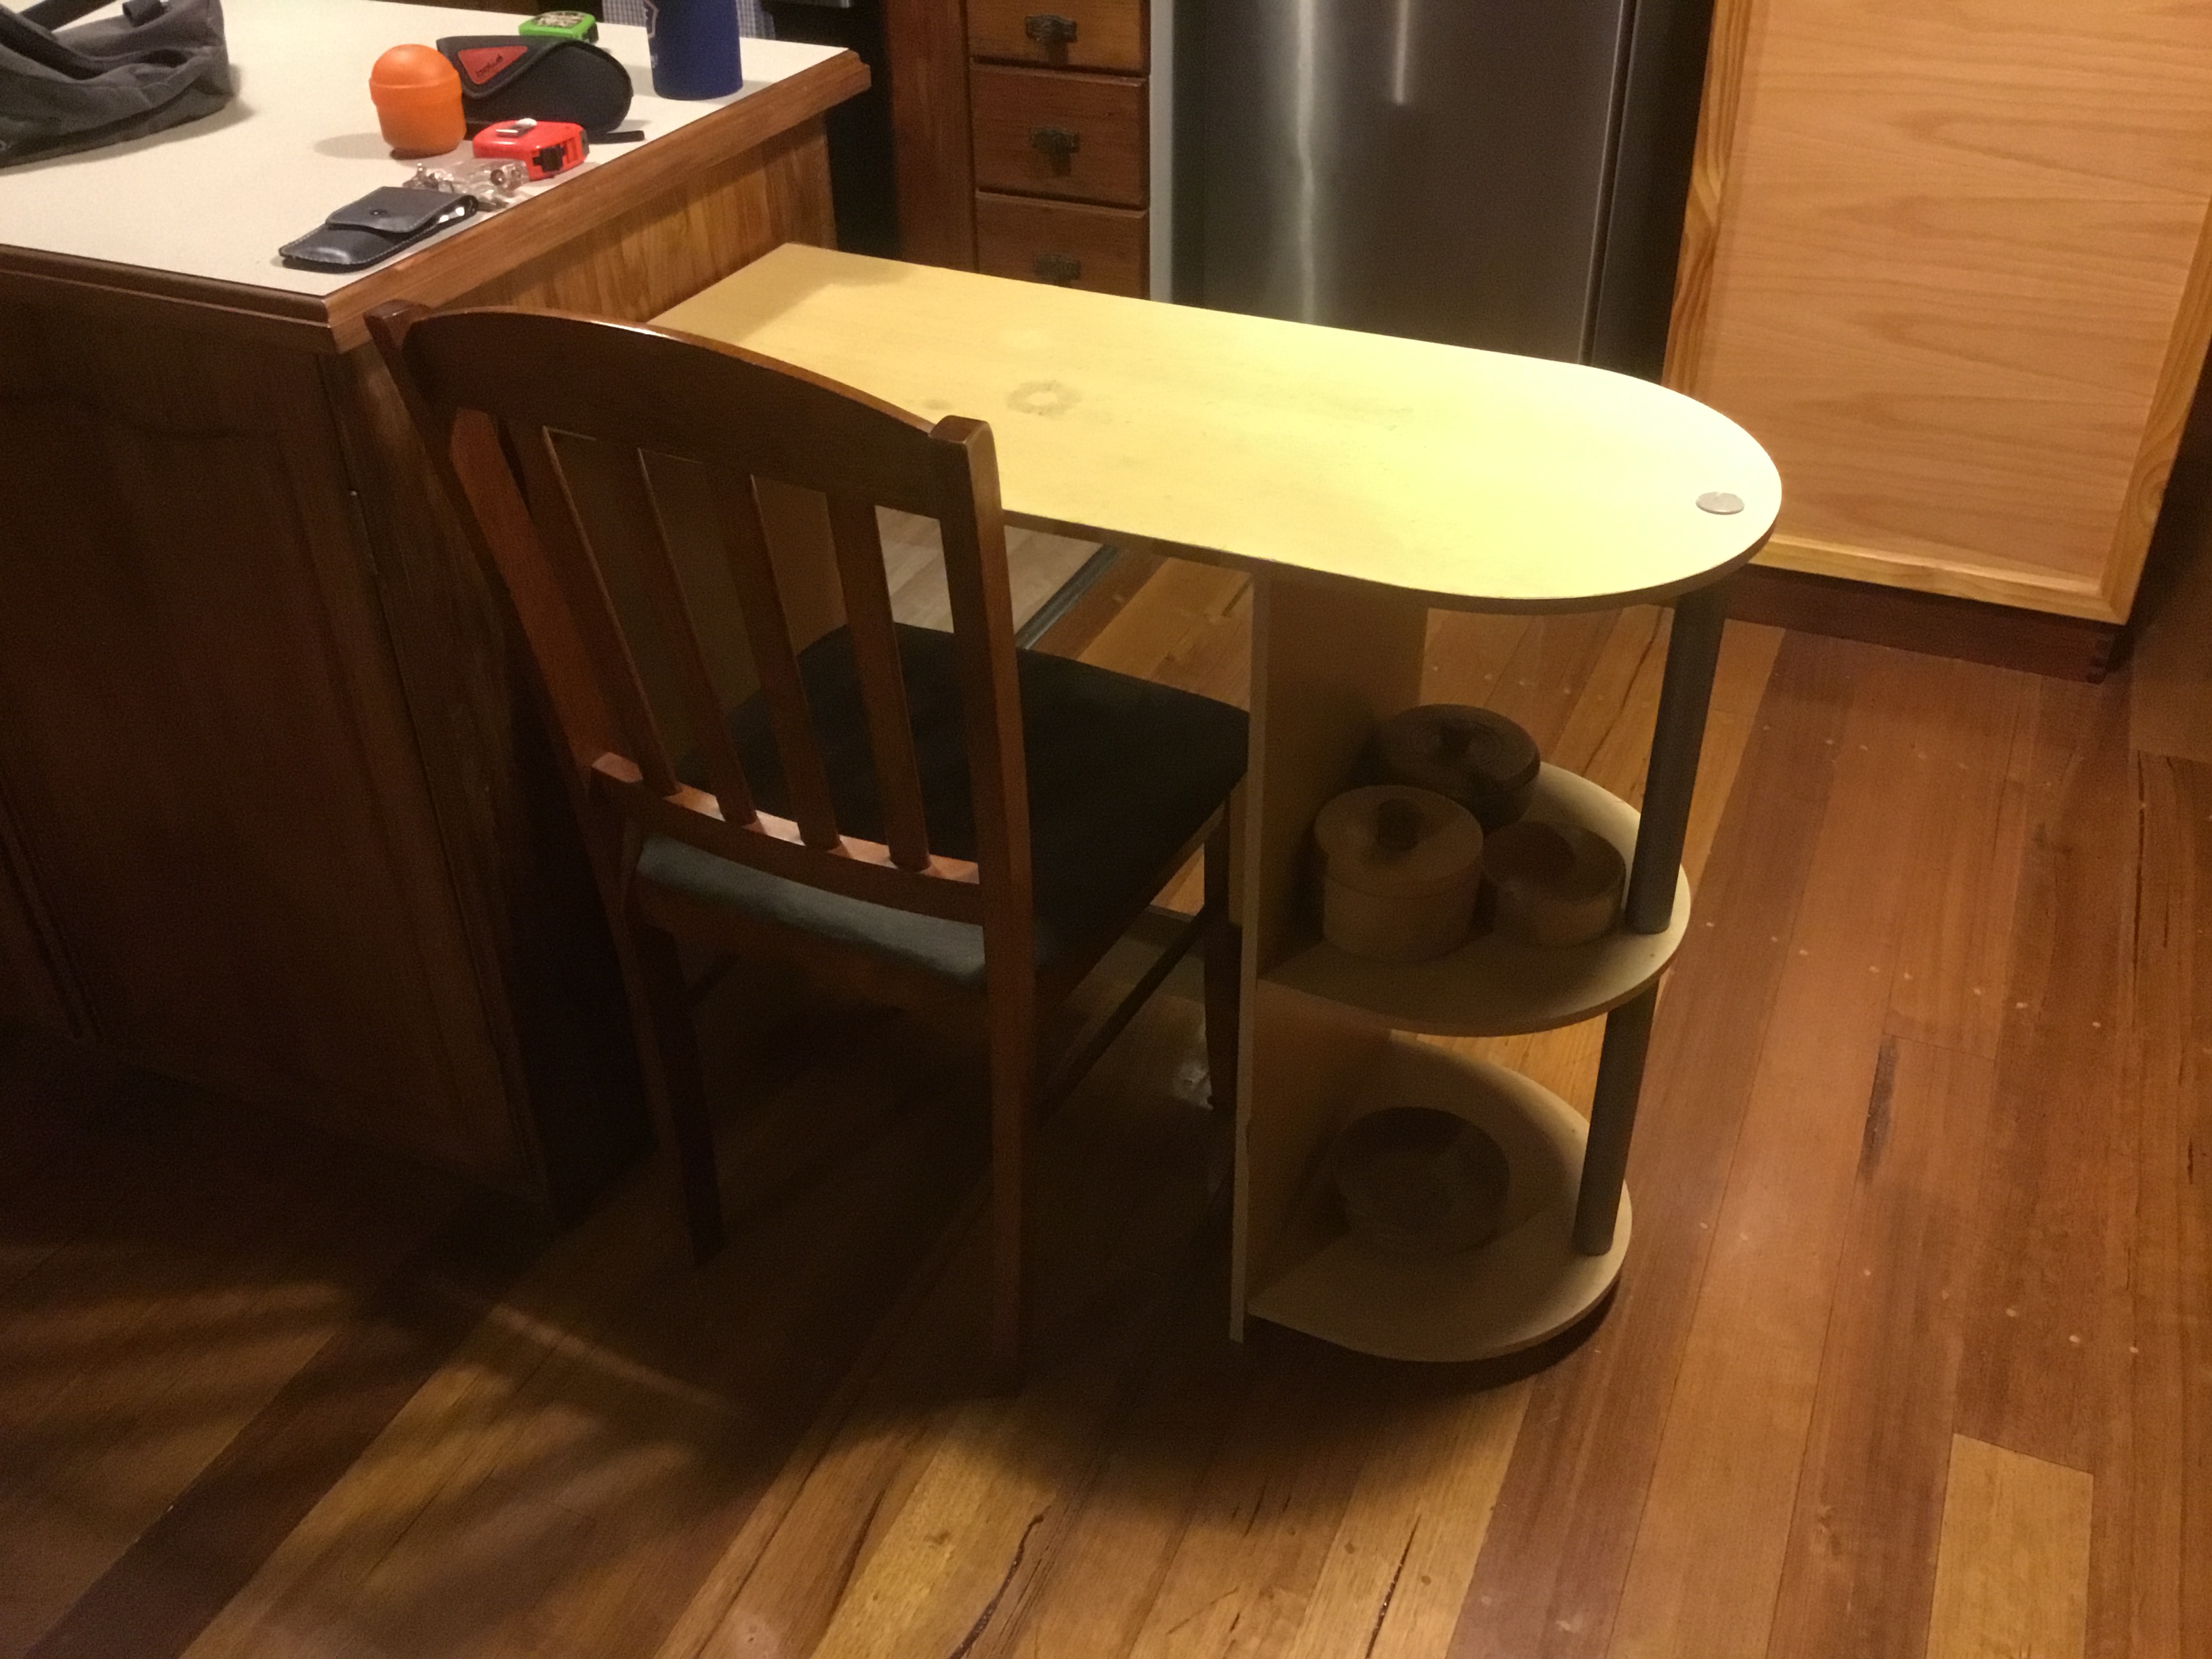
I’m about to start on another table, intended to replace or supplement the battered and tiny old thing I currently use as a dining table:
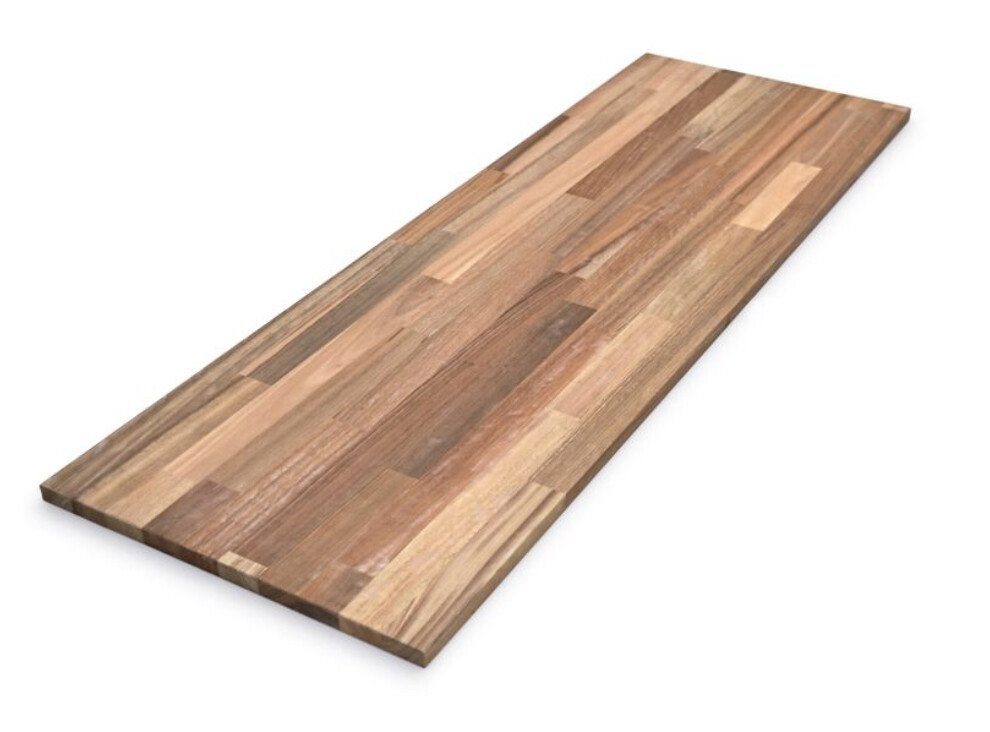
The top is going to be one of these prelaminated panels:
…while the undercarriage will be Tasmanian Oak. I had the apron timber already, but I’d been struggling to find a decent source for the legs (Bunnings doesn’t do anything thicker than 32mm in DAR oak). Fortunately, I finally managed to locate a decent timber yard:
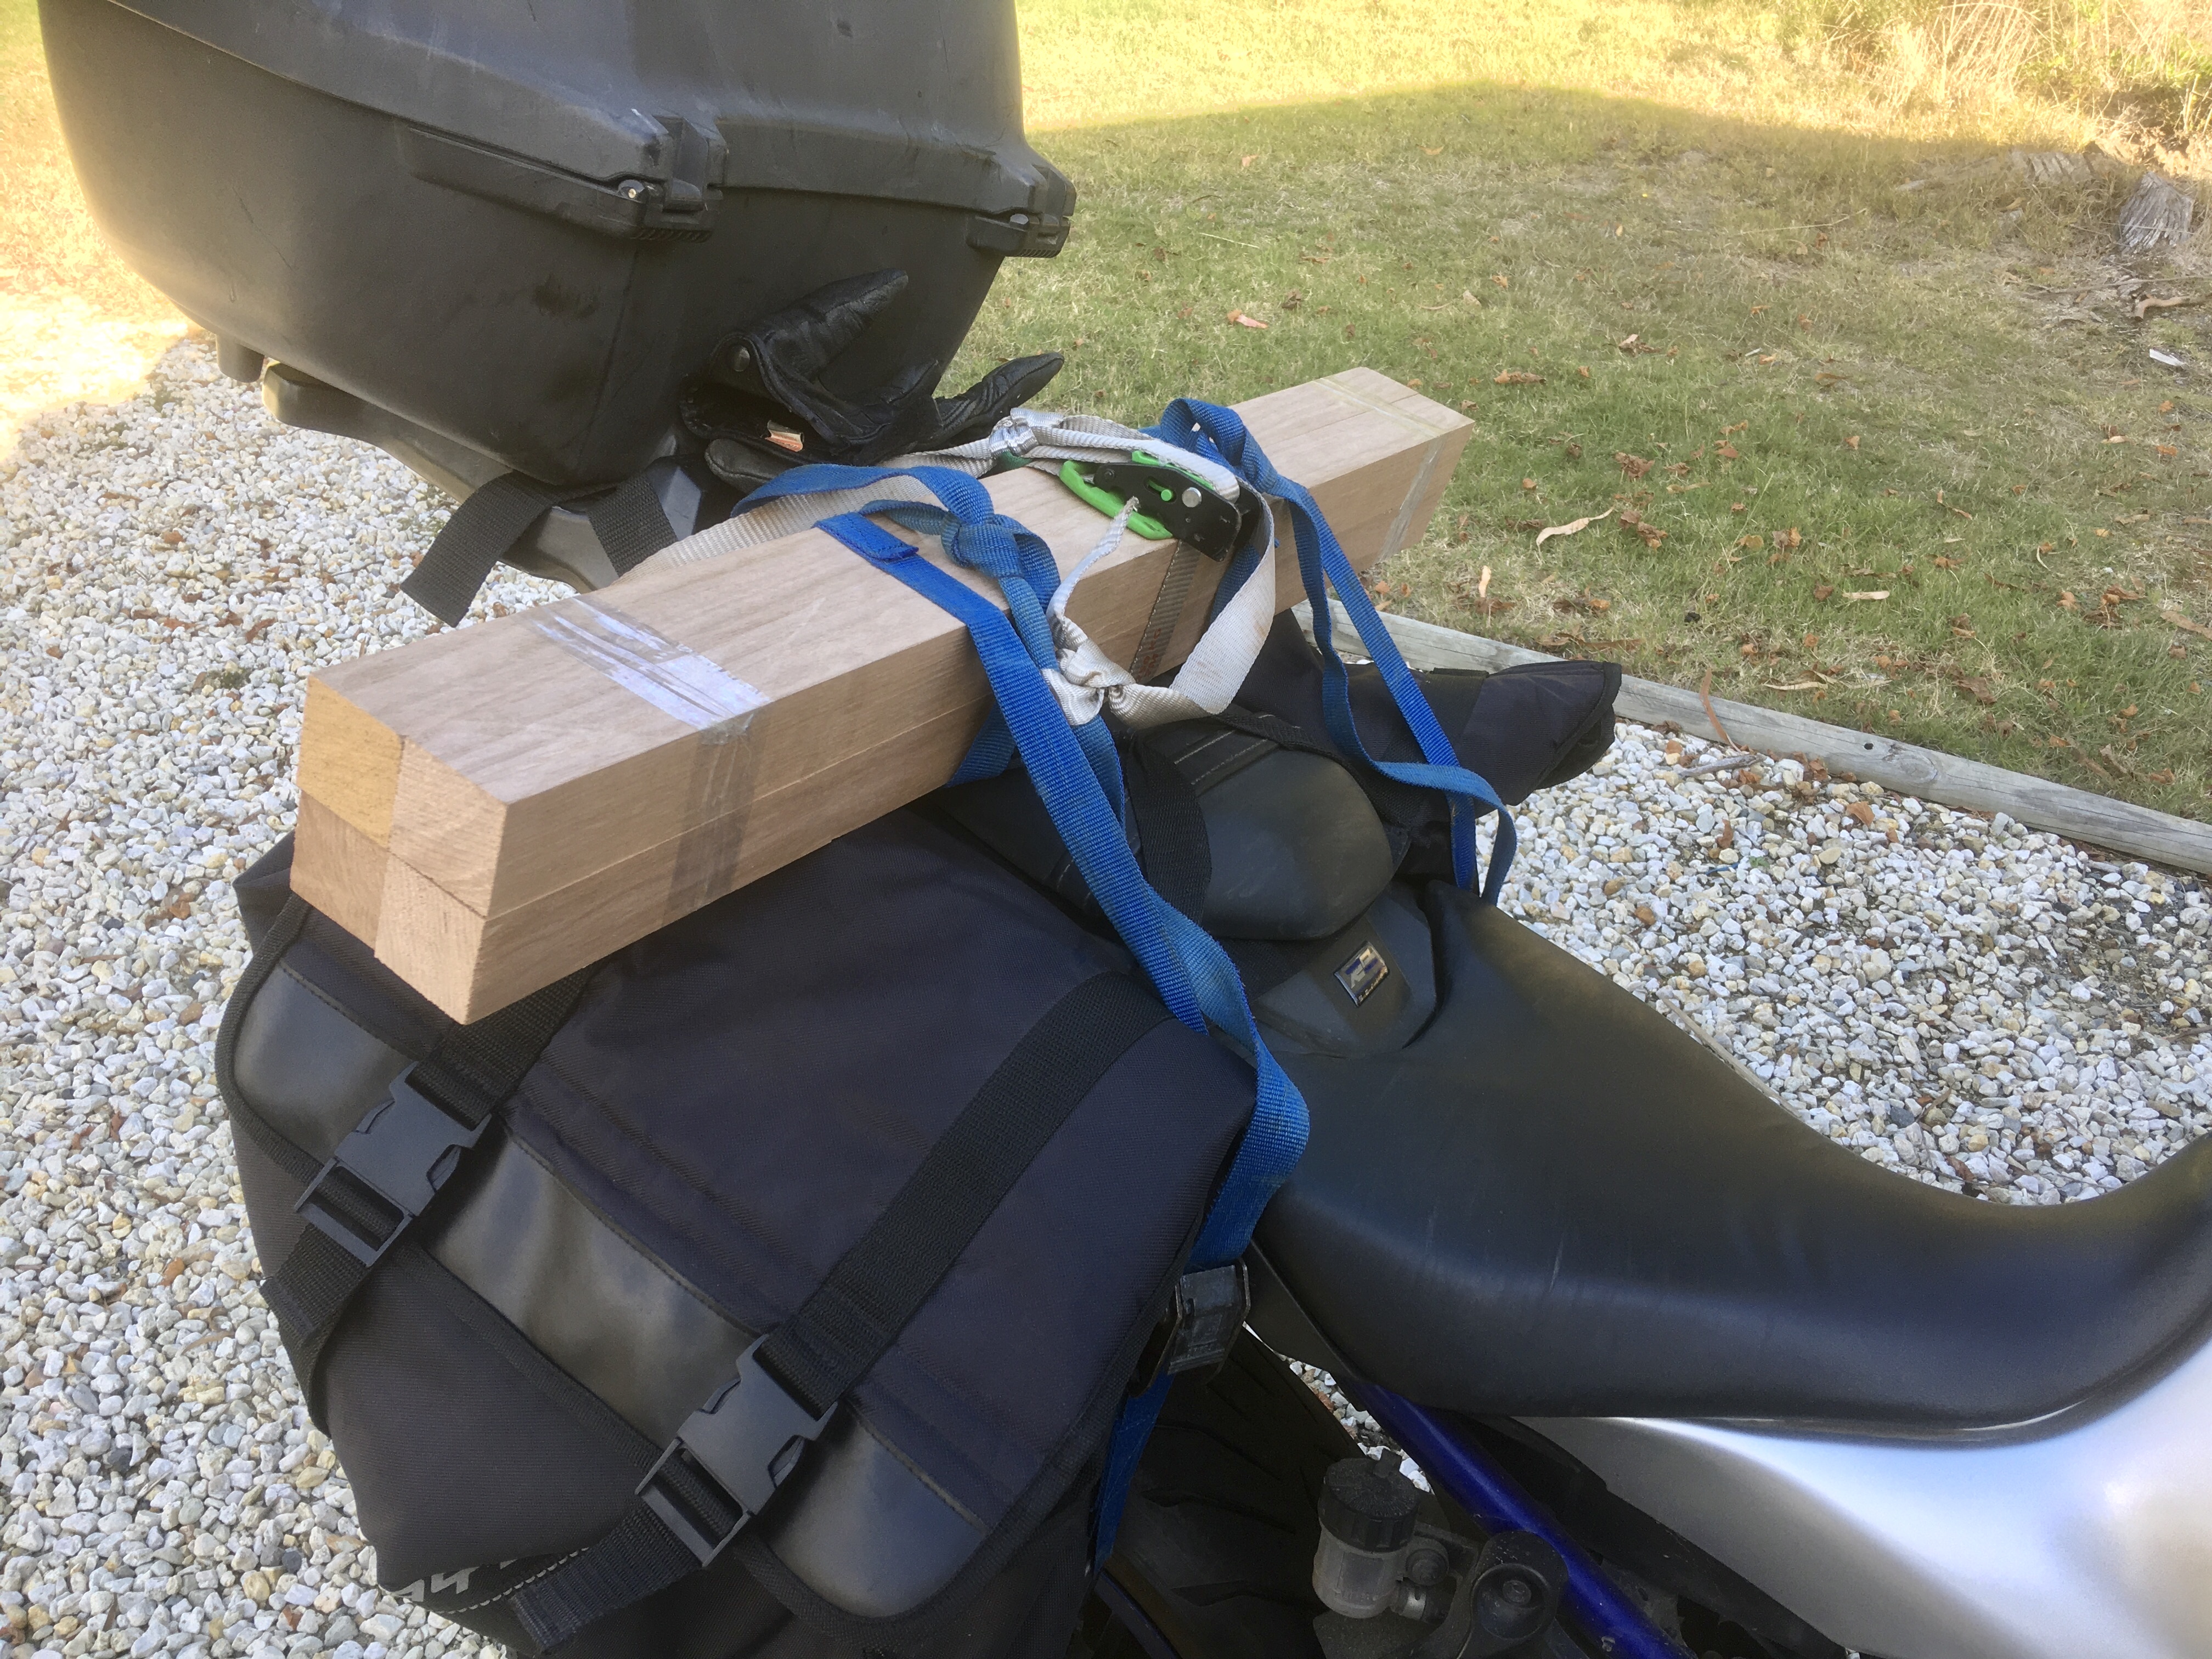
Just gotta cut some mortices and do a bit of decorative shaping before I assemble everything.
6 Likes
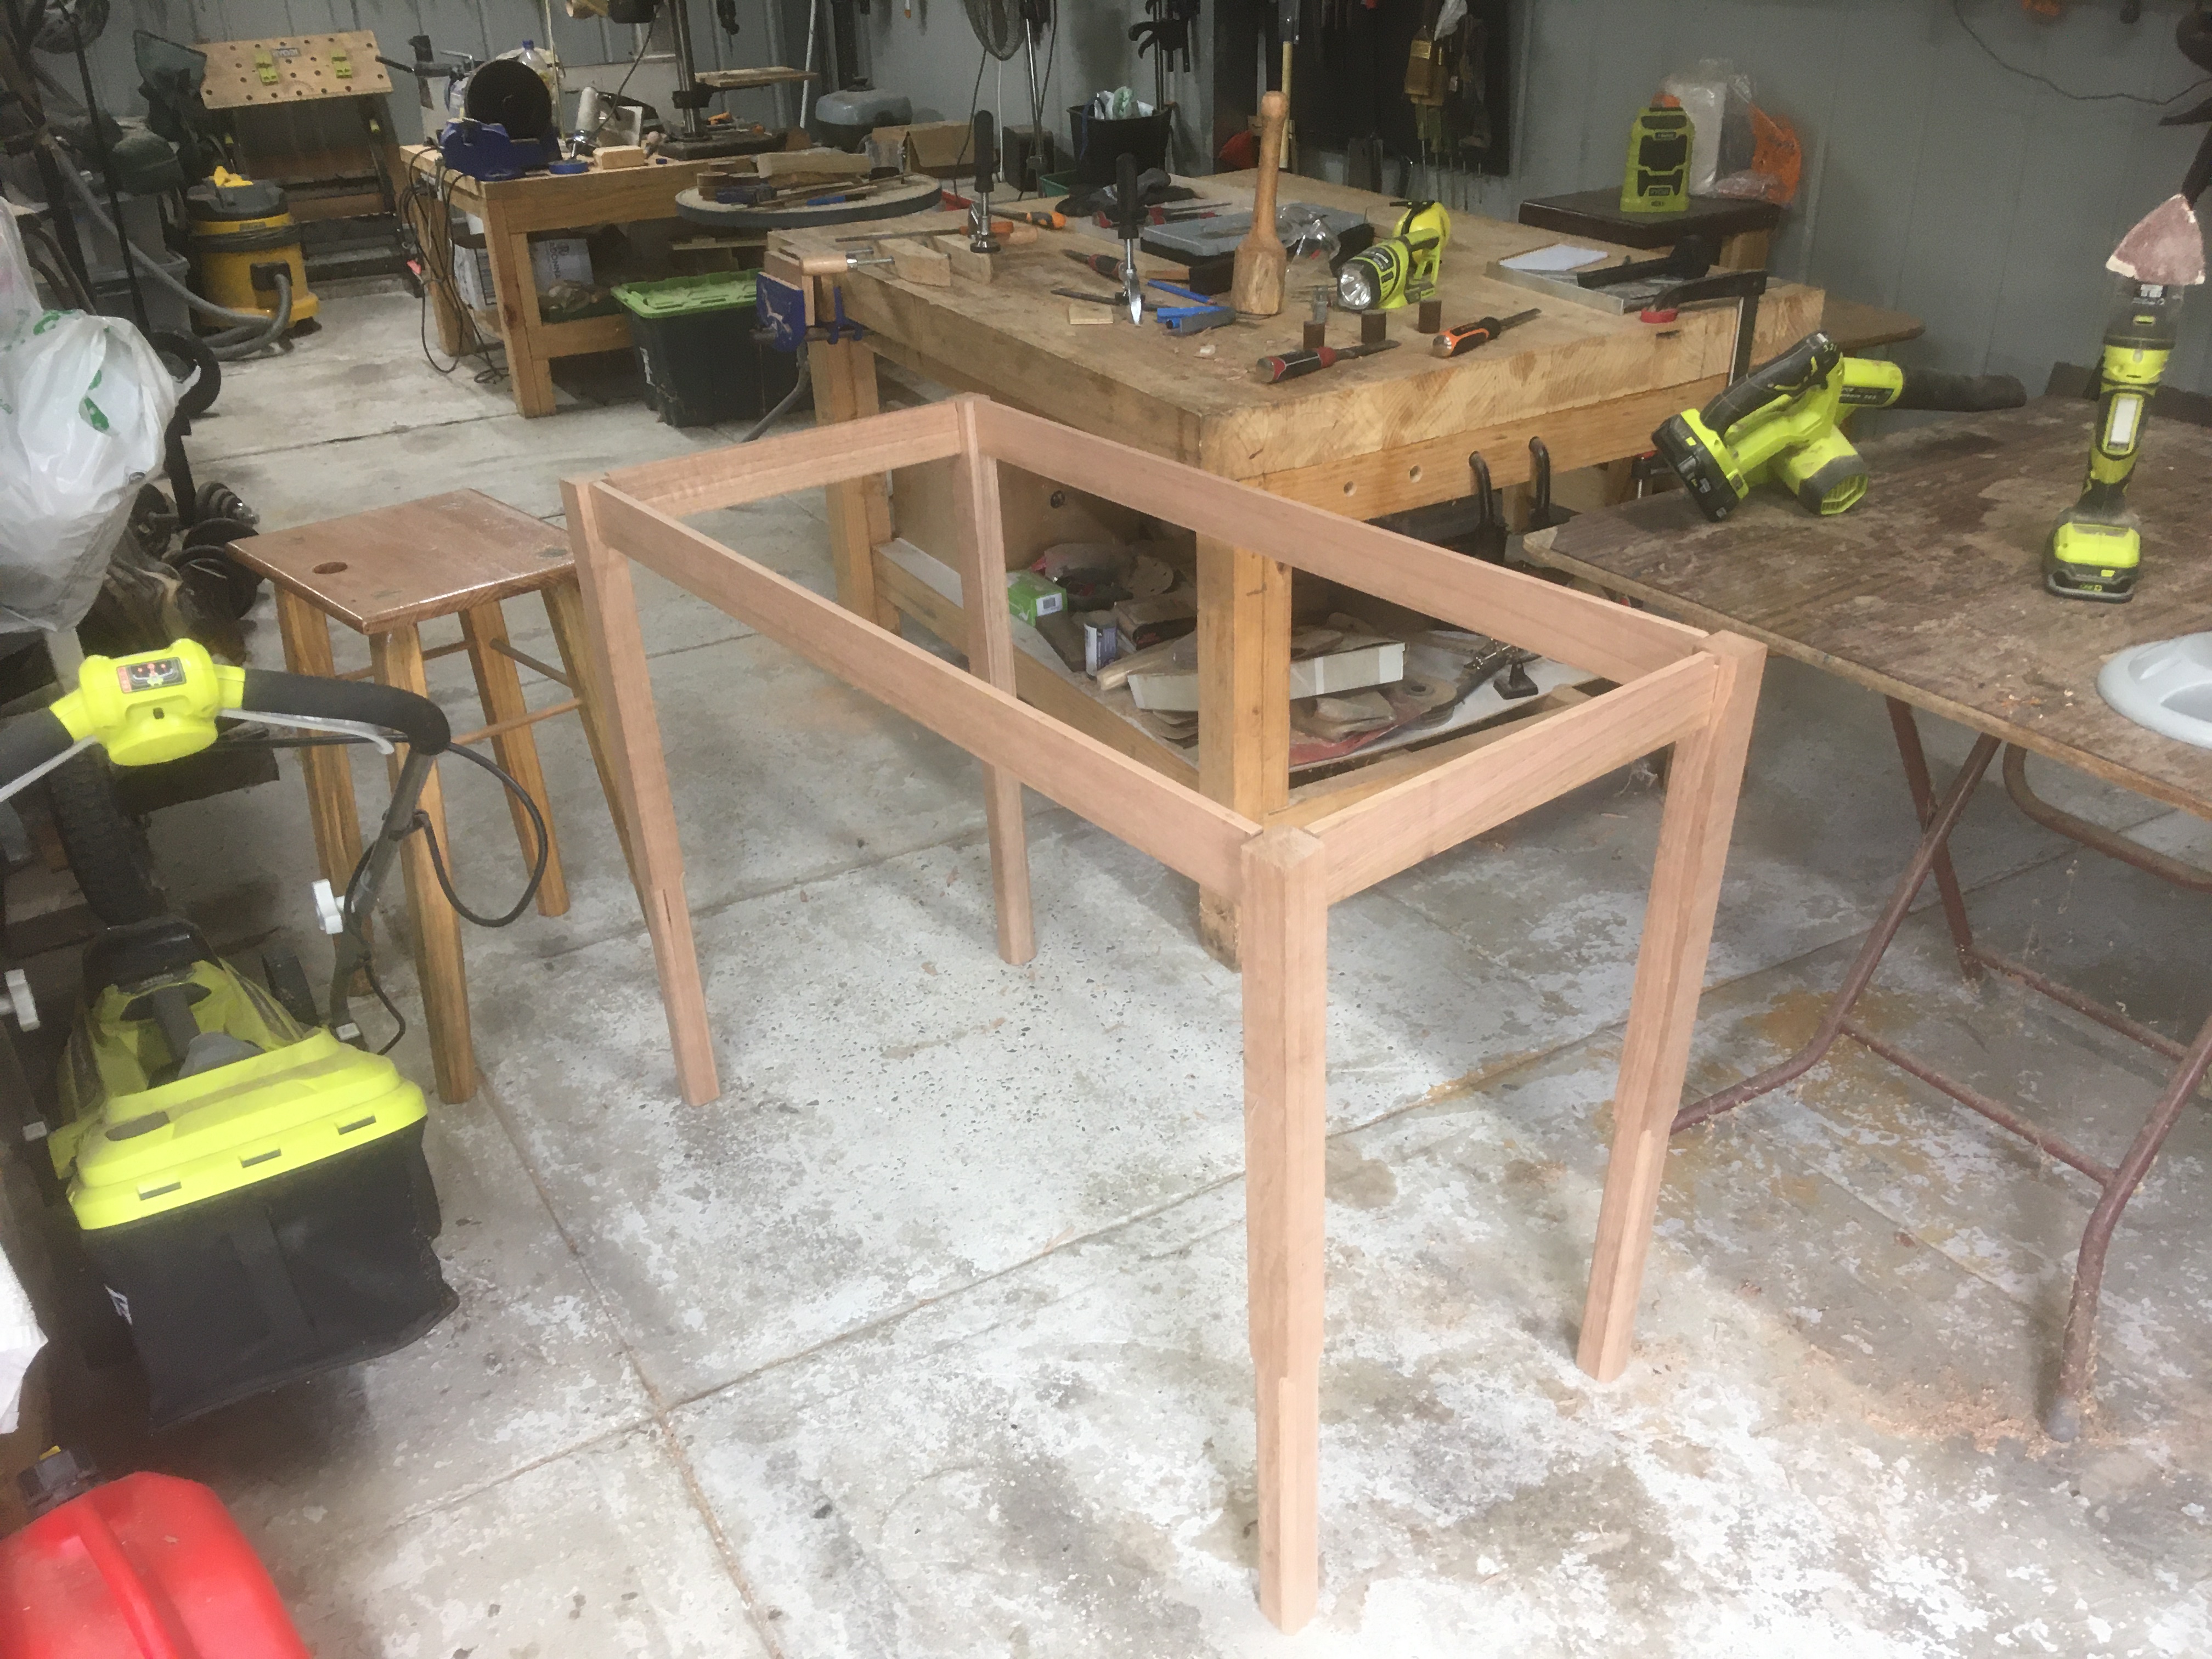
All of the mortices are tight enough that it takes sustained wiggling to pull them apart again.
Still to do:
-
Make the table buttons and the slots for them to lock into the aprons.
-
Sand everything down and knock off all the sharp corners.
-
Assemble and glue.
-
Level and trim the feet.
-
Pull the top off before oiling and varnishing the undercarriage.
-
Reassemble.
5 Likes