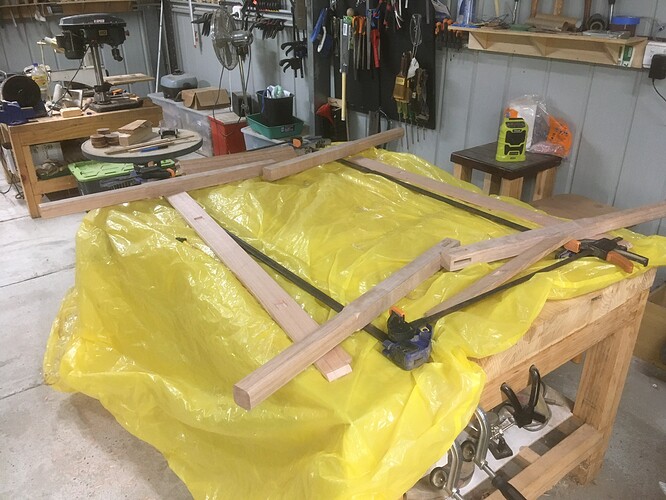
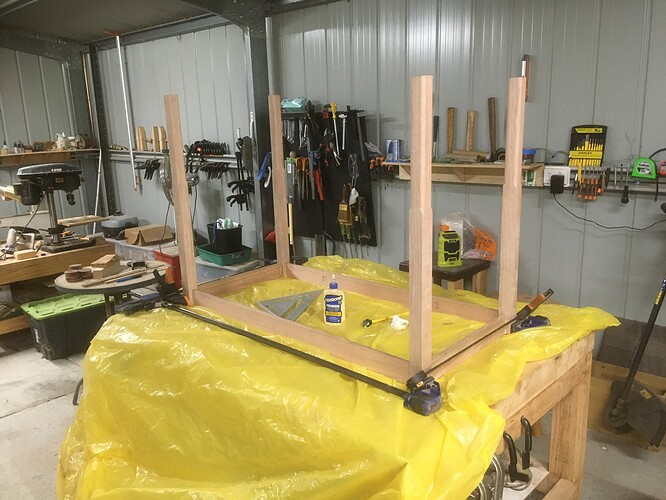
Glue time:
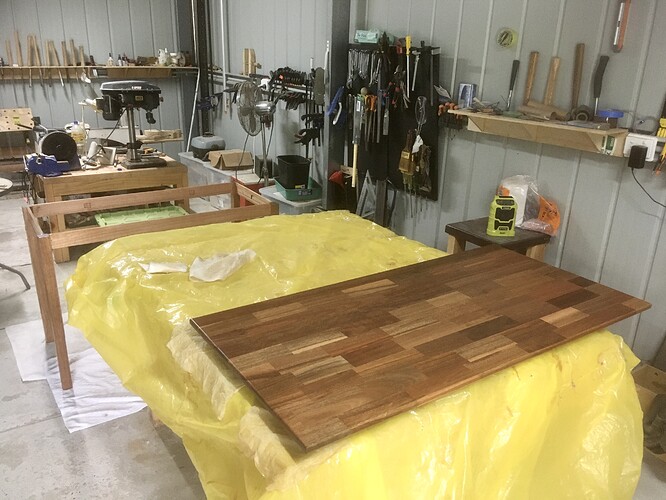
This morning I used the router to take the sharp corners off the tabletop and screwed the table buttons into position. Then, while flipping the table over (now much heavier with the top attached), I discovered that I hadn’t used enough glue in one of the leg mortices…
Now restuck with much more glue, waiting another day for it to dry. Hopefully it was just the one; the others feel reasonably solid.
The latest:
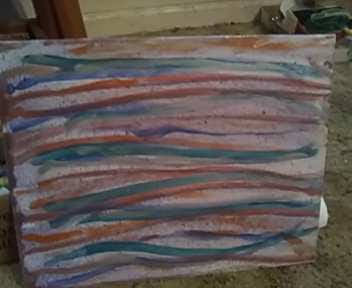
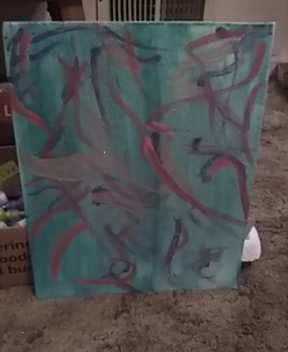
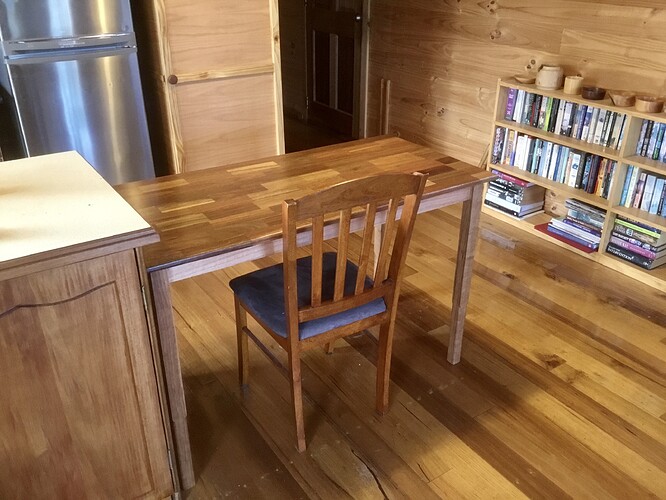
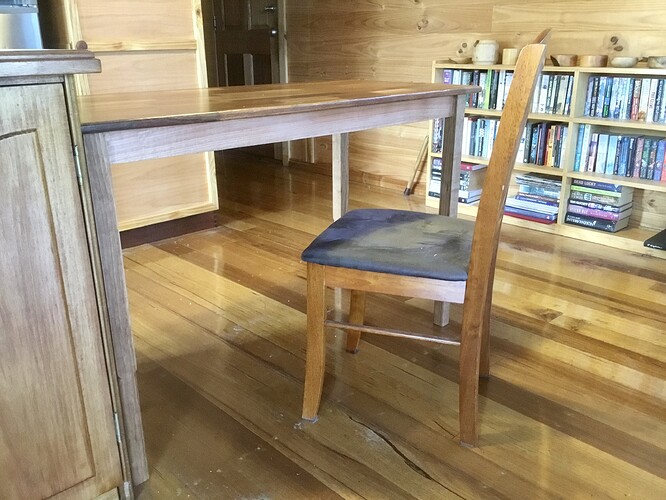
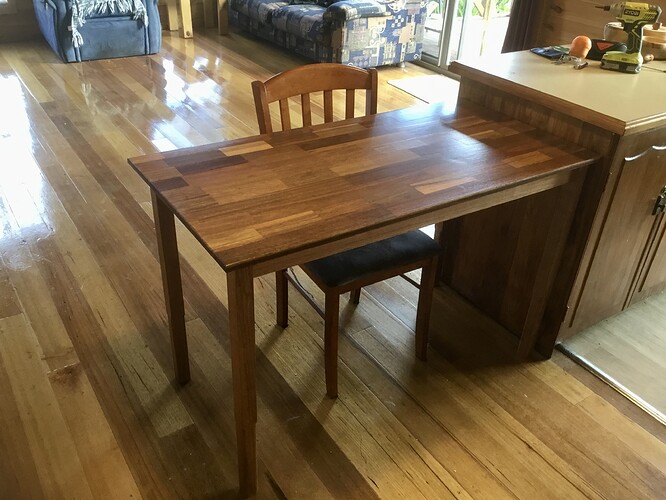
Last coat of varnish is now on. Hopefully, the table should be ready for final assembly and relocation into the house tomorrow.
The latest, in progress:
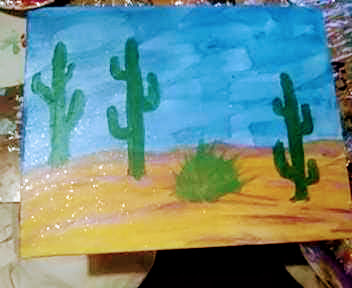
New album release on Bandcamp Friday. Free/pay what you want.
Doom drone / dark ambient improvisation with modular synth, bass guitar/bass ukulele and software.
My Mum and her husband Jim are arriving for a visit on thr 19th, which is also Jim’s birthday.
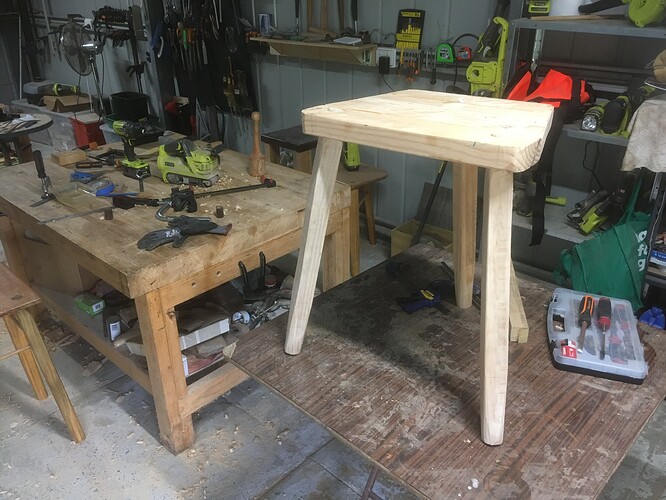
So I’m throwing together another of my Rustic™️ Pine Stools as a present:
Just a loose fitup; there’s still a bit of shaping to do before I wedge the legs permanently into place. And it’ll get the usual linseed oil & varnish treatment, which should bring out some figure in the wood.
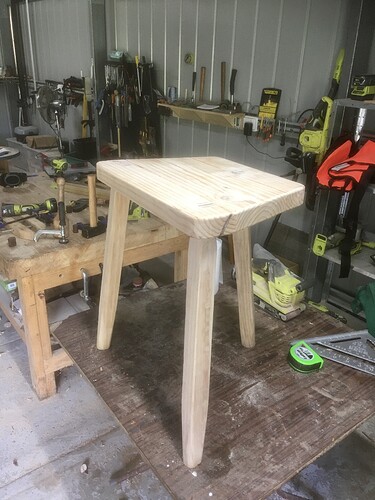
Finished.
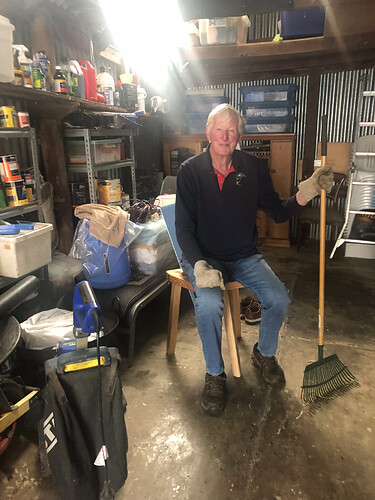
I forgot to get a picture of the finished stool before giving it to Jim, so I asked my Mum to take a photo for me:
Not the best shot of the stool, but at least it’s a nice photo of Jim. 
Thank goodness I have the same dress in a different color because I rarely, as you know, do before & after photos. I may touch it up a bit around the ears, not sure.


I come from woodworking people. I like to work with it, myself, but it’s difficult on my wrists. My dad may’ve been an asshole, but he worked well with wood, having learned from his father. And he married a Carpenter (Mum’s maiden name).
I really enjoy seeing your posts here. Keep up the skilled craftsmanship!
The latest.
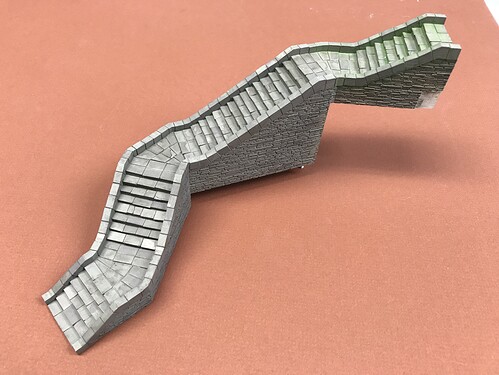
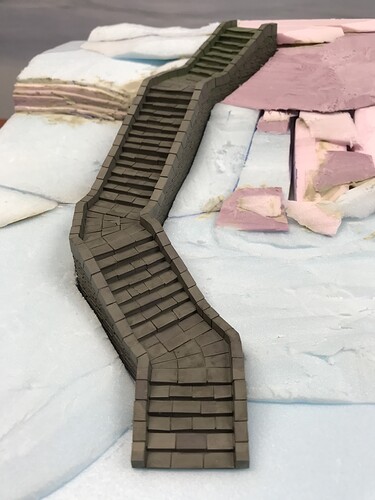
The latest on the Psycho Stairs. (Note–I’ve taken time out for other projects to avoid boredom, the enemy of creators everywhere.) All the techniques below I learned from model railroad books and magazines.
Here are the stairs painted and weathered. The latter step was brushing on black India ink dissolved in alcohol, to bring out cracks and spaces between bricks.
I also tried dusting on green ground chalk powder on the upper section to simulate mold. I’ll do that to the rest of the stairs later, as it can come off while manipulating the model.
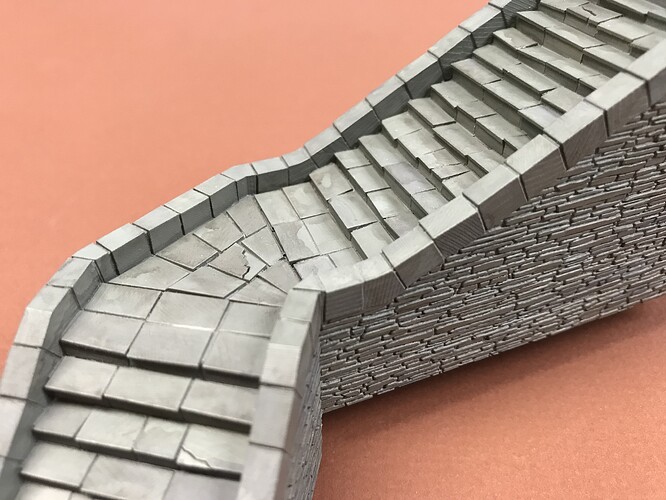
Here’s a closeup of the 3D printed stairway:
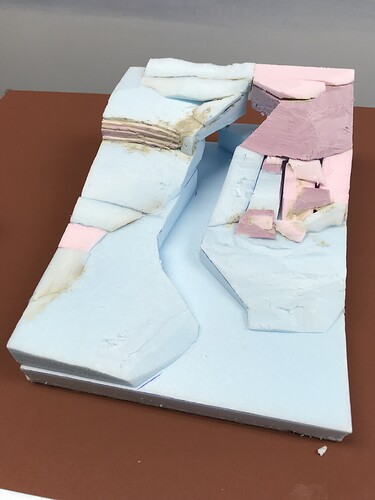
For the land form around the stairs I used insulation foam sculpted with a knife:
There’s a papier-mâché material (that uses glue instead of flour) that I’ll eventually coat the thing with to fill in the gaps.
Much fun.
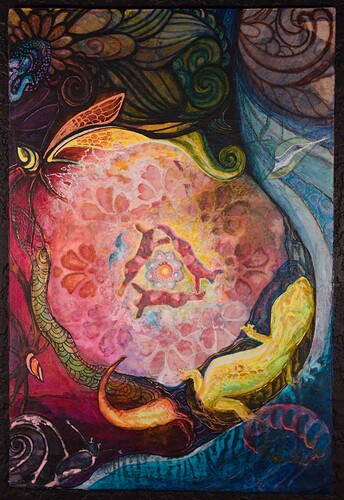
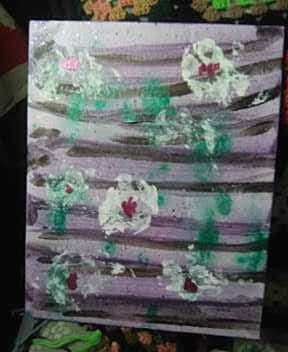
Here’s something I started just before the pandemic and worked on throughout the lockdowns and after. Didn’t know what to do with it so we’re using it for the cover of our next “album” on bandcamp which hopefully we’ll be finished with this year. We’re just hobbyists so discipline to find closure on a project is tough.
Also: taking this made me realize I really need to scout out some natural light and a good six+ ft of space for future photos. Been a while since I made much so I forgot how damned hard it is just photographing 2d art even.
going for the really old memes, nice.
