It’s kind of shimmery
9 Likes
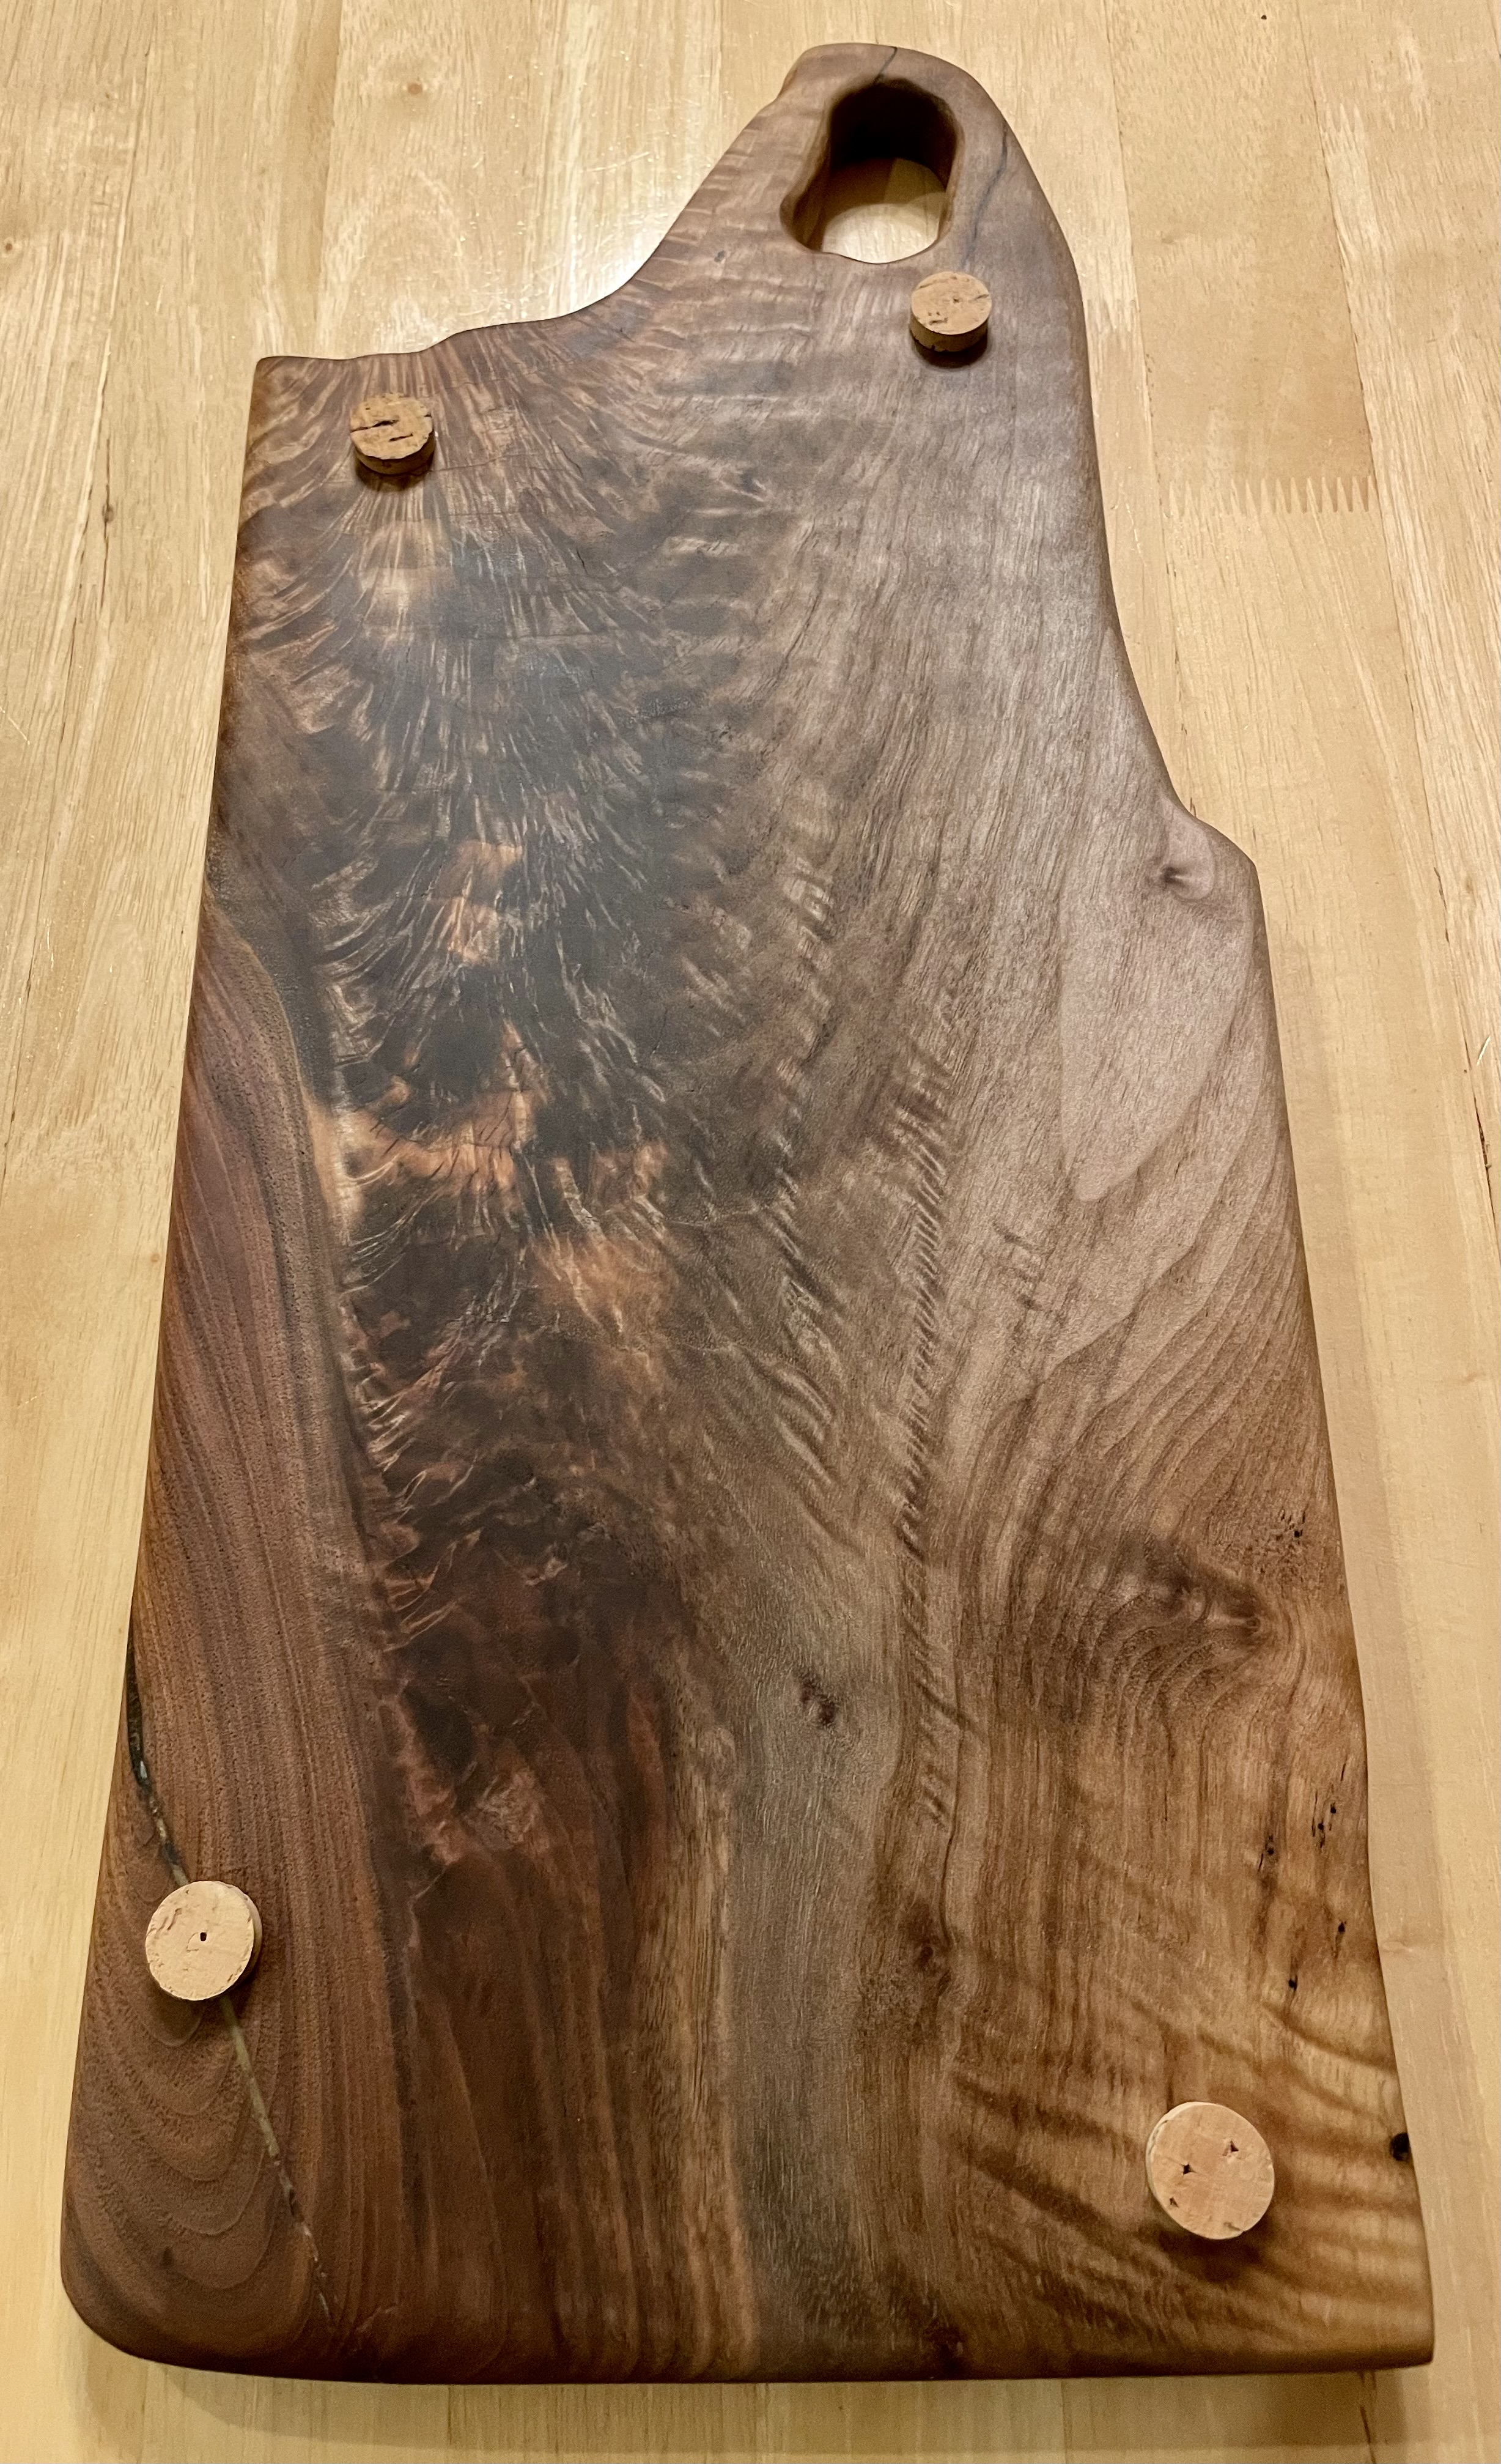
Side A is gorgeous, but I think food will present better on Side B.
10 Likes
That’s why I’m asking. I can’t decide on my own, and I’m a very decisive person. They are both really nice.
It’s probably the most shimmery piece of wood I’ve seen in person. What’s amazing is that the darker crotch figure coming off of the live edge near the handle? That’s what drew me to the board. But that area is relatively flat now that it’s sanded and finished. It’s the flame pattern in other areas of the board that is what makes this piece of wood spectacular, and none of that was visible when I chose it. It shimmers like a living flame when you move it in the light.
That is very helpful feedback. I’ve picked a place in the kitchen to hang this board like an art piece when it isn’t in use. No way it’s going into a cupboard or cabinet.
12 Likes
I was going to suggest hanging it up as a piece of art.
9 Likes
I like side A best but agree with @Wayward. Food might look better on side B. Maybe you could display side A and use Side B for food?
We did a simple craft with the kid. Glass cabochons made into magnets. The kit came with the cabochons and magnets, very well packaged. We then glued paper with designs to the cabochons with Judikins Diamond Glaze glue. Worked well and the glaze is very shiny! Because we used water color paper, the glaze causes a shimmer when you move the magnet.
I used some water color practice pieces for a few. Made some cat faces for others. Let the kid do whatever with some Sakura Gel pens in various shiny inks. kitty did the top left one and it looks gorgeous in person. Not so much in the photo.
Fun little craft for about $20
Whoops, forgot photo:
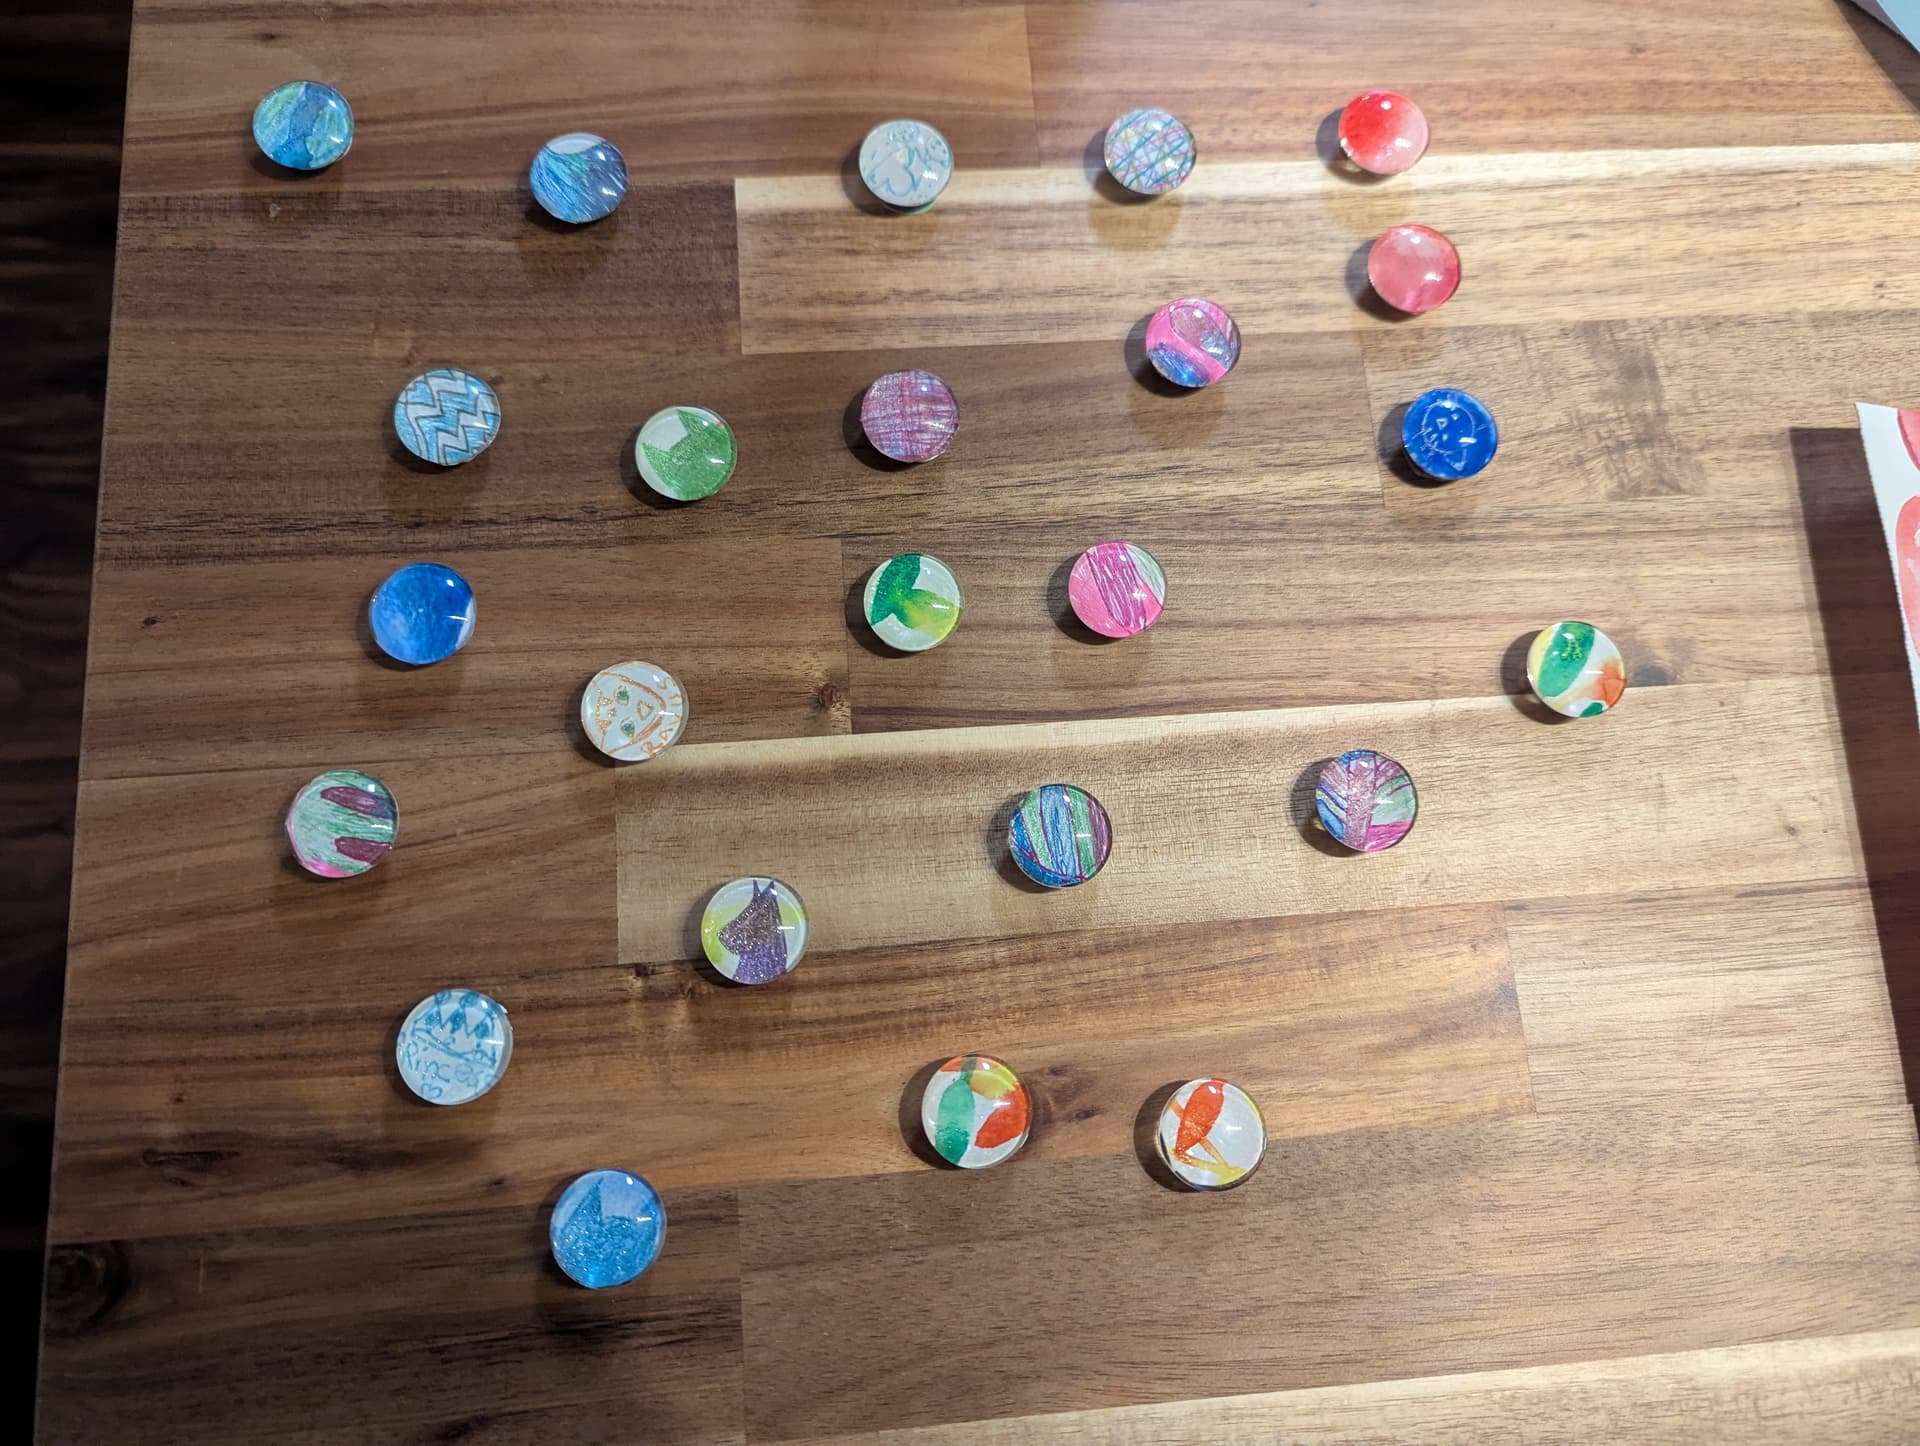
Also, I used the diamond glaze to get some glitter to stop shedding on something of kitty’s. Not only has the glitter stopped shedding, it is even more shiny now.
14 Likes
Perhaps the decision should be made by the way it will be held. Will the position of the handle make more sense for side A or B, and are they right- or left-handed?
8 Likes
What an absolutely gorgeous piece of wood!!! It’s like a luxury, super-soft sweater, I just want to touch it!
In my opinion, your indecisiveness is well earned in this case. The photos are so beautiful, and you have a closer relationship with the wood, so it’d be like choosing a favorite child in some silly way.
Fwiw, I’d probably opt for serving on Side A. There’s something about that luxurious patterns cascading down from the higher “shoulder” that calls to me.
Side B looks a little more dramatic, though. Maybe that makes it better suited as the “display” side, when you hang it up?
But, not to toss everything into array, do you need to choose a side? Like @KeybillyJefe , I usually end up using both sides of my cutting boards. Unless, is it about trying to preserve one side in all its glory? Because then it’s almost like deciding which side you’re willing to sacrifice, and that is tough.
12 Likes
It’s very touch-able! I intentionally didn’t use a surface finish that would obscure the silky feel of the wood itself. Just beeswax and food-safe oils that soak in.
I can definitely display one side and serve with the other, or vice-versa. I do feel like I need to put pads on the non-serving side, though. We have textured tile counters, so unless I never put this board down on the counter, the textured tile will mangle the surface of the non-serving side. The wood is Bastogne walnut, which is dense, hard wood but not lignum vitae-level hard.
So as long as I execute the cork “legs” well, both sides can be display sides, though only one will be serving-side.
12 Likes
So which side did you choose?
6 Likes
Not The Dark SideTM, cookies notwithstanding.
7 Likes
Side B for serving, side A for display. So it’s hanging on the side of a cabinet in the kitchen, next to the aprons right now.
12 Likes
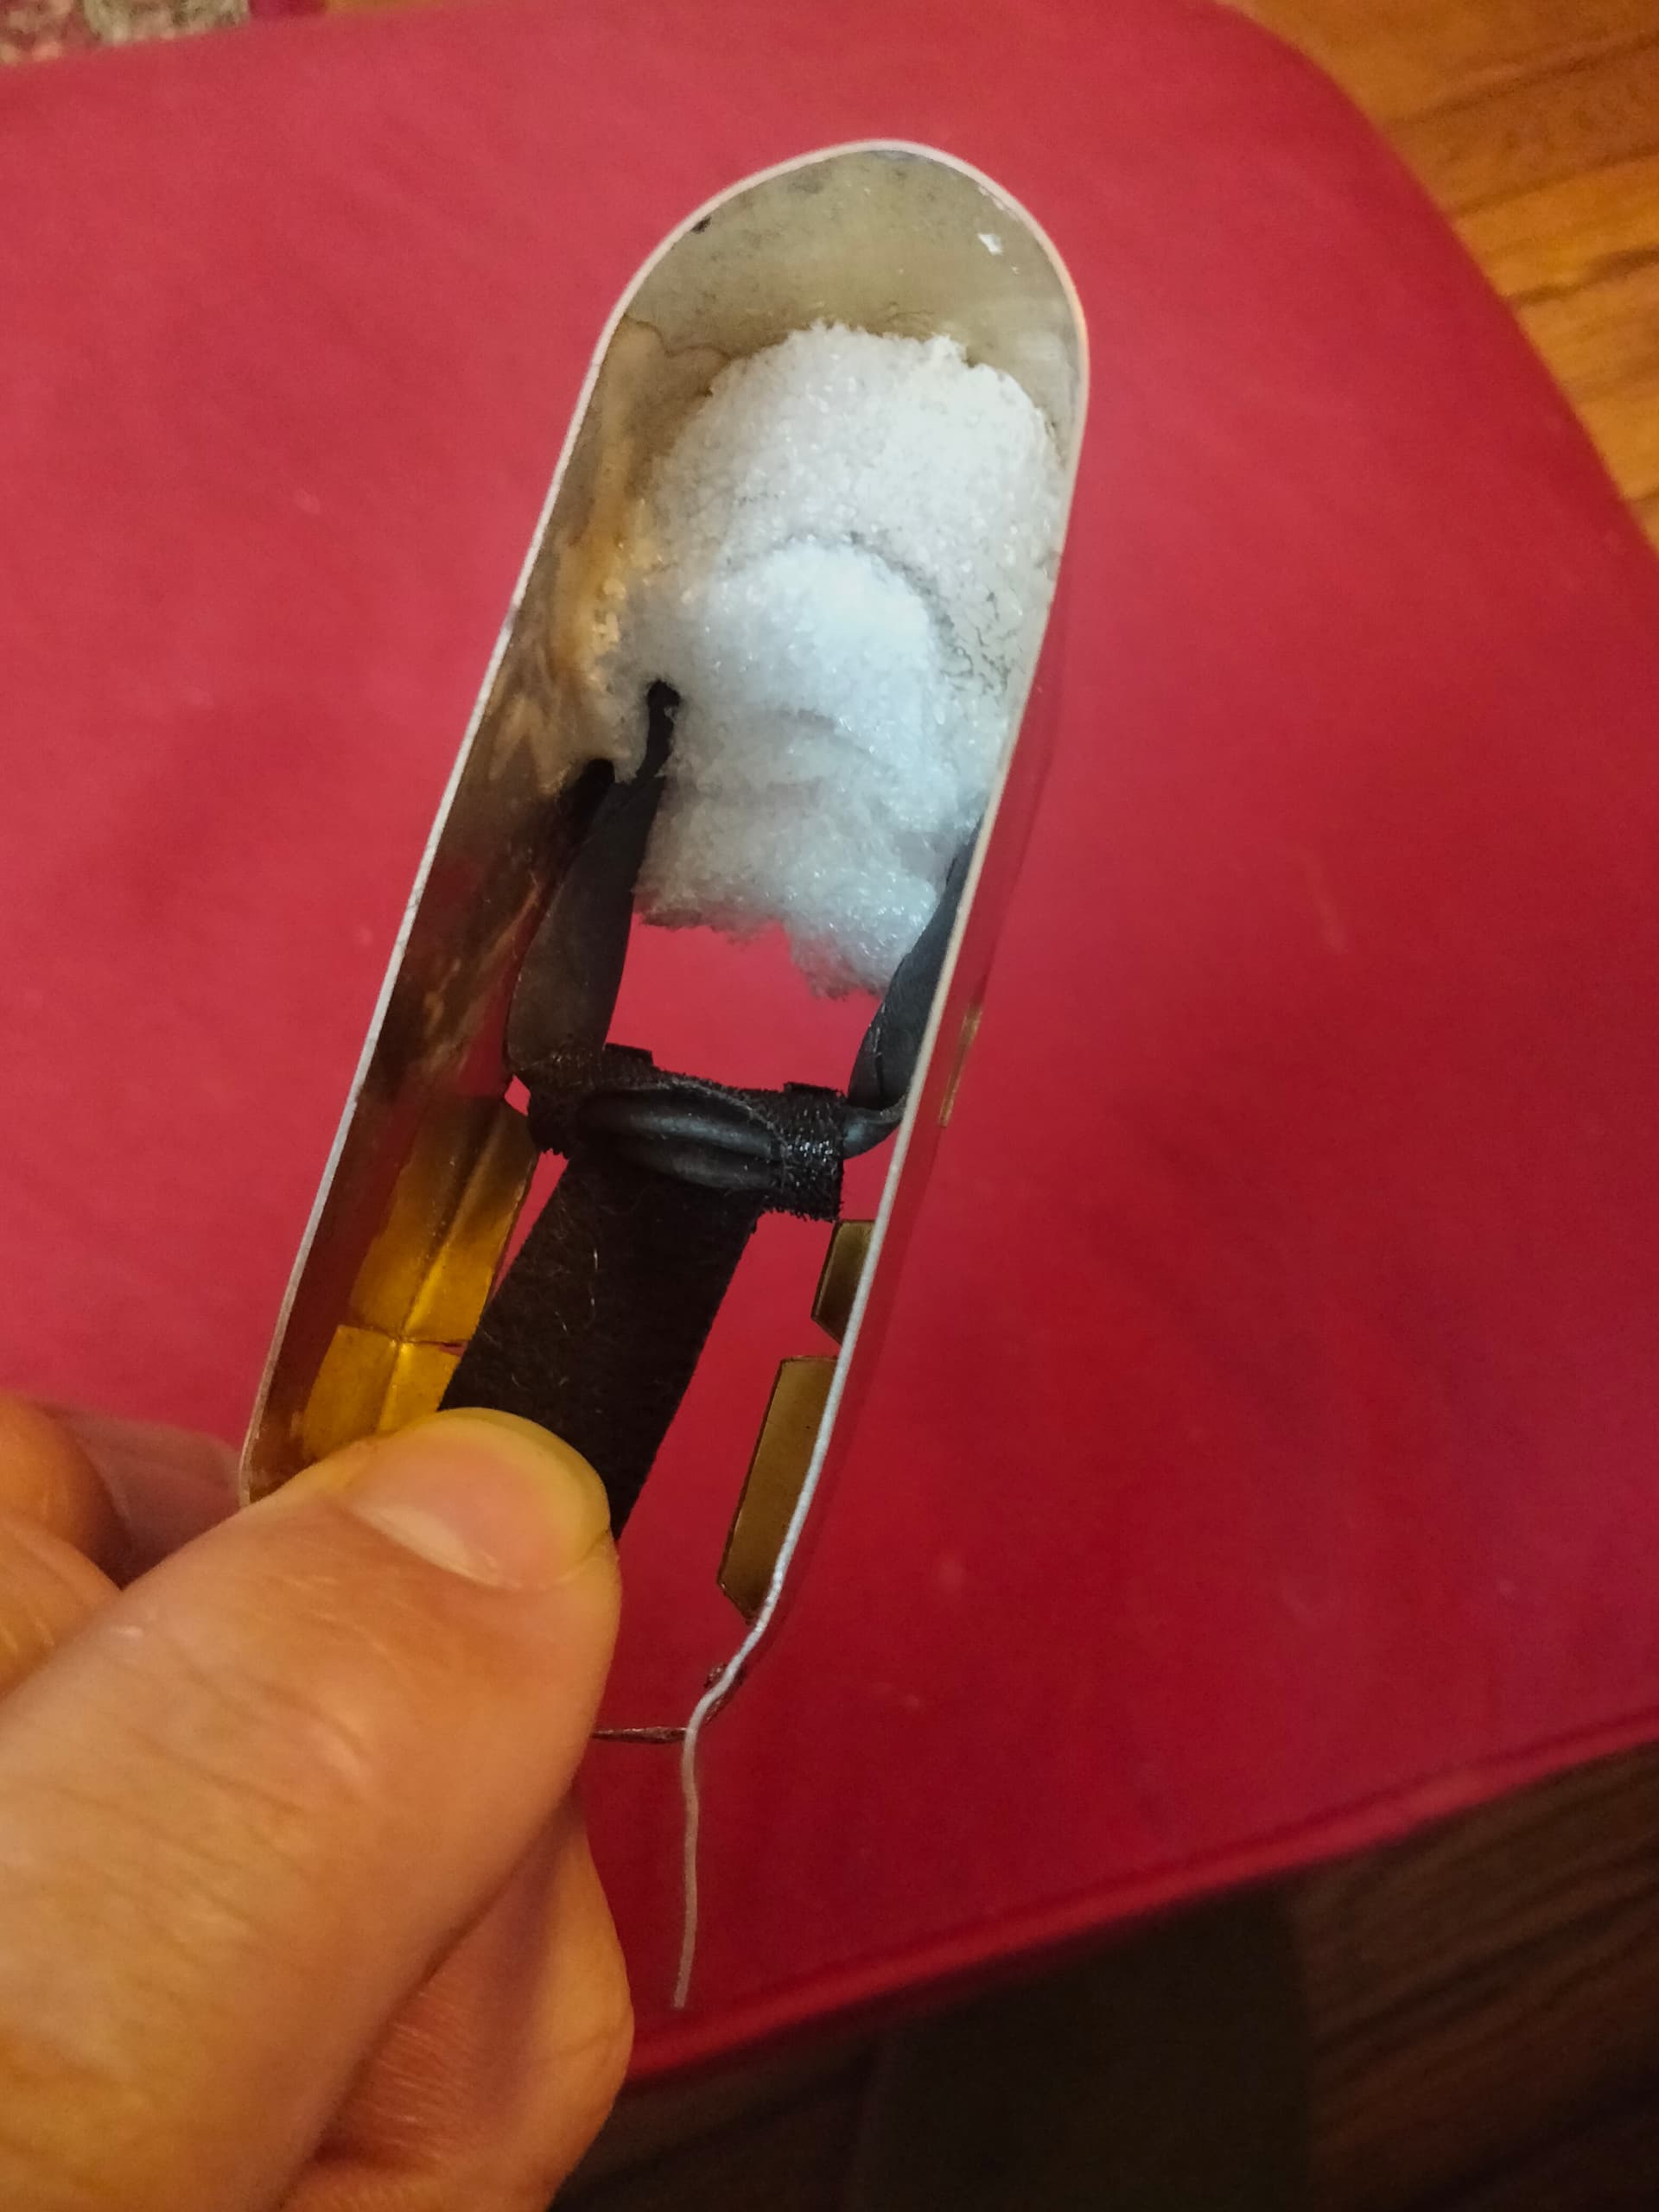
I use this flashlight as a headlight on my bike. one day, the battery cap fell off. I successfully MacGuivered the foil from a tire patch taped in place with bandaids from my first aid kit to make the battery contact and got home ok.
I couldn’t think of a good fix but tried a few half-assed things until I realized what I could do that would really work

the coiled wire threads into the existing threads for the original cap, and since it’s wire, it also makes the electrical connection.
it took a really long time to get it right, especially since my first coil ended up being reverse-thread, derp.
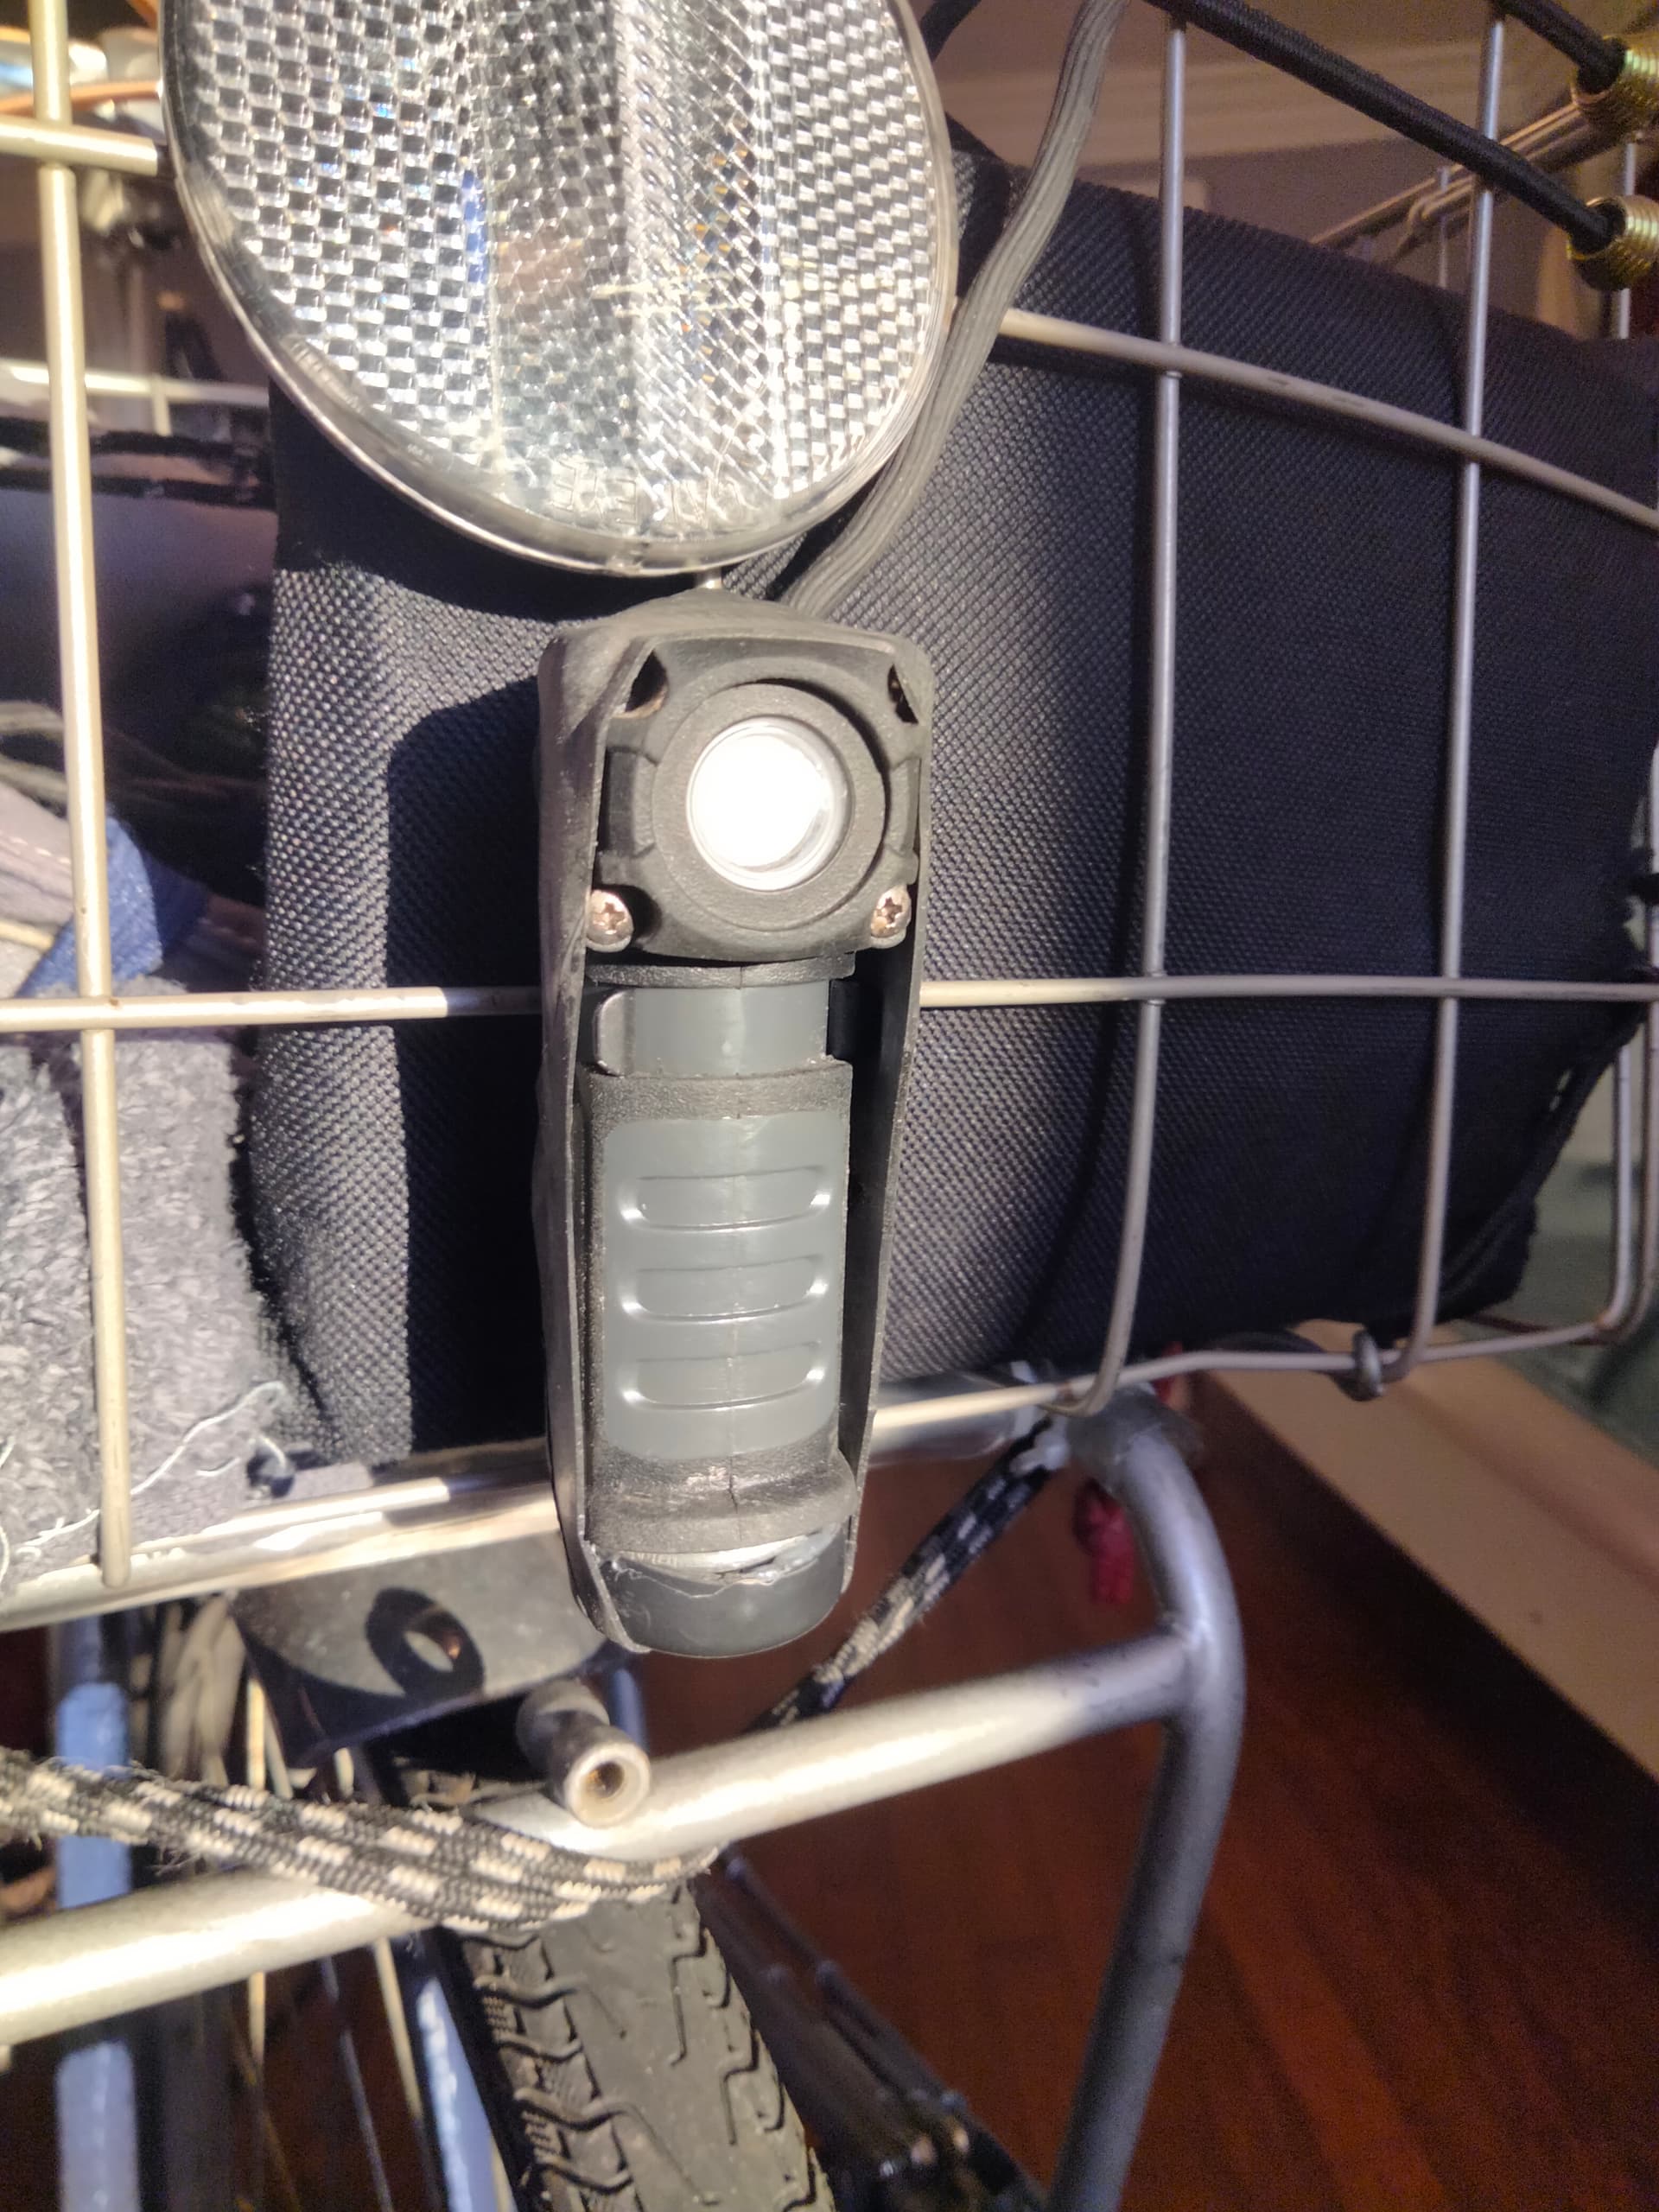
I hot-glued a black cap to the coil and made a rubber strap from an old inner tube to make sure it doesn’t come loose again.
18 Likes
Why not just turn it inside out? ![]()
10 Likes
I kept doing the USB thing, turning it upside down and trying again out of habit even as the voice in the back of my mind was saying "it doesn’t work that way… "
9 Likes
It’s times like these an extra spatial dimension would really come in handy, eh?
8 Likes
At college we had a symbolic screw that regardless of which way you turned it, it went in.
11 Likes
13 Likes
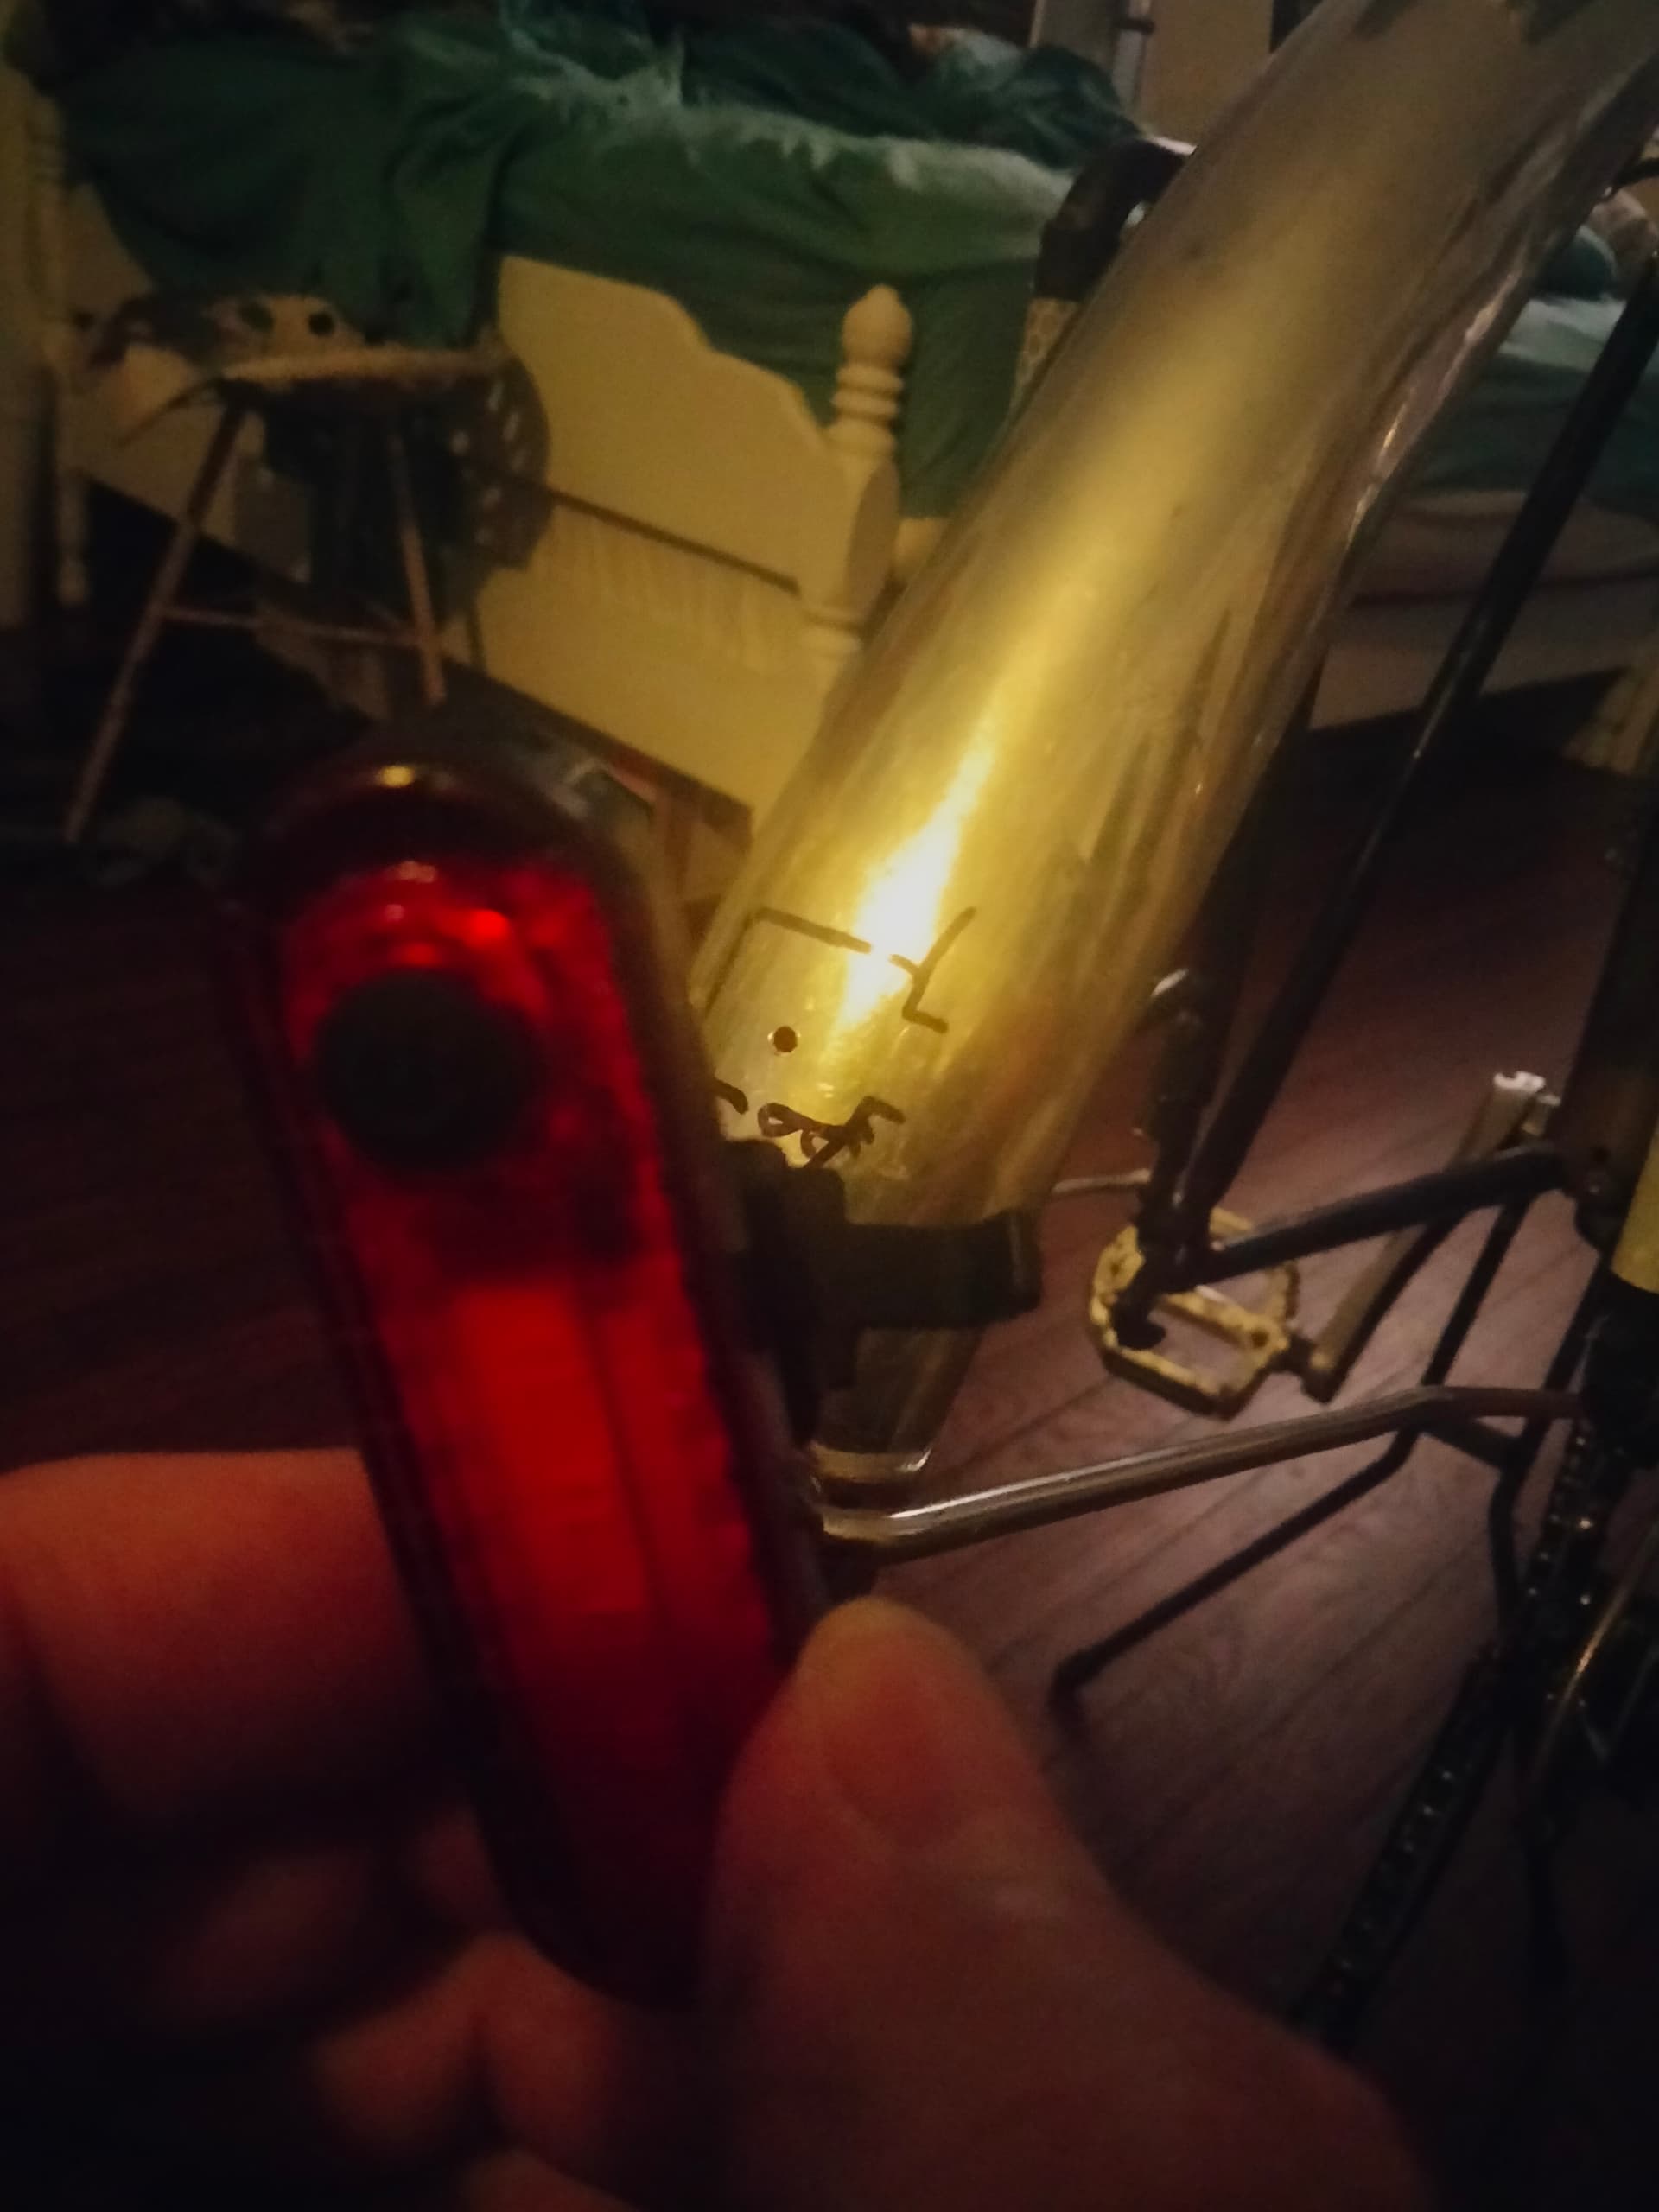
•problem: my rear bike light is USB rechargeable, if it runs out while riding, I cannot swap in a new battery like the above flashlight.
solution: buy a set of two lights and swap them out as needed.
•second problem: original light is mounted on my seat and loose shirts/my winter overcoat can hang over the light.
solution: mount new lights on rear fender (been wanting to do this for a while)
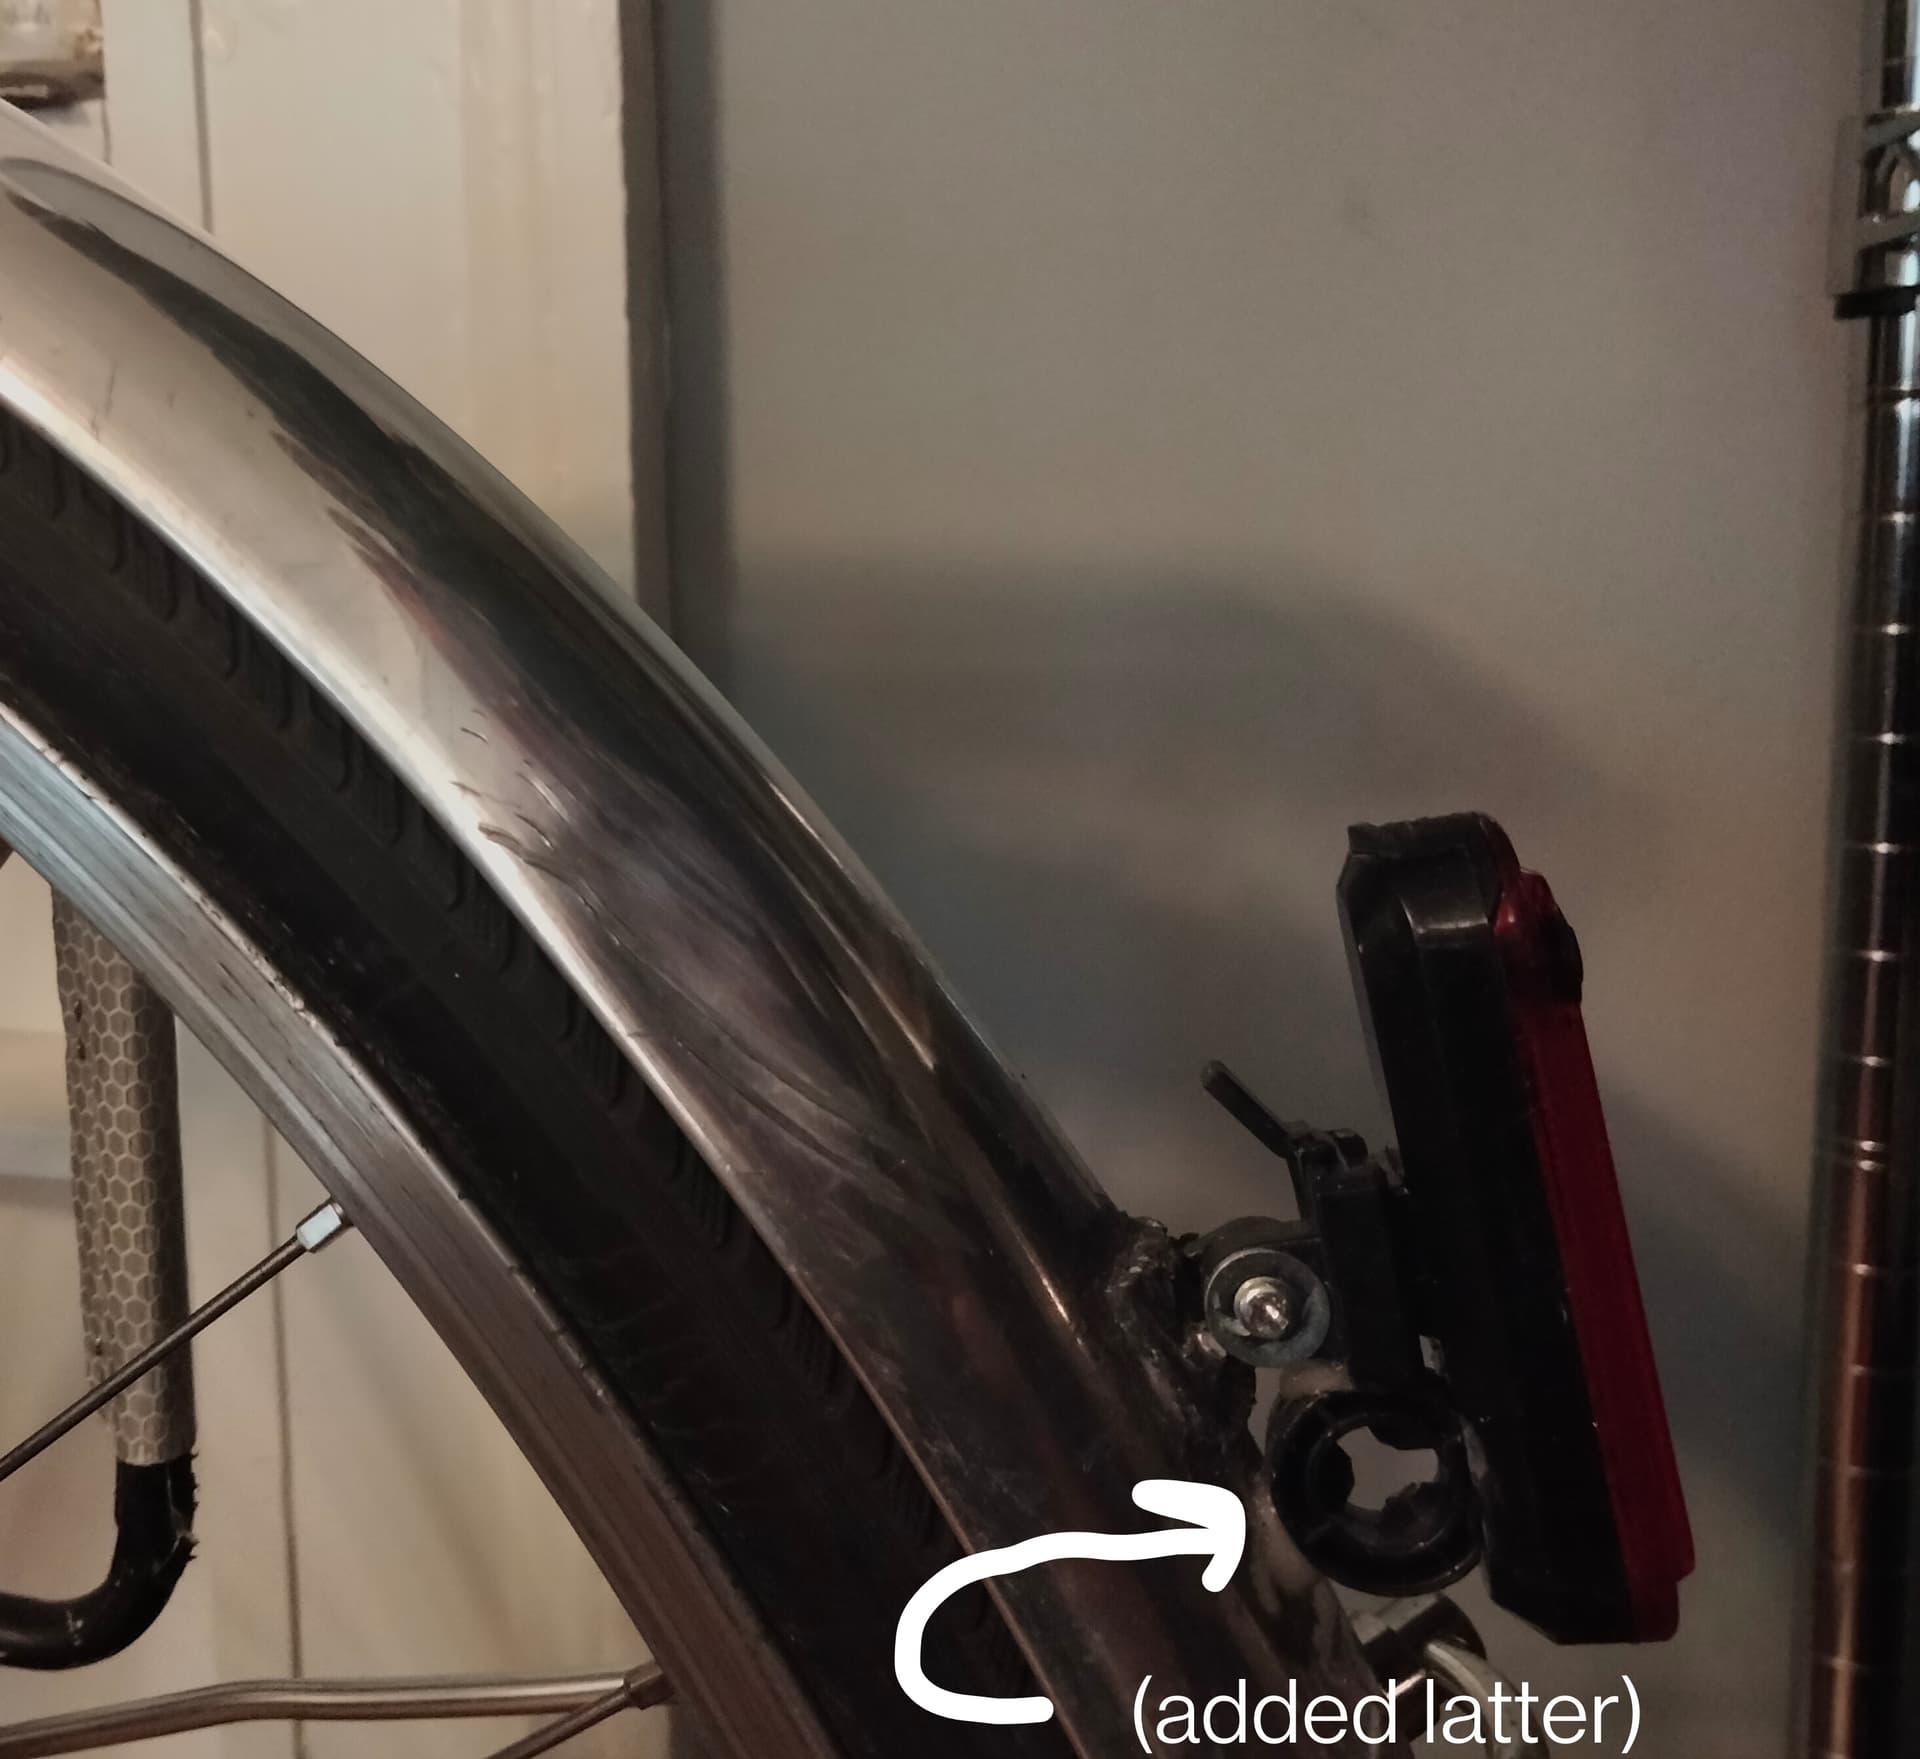
•third problem: provided mount is incompatible with fender.
solution: remove rubber belt wrap from the mount, epoxy and screw mount to fender.

•fourth problem:
A) it’s ugly
B) the lever for removal is very obvious, enables theft; requires permanently fixing light to mount (defeats first problem) or removal every time I lock up (rejected: annoying, plus I may forget.)
solution to both:
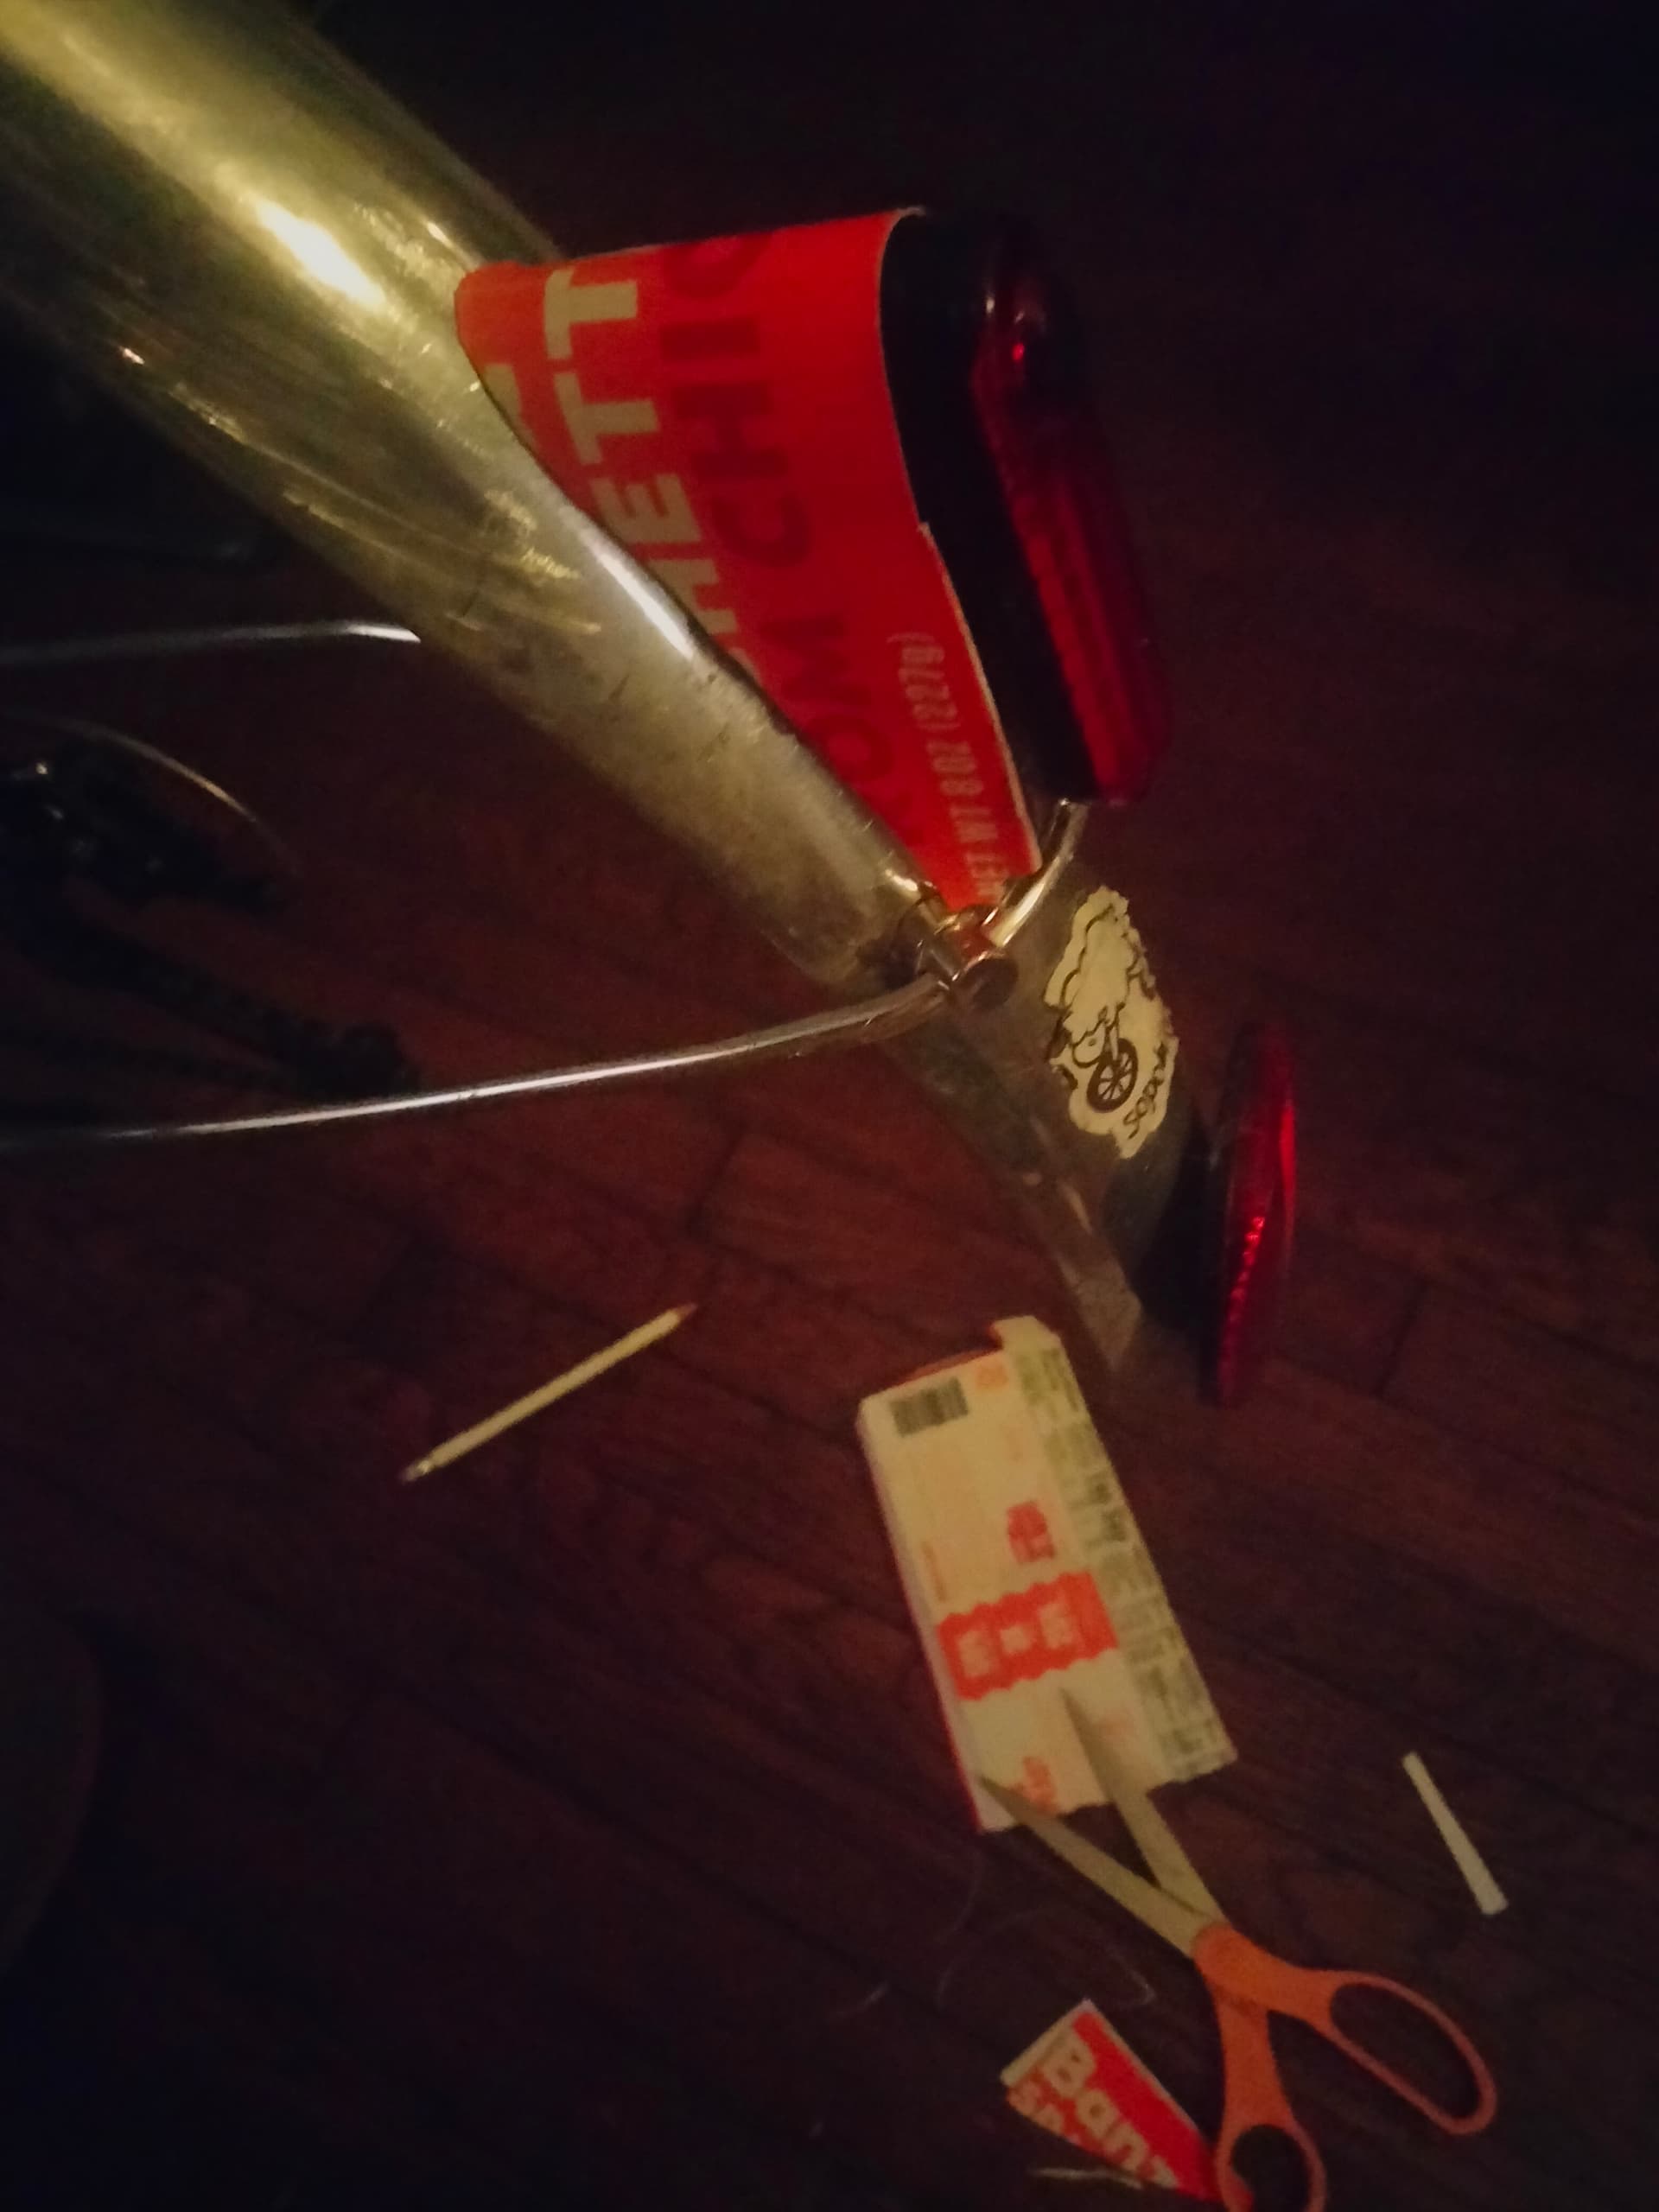
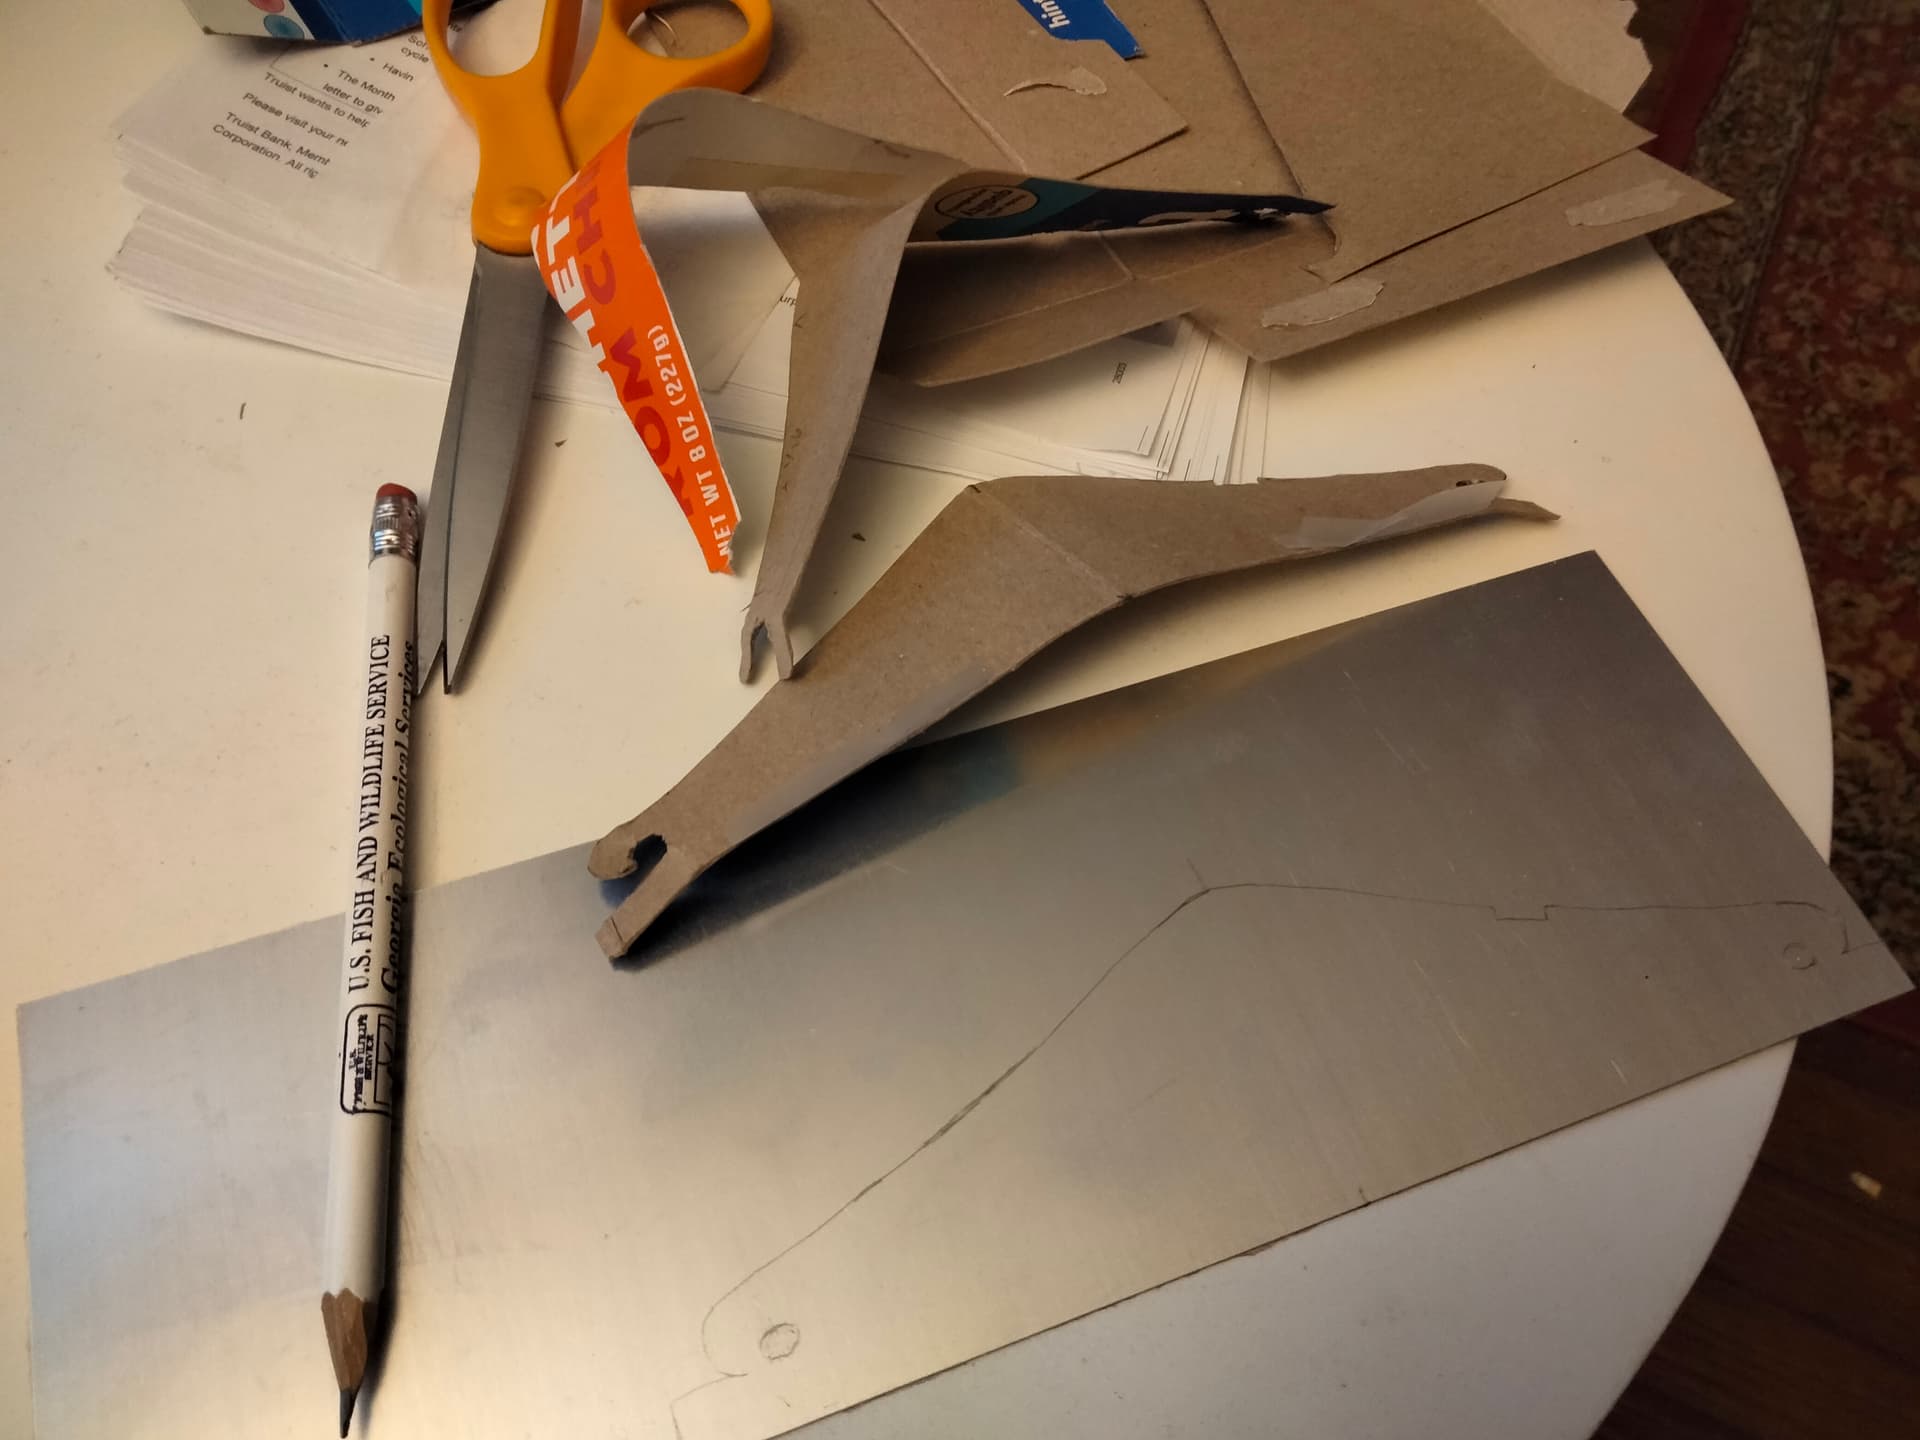
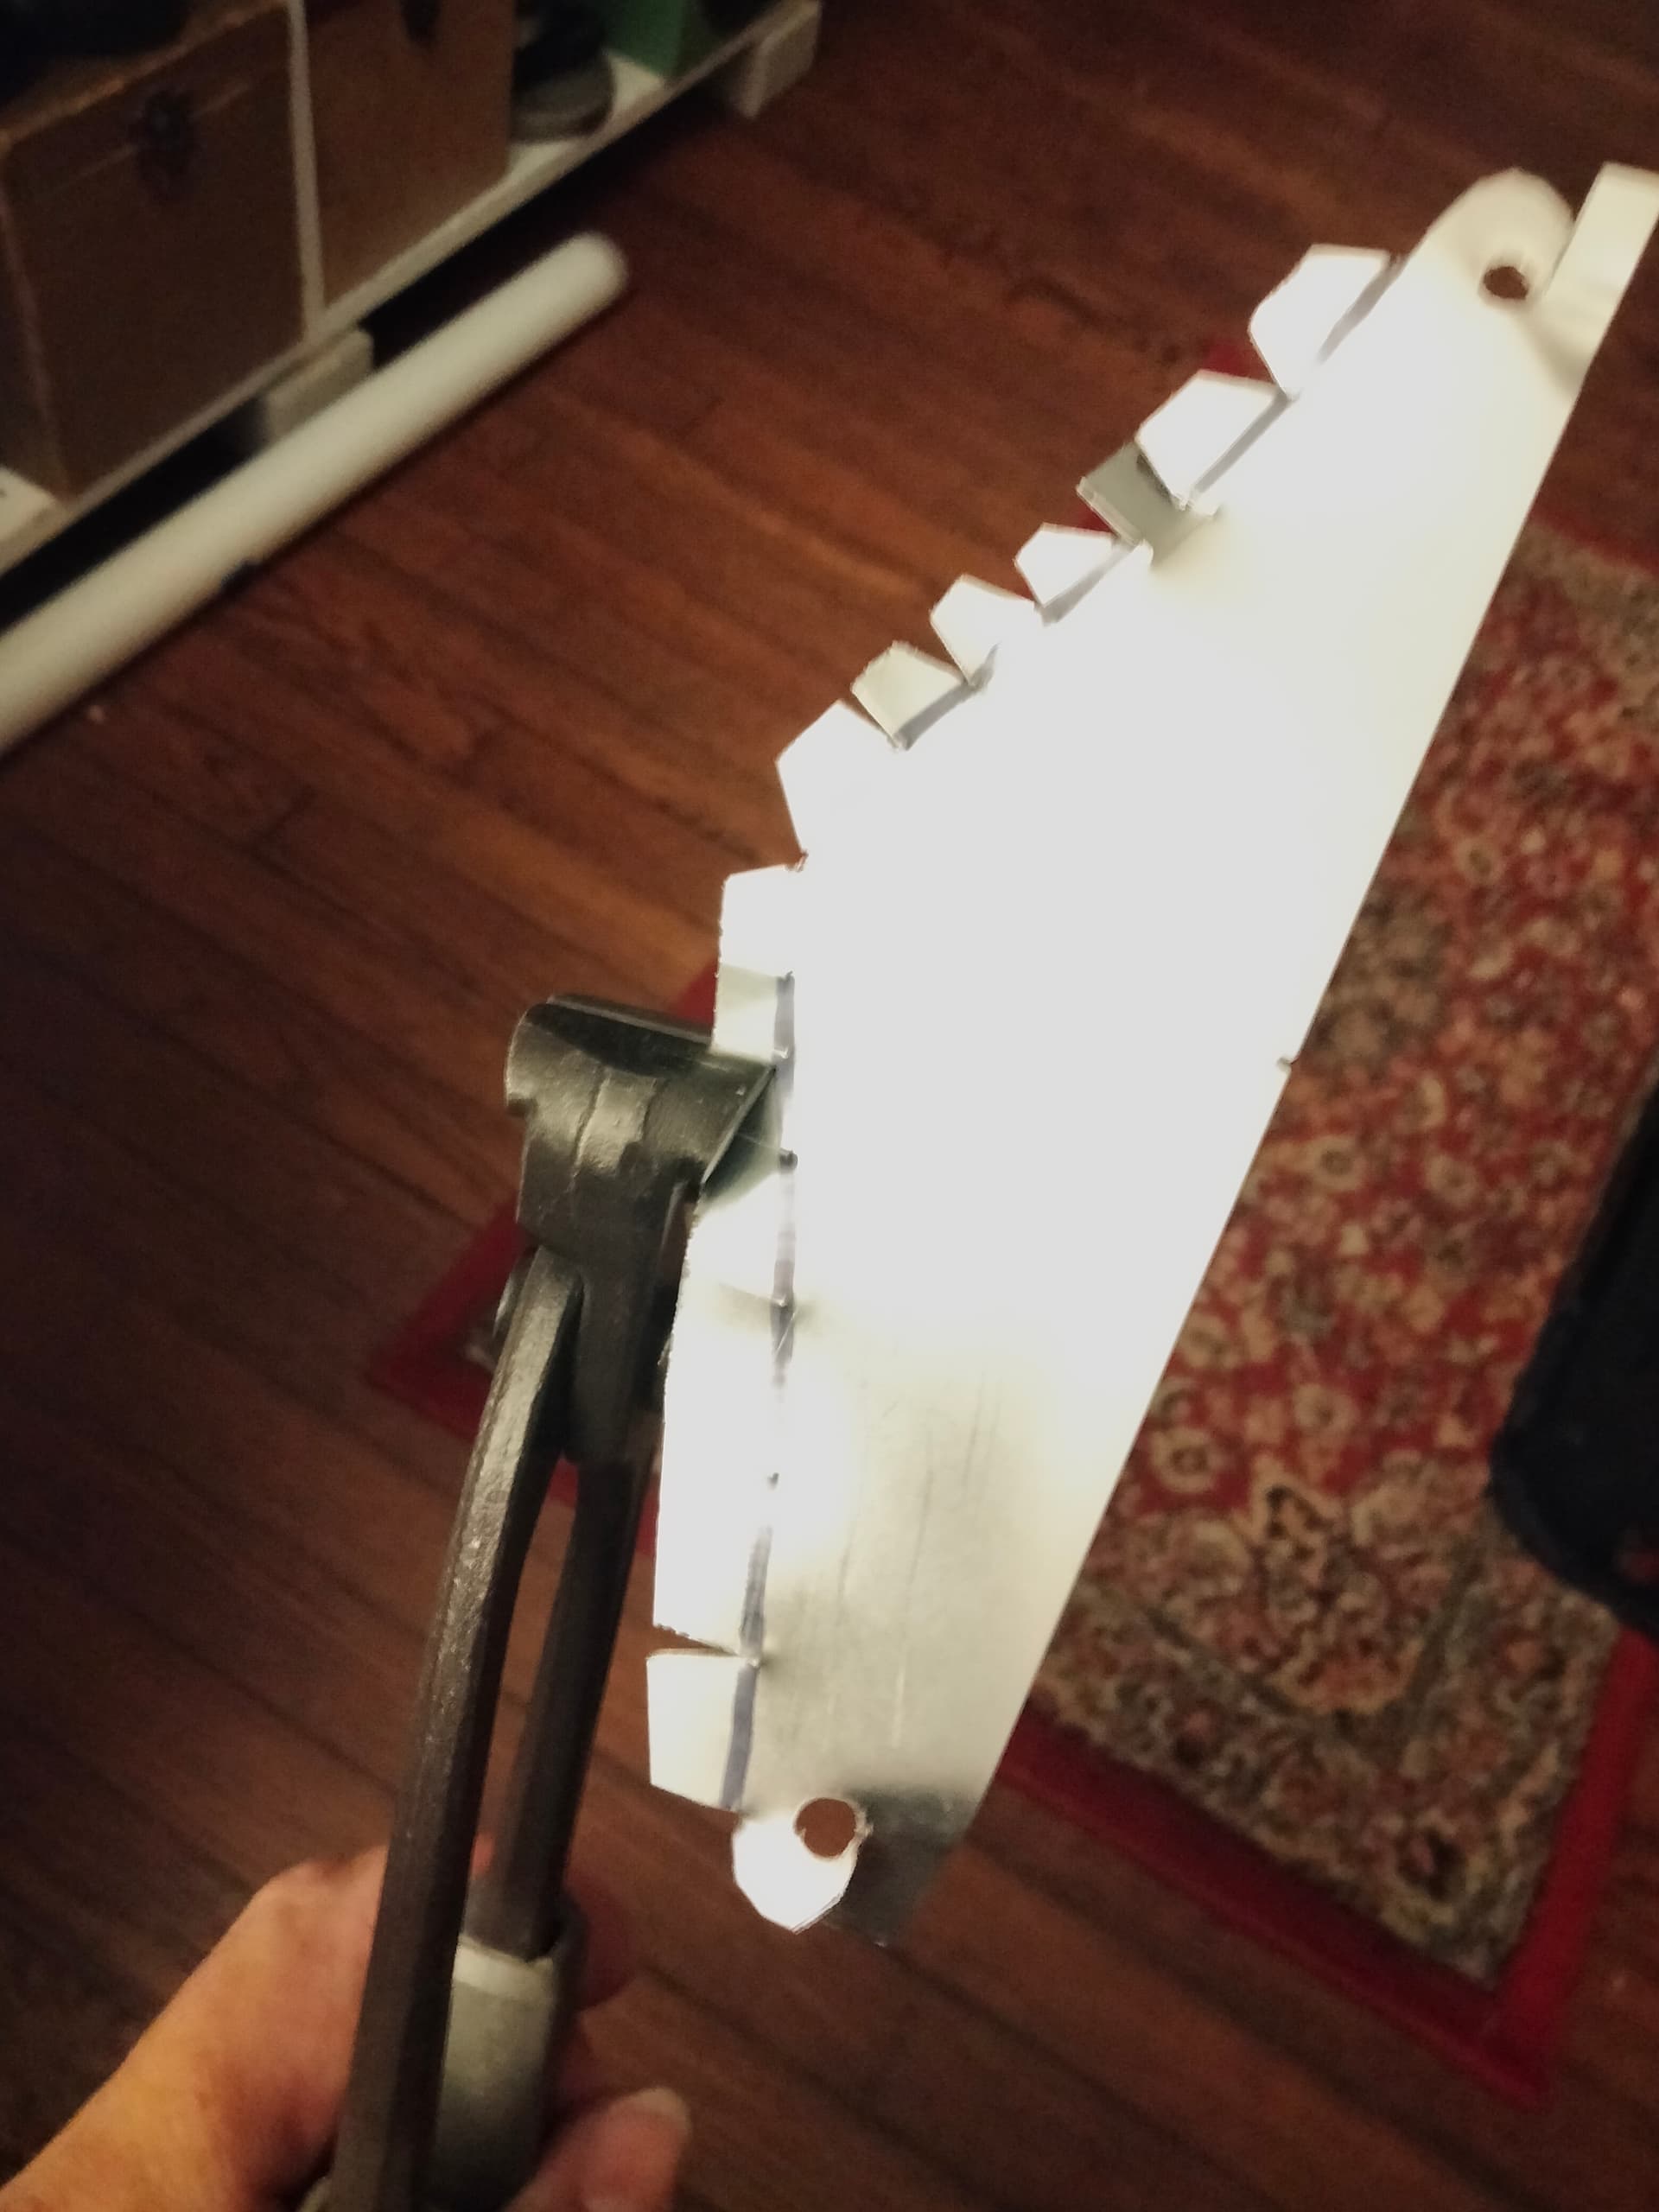
(not shown: size foam into gap between fender and mount, make rubber loop with pull of appropriate size, add circular piece on bottom of mount for rubber loop to squeeze against, glue foam and rubber pieces inside sheet metal)
RESULT:
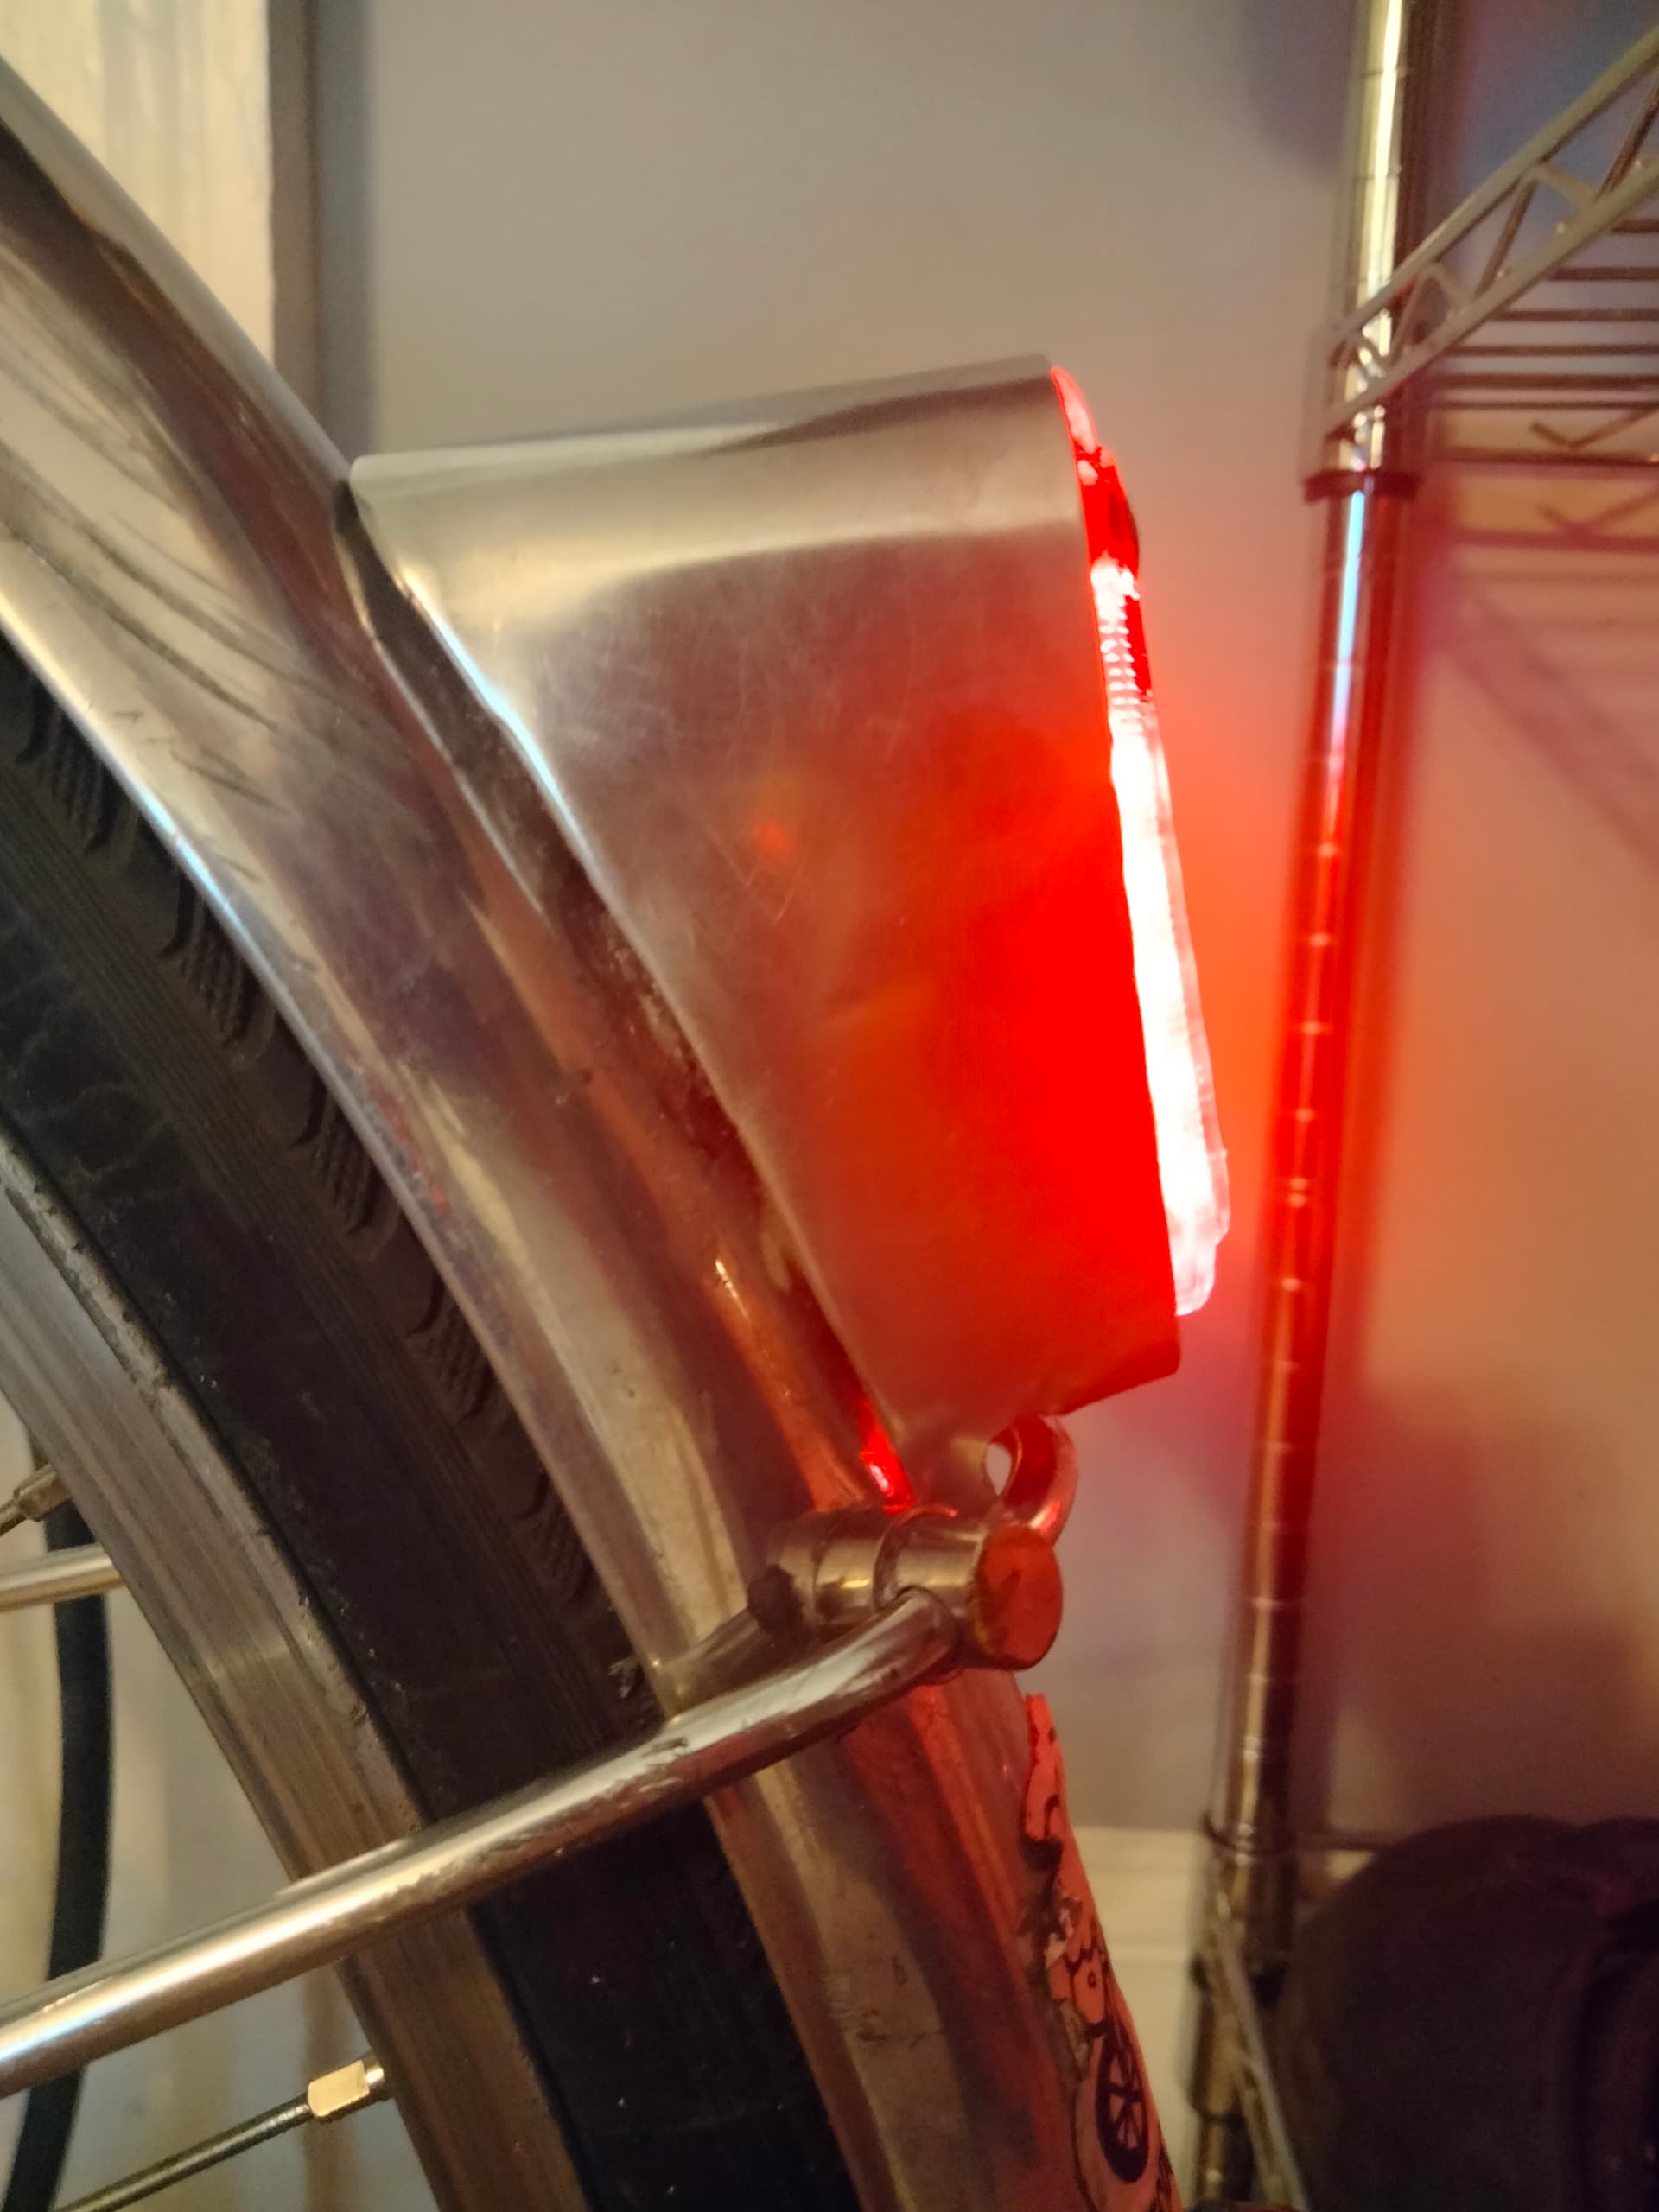
the top was supposed to be horizontal but I’m happy with it. the cowl looks permanent but is easily removed to switch out lights at will.
(@RAvery , @subextraordinaire : more added)
19 Likes