that is beautiful! i can almost smell it from here.
BTW, i have some excellent Cuban cigars i’d like to store in there!
that is beautiful! i can almost smell it from here.
BTW, i have some excellent Cuban cigars i’d like to store in there!
Thank you both!
It’s not quite humidor-worthy sealed. I had to cut a hole in one of the corners of the inner frame to let air escape or else it “farted” when you closed the lid!
![]()
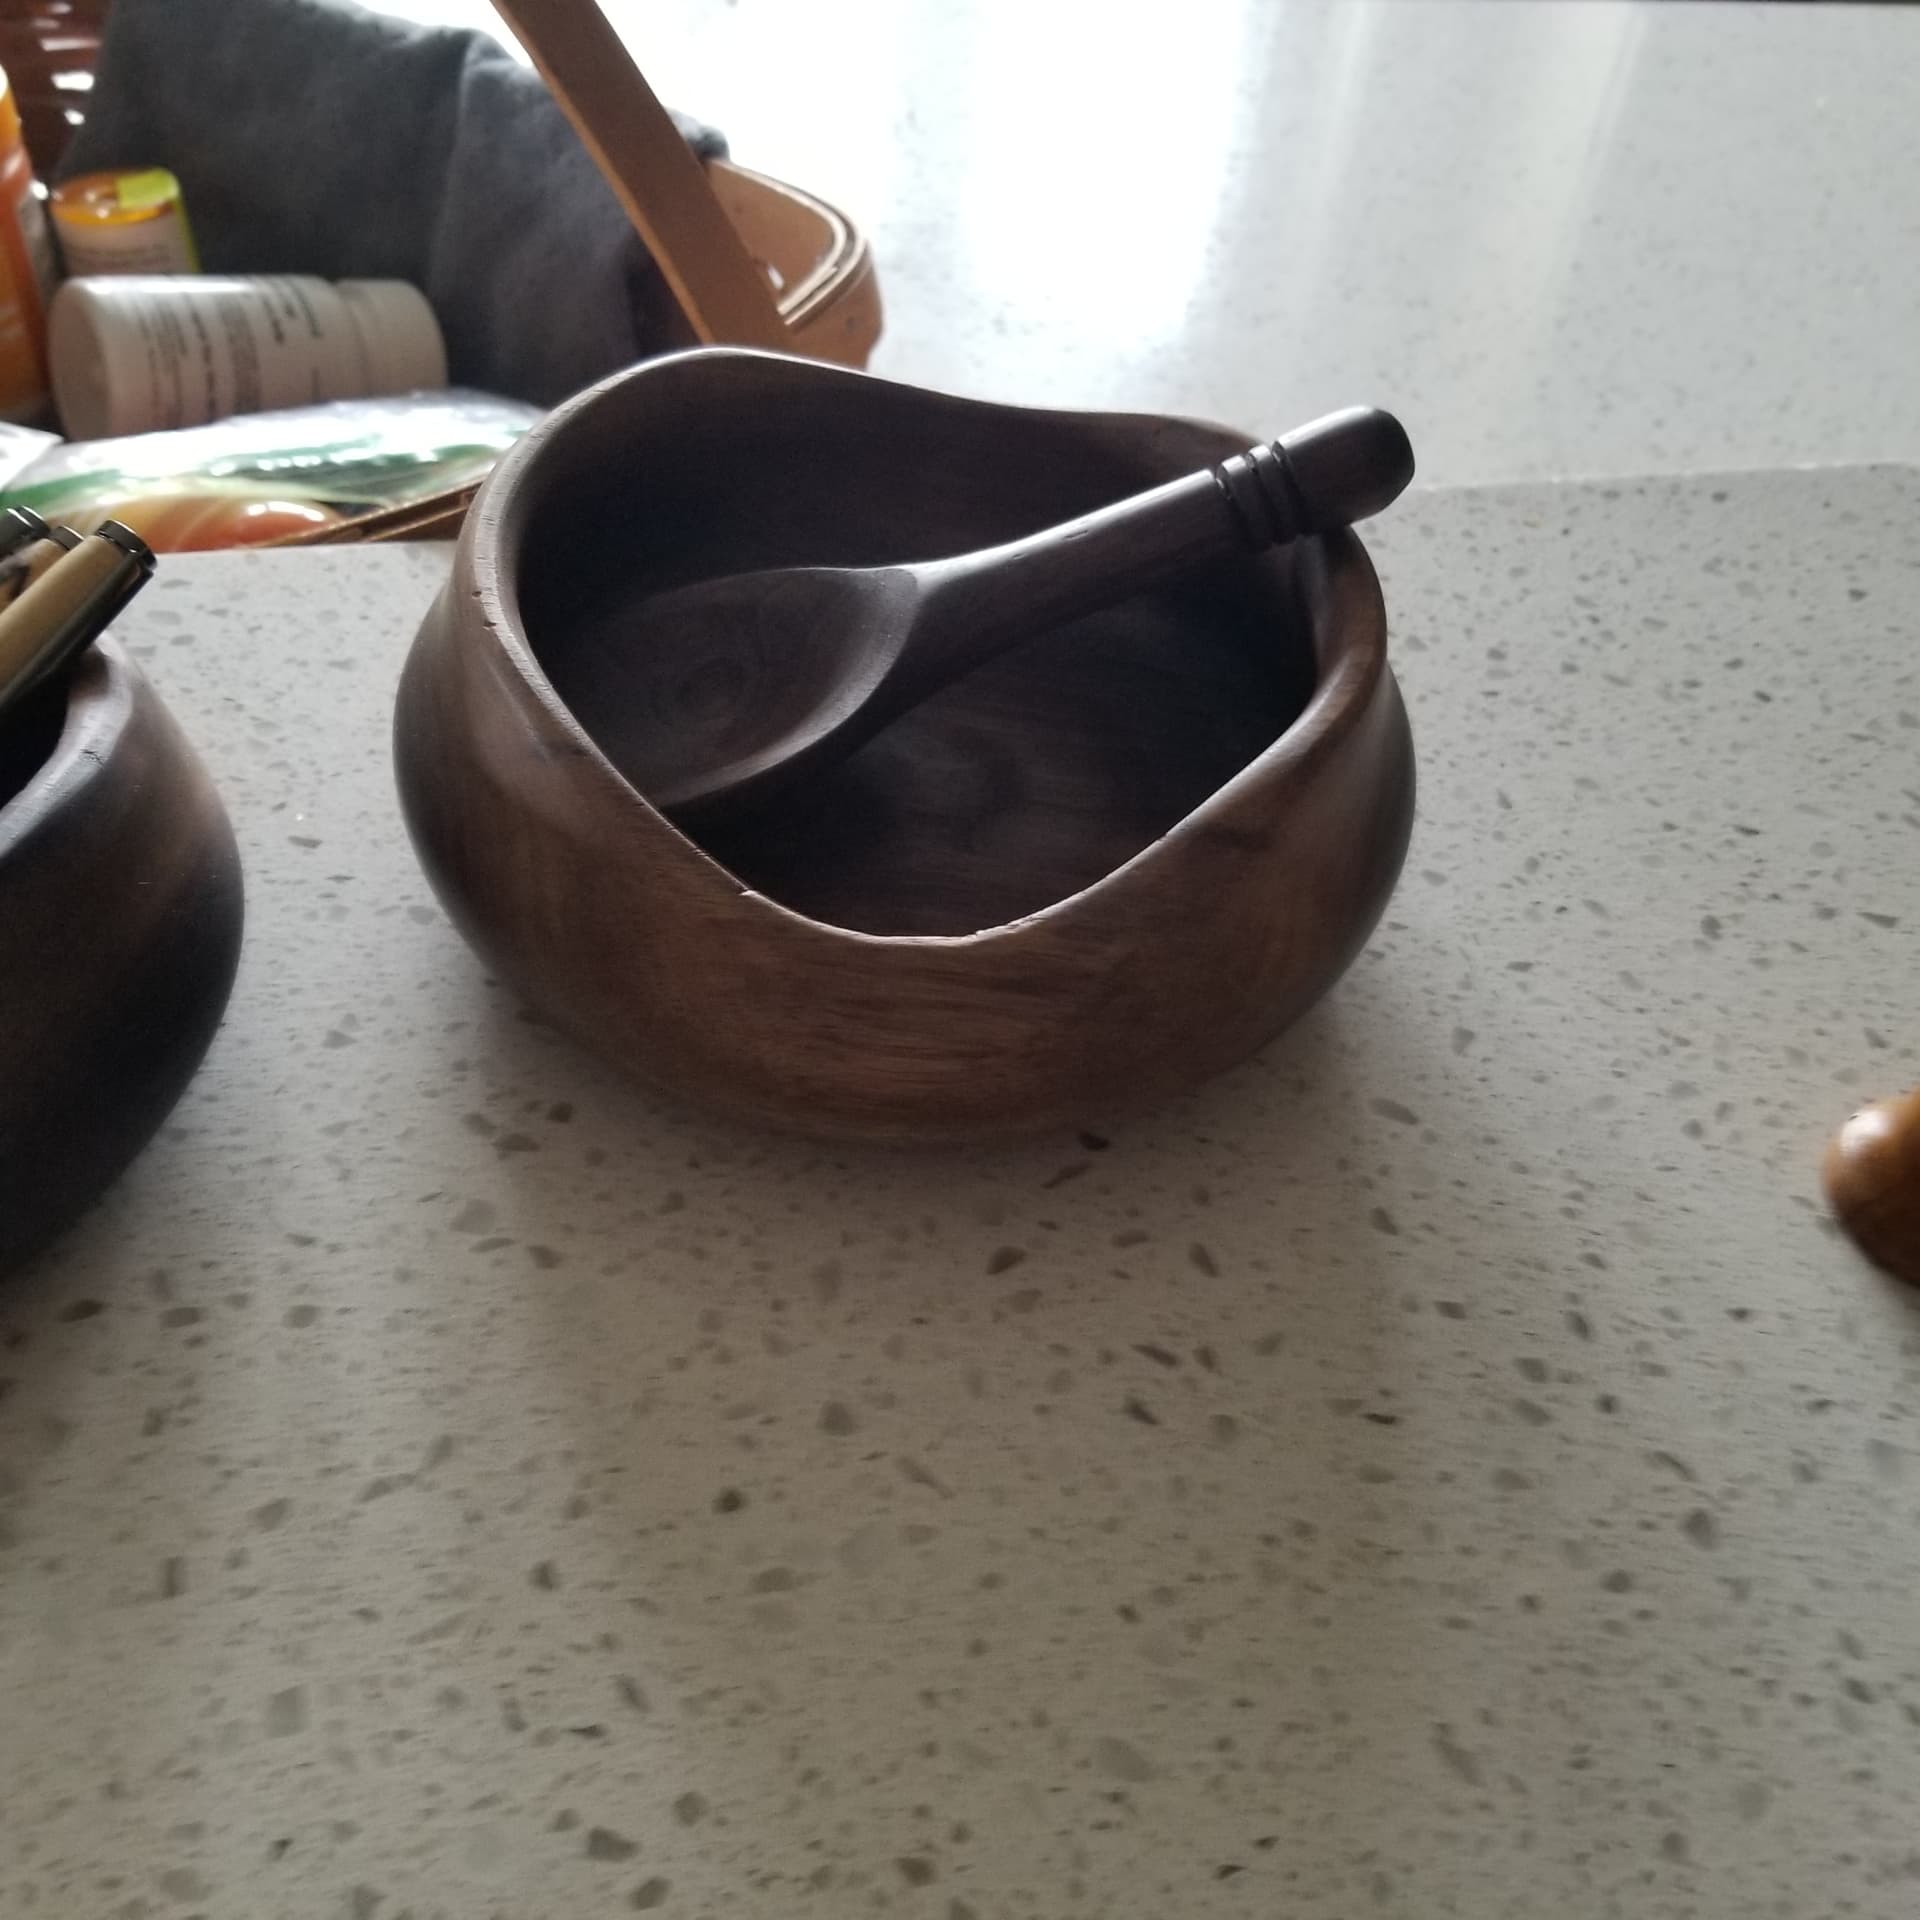
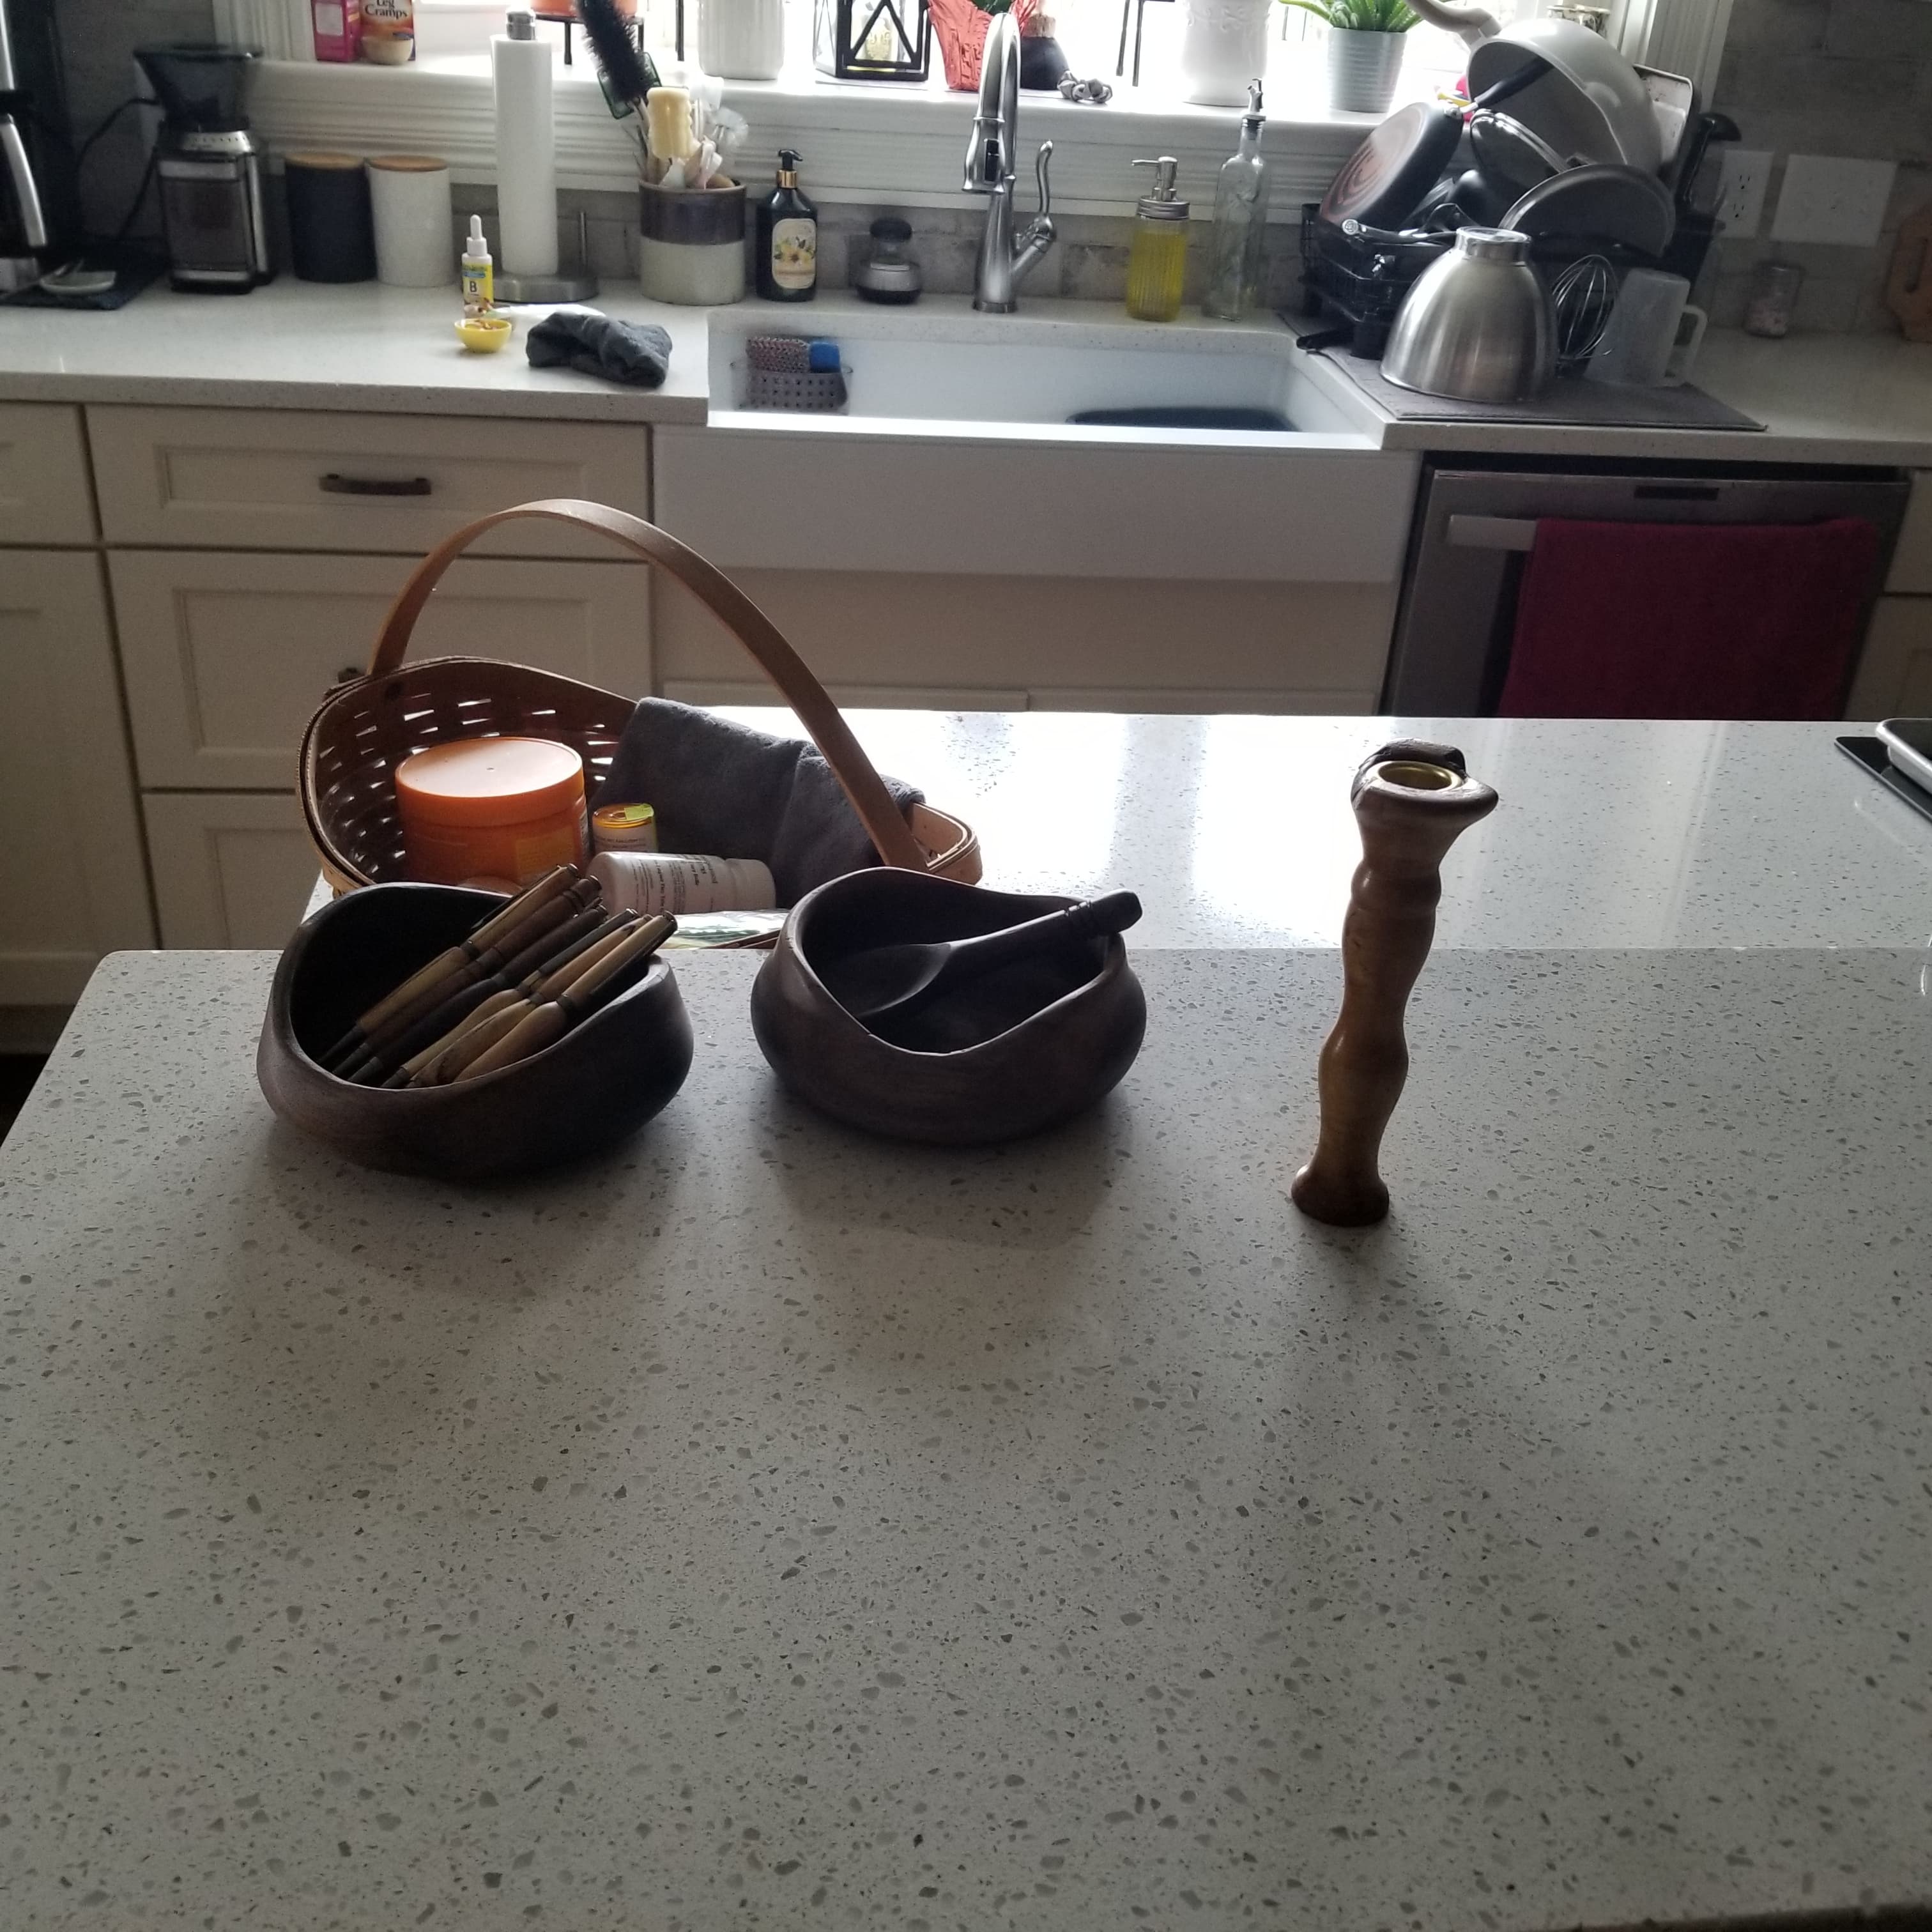
With the gross weather, i have been stuck inside and decided to use up some scraps playing with the lathe.
Making pens is a great way tto use up little scraps that would otherwise be compost. My wife has “contracted” me to make a bunch to give away to her clients when they book her for wedding cakes. The candlestick was supposed to have a wider base, but the wood was so rotten at that end it kept falling apart. Ah, well, works for display if not terribly practical.
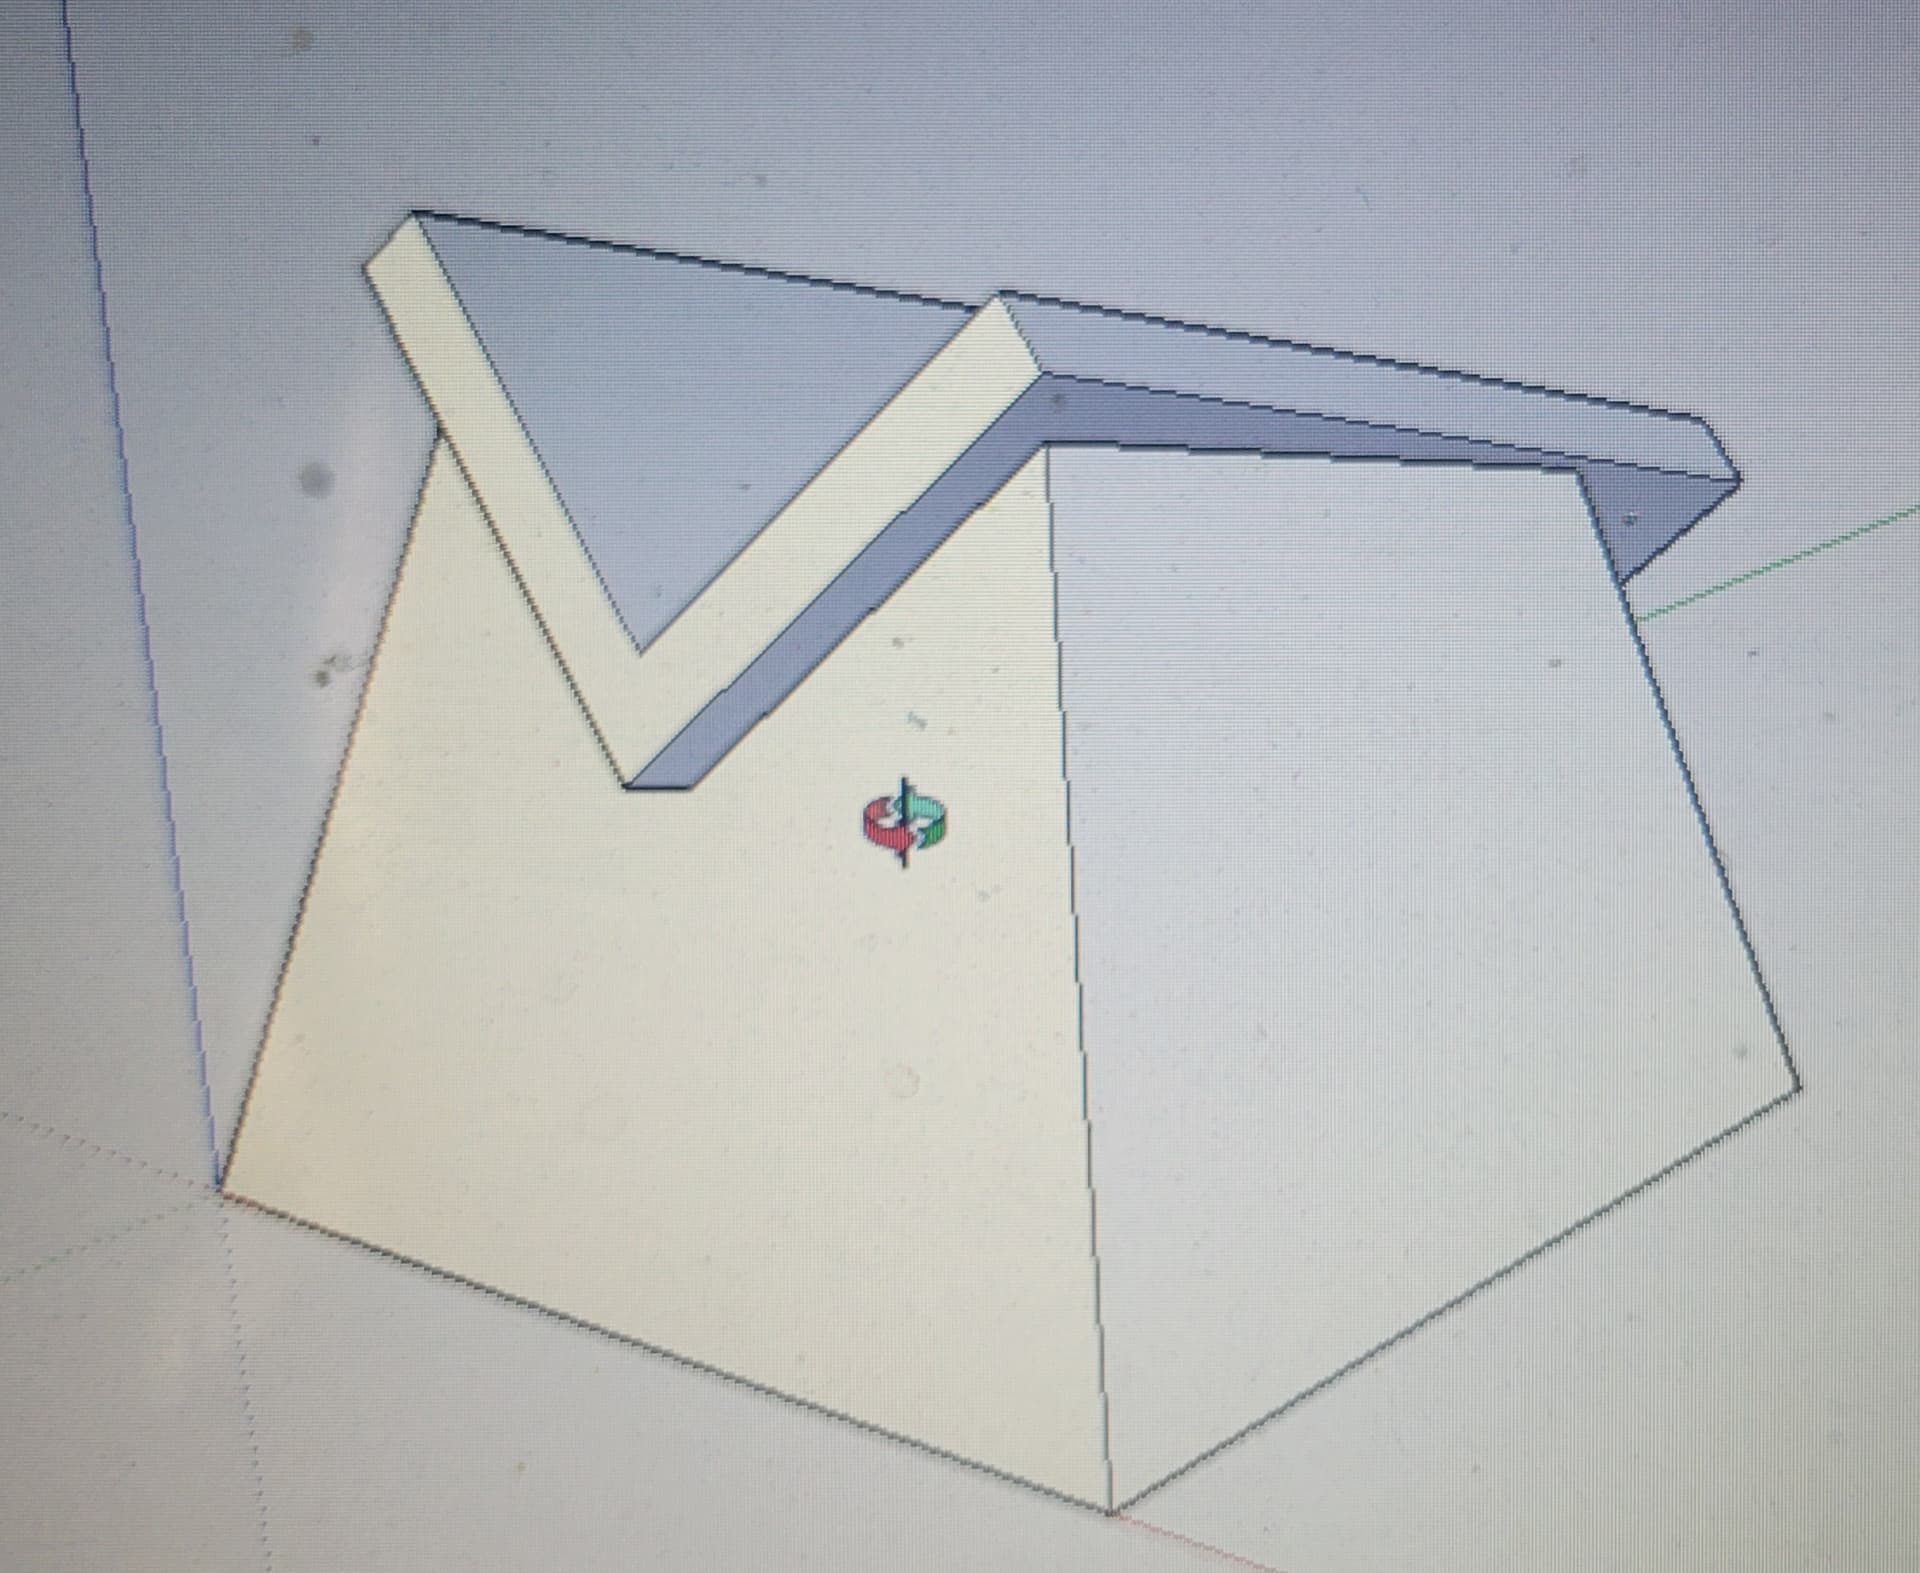
I’m making a retirement gift for a coworker. Its a wooden base to hold an old piece of avionics gear (nose gear camera). The idea is that the lens will be replaced with a clock, and the camera can be picked up and set back down in the base easily.
The base has a 4-sided box with 15-degree slopes, and there is an intersecting V that also angles down at 15- degrees from the horizontal.
Its been tricky calculating the angles for the bevels and mitres (miters?) where the v-channel intersects so I can cut on the compound miter saw.
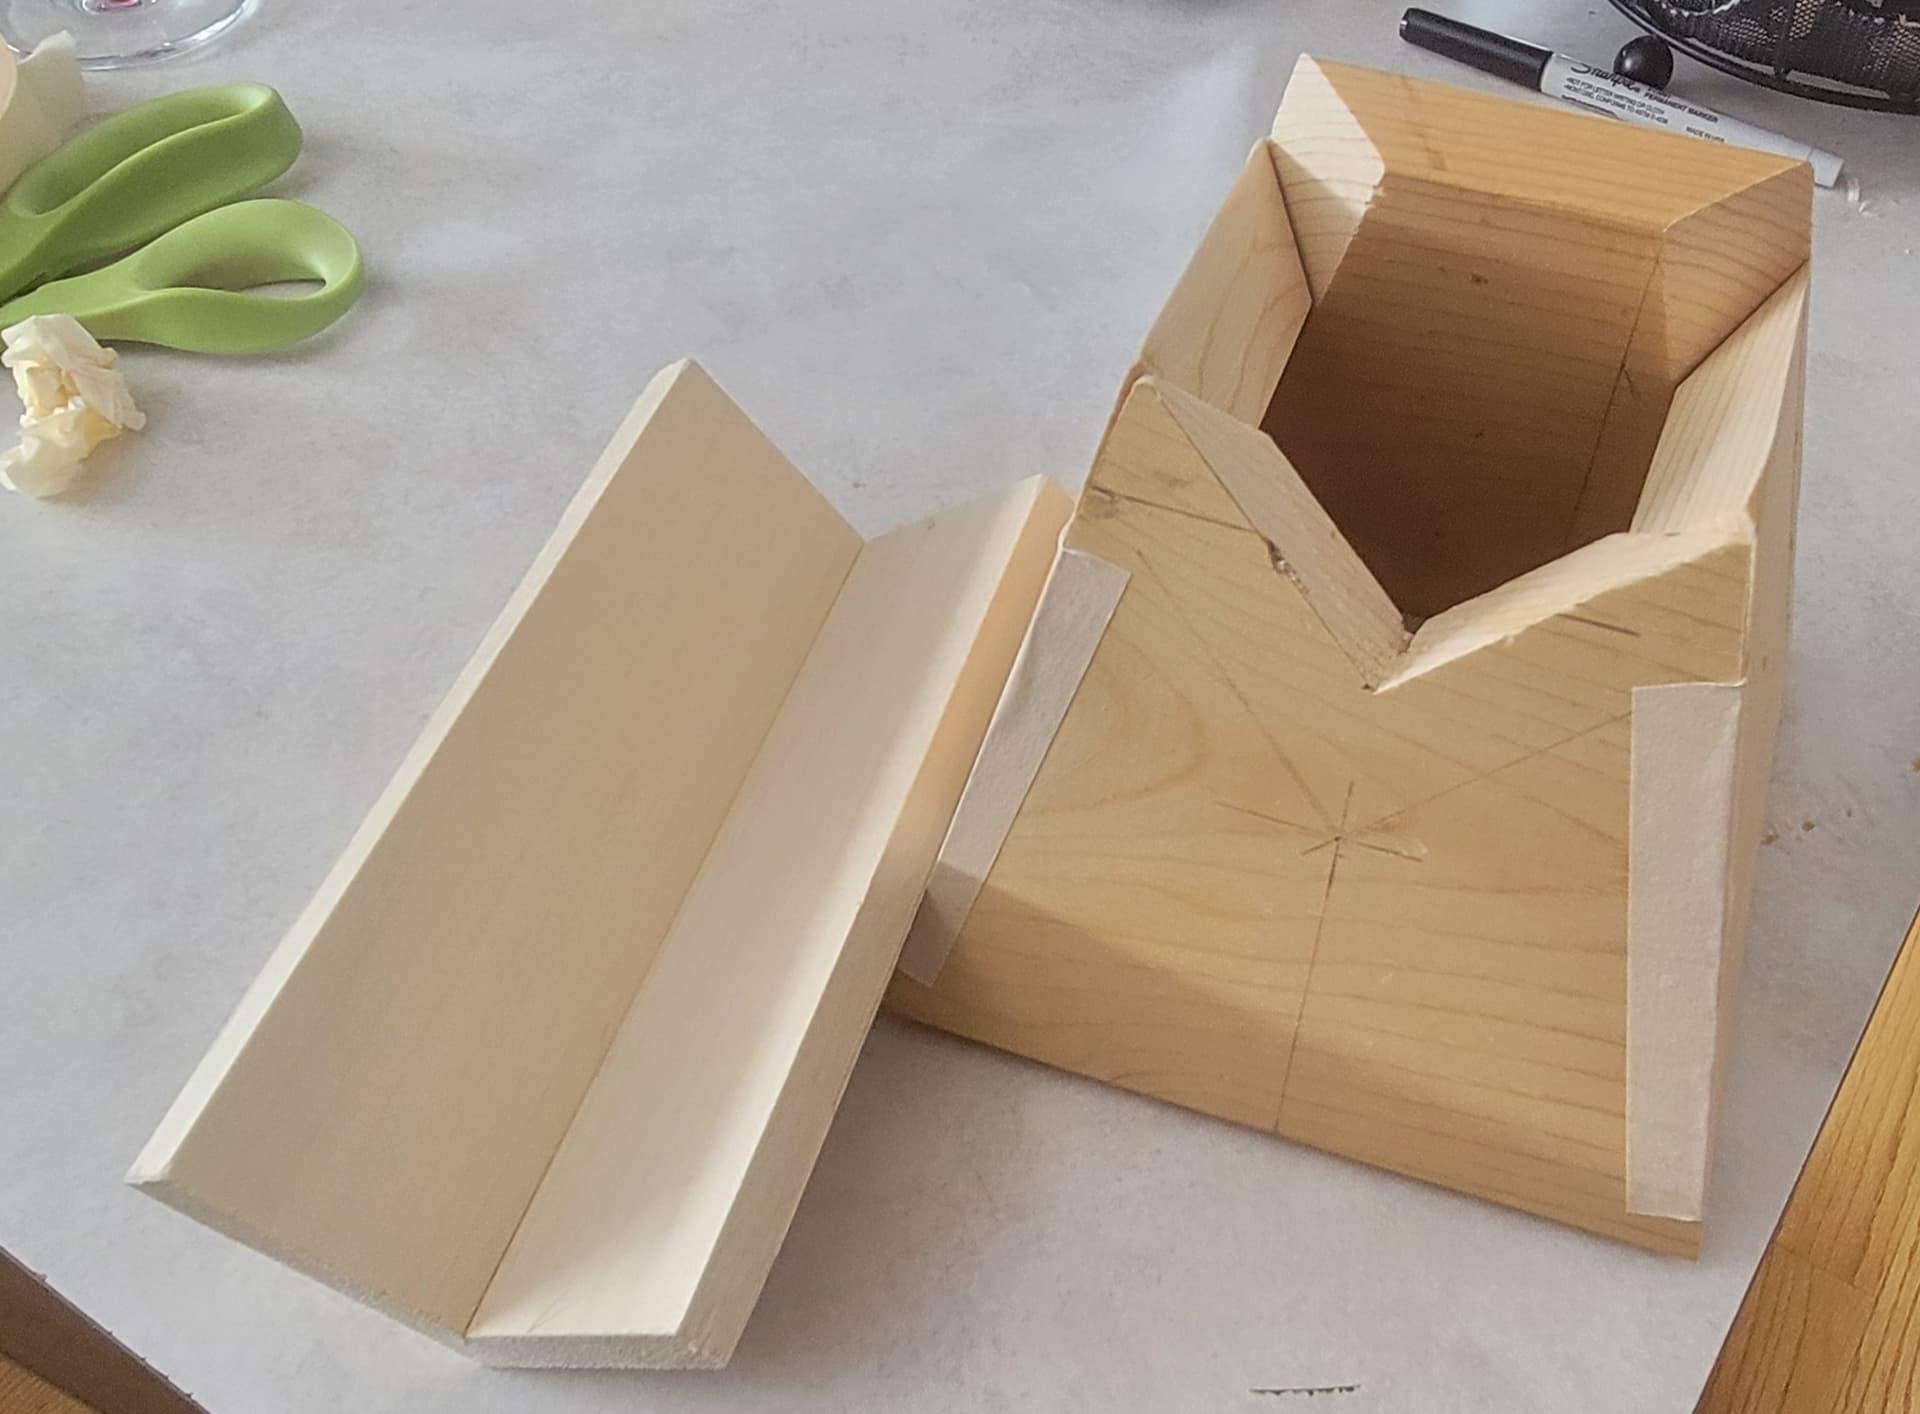
This is the mock-up. Final assembly will be in a nicer wood than pine. I havent cut the back piece yet. If I still had my radial armsaw this would be easy. Posting here to try and jog my rusty carpentry-calculations loose
Ultimately I could make the cuts on the base more acute than necessary since they will all be hidden, but I’ll know, you know?
You could screw, mount or glue the candle stick to a wider wooden base. Having the contrasting colors might look nice, unless you have something that closely matches the original wood color.
That’s some tricky angles!
Hmmm, gonna think on that…
Personally, I would make a lightweight cardboard model with flaps to represent the depth of the final wood, tape up the outside and then, with the holder in place, turn it over and tape the flaps in position (this would probably need several edits) and take measurements from the model.
I am sure there is a mathematical way of calculating (or a 3d modelling option) but they are beyond me.
I was able to derive the angles from the 3D model. However my miter saw only tips in one direction, which means that some of the cuts have to be made from the back-side of the piece being cut. Thats what I was trying to avoid.
Neat!
This could also make a nice book stand thingy.
That’s what I thought it was initially; a book cradle or display cradle. Could work for that. We would build our own at work, out of fomecore and very heavy card.
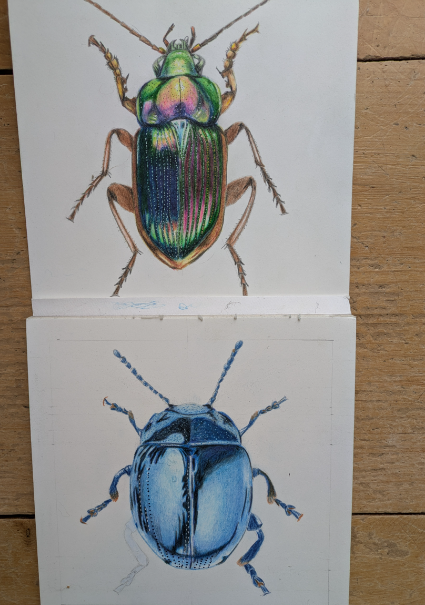
My neophyte attempts with colour pencils. I did these in the summer, and should finish them, and start another beetle drawing. With the pics of the beetles that I based them on.


Damn, those are fantastic! I have no drawing ability at all and greatly envy those who do.
You have a lot more patience than I do, definitely get back on them.
great!
My problem is motivation and energy.
Thanks!
Wow! They are AMAZING! You’re such an fantastic artist.